How to Screenshot an Email on a Laptop
Capture an email on Windows, Mac, or Chromebook, save or share the image, protect private details, and choose PDF when it fits better.
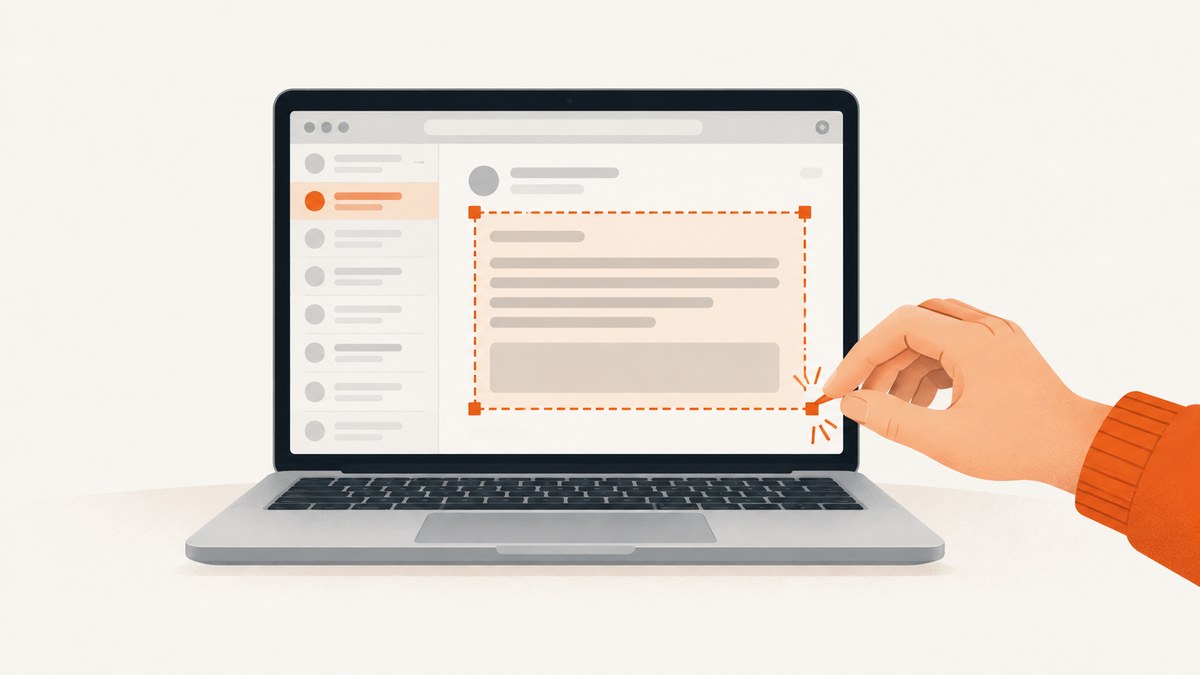
To screenshot an email on a laptop, open the message and use your operating system’s screen-capture shortcut. On Windows, press Windows + Shift + S; on a Mac, press Shift + Command + 4; on a Chromebook, press the Screenshot key or Shift + Ctrl + Show windows. Select just the email content, review it for private details, then save or share the image. Use Print → Save as PDF if you need a document for archiving, searching, or printing.
1. Choose what to capture
Before using a shortcut, decide whether you need a selected part of the email, the whole email window, or a PDF. A selected region is usually best for a quick question or support request because it leaves out unrelated browser tabs and other messages. A full-window capture can preserve context such as the sender and subject. A long email may require several screenshots; PDF is usually more convenient when you need a continuous document.
| Need | Best fit | Check before sharing |
|---|---|---|
| A quick visual excerpt | Selected region | Include enough surrounding content to make the excerpt understandable. |
| Message context | Email window | Review sender, recipient, subject, and visible mailbox details. |
| A whole long message | Save or print as PDF | Check page breaks, attachments, and whether the output includes unrelated content. |
Keep the email open and position the part you need on screen. Close unrelated tabs or notifications if they might appear. The exact capture and save steps depend on your laptop.
2. Windows 10 and Windows 11
- Open the email and scroll to the content you want. For a long message, capture separate sections or consider PDF.
- Press Windows + Shift + S. This opens the Snipping Tool overlay.
- Choose rectangular, free-form, window, or full-screen capture. Rectangular mode is a good default for a portion of an email.
- Drag over the message area. In window mode, choose the email window if you want the surrounding context.
- Open the capture in Snipping Tool to crop or annotate. Use Ctrl + S to save, or Ctrl + C to copy it for pasting into another app.
- Open the saved or pasted image and inspect it before sending.
Snipping Tool can provide text actions and quick redaction for recognized email addresses or phone numbers. Recognition is not a guarantee that every sensitive detail was found; inspect the entire image yourself. See [Microsoft’s Snipping Tool instructions](https://support.microsoft.com/en-us/windows/use-snipping-tool-to-capture-screenshots-00246869-1843-655f-f220-97299b865f6b) for current capture and editing details.
If the shortcut does not appear to work
Make sure the Windows key is pressed with Shift and S, then choose a capture mode from the overlay. If a laptop uses a function layer for special keys, the keyboard’s layout may affect how you enter shortcuts. You can also open Snipping Tool from the Start menu and start a capture there. If the capture was copied but no file appeared, paste it into an image editor or open Snipping Tool and save it; the shortcut does not mean you have already chosen a file destination.
3. MacBook and other Mac laptops
- Open the email and position the desired content.
- For a selection, press Shift + Command + 4, then drag around the message area.
- For the whole email window, press Shift + Command + 4, then press Space. When the pointer becomes a camera, click the email window.
- For the whole display, press Shift + Command + 3.
- By default, macOS saves the screenshot to the Desktop after the thumbnail disappears. Click the thumbnail to edit it, or use its options to save to the Clipboard.
- Open the result and check its edges, readability, and private details.
Apple documents the selection, window, and display shortcuts in [Take a screenshot on your Mac](https://support.apple.com/en-us/102646). If the thumbnail disappears before you act on it, look on the Desktop for the saved screenshot. If you chose Clipboard, paste into a document or image editor and save from there.
Selection versus window capture
A selection gives you tight control over exactly which part of the message appears. Window capture is faster when the whole email window matters, but it may include account names, mailbox controls, or other visible context. If the email is taller than the screen, a normal screenshot captures only the visible portion; scroll and take additional captures, or use the browser’s print-to-PDF workflow.
4. Chromebook
- Open the email.
- Press the Chromebook’s Screenshot key. If there is no dedicated key, use Shift + Ctrl + Show windows, or open Settings and choose Screen Capture.
- Choose full-screen, partial, or window capture.
- Review the image, then save, delete, or share it as appropriate.
- Look in Downloads for the saved screenshot by default. Change the destination in Screen Capture settings if needed.
Google describes reviewing, deleting, and sharing captures in [Take a screenshot or record your screen](https://support.google.com/chromebook/answer/10474268). Chromebook keyboard labels can vary by model, so use the Screen Capture controls if you cannot identify the Screenshot or Show windows key.
5. Capture only part of an email
For a focused screenshot, choose a rectangular or partial capture and include only the message passage needed. Include the sender or subject only if they are relevant to the recipient’s question. Avoid capturing the entire browser or desktop when a smaller excerpt will do.
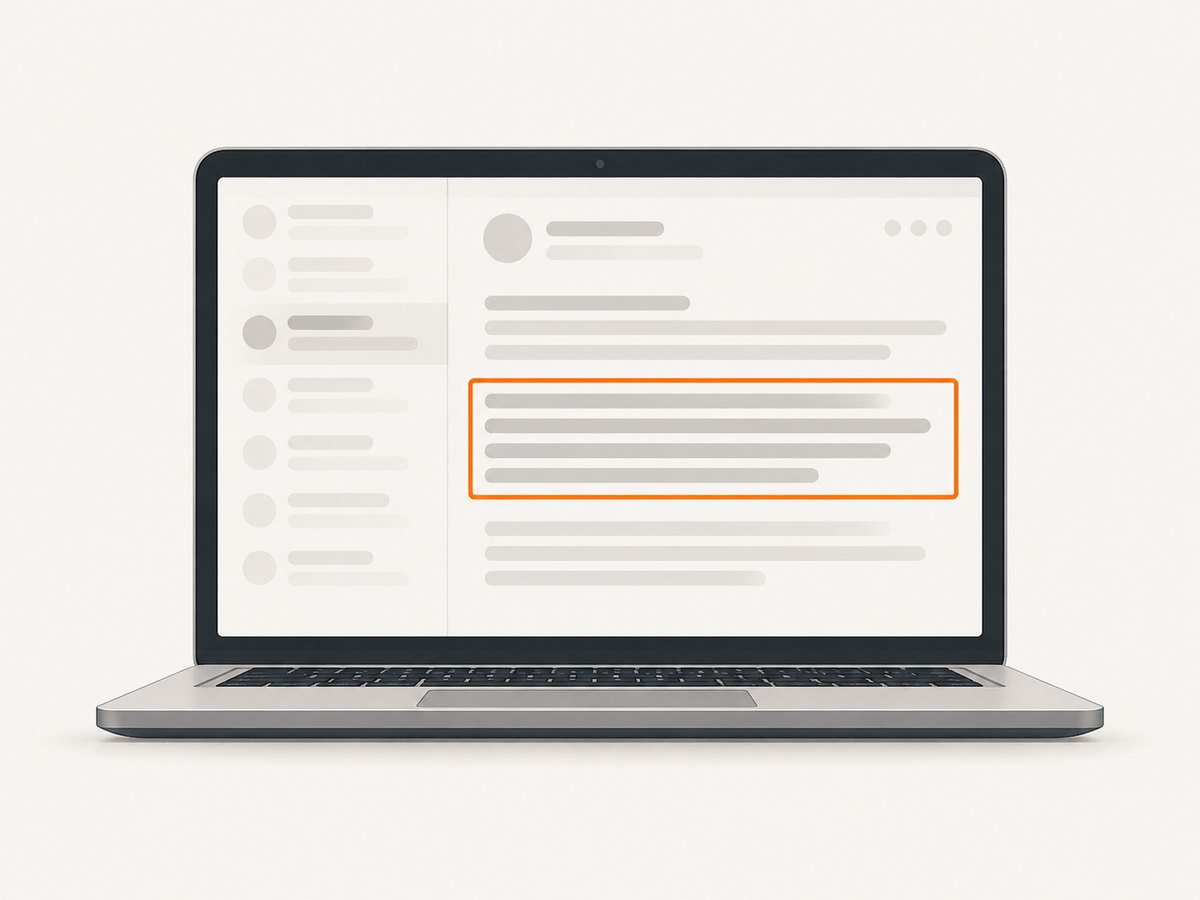
- Leave a small margin around text so the selection does not cut off letters or punctuation.
- Keep enough context to explain what the excerpt refers to, such as a heading or nearby sentence.
- For a passage that is longer than the visible area, capture overlapping sections. Overlap helps a reader understand the order.
- Zoom the page if the text is too small, but review the result for awkward line breaks or content pushed off screen.
- Use an image editor’s crop tool if you need to refine the edges after capture.
Do not assume that taking a partial screenshot removes sensitive information from the original email; it only limits what appears in that particular image. Check that the selected area did not include a nearby address, account number, or unrelated conversation.
6. Save an email as a PDF instead
Choose PDF when you need a document that can be archived, printed, or searched, or when the message is too long to capture neatly in one image. A PDF is not automatically private: it can include headers, quoted replies, signatures, or other material you did not intend to share.
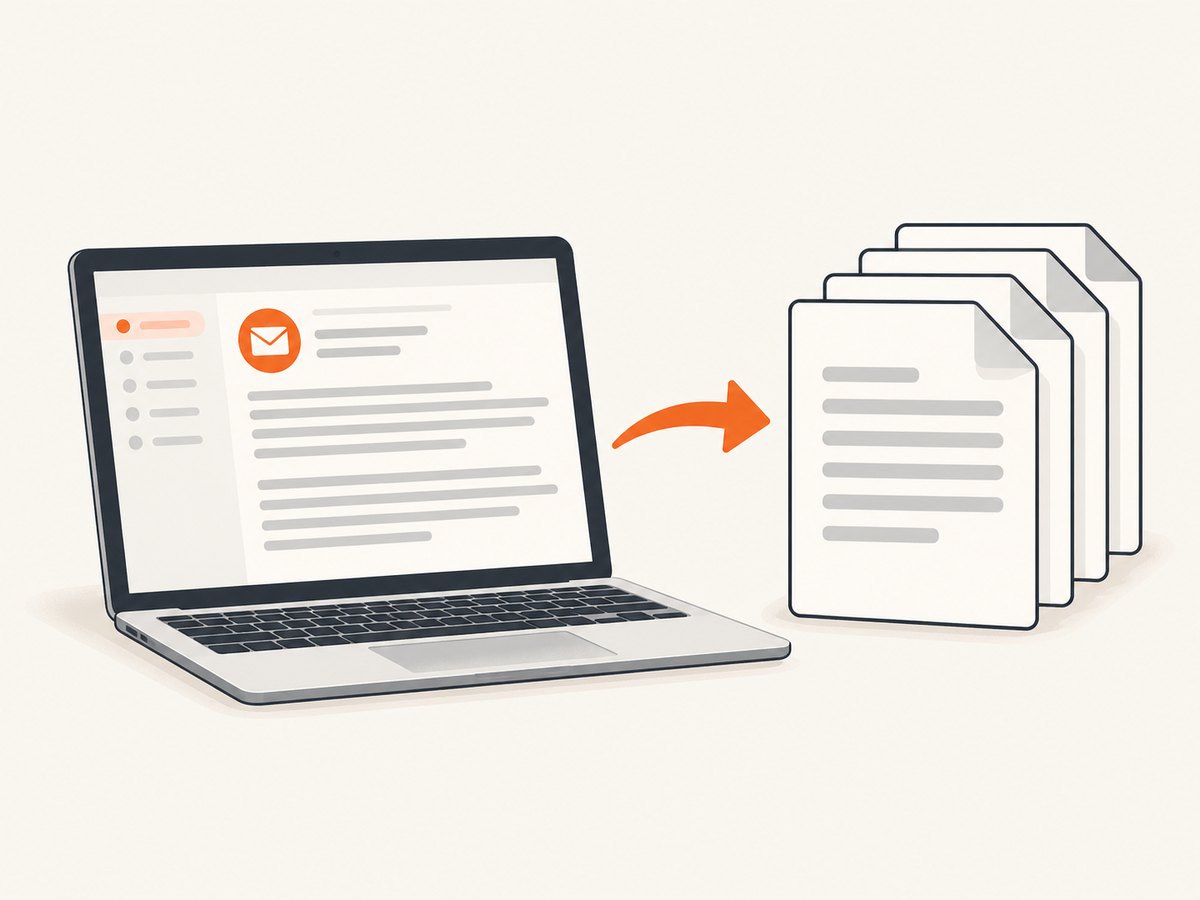
- Open the email in a browser and use its print command, or press Ctrl + P on Windows or Linux in Chrome.
- In the print preview destination options, choose Save as PDF.
- Review the preview, including all pages, for content and page breaks.
- Save to a location you can find, then open the PDF and verify it before sending.
Chrome documents the print shortcut and Save as PDF destination in [Print from Chrome](https://support.google.com/chrome/answer/1069693). Email services and browsers can lay out messages differently, so inspect the preview instead of assuming the PDF contains only the visible message.
7. Privacy checklist before sharing
Email screenshots can expose more than the message body. Check the image at normal size before you send it, and use a final exported copy as the version you share.
- Check sender, recipient and copied-recipient fields, subject, signature, and attachment names.
- Look for account identifiers, addresses, phone numbers, payment details, and unrelated message text.
- Check browser tabs, bookmarks, notifications, and mailbox sidebars around the capture.
- Crop or redact details that are not needed. Make sure the redaction fully covers the text and remains in the exported image.
- If you edited a layered or project file, export a flattened image or PDF and inspect that exported file; do not rely on a reversible crop or overlay.
- Share the smallest useful excerpt and use a destination appropriate for the sensitivity of the message.
When using automatic text recognition or redaction, treat it as an aid. Read every visible line and inspect the edges, since a tool may miss a name, identifier, or detail rendered as an image.
8. Troubleshooting
| Problem | Likely cause | Fix |
|---|---|---|
| The shortcut does nothing | Keys were pressed in the wrong order, the keyboard uses a function layer, or the platform uses a different shortcut. | Use the platform-specific steps above or launch its Screen Capture/Snipping Tool interface directly. |
| The screenshot is missing | The capture was copied to the clipboard, or it was saved to the platform’s default folder. | Paste into an editor and save, or check Windows Snipping Tool, the Mac Desktop, or Chromebook Downloads. |
| Only part of the email appears | A screenshot records the visible screen area, not automatically the full scrollable message. | Scroll and capture additional sections, or print the email to PDF and inspect the pages. |
| Text is too small or blurry | The capture includes a large area, the page zoom is low, or the image was resized. | Capture a tighter area, increase page zoom before capture, and avoid enlarging a small screenshot after the fact. |
| Important text is clipped | The selection edge crossed a line or the window layout changed. | Repeat the capture with a small margin around the content and inspect all four edges. |
| Private details remain visible | The capture included headers, signature, tabs, or details outside the intended passage. | Recapture a smaller region or redact, export, and re-open the final file to verify coverage. |
| The PDF has extra pages or awkward breaks | The print layout included surrounding content or split the message. | Review print preview, adjust available print settings, and verify the saved PDF page by page. |
9. Browser screenshots for developer workflows
The laptop shortcuts above are the simplest way to capture an email you are viewing interactively. For a repeatable developer workflow, such as capturing a public web page from a script or handing page capture to an AI agent, a browser automation setup or screenshot API can help. A screenshot of a web page is still only the rendered view available to the capture method; it cannot safely expose content behind an account or bypass authentication. For private email, use the email client and account’s own print or export options, and protect credentials and message data.
ScreenshotNeo is a website screenshot API and MCP server for developers. It captures web URLs as PNG, JPEG, WebP, or PDF, and accepts a single GET request. Its API options include viewport and device presets, full-page capture, CSS selector element capture, wait conditions, custom headers and cookies, and output settings. Use only pages you are permitted to capture, and do not place email credentials or private message contents in a public URL.
Or skip the browser setup
For a web page you are authorized to capture, one GET request returns the image. See the ScreenshotNeo API documentation for parameters and formats.
curl -G "https://api.screenshotneo.com/v1/shot" -d access_key=YOUR_API_KEY --data-urlencode url=https://stripe.com -o shot.webpimport requests
r = requests.get(
"https://api.screenshotneo.com/v1/shot",
params={"access_key": "YOUR_API_KEY", "url": "https://stripe.com"},
timeout=90,
)
open("shot.webp", "wb").write(r.content)const q = new URLSearchParams({ access_key: 'YOUR_API_KEY', url: 'https://stripe.com' });
const res = await fetch(`https://api.screenshotneo.com/v1/shot?${q}`);ScreenshotNeo accepts cookie and consent banners before capture and removes more than 60 known consent platforms, newsletter popups, and chat widgets; each step can be turned off. Bot checks, blank pages, failed loads, timeouts, and cache hits are not billed, and the response identifies the page verdict and billing status in headers. Its MCP server gives AI agents tools to take screenshots, get page information, and capture PDFs. The free plan includes 1,000 screenshots per month with no card; paid plans start at $5 for 3,000 screenshots. Every feature is available on every plan. See ScreenshotNeo for details and the docs for configuration.
Sign up for 1,000 free screenshots a month, with no card required.
10. Performance, reliability, and cost
For a one-off personal capture, the built-in screenshot tools are immediate and have no per-capture service fee. A long email can take more time to capture cleanly because you may need to scroll, overlap selections, or review a multipage PDF. Increase zoom only enough to keep text readable; a very tight selection can omit context, while a full-screen image can expose unrelated information.
For recurring public-page capture, consider how many URLs you need, whether a full-page result is necessary, and whether you need deterministic waits or a saved format. Network rendering can vary by page load and third-party resources. Use a wait condition that matches the content you need, and verify the returned result before treating it as a successful capture. ScreenshotNeo has configurable caching, async jobs with signed webhooks, bulk capture for up to 100 URLs per call, and usage API options. Choose these based on workflow needs rather than assuming every page has identical rendering time.
ScreenshotNeo’s listed monthly plans are Free: 1,000 shots; Starter: $5 for 3,000; Growth: $15 for 15,000; Pro: $39 for 60,000; Scale: $99 for 250,000; and Business: $249 for 1,000,000. Yearly billing gives two months free. These are product plan allowances, not a guarantee of a particular capture speed. For desktop email screenshots, no paid API is needed; use the built-in platform capture or print-to-PDF workflow.
11. Frequently asked questions
Can I screenshot an email that is longer than my laptop screen?
A standard selection or window capture only records what is visible. Capture overlapping sections, or use print-to-PDF when you need the whole message in a document.
Where does the screenshot go?
Windows places the snip in the Snipping Tool flow for editing, copying, or saving; macOS saves to the Desktop by default; Chromebook saves in Downloads by default. Clipboard captures must be pasted and saved separately.
Can I paste the screenshot into a message?
Yes, if the capture is on the clipboard, paste it into the destination app. For a file attachment, save or export the image first and attach that file.
Should I send a screenshot or a PDF?
Send an image for a short visual excerpt. Prefer PDF for a long message, printing, or an archive that should retain document structure.
Can a website screenshot API capture my inbox?
An API captures web pages, not a safe substitute for your email account’s export controls. Do not expose credentials or private message content; use the mail client’s screenshot or print workflow for personal email.


