How to Take a Screenshot of a GitHub Repository
Capture a GitHub repository, README, file, branch, or commit clearly on Windows, macOS, Linux, or with automation.
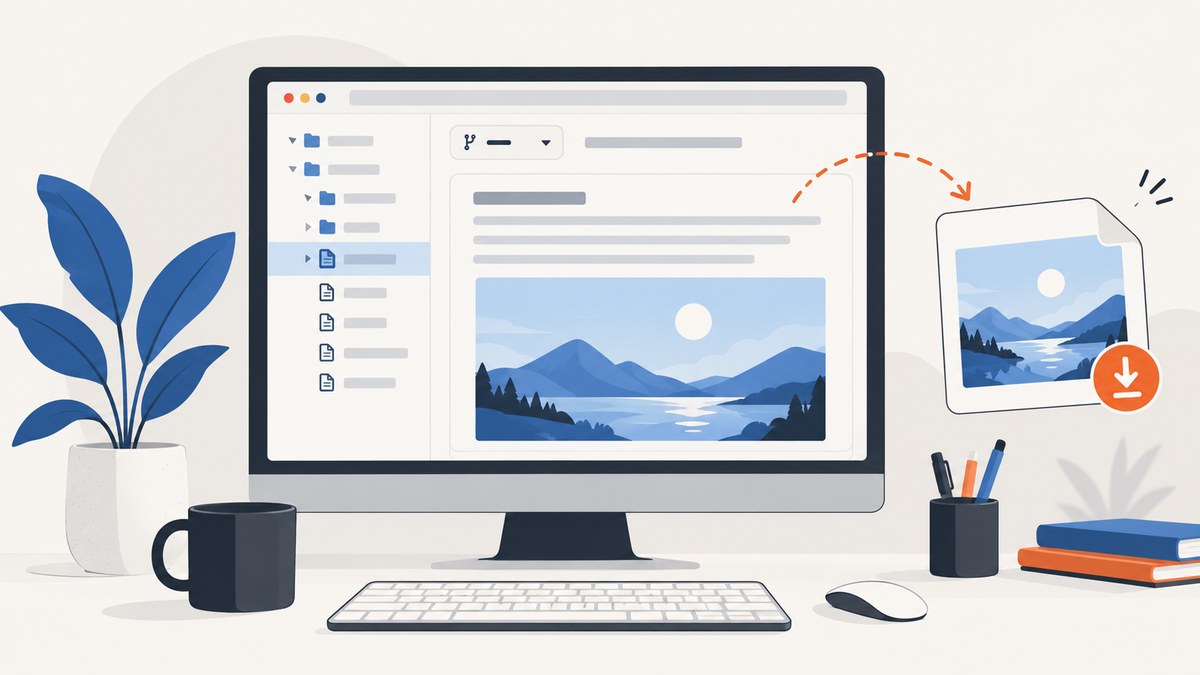
Direct answer: open the exact GitHub repository, README, file, branch, tag, or commit you want to document. Set a readable zoom, frame the page so the repository name and context are visible, hide private browser information, and use your operating system or browser’s built-in capture tool. Save as PNG when possible, inspect the result for legibility, then upload or drag it into a README, issue, pull request, or discussion.
A repository screenshot is simply an image of the GitHub web page. You do not need special hardware or a GitHub-specific capture tool. The difficult parts are choosing the correct revision, including enough context for readers to identify what they are seeing, and producing a repeatable image when you need screenshots for documentation or CI.
Choose the page and revision before capturing
Decide what the image needs to explain. Use the repository home page for project identity and top-level structure. Use a README section when the point is installation, architecture, or usage. Open a file page for source code, an issue or pull request for discussion, and a commit page when the screenshot must document a precise change.
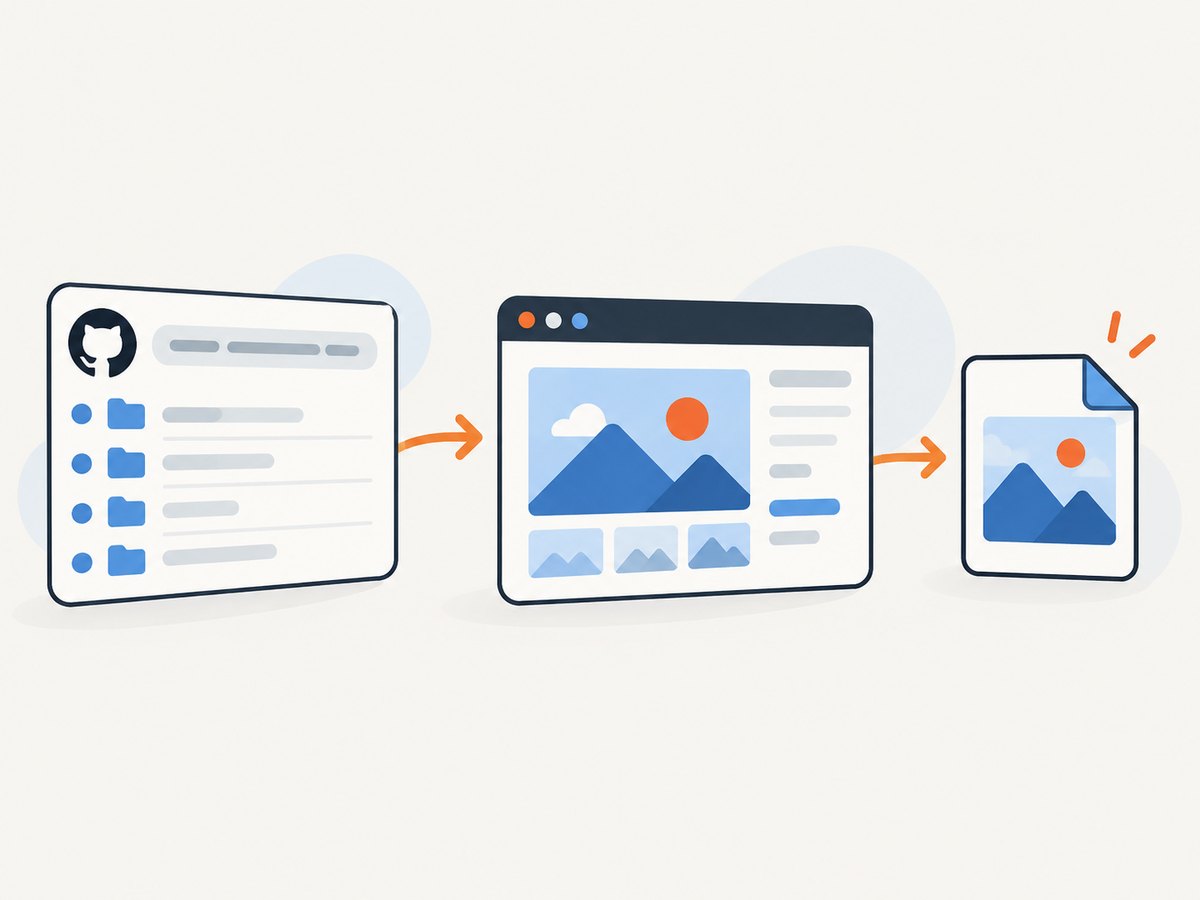
GitHub pages can change when the default branch advances. Select the branch, tag, or commit before you capture. If your text says “the 2.4.0 implementation,” switch to that tag or commit rather than leaving the page on the moving default branch. Check the breadcrumb, branch selector, file path, and commit context in the visible frame.
| Goal | Best page | What to include |
|---|---|---|
| Show project identity | Repository home | Owner/repository name, description, branch, and top-level files |
| Explain setup or usage | README | Heading, commands, version context, and enough surrounding text |
| Discuss implementation | File page | Repository name, file path, language, and relevant lines |
| Document a release | Tag or release page | Version, release notes, and repository identity |
| Record a change | Commit or pull request | Commit identifier, changed files, and discussion context |
Prepare a clean, readable frame
- Open only the intended page. Close unrelated tabs or use a separate browser window. This reduces accidental disclosure of private project names, email addresses, notifications, or tokens.
- Set a useful zoom. Increase browser zoom until code and controls are readable, then resize the capture area so the frame still includes repository and page context. A tiny full-screen page is less useful than a focused, legible region.
- Load the content. Scroll through the README or file once so lazy-loaded sections appear. For a long README, capture several focused sections instead of shrinking the entire document into unreadable text.
- Remove distractions. Hide bookmarks, notification banners, chat windows, and unrelated browser chrome. Keep the repository name, branch or tag, file path, and the action being explained.
- Check permissions. Do not capture private repositories or internal issue details for a public document unless you are authorized to share them. Never leave credentials, personal access tokens, or private URLs in the frame.
GitHub’s documentation describes screenshots as useful for making articles more visually scannable, especially for people who have difficulty reading. The same guidance warns that different pixel dimensions and zoom levels can confuse readers, so keep the instructional text available and add concise alt text for every published image. See GitHub’s screenshot guidance.
Capture on Windows, macOS, and Linux
Windows
For a rectangular or window capture, press Win + Shift + S, select the region, and save the result from the notification or Snipping Tool. Use a rectangular selection for a README heading or code block and a window selection for the full repository view. Before saving, inspect the preview at 100% to ensure small code text is sharp.
macOS
Press Shift + Command + 4 to select a region, or Shift + Command + 5 to choose a window, full screen, or recording. A window capture is useful for a repository overview; a region capture gives you control over a README section. Save the PNG and rename it with the repository and revision, such as docs-v2.4.0-readme-install.png.
Linux desktop
Most Linux desktop environments provide a screenshot utility from the application menu or a Print Screen key. Choose full screen, current window, or selected area according to the page you prepared. If your desktop does not provide a selector, use its built-in screenshot application rather than capturing the entire display with unrelated windows visible.
Browser capture and long pages
Some browsers provide a “capture full page” or “screenshot” command in their page menu or developer tools. This can include a README that extends below the viewport, but inspect the output carefully: sticky headers may be repeated, code blocks can be clipped, and lazy-loaded content may be missing if you did not scroll first.
For a long page, prefer a sequence of images with clear captions when text must remain readable. A single image is appropriate when the whole page structure matters. If you need one continuous image for archival purposes, capture the full page and also create focused crops for the sections readers must read.
Save the right format and verify the result
Use PNG for GitHub interfaces and source code because it preserves sharp text and lines. JPEG can introduce compression artifacts around small characters. WebP is compact and suitable for web delivery when your publishing system supports it, but retain a PNG source for future edits.
- Open the saved file at its native size.
- Confirm the repository owner and name are visible.
- Confirm branch, tag, or commit context matches the surrounding article.
- Read the smallest code or UI text without extreme zooming.
- Check that no token, email address, private issue, or unrelated tab is present.
- Write alt text that names the repository or page and describes the visible action.
Upload or embed the screenshot in GitHub
GitHub README, issue, pull-request, and discussion editors accept images by upload, paste, or drag and drop. You can also host an image in the repository and reference it with a relative path, or link to an online image. GitHub’s documentation covers these options in its guidance on attaching files.
Keep the image path stable. A repository-hosted image travels with the documentation, while an external URL can break when the hosting location or access policy changes. For a README, place the image near the paragraph it illustrates and keep a written explanation for readers who cannot view it.
Repeatable navigation with the GitHub CLI
The GitHub CLI is useful when you want a predictable way to inspect a repository before opening it in a browser. gh repo view can display repository details and README content, and gh browse opens the repository or a selected path in your browser.
# Inspect the repository and README in your terminal
gh repo view OWNER/REPO

# Open the repository home page
gh browse OWNER/REPO

# Open a specific file on a branch
gh browse OWNER/REPO --branch main -- "src/example.py"
After the browser opens, still verify the visible branch, tag, commit, and page state. CLI navigation reduces typing errors; it does not guarantee that the screenshot shows the revision your documentation describes.
Automate screenshots for documentation and CI
For one-off captures, built-in tools are faster. For release notes, visual documentation, or a README table generated on every change, use a scripted webpage screenshot workflow. GitHub Marketplace includes webpage-screenshot Actions that can run a script before saving an image. Pin the action version in your workflow and keep the target URL tied to a branch, tag, or commit so an update does not silently change your documentation.
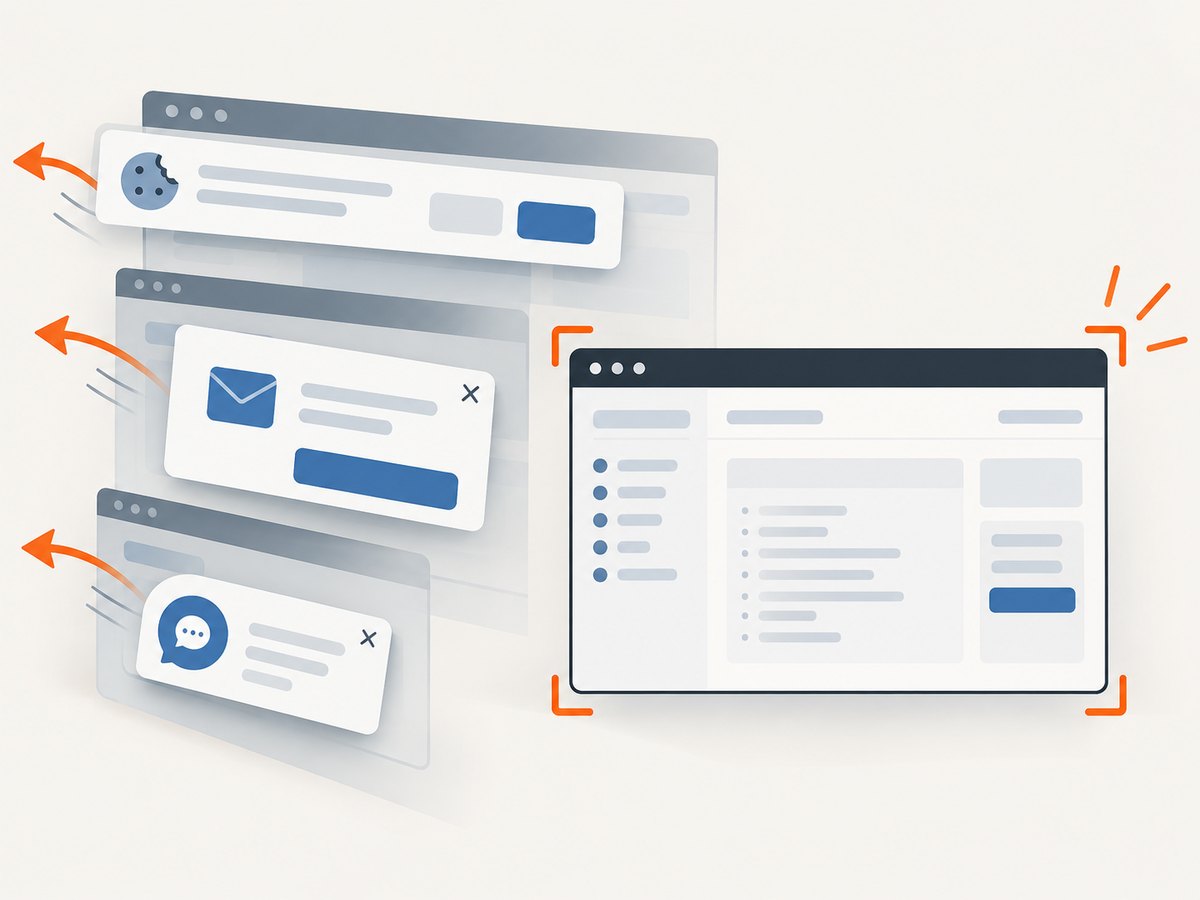
An automated job should make the same decisions as a manual capture:
- Construct a URL for the exact repository page and revision.
- Wait for the page and any required content to load.
- Set a fixed viewport and device scale.
- Capture either the full page or a named element.
- Save a deterministic filename containing repository and revision information.
- Review image dimensions and visual diffs before publishing.
Or skip the browser setup
ScreenshotNeo provides a website screenshot API and MCP server. One request can capture a GitHub repository page as PNG, JPEG, WebP, or PDF. Cookie banners, newsletter popups, and chat widgets are removed before the shot; bot checks, blank pages, timeouts, failed loads, and cache hits are not billed. The response identifies the result with X-Page-Verdict and X-Billed headers. Its MCP server lets Claude, Cursor, and other MCP clients use take_screenshot, get_page_info, and capture_pdf.
See the ScreenshotNeo API documentation for authentication and all options. This is a minimal capture of a public GitHub repository:
cURL
curl -G "https://api.screenshotneo.com/v1/shot" \
  -d access_key=YOUR_API_KEY \
  --data-urlencode url=https://github.com/github/docs \
  -o github-repository.webp
Python
import requests

r = requests.get(
    "https://api.screenshotneo.com/v1/shot",
    params={
        "access_key": "YOUR_API_KEY",
        "url": "https://github.com/github/docs",
    },
    timeout=90,
)
r.raise_for_status()
open("github-repository.webp", "wb").write(r.content)
Node.js
const q = new URLSearchParams({
  access_key: 'YOUR_API_KEY',
  url: 'https://github.com/github/docs'
});
const res = await fetch(`https://api.screenshotneo.com/v1/shot?${q}`);
if (!res.ok) throw new Error(`Screenshot failed: ${res.status}`);
const fs = await import('node:fs/promises');
await fs.writeFile('github-repository.webp', Buffer.from(await res.arrayBuffer()));
You can adapt the request for a README, file, tag, or commit URL. ScreenshotNeo supports full-page capture with lazy images loaded, CSS-selector element capture, custom CSS and JavaScript, click and wait actions, network-idle waits, custom headers and cookies, user-agent, timezone, geolocation, request blocking, image resizing, caching with a chosen TTL, signed links, asynchronous jobs with signed webhooks, bulk capture for up to 100 URLs per call, PDF options, and an OpenAPI specification. Parameter names used by other screenshot APIs also work, which simplifies migration.
Free usage includes 1,000 screenshots per month with no card. Paid plans start at $5 for 3,000 shots; every feature is available on every plan. Create a free ScreenshotNeo account to start.
Troubleshooting
| Symptom | Likely cause | Fix |
|---|---|---|
| The wrong code appears | The page is on another branch, tag, or commit | Switch revisions first and include the revision context in the frame and filename. |
| Text is unreadable | The capture is too wide or browser zoom is too low | Use a focused region, increase zoom, and save PNG. |
| The README section is missing | Lazy loading or an incomplete full-page capture | Scroll through the page before capture or capture the section as a separate region. |
| Private details are visible | Browser chrome, notifications, or an internal page was included | Use a clean window, crop the selection, and inspect the saved file before sharing. |
| Automated capture times out | The page is waiting on blocked resources or never reaches the expected state | Set a selector or network-idle wait, block unnecessary resource types, and give the job a practical timeout. |
| ScreenshotNeo returns a non-image response | The URL failed, showed a bot check, or produced a blank page | Read X-Page-Verdict, fix the target URL or access requirements, and retry. These failed states are not billed. |
| Repeated captures are slow | Each request reloads the same page | Use caching with a TTL when the revision is stable, or use asynchronous jobs for batches. |
Performance, reliability, and cost considerations
- Scope: A viewport or element capture transfers less data than a very tall full-page image. Use full page only when readers need the complete layout.
- Repeatability: Pin a commit or tag, fixed viewport, zoom, and filename. Record the capture date when documenting a moving branch.
- Privacy: Prefer public repository URLs for public docs. Supply authentication headers or cookies only when your capture workflow is authorized to access the repository.
- Reliability: Wait for a meaningful selector or network idle instead of relying only on a fixed short delay. Keep a retry policy for transient network failures.
- Cost: Built-in OS captures and the GitHub CLI have no screenshot service charge. ScreenshotNeo bills only clean shots; bot checks, blank pages, timeouts, failed loads, and cache hits cost nothing. Its plans range from free 1,000 shots monthly to paid tiers of 3,000, 15,000, 60,000, 250,000, and 1,000,000 shots.
FAQ
Can I screenshot an entire GitHub repository in one image?
You can capture the repository home page or use a full-page browser capture, but a repository may contain thousands of files. For readers, a focused overview plus separate README or file images is usually clearer.
Should I capture the browser address bar?
Include enough page context to identify the repository and revision. Hide unrelated tabs, bookmarks, notifications, and private browser information.
What format is best for code?
PNG is the safest choice for crisp small text. Keep the original PNG even if you publish a compressed WebP copy.
How do I show a specific GitHub commit?
Open the commit URL, verify the commit identifier and changed files, and include that context in the screenshot. A tag or commit URL is more stable than the default branch.
Can an AI agent create the screenshot?
Yes. ScreenshotNeo’s MCP server exposes screenshot, page-information, and PDF tools to Claude, Cursor, and other MCP clients. Use the same revision and privacy checks you would use for a manual capture.
How should I write alt text?
Name the repository or page and describe the visible action, such as “GitHub repository README showing the installation command.” Keep the instructions in surrounding text so the article remains understandable without the image.


