How to Take a Screenshot of a LinkedIn Post
Capture a LinkedIn post on Windows, Mac, iPhone, or Android, then save its original URL alongside the image so readers can verify the source.
To screenshot a LinkedIn post, open the post, make sure the author, date, and relevant text are visible, then use your device’s built-in screenshot control to capture the post area. Save or edit the image, and copy the post’s unique URL from its More menu so people can verify the source. LinkedIn does not require a special capture tool for this workflow.
This guide covers Windows, Mac, iPhone, and Android, including how to keep a long post readable, avoid capturing unrelated information, and share the link separately from the image.
1. Before you capture: keep the post and its source together
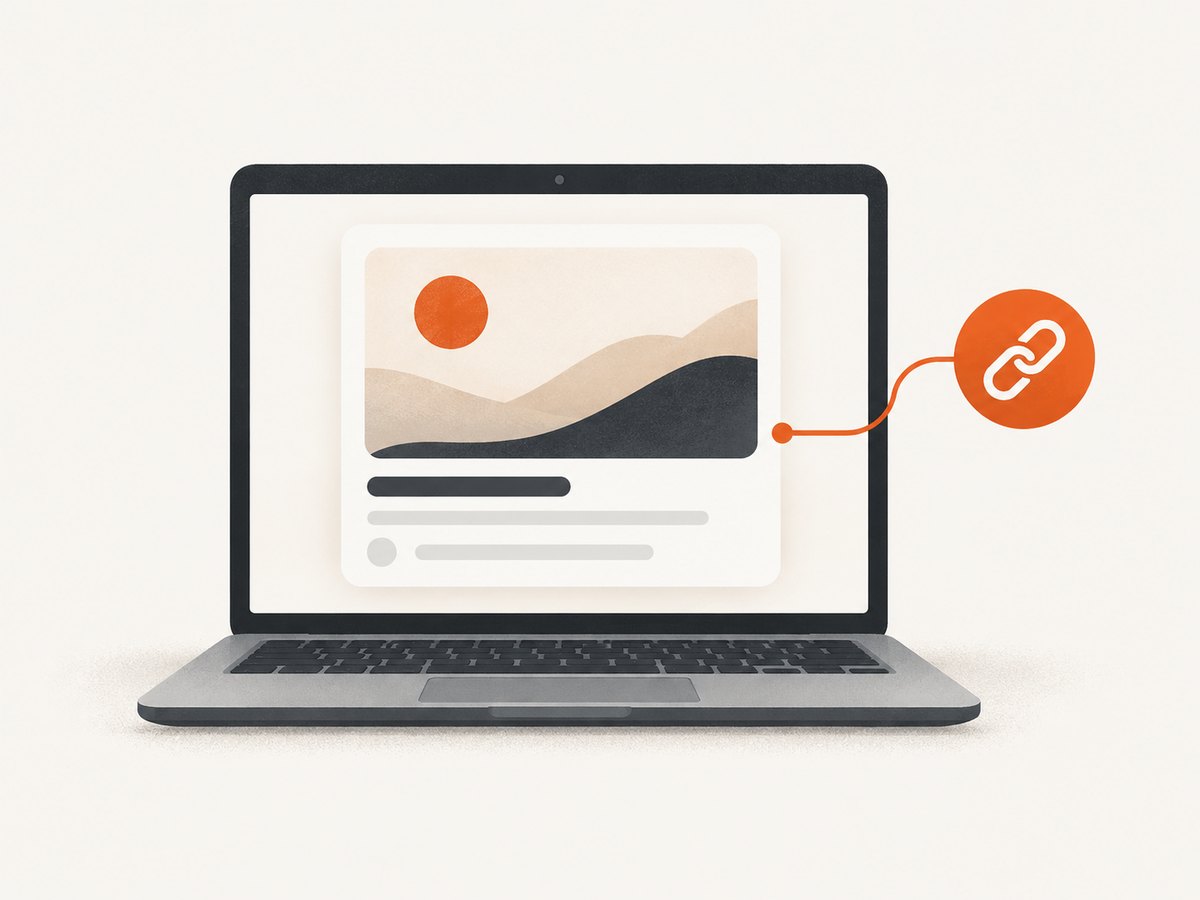
A screenshot is a static image. It can show what was visible when you took it, but it does not preserve a clickable link to the post. Capture the image and copy the post URL as two parts of one workflow.
- Open the specific post, rather than relying on a cropped section of the feed.
- Position the page so the author, date, and the text or image you want to reference are visible.
- Capture only the post and enough surrounding context to identify it.
- Copy the post’s unique URL from More and save or share it beside the screenshot.
LinkedIn says that specific shared content can be accessed directly through the unique URL assigned to each post. Whether another person can open that URL depends on the post’s audience and the author’s public-profile settings. A public post may be shareable on other sites when the public profile is also showing; other posts may be visible only to signed-in LinkedIn members. The screenshot does not change those access settings.
2. Windows: capture a selected area
- Open the LinkedIn post in your browser and position it for capture.
- Press Windows logo key + Shift + S. The desktop dims and the capture controls appear.
- Click and drag around the post. Include the author, date, and enough text to make the image useful.
- Select the lower-right notification to open the capture in Snipping Tool.
- Choose Save as and save the image as JPG or PNG.
If the notification disappears before you open it, find the capture in the Snipping Tool rather than taking another screenshot immediately. Check the saved image first: confirm that the crop includes the details you meant to keep and excludes unrelated feed items or notifications.
3. Mac: choose the capture area and destination
macOS provides several screenshot shortcuts. For a single LinkedIn post, a selected-area capture is usually easiest to frame.
- Shift + Command + 3: capture the entire screen.
- Shift + Command + 4: drag to select the portion of the screen to capture.
- Shift + Command + 5: open the Screenshot app for capture controls, including a timer and save-location options.
After using a shortcut, open the resulting image and check the crop before sharing it. macOS saves screenshots to the desktop by default unless you change the destination. If you use the full-screen shortcut, crop out unrelated windows or notifications before publishing the image.
4. iPhone: use the buttons for your model
- Open the post in the LinkedIn app or a browser and bring the relevant section into view.
- On a Face ID iPhone, press and release Power + Volume Up together.
- On an iPhone with a Home button, press and release Home + Power together.
- Tap the preview in the lower-left corner to edit the image, or swipe the preview away to keep the capture.
- Find the saved screenshot in Photos.
Use the preview editor to crop out surrounding feed content. Keep the author and date when they are needed to establish context. LinkedIn’s documented screenshot instructions do not establish a universal scrolling-screenshot feature for iPhone, so for a post taller than the screen, capture clearly ordered sections rather than assuming one image can cover the whole post.
5. Android: take a screenshot and check scrolling support
- Open the post and position its first relevant section on screen.
- Press Power + Volume Down together.
- If that shortcut does not work on your device, hold the Power button briefly and tap Screenshot if the option appears.
- Open the preview in the lower-left corner to review or edit the capture.
- Find the saved image in Photos or Gallery.
On Android 12 and newer, Google documents Capture more for scrolling screenshots on most scrollable screens that support it. Availability depends on the device and the screen. If the option is missing or does not capture the full post, use several screenshots and keep them in order. Android manufacturers may use different menu labels or controls.
6. Copy the original LinkedIn post URL
Copy the link from the post itself, not from a general profile or feed address. The route depends on where you are using LinkedIn:
- Desktop: select More at the top right of the post, then choose Copy link to post.
- iOS: select More, then Share via and Copy.
- Android: select More, then Share via and Copy to clipboard.
Paste the URL in the same message, document, or record as the screenshot. If the image is published somewhere that supports captions, include the link there. If the post is restricted, recipients may still need to sign in or meet the audience requirements.
7. Make a useful, privacy-conscious capture
A good screenshot gives readers enough context to understand what they are seeing without collecting unrelated personal details. Before sending or publishing it, review these points:
- Identity and context: include the author and date when they are relevant to your citation.
- Readability: avoid a crop so tight that the text or attached media loses context.
- Unrelated content: remove feed items, browser notifications, and other people’s posts from the frame.
- Private details: do not include private messages, connection-only material, or unrelated personal information.
- Permission: obtain permission before redistributing a non-public post or personal information.
- Source: attach the original post URL so a reader can check the source and its current visibility.
Keep the original capture if you need an unedited reference, and make a separate cropped copy for sharing. This helps preserve a record of what you captured while letting you remove irrelevant material from the version you distribute.
8. Long posts and multi-image captures
There is no single documented scrolling-capture workflow that works across every device and LinkedIn screen. Android’s Capture more can extend a screenshot on supported scrollable screens. On other devices, or when that option is unavailable, take multiple screenshots.
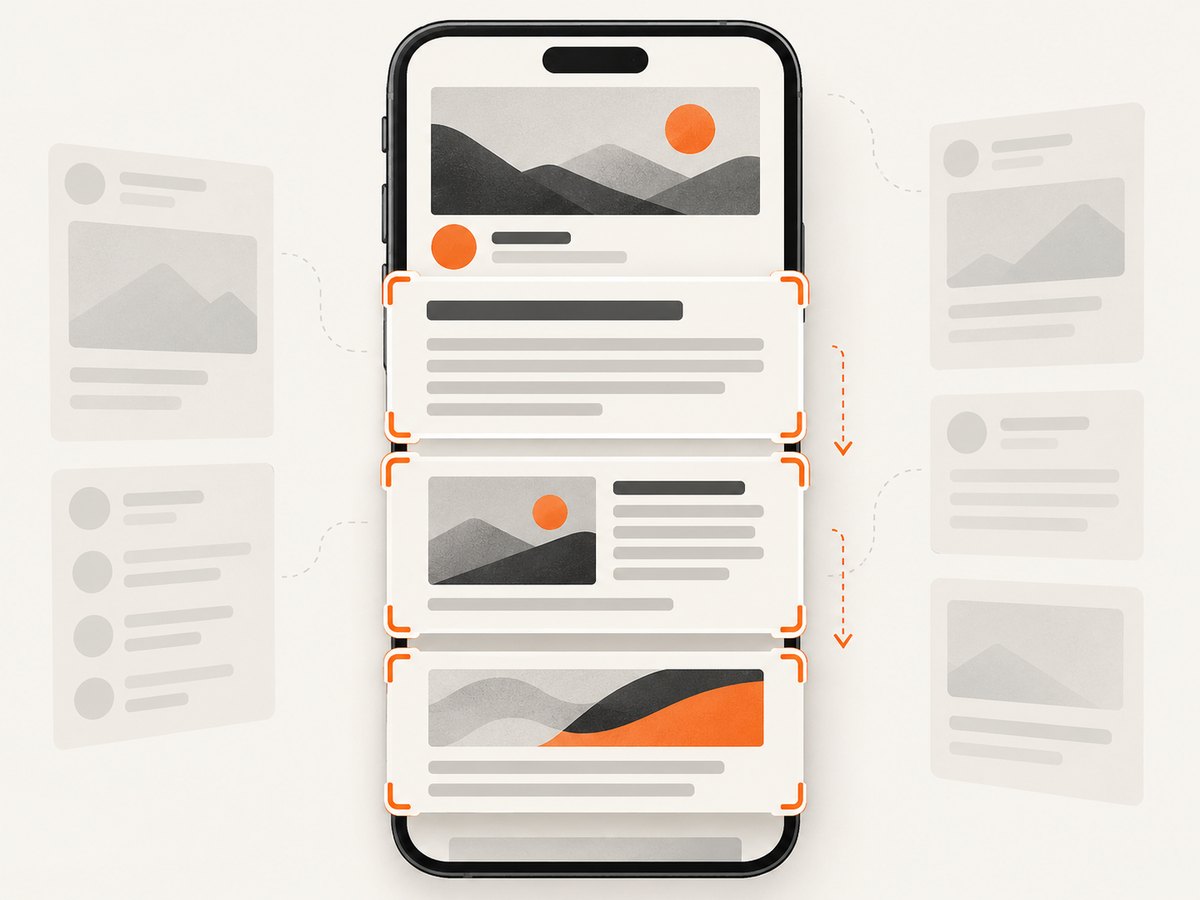
For a sequence, keep a small overlap between adjacent captures so readers can tell where one section continues. Save them in reading order, such as post-01.png, post-02.png, and post-03.png. Keep the original post URL with the whole sequence. Avoid stitching images if doing so makes text harder to read or obscures where one capture ends and another begins.
9. Troubleshooting
| Problem | Likely cause | What to do |
|---|---|---|
| The screenshot shows too much of the feed. | You captured the full screen or dragged a larger area than intended. | Retake it with Windows + Shift + S, Mac Shift + Command + 4, or crop the mobile preview. |
| The capture missed the author or date. | The post was not positioned carefully before capture, or the crop was too tight. | Return to the post, bring the identifying details into view, and retake the image with more context. |
| The button shortcut does not work. | The device model or Android manufacturer uses a different control. | For Android, try holding Power briefly and selecting Screenshot. On a mobile app, open the post in a browser and use the device’s screenshot controls. |
| A long post is cut off. | The device captured only the visible screen, or scrolling capture is unsupported on that screen. | Use Android Capture more if it is offered; otherwise capture several sections and keep them in order. |
| The link opens a different page or asks the reader to sign in. | The copied URL may not be the post-specific link, or the post’s audience and public-profile settings restrict access. | Copy the URL again from the post’s More menu. Tell recipients that access may require LinkedIn sign-in or the right audience permissions. |
| The image contains a notification or private detail. | A notification appeared during capture or the selection included adjacent content. | Retake the image after dismissing the notification, or crop or redact the shared copy. Do not distribute private material without permission. |
| The text is too small to read. | The capture includes too much screen area or the post is scaled down in the shared image. | Capture a tighter area, use multiple ordered images for long content, and inspect the saved file at its intended display size. |
10. Automating website screenshots with an API
If your task is to capture a public webpage as part of a repeatable developer workflow, a screenshot API can avoid setting up and maintaining a browser capture script. This is different from a personal screenshot of a LinkedIn app screen: an API captures a webpage it can access, and LinkedIn visibility rules still apply. Do not use automation to bypass sign-in, audience restrictions, or other access controls.
ScreenshotNeo is a website screenshot API and MCP server from Yorker Media. It accepts a URL in one GET request and can return PNG, JPEG, WebP, or PDF. The examples below capture a public page and save the returned image. See the ScreenshotNeo API documentation for request options and response details.
curl -G "https://api.screenshotneo.com/v1/shot" \
  -d access_key=YOUR_API_KEY \
  --data-urlencode url=https://stripe.com \
  -o shot.webp
import requests
r = requests.get(
"https://api.screenshotneo.com/v1/shot",
params={"access_key": "YOUR_API_KEY", "url": "https://stripe.com"},
timeout=90,
)
open("shot.webp", "wb").write(r.content)const q = new URLSearchParams({
access_key: 'YOUR_API_KEY',
url: 'https://stripe.com'
});
const res = await fetch(`https://api.screenshotneo.com/v1/shot?${q}`);
if (!res.ok) throw new Error(`Screenshot request failed: ${res.status}`);
await Bun.write('shot.webp', res);Replace the example URL with a page you are permitted to capture. Keep your API key on a server or in a protected environment variable; do not put it in browser-side JavaScript or a public repository. Check the response status before treating the body as an image, and use the response headers to inspect the page verdict and billing status.
Options for repeatable captures
ScreenshotNeo has options for common page-capture needs. Choose only the options that solve the problem in your workflow:
- Image and page scope: PNG, JPEG, or WebP output; full-page capture with lazy images loaded; capture one element by CSS selector; or resize the resulting image.
- Viewport and appearance: 12 device presets or a custom viewport, retina scale, dark mode, and transparent background.
- Timing and page interaction: wait for a selector, a delay, or network idle; click an element before capture; hide elements by selector; or supply custom CSS and JavaScript.
- Network and identity: block ads, trackers, requests, or resource types; set headers, cookies, a user agent, or Authorization; and specify timezone or geolocation.
- Other outputs and workflows: PDF paper size, margins, landscape, and page ranges; HTML/CSS to image; cache TTL; signed links for public image tags; async jobs with signed webhooks; bulk capture of up to 100 URLs per call; usage API; and OpenAPI spec.
Parameter names used by other screenshot APIs also work, which can make an existing integration easier to switch. Each capture option adds a decision to maintain: for example, a long delay can make a request slower, while blocking resources can change how the page renders. Compare the output with the page you intend to represent and keep the settings consistent when images need to be comparable.
Performance, reliability, and cost
Page size, third-party resources, selected waits, and full-page capture can affect how long a screenshot takes. Prefer waiting for a meaningful selector when the page has a clear ready state; use network idle only when it matches the site’s behavior. For batches, the bulk endpoint accepts 100 URLs per call, and async jobs with signed webhooks are available for work that should finish outside a single request.
ScreenshotNeo bills only clean shots. Bot checks or CAPTCHAs, blank pages, timeouts, failed loads, and cache hits cost nothing. Responses identify the page verdict and billing status in X-Page-Verdict and X-Billed headers, so an automated workflow can distinguish a successful capture from a page that could not be captured cleanly.
The Free plan includes 1,000 shots per month with no card. Paid plans are Starter at $5 for 3,000, Growth at $15 for 15,000, Pro at $39 for 60,000, Scale at $99 for 250,000, and Business at $249 for 1,000,000. Yearly billing gives two months free, and every feature is available on every plan. Estimate volume from successful clean captures and check the billing headers as you build; no benchmark or fixed capture time is implied here.
11. Or skip the browser setup
For a public webpage capture, ScreenshotNeo can return the image from one API call. Its pre-capture cleanup accepts cookie or consent banners like a visitor and removes 60+ known consent platforms, newsletter popups, and chat widgets; each cleanup step can be turned off. Bot checks, blank pages, and failed loads are never billed, and response headers show the page verdict and billing status. An MCP server gives AI agents tools to take screenshots, get page information, and capture PDFs.
curl -G "https://api.screenshotneo.com/v1/shot" \
  -d access_key=YOUR_API_KEY \
  --data-urlencode url=https://stripe.com \
  -o shot.webp
There are 1,000 screenshots a month free with no card; paid plans start at $5 for 3,000. Create a free ScreenshotNeo account.
12. Frequently asked questions
Does LinkedIn notify someone when I take a screenshot of a post?
The cited LinkedIn screenshot instructions describe using your device’s capture controls; they do not describe a special screenshot tool or a screenshot notification. Follow the post’s audience rules and get permission before redistributing non-public content or personal information.
Can I take a screenshot without losing the post link?
Yes. Take the screenshot, then copy the post-specific URL from the post’s More menu. Keep the URL beside the image because the image itself does not preserve a clickable link.
Can someone else open the link if I can?
Not necessarily. Access depends on the post’s audience and public-profile settings, and some viewers may need to sign in to LinkedIn.
Which format should I save?
The device workflows here save a screenshot image; Windows’ Snipping Tool offers JPG or PNG. Choose a format supported by your sharing destination and inspect the saved image for legible text and a clean crop.
Can I use an API to capture a post?
An API can capture a webpage it can access, subject to the site’s visibility and access controls. It is useful for public-page workflows, but it does not replace the device shortcuts for capturing a screen in the LinkedIn app.


