How to Screenshot a Single Element with Chrome DevTools Protocol
Use Chrome DevTools Protocol to capture one DOM element: find its bounds, pass them as a screenshot clip, and save the returned image.
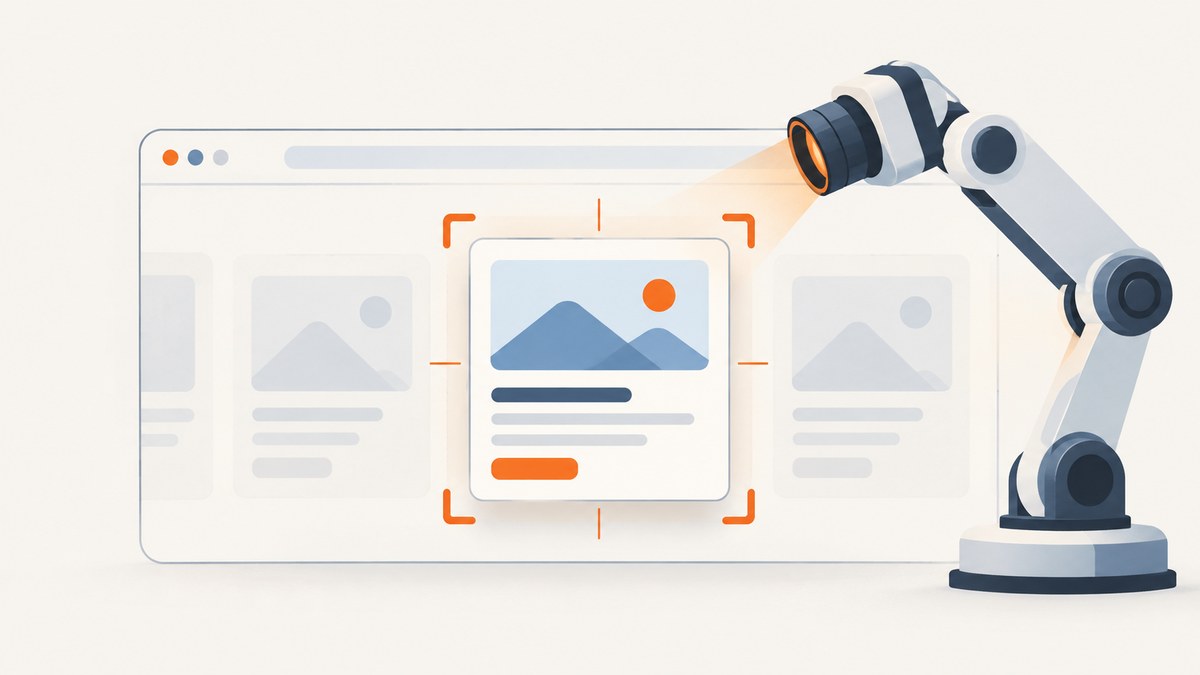
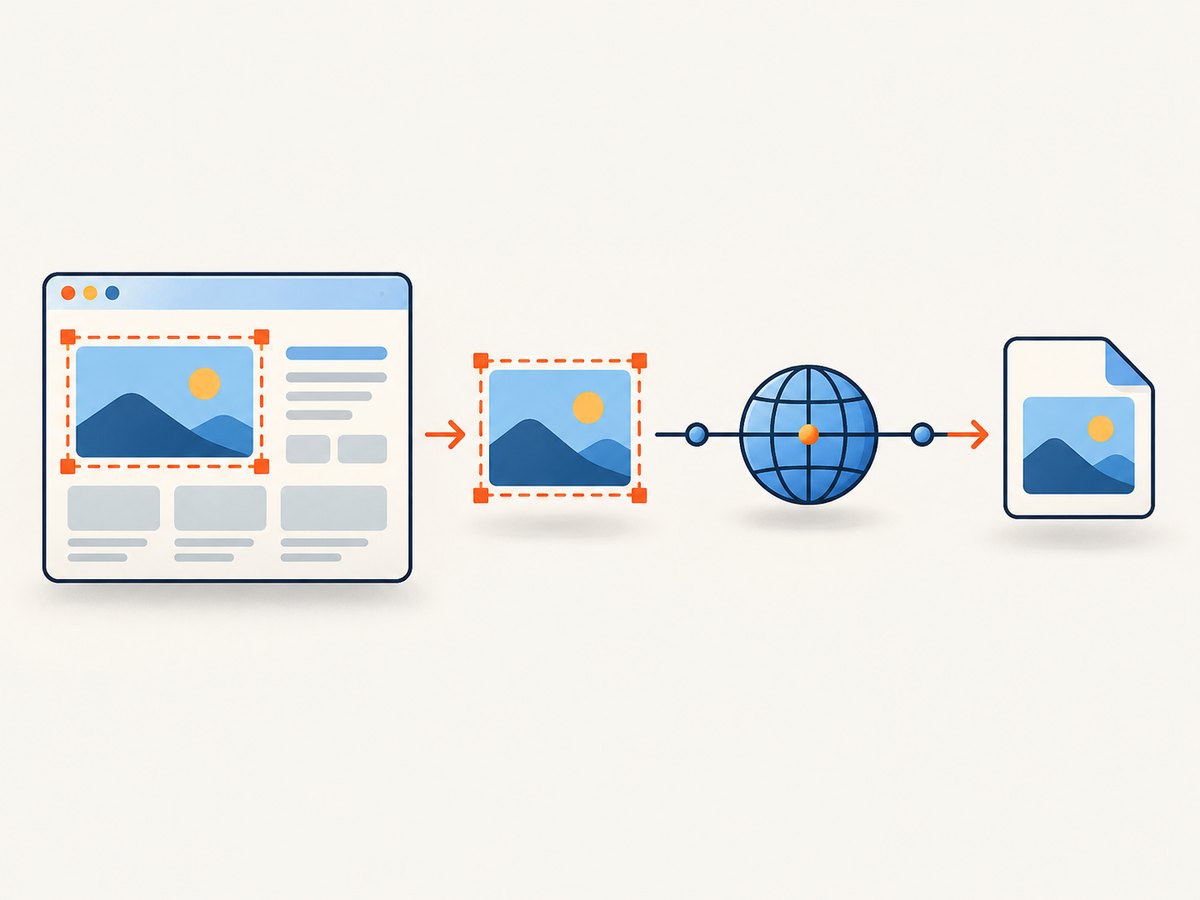
To screenshot one element with Chrome DevTools Protocol (CDP), first locate the DOM node, get its bounds, then pass those bounds as the clip to Page.captureScreenshot. CDP does not take a CSS selector as the screenshot target: the screenshot command captures a rectangular region. Its response contains base64-encoded image data, which your client must decode and write to a file. For a one-off manual capture, Chrome DevTools also has a built-in “Capture node screenshot” command.
This guide covers the manual workflow and a runnable Node.js CDP example, plus the geometry, frame, viewport, format, and failure cases to account for in automation. The official references are the [Page protocol](https://chromedevtools.github.io/devtools-protocol/tot/Page/), [DOM protocol](https://chromedevtools.github.io/devtools-protocol/tot/DOM/), and [Runtime protocol](https://chromedevtools.github.io/devtools-protocol/v8/Runtime/).
1. Pick the right capture method
Use DevTools’ node screenshot command when you need one image interactively. Use CDP when captures need to run repeatedly, as part of a script, or in a browser automation pipeline. The CDP route gives you control over selecting the target and saving the output, but you must resolve the node, map its geometry to a screenshot clip, handle the protocol connection, and decode the response.
Manual capture in Chrome DevTools
- Open the page in Chrome and open DevTools.
- Select the element in the Elements panel. You can use Inspect mode, or locate it with a selector in the Console and reveal the result in Elements.
- Open the Command Menu and type
node. - Choose Capture node screenshot. Chrome downloads an image of the selected node.
Chrome documents this workflow in its [node screenshot guide](https://developer.chrome.com/blog/new-in-devtools-62). It is the simplest choice when a person can select the node and save the image. It is not a repeatable, unattended capture pipeline.
Automated capture at a glance
- Connect a CDP client to the correct Chrome target.
- Evaluate a selector in the target page context and handle a missing match.
- Obtain the node’s box geometry; choose border box or content box deliberately.
- Pass a rectangle to
Page.captureScreenshotasclip. - Decode the returned base64
dataand save it.
2. Understand the geometry before capturing
DOM.getBoxModel returns a node’s box model, including content and border boxes. A border box includes the element’s border; a content box excludes padding and border. For a typical element screenshot, the border box is a sensible starting point. The box geometry is not automatically a CSS selector or a ready-made file operation: your CDP client exposes node identifiers and coordinates in its own representation, so build the rectangle from the actual values it returns.
The clip accepted by Page.captureScreenshot is a rectangle with x, y, width, height, and scale. The protocol describes clip coordinates in device-independent pixels (DIP). Device emulation, page zoom, transforms, nested frames, and offscreen content can complicate how a node’s geometry corresponds to that rectangle. Check this mapping against the Chrome version and emulation settings you run.
Geometry checklist
- Choose the box: use border bounds when the border belongs in the output; use content bounds when it should be excluded.
- Use actual coordinates: box-model data may contain quads rather than properties named
leftandtop. Derive the rectangle from the returned points or use an appropriate client rectangle. - Consider transforms: a transformed element may not correspond to the untransformed width and height you expect.
- Bring offscreen nodes into view: scroll to the element before measuring if it is outside the viewport. Do not assume page coordinates always work as a clip.
- Check frame context: a selector evaluated in the top document will not find a node inside an iframe. Resolve it in the iframe’s execution context.
- Choose scale intentionally: verify output dimensions under device emulation and the target browser version rather than assuming a scale value has identical visual results in every setup.
3. Runnable Node.js example using CDP
This example uses Puppeteer to launch Chrome and connect through its CDP support. It evaluates the selector in the page, scrolls the element into view, reads its bounding rectangle, requests a clipped screenshot, and writes the image bytes. Install Puppeteer with npm install puppeteer, then save the code as element-shot.mjs and run node element-shot.mjs. The selector and page URL are intentionally explicit inputs.
import puppeteer from 'puppeteer';
import { writeFile } from 'node:fs/promises';

const pageUrl = 'https://example.com';
const selector = 'h1';
const outputPath = 'element.png';

const browser = await puppeteer.launch({ headless: true });
try {
  const page = await browser.newPage();
  await page.goto(pageUrl, { waitUntil: 'networkidle2' });

  const element = await page.$(selector);
  if (!element) {
    throw new Error(`No element matched selector: ${selector}`);
  }

  await element.evaluate(node => node.scrollIntoView({
    block: 'center',
    inline: 'center'
  }));
  const bounds = await element.boundingBox();
  if (!bounds || bounds.width <= 0 || bounds.height <= 0) {
    throw new Error('Element has no visible bounding box');
  }

  const cdp = await page.createCDPSession();
  const result = await cdp.send('Page.captureScreenshot', {
    format: 'png',
    captureBeyondViewport: false,
    clip: {
      x: bounds.x,
      y: bounds.y,
      width: bounds.width,
      height: bounds.height,
      scale: 1
    }
  });
  await writeFile(outputPath, Buffer.from(result.data, 'base64'));
  await cdp.detach();
  console.log(`Saved ${outputPath}`);
} finally {
  await browser.close();
}
The example uses Puppeteer’s element lookup and bounding-box helpers to keep the client code manageable; the actual screenshot command is the CDP Page.captureScreenshot call. The official protocol reference describes its response data as a base64-encoded image. Puppeteer’s exact behavior and supported CDP parameters can vary by version, so pin and check the library and Chrome versions used in a production capture service. This recipe captures a typical viewport element; unusual transforms, nested frames, emulation, and offscreen geometry require validation in your environment.
Raw CDP sequence
If your CDP client works with protocol node IDs directly, the conceptual sequence is:
Runtime.evaluate(expression: "document.querySelector('.target')")
DOM.getBoxModel(nodeId: resolvedNodeId)
Page.captureScreenshot({
  format: "png",
  clip: { x, y, width, height, scale: 1 }
})
writeFile(decodeBase64(response.data))
In a real client, node resolution may require converting the evaluated remote object into a DOM node ID. The returned box model uses protocol-defined box data; calculate the rectangle from its actual coordinates instead of expecting literal left and top fields. See the [Runtime](https://chromedevtools.github.io/devtools-protocol/v8/Runtime/) and [DOM](https://chromedevtools.github.io/devtools-protocol/tot/DOM/) references for the relevant commands.
4. Configure the screenshot output
The central options for this task are the format and clip. Page.captureScreenshot supports png, jpeg, and webp in the protocol reference. PNG is a useful default for crisp UI and text. JPEG is appropriate when lossy compression is acceptable; WebP may suit workflows that consume that format. The protocol response is encoded data, so choose the filename extension to match the format you requested.
| Setting | What to decide | Practical note |
|---|---|---|
format |
png, jpeg, or webp |
Match the file extension and downstream consumer. |
clip.x, clip.y |
Top-left of the rectangle | Use coordinates mapped for the active target and emulation. |
clip.width, clip.height |
Rectangle size | Reject zero or negative dimensions before issuing the command. |
clip.scale |
Desired capture scaling | Validate resulting pixels under device scale and emulation. |
captureBeyondViewport |
Whether capture may extend beyond the viewport | The current tip-of-tree schema documents a default of false; behavior may depend on Chrome version and state. |
Do not assume an offscreen element will be captured simply because its document position was supplied in clip. Scrolling into view before measuring is often the simpler strategy. Sticky elements can move as a result of scrolling, so measure after scrolling. Re-read the bounds if your script changes scroll position or page state between measurement and capture.
5. Frames, missing nodes, and page state
Runtime.evaluate runs an expression in a page execution context. For a simple page, document.querySelector('.target') is enough to locate a node. A missing match must be treated as an explicit error or retry condition; passing absent geometry into a screenshot command produces a failure or an unusable image.
For an iframe, identify the frame and evaluate in that frame’s execution context. A top-level query cannot cross into a child document. Frame offsets can also affect how the child’s geometry maps to the screenshot coordinates; verify the coordinate space supported by your CDP client and Chrome version. For a dynamic page, wait for the selector to exist and for its layout to settle before taking bounds. If fonts or images alter layout after measurement, the clip can miss part of the element or capture adjacent content.
Shadow DOM and closed component boundaries also affect selector strategy. A selector queried from the document does not automatically traverse arbitrary shadow roots. If the target lives inside a shadow tree, locate it through the appropriate host and root or use a DevTools node-selection workflow for manual inspection.
6. Troubleshooting
| Symptom | Likely cause | Fix |
|---|---|---|
| No element found | The selector is wrong, the page has not rendered it, or the query is in the wrong frame. | Check the selector in DevTools Console, wait for the page state you need, and query the frame containing the node. |
| Blank or zero-sized image | The node has no layout box, is hidden, or returned zero dimensions. | Check computed visibility and dimensions; fail early when width or height is zero. |
| Image includes nearby content or crops the target | Bounds were mapped incorrectly, the element moved, or geometry changed between measuring and capture. | Measure after scrolling and after layout settles; derive the clip from the actual box data and verify coordinate mapping. |
| Offscreen target is missing | Capture beyond the viewport is disabled or the browser handles the clip differently than assumed. | Scroll the target into view, measure again, and check the protocol behavior for the Chrome version in use. |
| Iframe selector fails | Evaluation ran in the top frame. | Resolve and use the iframe’s execution context; account for frame coordinate mapping. |
| Protocol method or parameter rejected | The client or Chrome version does not support the schema you assumed. | Inspect the protocol schema available for the running browser and adapt the request; live tip-of-tree docs can evolve. |
| Output file is corrupt or has the wrong extension | Base64 data was not decoded, or the requested format and filename disagree. | Decode the response’s data field and use an extension matching format. |
| Capture is clipped after scrolling | Sticky positioning or a transform changed the bounds. | Read the element’s geometry after the final scroll and before capture; inspect transformed bounds. |
7. Performance, reliability, and cost
A CDP screenshot itself is only one stage of the work. Browser startup, navigation, page scripts, and waiting for a stable element often dominate a single-element capture. For repeated captures, reuse a browser process where your application architecture permits, but isolate page state between jobs and close pages or sessions when finished. A selector wait is usually more predictable than an arbitrary long delay; a network-idle condition can be unsuitable for pages with persistent requests.
Reliability depends on capturing the intended state. Wait for the specific target, scroll it into view, allow layout-changing assets to settle when needed, and measure immediately before capture. Add a timeout to navigation and selector waits, and report distinct errors for selector absence, invalid bounds, and protocol failure. If the capture is important, retain enough job context to reproduce the target URL, selector, browser version, viewport, and emulation settings.
Running your own browser has no per-image API fee, but it still consumes compute, memory, storage, and engineering time. Browser crashes, version drift, and page variability become your service’s operational work. Keep output dimensions bounded and choose a compressed format when storage or transfer is the constraint; use PNG where lossless rendering matters. There are no protocol-level cost figures to apply universally: infrastructure cost depends on your runtime and workload.
Or skip the browser setup
ScreenshotNeo is a website screenshot API and MCP server. One GET request captures a URL as PNG, JPEG, WebP, or PDF. For an element capture, use its CSS selector option; the CDP method above remains useful when you specifically need direct browser-protocol control. See the ScreenshotNeo documentation for request options.

curl -G "https://api.screenshotneo.com/v1/shot" -d access_key=YOUR_API_KEY --data-urlencode url=https://stripe.com -o shot.webpCookie banners are accepted before capture, and 60+ known consent platforms, newsletter popups, and chat widgets are removed; each step can be turned off. Bot checks, blank pages, timeouts, failed loads, and cache hits cost nothing, and response headers identify the page verdict and billing status. An MCP server gives AI agents, including Claude and Cursor, the tools take_screenshot, get_page_info, and capture_pdf. The Free plan includes 1,000 shots a month with no card; paid plans start at $5 for 3,000 shots.
Create a free ScreenshotNeo account for 1,000 screenshots a month with no card.
FAQ
Does CDP accept a CSS selector in Page.captureScreenshot?
No. Resolve the node, calculate its rectangle, and pass that rectangle as clip.
Can I capture only the text content and exclude the border?
Yes. Use content-box geometry rather than border-box geometry, then build the clip from those bounds.
Is the manual DevTools command suitable for a scheduled job?
It is an interactive workflow. Use a CDP client when captures need to run unattended or repeatedly.
Does the command save the file for my script?
The protocol returns base64 image data. Your client decodes it and chooses where and how to write the file.


