How to Screenshot a Single Element with Headless Chrome
Use Puppeteer’s ElementHandle.screenshot() to capture one rendered element in headless Chrome, with reliable waits, cropping options, and fixes for common failures.
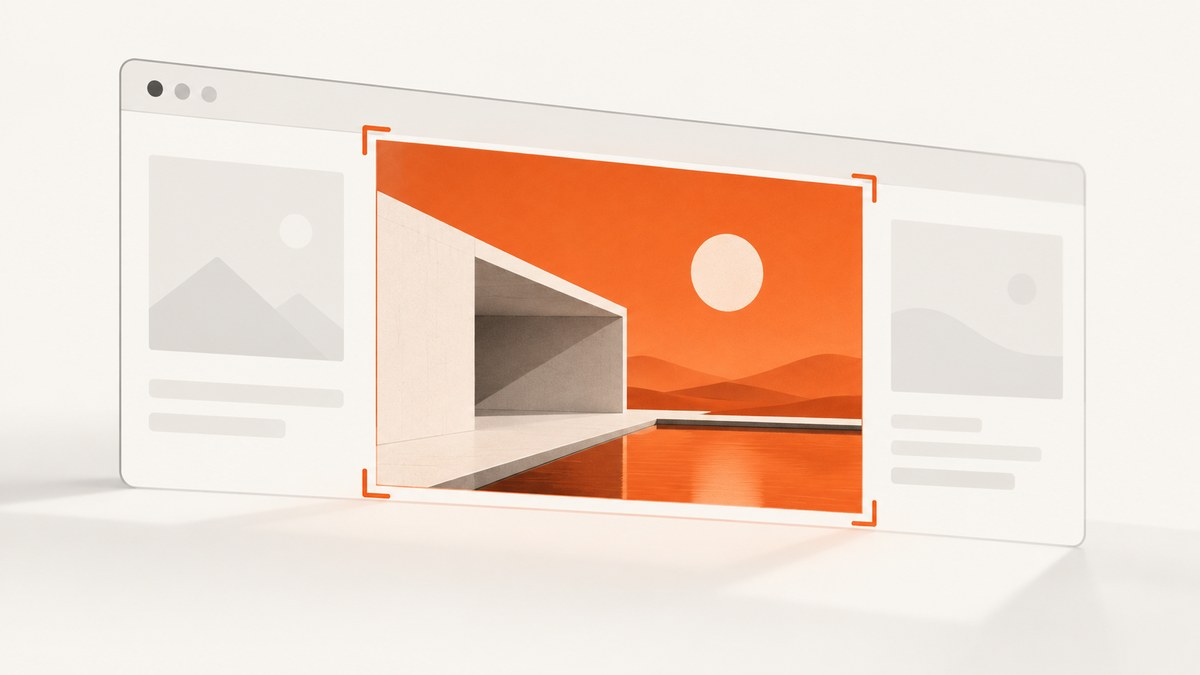
To screenshot one element in headless Chrome, use Puppeteer’s ElementHandle.screenshot(): navigate to the page, wait for the target selector, then call element.screenshot({path: 'element.png'}). Puppeteer scrolls the element into view and captures its rendered bounds. For most selector-based captures, this is simpler and safer than calculating a crop yourself.
1. Capture one element with Puppeteer
Install Puppeteer in a Node.js project:
npm install puppeteerSave this as screenshot-element.js and run it with node screenshot-element.js. It writes a PNG for the element matching #target on the example page:
const puppeteer = require('puppeteer');

(async () => {
  const browser = await puppeteer.launch({ headless: true });
  try {
    const page = await browser.newPage();
    await page.setViewport({ width: 1440, height: 1000, deviceScaleFactor: 1 });
    await page.goto('https://example.com', { waitUntil: 'networkidle2' });

    const element = await page.waitForSelector('#target', {
      visible: true,
      timeout: 15000,
    });
    if (!element) throw new Error('Target element was not found');

    await element.screenshot({ path: 'element.png', type: 'png' });
  } finally {
    await browser.close();
  }
})();
Replace https://example.com and #target with the page and CSS selector you need. The selector must identify an element in the rendered document. waitForSelector() waits for it to appear; with visible: true, Puppeteer also requires it to be visible. The handle’s screenshot method scrolls the element into view if needed. See the ElementHandle.screenshot API and the Puppeteer screenshot guide.
Make the page visually ready
Navigation reaching a chosen waitUntil state does not guarantee every visual asset or application update has finished. If the capture depends on web fonts and images, wait for them explicitly after navigation:
await page.evaluate(async () => {
  await document.fonts.ready;
  await Promise.all(
    Array.from(document.images, image => {
      if (image.complete) return Promise.resolve();
      return new Promise(resolve => {
        image.addEventListener('load', resolve, { once: true });
        image.addEventListener('error', resolve, { once: true });
      });
    })
  );
});
This waits for fonts and for images already present in the document when the code runs. It does not guarantee that a lazy image below the fold has loaded, or that an app-specific API request or animation has reached the state you want. For those cases, wait for a meaningful selector, application signal, or state change. Puppeteer’s guide discusses waiting for fonts and image decoding; choose readiness conditions based on the page rather than relying on an arbitrary sleep.
2. Choose the capture method
| Method | Use it when | What to consider |
|---|---|---|
ElementHandle.screenshot() |
You have a selector and want the rendered element. | It scrolls the element into view and derives its bounds. |
page.screenshot({ clip }) |
You need an explicit rectangle, or want to compute and reuse coordinates. | You must provide a valid rectangle and account for viewport coordinates. |
Chrome DevTools Protocol Page.captureScreenshot |
Your client already uses CDP and needs its protocol-level controls or base64 output. | You manage protocol sessions and the clip yourself. |
page.screenshot({ fullPage: true }) |
You want the document, not one element. | It captures a different scope and is not the focused choice for a single element. |
For a normal CSS selector, start with ElementHandle.screenshot(). It uses Puppeteer’s page screenshot machinery to capture the element’s current rendered layout. A manually computed clip can be useful when the rectangle is known independently or several captures must use the same coordinates. Avoid combining a manual clip with fullPage: true when your intended result is a single element: one describes a crop, the other requests the page.
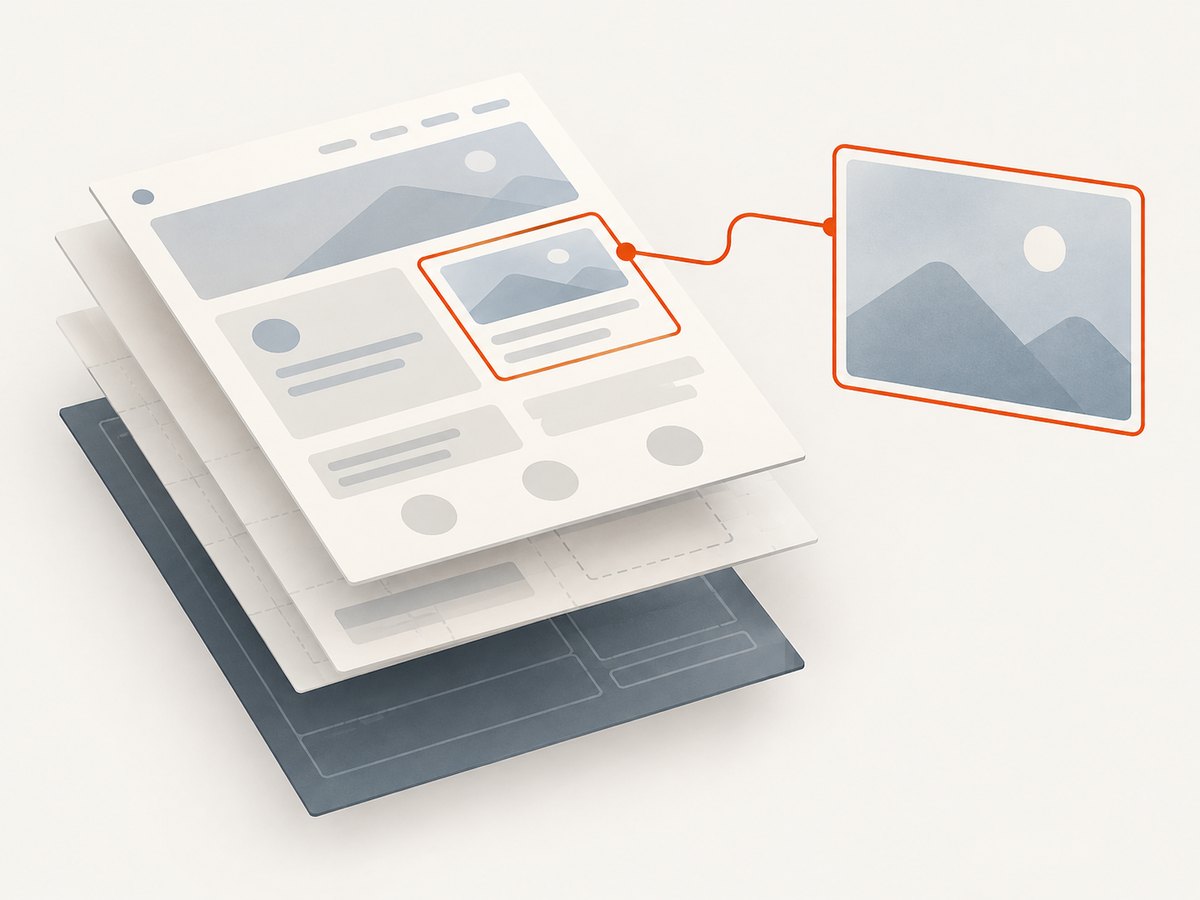
Use a page clip for an explicit rectangle
getBoundingClientRect() returns coordinates relative to the viewport. This example measures the element and supplies that rectangle to page.screenshot():
const box = await page.$eval('#target', el => {
  const rect = el.getBoundingClientRect();
  return {
    x: rect.x,
    y: rect.y,
    width: rect.width,
    height: rect.height,
  };
});

if (box.width <= 0 || box.height <= 0) {
  throw new Error('Target has no visible area');
}

await page.screenshot({
  path: 'element-clip.png',
  type: 'png',
  clip: box,
  captureBeyondViewport: true,
});
Measure immediately before capture if the page can reflow; otherwise the bounds can become stale. Puppeteer documents captureBeyondViewport as defaulting to false without a clip and true with a clip. Setting it explicitly makes the intent clear when the region may extend beyond the viewport. See ScreenshotOptions.
Use Chrome DevTools Protocol directly
CDP’s Page.captureScreenshot takes an optional clip with x, y, width, height, and scale, and returns image bytes as base64. Puppeteer users generally do not need this lower-level route, but it is relevant when your automation client already speaks CDP:
const client = await page.createCDPSession();
await client.send('Page.enable');
const result = await client.send('Page.captureScreenshot', {
  format: 'png',
  clip: { x: 100, y: 200, width: 500, height: 300, scale: 1 },
});
require('fs').writeFileSync(
  'element-cdp.png',
  Buffer.from(result.data, 'base64')
);
await client.detach();
Here the rectangle is illustrative; replace it with coordinates measured for your page and make sure it describes the desired capture region. CDP supports PNG, JPEG, and WebP formats and exposes capture and encoding controls. See the primary Chrome DevTools Protocol Page.captureScreenshot reference.
3. Control dimensions, format, and appearance
The screenshot dimensions depend on the rendered element’s size and the browser’s device scale factor. Set the viewport and scale factor before navigation or capture if output dimensions must be repeatable:
await page.setViewport({
  width: 1280,
  height: 900,
  deviceScaleFactor: 2,
});
A device scale factor of 2 renders at twice the pixel density of CSS pixels, so the resulting image can contain more physical pixels than the element’s CSS dimensions. Browser version, operating system fonts, page content, and responsive layout can also affect pixels. Keep the viewport, scale, browser environment, and page state consistent when comparing captures.
Useful screenshot options include:
path: save the image to a file. Omit it when you want the screenshot bytes returned by Puppeteer.type: choosepng,jpeg, orwebp. PNG is the lossless default; JPEG or WebP can reduce file size for suitable content.quality: set a lossy image quality where supported. It applies to JPEG and WebP, not PNG.omitBackground: omit the default page background to produce transparency where supported.encoding: choose the returned data representation when not saving directly to a path.clipandcaptureBeyondViewport: define a rectangle and whether capture may extend beyond the viewport.
Options are defined by Puppeteer’s ScreenshotOptions reference. For a single element, use the element handle’s screenshot unless you specifically need to control its clip. Avoid setting fullPage for this task; it changes the capture scope to the document.
4. Handle edge cases and keep captures reliable
Missing, hidden, or zero-size elements
A selector may never match, may match an element hidden with CSS, or may point to an element with zero width or height. Set a finite selector timeout, request visibility when appropriate, and inspect geometry before capturing if the page is dynamic. “Visible” does not necessarily mean the element has useful dimensions or contains the final content you expect.
Detached element handles
Single-page applications can replace a node after it appears. If Puppeteer reports that the element is detached, reacquire it after the DOM update rather than reusing the old handle:
await page.waitForSelector('#target', { visible: true });
await page.waitForFunction(() => {
  const el = document.querySelector('#target');
  return el && el.textContent.includes('Ready');
});

const freshElement = await page.waitForSelector('#target', { visible: true });
await freshElement.screenshot({ path: 'element.png' });
Use the actual condition that signals readiness for your page. A text check is only an example.
Lazy content, animations, and overlays
An element outside the viewport may be scrolled into view for capture, but that does not guarantee every lazy-loaded asset has finished loading. Scroll or trigger the page behavior your application uses, then wait for the expected image or content. Animations can produce different frames across runs; wait for the relevant transition to finish or disable animation in a controlled test environment. A fixed header, modal, or consent banner may cover or alter the element’s visible appearance. Handle the overlay according to the page and the purpose of the capture.
Nested frames and shadow DOM
A selector queried on the main page does not automatically refer to an element inside a separate iframe. Find the relevant Puppeteer frame and query within it, then capture the element handle from that frame. For shadow DOM, use a selector strategy that can pierce the component boundary or evaluate within the appropriate shadow root. If capture coordinates are computed manually, check which frame and coordinate space those values use.
5. Troubleshooting
| Symptom | Likely cause | Fix |
|---|---|---|
Waiting for selector ... failed |
The selector is wrong, the page is not at the expected URL, or content has not appeared before timeout. | Verify the final URL and selector; wait for an application-specific readiness condition; increase the timeout only if the page legitimately needs longer. |
| Screenshot is blank or tiny | The target is hidden, has zero geometry, or its content has not rendered. | Check visibility and getBoundingClientRect(); wait for content and assets; inspect whether CSS hides it at the chosen viewport. |
| Detached-node error | The framework replaced the node after it was queried. | Wait for the replacement state and query the selector again to obtain a fresh handle. |
| Image or font is missing | Navigation completed before the asset loaded, an image is lazy, or a resource failed. | Wait for fonts and image completion, trigger lazy loading if needed, and inspect the page’s resource failures. |
| Crop is offset or clipped | Coordinates were measured before a layout change, or the clip was interpreted in the wrong coordinate space. | Measure immediately before capture; use ElementHandle.screenshot() when possible; check clip dimensions and captureBeyondViewport. |
| Output differs between runs | Viewport, scale factor, fonts, dynamic data, animation, or page state varies. | Fix viewport and scale; wait for a stable state; use deterministic page data and control animations where appropriate. |
| Browser does not launch | The environment lacks compatible browser dependencies or has a restricted sandbox. | Use Puppeteer’s supported installation and deployment setup for the environment, and inspect the launch error for missing libraries or sandbox restrictions. |
6. Performance, reliability, and cost
Launching a browser is usually the expensive setup step when capturing many elements. Reuse a browser process where your workload and isolation requirements allow it, while creating and closing pages deliberately. Always close the browser in a finally block so failed navigation or capture does not leave the process running. Bound concurrency to avoid exhausting memory and CPU, and use finite navigation and selector timeouts so a stuck page cannot hold a worker indefinitely.
For reliability, define the page state you need instead of waiting for every possible network connection to stop. Pages with analytics or long-lived connections may not become fully idle. Choose a navigation wait condition suitable for the site, then wait for a selector or application signal and the specific visual assets required by the capture. Record failures separately from valid screenshots so retries do not conceal persistent selector or page errors.
Local headless Chrome has no per-screenshot API fee, but running it consumes your compute, memory, storage, and engineering time. At scale, include browser hosting, concurrency, retries, and maintenance in the cost calculation. If a managed screenshot API fits better, compare the required capture features, failure handling, and billing rules rather than just the image request price.
7. Or skip the browser setup
ScreenshotNeo is a website screenshot API and MCP server for developers. Its single-element capture option accepts a CSS selector. The API accepts one GET request and returns an image or PDF; the example below requests a screenshot of an element from Stripe. See the ScreenshotNeo API documentation for the current parameter details.

curl -G "https://api.screenshotneo.com/v1/shot" \
  -d access_key=YOUR_API_KEY \
  --data-urlencode url=https://stripe.com \
  -d selector=.hero \
  -o shot.webp
In this example, replace .hero with the CSS selector for the element you need. ScreenshotNeo removes cookie and consent banners, newsletter popups, and chat widgets before capture; each of those steps can be turned off. Bot checks and CAPTCHAs, blank pages, timeouts, failed loads, and cache hits are not billed, and response headers identify the page verdict and whether the request was billed. An MCP server provides take_screenshot, get_page_info, and capture_pdf tools for Claude, Cursor, and other MCP clients.
The Free plan includes 1,000 screenshots a month with no card. Paid plans start at $5 for 3,000 screenshots; yearly billing gives two months free, and every feature is on every plan. Sign up for 1,000 free screenshots a month with no card.
8. Frequently asked questions
Does an element screenshot include its child elements?
It captures the rendered element, so its visible contents and descendants appear as part of the rendered result. Choose the parent element if the image should include the whole component.
Can Puppeteer save the screenshot as a buffer?
Yes. Call the screenshot method without a path and use the returned data in your Node.js code. Set the encoding option if you need a particular returned representation.
Should I use a full-page screenshot and crop it afterward?
Usually not for one element. Capturing the element directly avoids producing an unnecessarily large page image and then cropping it. Use a clip when you specifically need a measured rectangle.
Can I capture an element that is below the fold?
Yes. Puppeteer’s element screenshot scrolls it into view first. If its contents load lazily, wait for those contents after scrolling or triggering the page’s loading behavior.
Which format should I choose?
Use PNG for lossless output and sharp text or interface details. JPEG or WebP can reduce file size when lossy compression is acceptable; quality is relevant to those formats.


