How to Take a Screenshot of an X Post
Learn how to capture an X post on iPhone, Android, Windows, or Mac, when to copy its permanent link, and how to automate clean captures.
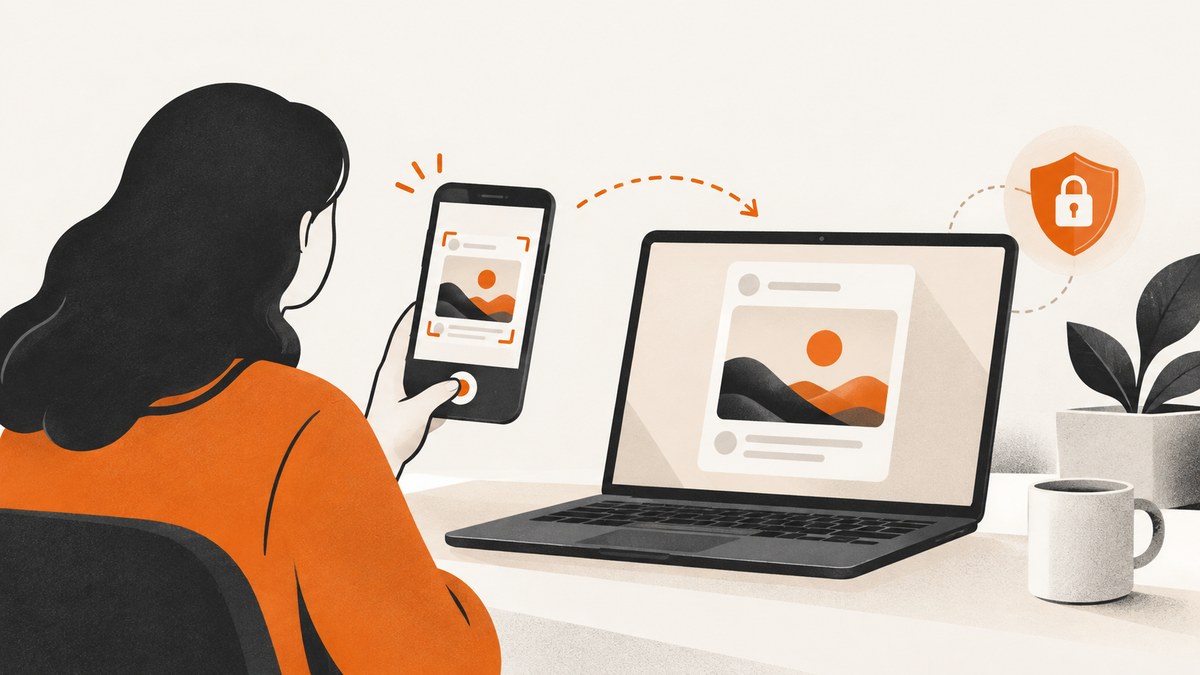
Direct answer: Open the X post so it appears in its detail view, then use your device’s screenshot shortcut. On iPhone, press Side + Volume Up (or Side + Home on Home-button models). On Windows, press Windows + Shift + S. On Mac, press Shift-Command-5. Android controls vary by manufacturer, so use your phone maker’s instructions. If a static image is not required, use X’s share menu and choose Copy link to Post.
1. Open the post in detail view first
From the Home timeline, select the post so it opens on its own page before taking the screenshot. This helps you capture the intended post, its timestamp, account name, handle, and relevant context instead of an ambiguous timeline fragment.
X gives every post a unique URL. Open the share menu from the timeline or detail view and choose Copy link to Post when readers need to verify the source, open the conversation, or see current engagement counts.
2. Take a screenshot on iPhone or iPad
iPhone with Face ID
- Open the post detail view in the X app or a browser.
- Quickly press and release the Side button and Volume Up button together.
- Tap the thumbnail that appears in the lower-left corner if you want to crop, mark up, share, or delete the image.
iPhone with a Home button
- Open the post detail view.
- Quickly press and release the Side button and Home button together.
- Tap the thumbnail to edit or share it.
Some older models use the Top button + Home button combination. Apple also documents alternatives such as Siri, AssistiveTouch, and Back Tap if the hardware buttons are difficult to use.
Where iPhone screenshots go
Screenshots are saved in the Photos app. Open Photos → Collections → Media Types → Screenshots to find them. In the preview editor you can crop the image to the post card, draw on it, add text, or share it immediately.
3. Take a screenshot on Android
Android screenshot controls differ across manufacturers and software versions, so there is no single button combination that applies to every device. Open the X post in detail view, then follow the screenshot instructions for your exact phone model from its manufacturer. After capture, use the preview controls to crop the image to the post and remove unrelated notifications or interface elements.
4. Take a screenshot on Windows
- Open the X post in your browser and select its detail view.
- Press Windows logo key + Shift + S.
- Choose Rectangle, Window, Full screen, or Freeform in the Snipping Tool overlay.
- Select the post area. Use the notification that appears to annotate, save, or copy the result.
For a full-screen image copied to the clipboard, press Print Screen (PrtSc). Paste it into an image editor or document, then crop it to the post.
For most editorial or support tasks, Rectangle mode is the clearest choice: include the account name, post text, media, timestamp, and enough surrounding context to identify what was captured. Exclude browser tabs, private messages, account notifications, and unrelated timeline posts.
5. Take a screenshot on Mac
- Open the post detail view in your browser.
- Press Shift-Command-5 to open the Screenshot app.
- Choose to capture the entire screen, a window, or a selected portion.
- Select the area containing the X post and save the image.
The exact controls can vary by macOS release. Use the on-screen Screenshot toolbar to select the capture area and destination.
6. Screenshot or permanent link?
| Need | Best choice | Reason |
|---|---|---|
| Preserve exactly what was visible | Screenshot | Captures the post, media, interface context, and state at that moment. |
| Let readers verify the source | Copy link to Post | Opens the live post and its current conversation. |
| Record the exact posting time and engagement | Detail-view screenshot plus URL | The detail view exposes the post metadata; the URL provides a route back to it. |
| Share a protected post | Use X’s permitted sharing options | Protected posts are visible only to approved followers, and some sharing routes are restricted. |
A link can change as the conversation develops or the post is deleted. A screenshot can continue circulating after the live post changes. For editorial records, keep the permanent URL and capture date with the image.
7. Crop and preserve useful context
- Keep the account display name and handle visible.
- Include the timestamp and date when they matter to the claim.
- Include quoted-post or reply context if it changes the meaning.
- Crop out unrelated private messages, notifications, and browser tabs.
- Do not edit wording, images, or engagement figures in a way that could mislead readers.
8. Privacy and sharing checks
Before redistributing an image, check the account name, handle, timestamp, and whether the post is protected. X says protected posts are visible only to approved followers. A screenshot may remain accessible even if the account later becomes private or the post is removed, so retain the URL and capture date in your notes.
9. Automate a clean capture with ScreenshotNeo
If you need repeatable screenshots for documentation, moderation records, QA, or an automated workflow, ScreenshotNeo captures a URL through one GET request. Its consent step accepts cookie banners and removes more than 60 known consent platforms, newsletter popups, and chat widgets before capture; each step can be disabled.
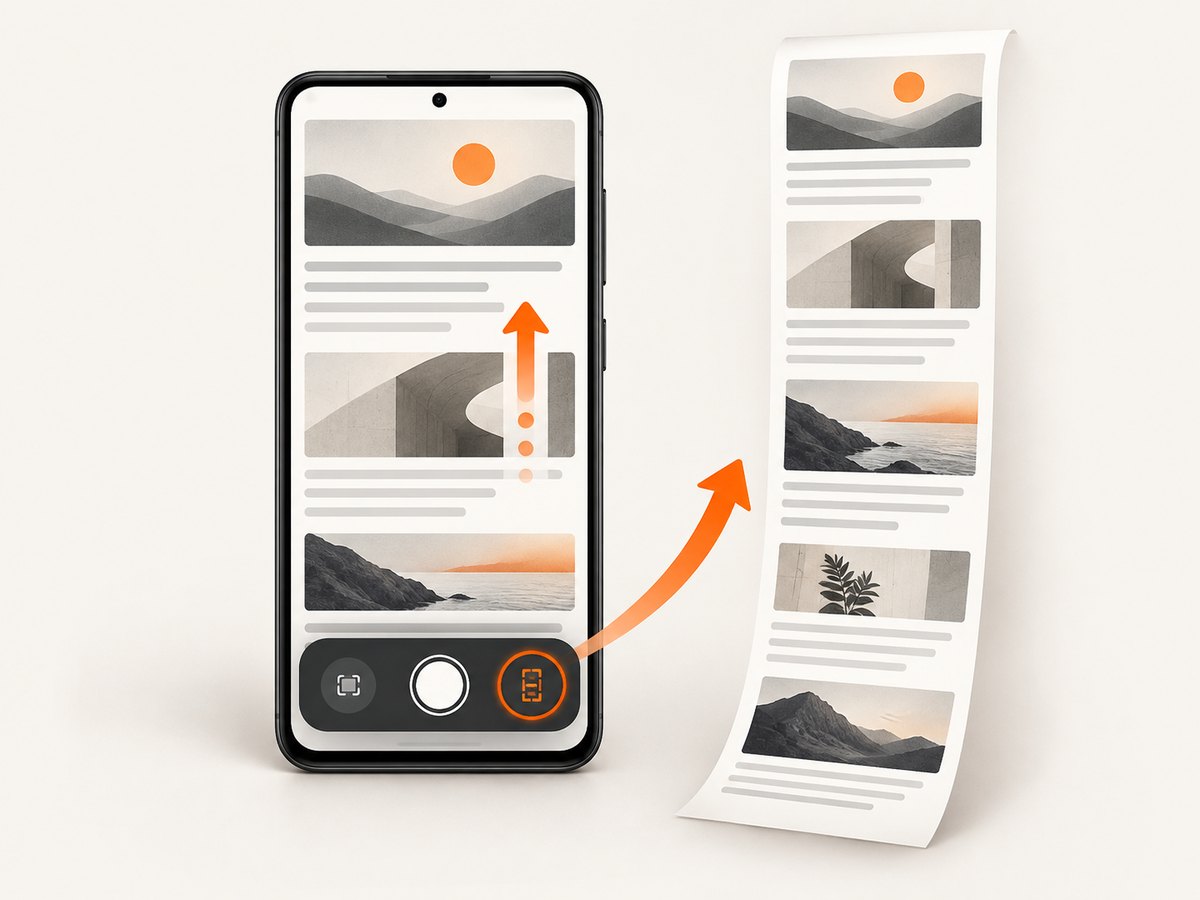

Or skip the browser setup
Use the X post’s permanent URL as the target. ScreenshotNeo returns PNG, JPEG, WebP, or PDF and supports full-page or element captures, custom CSS and JavaScript, device presets, dark mode, waits, headers, cookies, caching, signed links, asynchronous jobs, bulk capture, and an MCP server for AI agents. Bot checks, blank pages, timeouts, failed loads, and cache hits are not billed, and response headers identify the page verdict and billing status.
See the ScreenshotNeo API documentation for all parameters.
curl -G "https://api.screenshotneo.com/v1/shot" -d access_key=YOUR_API_KEY --data-urlencode url=https://x.com/USER/status/POST_ID -o shot.webpimport requests
r = requests.get(
"https://api.screenshotneo.com/v1/shot",
params={"access_key": "YOUR_API_KEY", "url": "https://x.com/USER/status/POST_ID"},
timeout=90,
)
r.raise_for_status()
open("shot.webp", "wb").write(r.content)const q = new URLSearchParams({
access_key: 'YOUR_API_KEY',
url: 'https://x.com/USER/status/POST_ID'
});
const res = await fetch(`https://api.screenshotneo.com/v1/shot?${q}`);
if (!res.ok) throw new Error(`Screenshot failed: ${res.status}`);
const image = Buffer.from(await res.arrayBuffer());ScreenshotNeo includes 1,000 screenshots per month free with no card. Paid plans start at $5 for 3,000 screenshots. Create a free ScreenshotNeo account.
10. Troubleshooting
| Problem | Likely cause | Fix |
|---|---|---|
| The screenshot shows the timeline instead of the intended post | The post was not opened in detail view. | Select the post first, wait for its own URL and metadata to appear, then capture. |
| Buttons do not trigger a screenshot | Timing, accessibility settings, or a hardware-button issue. | Press and release both buttons quickly; use Snipping Tool, Screenshot, Siri, AssistiveTouch, or your manufacturer’s Android method. |
| The image includes private information | The capture area was too large. | Crop before sharing and remove notifications, tabs, messages, and account details that are not needed. |
| The post cannot be opened by a recipient | The account or post is protected, deleted, or unavailable to that viewer. | Check visibility and share only through permitted X options; retain the URL and capture date. |
| Automated capture returns a blank or blocked page | The page failed to load, timed out, or presented a bot check. | Retry with a wait condition, verify the URL, and inspect ScreenshotNeo’s X-Page-Verdict and X-Billed headers. |
11. Performance, reliability, and cost notes
- For a one-off image, the built-in device shortcut is fastest and costs nothing.
- For repeat captures, keep the post URL with the image so the source can be checked later.
- Automated jobs should use explicit waits when X content or media loads slowly.
- Use caching when the same URL is captured repeatedly and you accept a chosen cache TTL.
- ScreenshotNeo bills only clean shots; bot checks, blank pages, timeouts, failed loads, and cache hits cost nothing.
- Bulk capture supports up to 100 URLs per call, while asynchronous jobs and signed webhooks help longer workflows.
FAQ
How do I screenshot a tweet?
Open the post in detail view, then use your device shortcut: Side + Volume Up on Face ID iPhone, Side + Home on Home-button iPhone, Windows + Shift + S on Windows, or Shift-Command-5 on Mac.
Where do screenshots go on iPhone?
They are saved in Photos under Collections, Media Types, Screenshots.
Can I share an X post without taking a screenshot?
Yes. Open the share menu and choose Copy link to Post. Use the link when verification or access to the live conversation matters more than preserving a static image.
Can I screenshot a protected X post?
You can capture what you are allowed to view, but check the account’s privacy settings and the recipient’s access before redistributing it.
What is the best way to capture many X posts?
Use an automated URL capture workflow such as ScreenshotNeo, with the post URLs, waits where needed, and caching when repeated captures are acceptable.


