How to Take Screenshots of Hidden Web Page Elements
Learn how to capture hidden, off-screen, hover-triggered, and lazy-loaded elements with DevTools, Puppeteer, Playwright, and ScreenshotNeo.
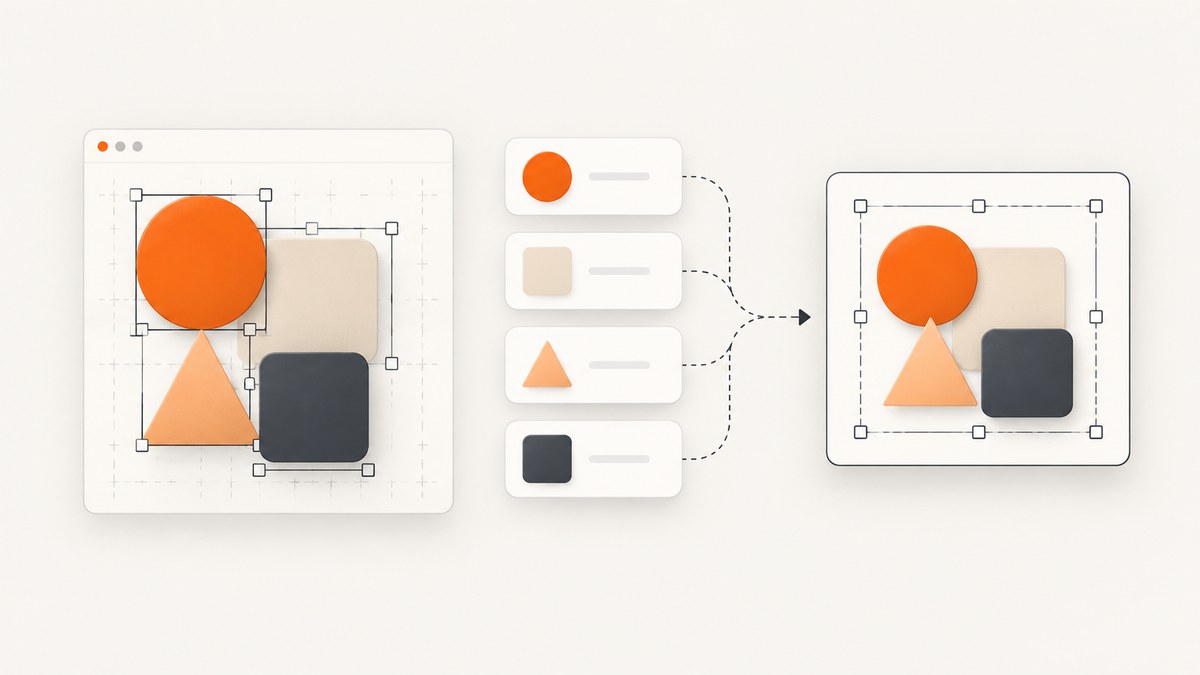
Direct answer: first determine what “hidden” means. If the element exists in the DOM but is outside the viewport, scroll it into view and capture the node. If CSS hides it, inspect the computed styles and reproduce the state that makes it visible. If it appears after hover, focus, a click, or JavaScript, trigger that interaction before capturing. If the content has not loaded or is not present in the DOM, a screenshot tool cannot reveal it.
For a one-off capture, Chrome DevTools and Firefox Developer Tools can save an individual DOM node. For repeatable work, Puppeteer and Playwright can wait for the element, perform interactions, and save an element screenshot. If you do not want to maintain a browser runtime, ScreenshotNeo can capture a URL or selected element through one API request.
What “hidden” means
Several different conditions are described as a hidden element. Identify the condition before choosing a method:
| Condition | What is happening | Correct approach |
|---|---|---|
| Off-screen | The node is rendered but outside the current viewport, often below the fold or inside a scroll container. | Scroll the node into view, then capture the element. |
| CSS-hidden | Rules such as display:none, visibility:hidden, zero dimensions, opacity, clipping, or a closed accordion prevent it from appearing. |
Inspect styles and reproduce the intended visible state. Do not assume a screenshot can show content that the page intentionally does not render. |
| Interaction-dependent | A menu, tooltip, dropdown, modal, or card appears only on hover, focus, click, or keyboard input. | Force the state in DevTools or automate the interaction before capture. |
| Not-yet-loaded | JavaScript, an API request, lazy loading, or a route transition has not produced the content. | Wait for a selector, network idle, or an application-specific ready condition. |
| Not in the DOM | The browser has no node to render, or access is protected by a login or permission check. | Load the content through the normal authorized application flow. A screenshot is not a way to bypass access controls. |
Capture a hidden node manually in Chrome
Chrome DevTools can associate a visible page region with its DOM entry through Inspect mode. In the Elements panel, you can examine the node, styles, and accessibility information. Chrome documents that you can screenshot any individual node in the DOM tree.
- Open the page in Chrome and press Ctrl+Shift+I (Windows/Linux) or Cmd+Option+I (macOS).
- Click the element picker, then select the nearby visible region. If the target is completely invisible, use the Elements tree and search with Ctrl+F for a class, ID, or distinctive text.
- Check the node and the Styles and Computed panes. Look for
display:none,visibility:hidden, zero width or height, clipping, transforms, or an ancestor that is hidden. - For hover, focus, active, or focus-within content, click the :hov control in the Styles pane and enable the relevant pseudo-class. Chrome supports forcing states including
:active,:hover,:focus,:visited, and:focus-within. - When the node is in the intended state, right-click it in the Elements panel and choose Capture node screenshot. Chrome saves the image to your Downloads folder.
For a closed accordion or menu, use the page’s own control when possible. Editing a style such as display can help diagnose layout, but it may not reproduce the component’s real state, ARIA attributes, animations, or loaded data.
Capture a hidden node manually in Firefox
Firefox Developer Tools has equivalent Inspector actions. Open the Inspector, select the target node, open its context menu, and choose Screenshot Node. Firefox saves the result to Downloads. To capture the entire page, enable Take a screenshot of the entire page under Developer Tools settings and use the full-page screenshot button. See the Firefox screenshot documentation for the current interface.
Firefox’s node capture is useful when the element is rendered but outside the viewport. For a hover or focus state, use the page interaction first, then select the resulting node. Browser menu labels can change, so confirm them against the version you are using.
Automate hidden-element screenshots with Puppeteer
Puppeteer is useful when the same capture must run in CI, on a schedule, or for many URLs. ElementHandle.screenshot() attempts to scroll a hidden target into view before capturing it.
import puppeteer from 'puppeteer';

const browser = await puppeteer.launch({headless: true});
const page = await browser.newPage();
await page.setViewport({width: 1440, height: 900, deviceScaleFactor: 1});

await page.goto('https://example.com/product', {waitUntil: 'networkidle2'});

// Open a component that is hidden until a button is clicked.
await page.waitForSelector('[data-testid="details-toggle"]');
await page.click('[data-testid="details-toggle"]');

// Wait for the target to be rendered and visible.
await page.waitForSelector('[data-testid="details-panel"]', {visible: true});
const panel = await page.$('[data-testid="details-panel"]');
if (!panel) throw new Error('Details panel was not found');

await panel.screenshot({path: 'details-panel.png'});
await browser.close();
The same pattern works for hover-triggered content:
const card = await page.waitForSelector('.pricing-card');
if (!card) throw new Error('Card was not found');
await card.hover();
await page.waitForSelector('.pricing-card .tooltip', {visible: true});
await card.screenshot({path: 'pricing-card-hover.png'});
Use a stable selector rather than a generated class. If an animation is still running, wait for a state-specific selector or add a short delay after the interaction. Keep the browser and Puppeteer versions pinned in reproducible jobs; APIs and browser behavior can change between versions. The official Puppeteer ElementHandle screenshot reference describes the element capture method.
Automate hidden-element screenshots with Playwright
Playwright supports element screenshots, full-page screenshots, multiple browser engines, and device-pixel-ratio scaling. A locator waits for the element and keeps the target selection readable.
import { chromium } from 'playwright';

const browser = await chromium.launch();
const page = await browser.newPage({
  viewport: {width: 1440, height: 900},
  deviceScaleFactor: 1
});

await page.goto('https://example.com/product', {waitUntil: 'networkidle'});
await page.getByTestId('details-toggle').click();

const panel = page.getByTestId('details-panel');
await panel.waitFor({state: 'visible'});
await panel.screenshot({path: 'details-panel.png'});

await browser.close();
For a hover state, move the pointer over the trigger and wait for the revealed node:
await page.locator('.pricing-card').hover();
await page.locator('.pricing-card .tooltip').waitFor({state: 'visible'});
await page.locator('.pricing-card').screenshot({path: 'pricing-card-hover.png'});
Use page.screenshot({fullPage: true}) when the requirement is the whole document rather than one element. Use an element screenshot when surrounding page content would make the result ambiguous. Playwright’s screenshot guide covers targeted, full-page, and device-scale captures.
Make the target visible reliably
Wait for the right condition
“Page loaded” is not always the same as “component ready.” Choose a condition that represents the final state:
- Selector exists: wait for the component’s root node.
- Selector is visible: require nonzero layout and visibility after an interaction.
- Network idle: useful for pages that load data immediately, but avoid relying on it when analytics or long polling never stop.
- Application marker: wait for a class, data attribute, or text that your application sets after rendering.
- Fixed delay: use only for a known animation or delayed transition; it is less reliable than a state-based wait.
Handle scroll containers
An element can be inside a nested scrolling panel even when the page itself is at the top. Scroll the nearest container or call element.scrollIntoView({block: 'center', inline: 'nearest'}) before capture. Then check that sticky headers, masks, and overlays are not covering the target.
Disable motion when pixels must be stable
Animations and blinking cursors create inconsistent images. Inject a stylesheet that sets transitions and animations to zero, or wait for the animation-specific end state. Do not disable motion if the animation itself is what you need to document.
Load lazy content
Full-page tools may need to scroll through the document to trigger lazy images. For an element capture, scroll the element into view and wait for its image’s complete property or for a loaded-state class. An image placeholder is evidence that the resource was not ready, not that the screenshot API failed.
Common errors and fixes
| Error or symptom | Likely cause | Fix |
|---|---|---|
| “Element not found” | Wrong selector, different route, or content rendered inside an iframe. | Inspect the live DOM, wait for navigation, and switch into the correct frame before querying. |
| Screenshot is blank | The page timed out, a bot check appeared, or the target has no painted pixels. | Save a diagnostic full-page shot, inspect the response and console, and wait for the real ready state. |
| Only the visible portion was captured | You captured the viewport or a clipped container. | Use an element screenshot for the node’s bounds, or a full-page screenshot for the document. |
| Hover menu disappears | The pointer moved away, a click changed focus, or a transition ended. | Keep the pointer over the trigger, wait for the menu selector, and capture immediately. |
| Text or images are missing | Fonts, images, or API data were still loading. | Wait for fonts and network resources, then verify the final DOM state before capture. |
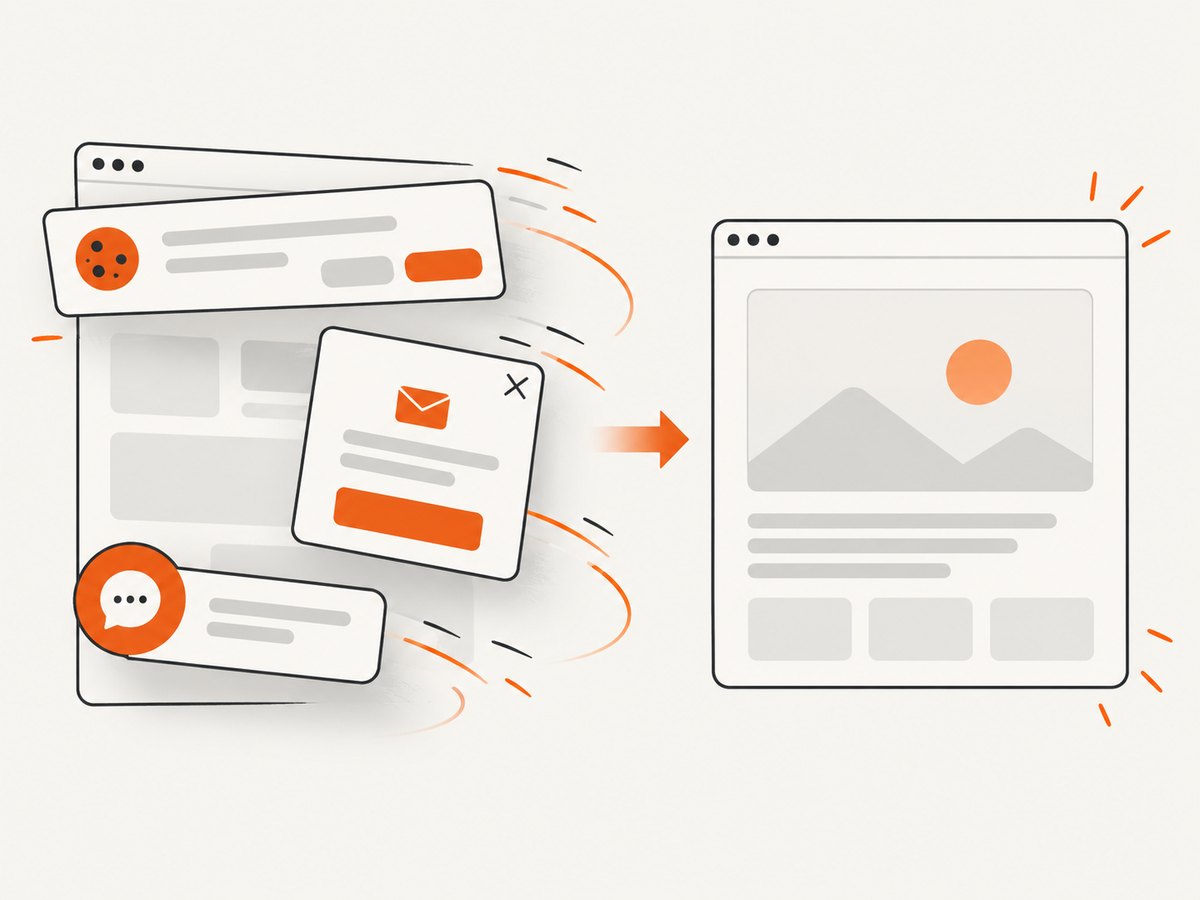
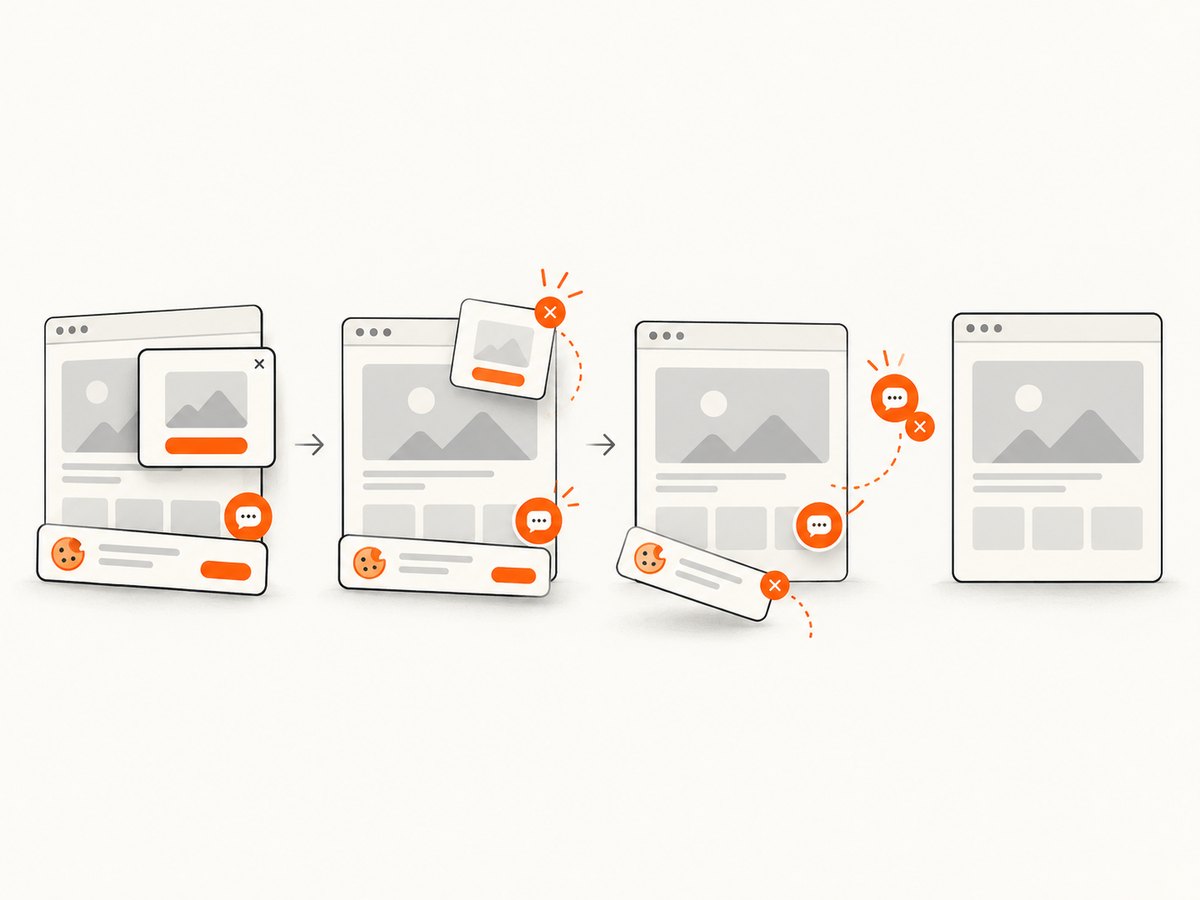
| Cookie dialog covers the target | A consent banner or chat widget overlays the page. | Accept or close it in the script, hide the selector, or use a capture service that handles common consent platforms. |
| Capture works locally but fails in CI | Different browser version, viewport, timezone, permissions, or missing system fonts. | Pin versions, set viewport and timezone explicitly, install required fonts, and retain logs and a failure screenshot. |
| Authentication redirects to login | The automated context lacks the required session. | Use an authorized test account or storage state. A screenshot cannot bypass access controls. |
Performance, reliability, and cost considerations
- Targeted capture is cheaper to process: an element screenshot usually requires less rasterization than a very tall full-page image.
- Large pages consume memory: full-page screenshots of dashboards, feeds, or long documents can be slow and may exceed limits in constrained CI runners.
- Use deterministic settings: fix viewport, device scale, timezone, locale, color scheme, and user agent when comparing screenshots.
- Cache stable assets: browser caching can reduce repeated font and image downloads, but invalidate it when the visual content changes.
- Retry selectively: retry transient navigation and network failures, but do not blindly retry a page that consistently returns a bot check or authorization error.
- Record diagnostics: keep the URL, selector, browser version, timing, console errors, and a failure screenshot so intermittent failures are explainable.
Or skip the browser setup
ScreenshotNeo provides a website screenshot API and MCP server. It can capture a URL as PNG, JPEG, WebP, or PDF, and it supports the hidden-element workflow with element selectors, clicks, custom JavaScript and CSS, selector waits, delays, network-idle waits, hidden selectors, and full-page capture with lazy images loaded. You can also set viewport or device presets, dark mode, retina scale, headers, cookies, user agent, authorization, timezone, geolocation, and transparent backgrounds.
For the exact parameter list and request examples, see the ScreenshotNeo API documentation.
curl -G "https://api.screenshotneo.com/v1/shot" -d access_key=YOUR_API_KEY --data-urlencode url=https://stripe.com -o shot.webpimport requests
r = requests.get("https://api.screenshotneo.com/v1/shot", params={"access_key": "YOUR_API_KEY", "url": "https://stripe.com"}, timeout=90)
open("shot.webp", "wb").write(r.content)const q = new URLSearchParams({ access_key: 'YOUR_API_KEY', url: 'https://stripe.com' }); const res = await fetch(`https://api.screenshotneo.com/v1/shot?${q}`);Cookie banners, newsletter popups, and chat widgets are removed before the shot. Bot checks, blank pages, timeouts, failed loads, and cache hits are not billed; response headers identify the page verdict and whether the request was billed. An MCP server lets AI agents such as Claude, Cursor, and other MCP clients call take_screenshot, get_page_info, and capture_pdf. The free plan includes 1,000 screenshots per month with no card, and paid plans start at $5 for 3,000 shots. Create a free ScreenshotNeo account.
FAQ
Can a screenshot reveal an element set to display:none?
No. Change the page into the intended visible state first, or capture a diagnostic image after temporarily changing the style in an authorized development environment.
How do I capture a tooltip that appears only on hover?
Move the pointer over its trigger, wait for the tooltip selector to become visible, and capture the tooltip or its containing element.
Should I capture the element or the whole page?
Capture the element when you need an isolated component. Use a full-page screenshot when content outside the viewport is part of the deliverable.
Why is my hidden element inside an iframe?
Selectors run in the current document. Locate the frame, switch to its frame context, and query the element there.
Can these methods capture content behind a login?
Only when the browser has an authorized session. DevTools, Puppeteer, Playwright, and ScreenshotNeo do not provide a legitimate access-control bypass.


