How to Take Screenshots and Render HTML/CSS with Zed
Use Zed’s Agent Panel with an HTML/CSS-to-image MCP integration to capture public pages or render source files. Here are the workflows, prompts, limits, and alternatives.
Short answer: Zed helps you edit HTML and CSS, while the documented screenshot and rendering workflow uses the HTML/CSS to Image (HCTI) remote MCP integration from Zed’s Agent Panel. For a public webpage, ask the agent to capture its URL. To render a local design, include the HTML and CSS files in the agent’s context and ask HCTI to render them. Zed’s built-in HTML and CSS support is for authoring; it is not itself the documented HTML-to-image renderer. ScreenshotNeo is another option when you want a screenshot API or MCP server rather than setting up this workflow.
1. Choose the workflow that matches your input
There are two different tasks that can both be described as “taking a screenshot with Zed.” Decide whether you have a page that is already reachable on the web or a design represented by source files. The input determines what you should provide to the agent.
| Task | Give the agent | Expected result |
|---|---|---|
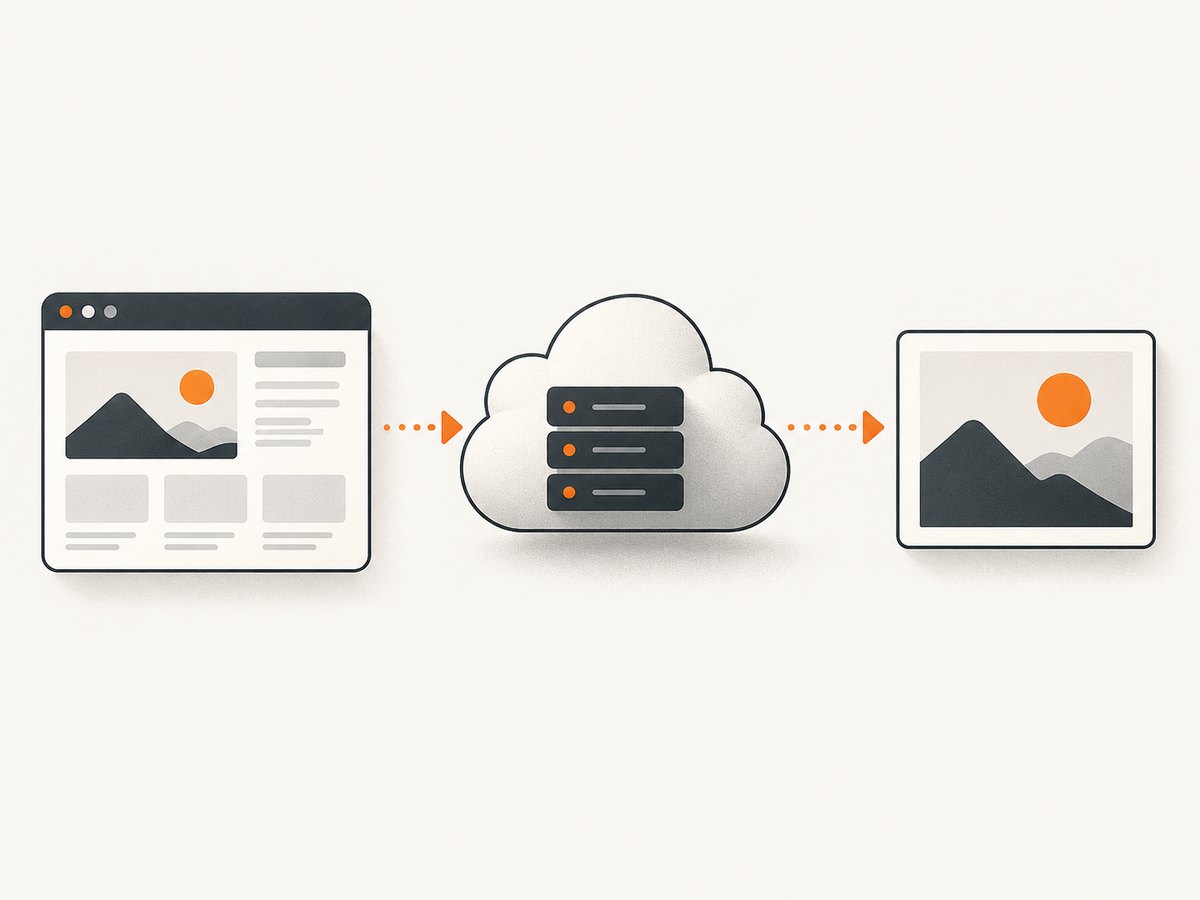
| Capture a public webpage | A public URL and desired image settings | An image capture of the rendered page |
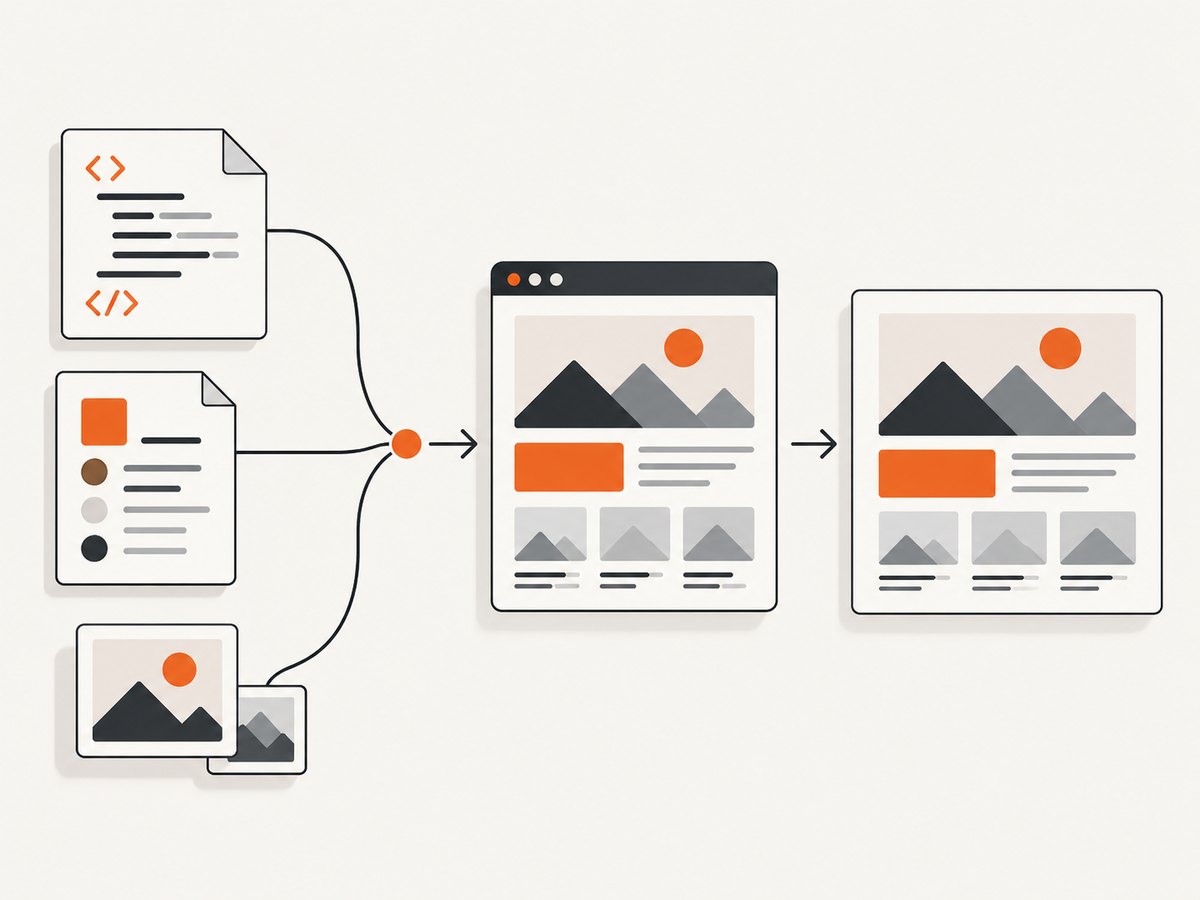
| Render your HTML/CSS design | The HTML and CSS files in Agent Panel context | An image rendered from the supplied markup and styles |
The HCTI Zed guide documents both workflows. Its hosted renderer needs content it can access: for a local design, a file path or localhost URL alone is not enough. Include the source files as context and ask the agent to make the markup self-contained if necessary. That is a limitation of this hosted-renderer workflow, not a general rule about every screenshot tool.
2. Connect the HTML/CSS-to-image MCP in Zed
- Open Zed and make sure you can access the Agent Panel. If you cannot find the relevant action, open the command palette with Cmd+Shift+P on macOS or Ctrl+Shift+P on Linux or Windows, then search for the Agent Panel or the action you need. Zed describes the command palette as a way to access actions.
- Configure the HCTI remote MCP integration using its current setup instructions. The exact setup fields and connection steps can change, so use the live integration documentation rather than copying an unverified settings snippet.
- Once the integration is available to the agent, ask for a specific capture or render. State the input, output format, viewport and scale when they matter. Review the returned image URL before iterating.
This is a remote rendering workflow. Zed is the place where you edit files and direct the agent; HCTI supplies the documented image-generation tools. Do not expect the HTML or CSS language features in the editor to render a screenshot by themselves.
3. Capture a public webpage
Use a public URL that the hosted service can reach. The guide’s example uses a 1440-pixel viewport width, device scale 1, PNG output, and asks the agent to return the image URL. These are example settings, not requirements for every page.
Use HTML/CSS to Image to screenshot https://example.com as a PNG.
Set viewport_width to 1440 and device_scale to 1.
Return the image URL.
Replace https://example.com with the page you want. Specify another viewport if you need to inspect a narrower layout. Device scale controls the pixel density of the rendered result; scale 1 is a straightforward starting point. Ask for the image URL explicitly so the result is easy to inspect or share.
Improve the first capture
- Choose a useful viewport. A desktop width is suitable for inspecting a desktop composition; use a narrower width to see the responsive layout at that width.
- Be explicit about the output. The guide’s URL example requests PNG. The listed HCTI image creation formats also include JPG, WebP, and PDF; verify the current tool options when requesting another format.
- Keep the first request simple. Start with the URL, format, viewport, and scale. Add further requirements only when you know what the first result needs to show.
- Check the returned image. If the page is blank, incomplete, or at the wrong size, inspect the URL and settings before changing unrelated code.
4. Render HTML and CSS files from your project
For a local design, add the relevant HTML and CSS files to the Agent Panel context. Then ask the agent to read them, make the markup self-contained if needed, and render a PNG through HCTI. A request can be as direct as this:
Read the attached HTML and CSS files. Make the markup self-contained if needed.
Render the result as a PNG with HTML/CSS to Image at device_scale 1.
Return the image URL.
Include the files that define the visible result. If the page references stylesheets, images, or fonts that the hosted renderer cannot access, the output may not match your local view. Ask the agent to identify those dependencies and make the markup self-contained where practical. A localhost address is not a substitute for attaching local files when the hosted service cannot reach your machine.
Iterate on the design
- Ask for a first render with concrete content, colors, and dimensions. The HCTI guide’s example uses a 1200 × 630 card, but that is only an example size.
- Open the image URL and compare the result with the intended design.
- Make a focused edit to the HTML or CSS, such as changing spacing, color, or text.
- Ask for another render and specify the changed requirement. Keeping each iteration focused makes it easier to tell which edit affected the output.
For example, a useful follow-up is: “Render the updated attached card again as PNG at device scale 1. Keep its dimensions unchanged and return the image URL.” Use the dimensions your design actually needs.
5. Use Zed’s HTML and CSS support for editing
Zed documents built-in CSS support and HTML support through its automatically installed HTML extension. Its HTML documentation identifies Prettier as the default formatter and describes manual formatting with Cmd+Shift+I on macOS or Ctrl+Shift+I on Linux and Windows. The command palette can also locate formatting actions. Zed documents configurable language-server formatting alternatives.
These editor features help you author and format the source before asking the remote integration to render it. They do not turn the editor into the screenshot service. If you use Tailwind CSS, Zed’s documentation describes configuring the Tailwind CSS language server for CSS and disabling the default CSS language server to get Tailwind-specific completions, diagnostics, and hover previews. This improves editing assistance; it does not change the rendering workflow.
6. Know which HCTI operation fits
The integration guide lists several tools. Their names indicate different workflows; confirm current tool names and available settings in the live documentation before relying on a particular parameter.
| Tool | Use it for |
|---|---|
create_url_image |
Capturing a public page or a CSS-selected element on a page |
create_image |
Creating an image or PDF from HTML/CSS |
create_templated_image |
Generating an image from a saved template |
create_batch_images |
Creating batches or variations |
For one public page, start with the URL capture path. For your source files, use HTML/CSS rendering. Templates and batches are optional paths for repeated or varied output; they are not required for a single capture.
7. Troubleshooting
| Symptom | Likely cause | What to try |
|---|---|---|
| The agent cannot use the image tools | The remote MCP integration is not configured or available to the Agent Panel. | Check the current HCTI setup guide and confirm the integration is available before sending the render request. |
| A local design does not render | The hosted renderer cannot access a local path or localhost URL by itself. | Attach the HTML and CSS files as Agent Panel context and ask for self-contained markup where needed. |
| The page is missing images or styles | A dependency is referenced by the source but is not available to the hosted renderer. | Check the referenced assets and stylesheets. Make necessary markup self-contained or accessible to the renderer. |
| The capture has the wrong layout | The requested viewport does not match the layout you want to inspect. | Specify the intended viewport width and request a new capture. |
| The output is too small or pixelated | The requested device scale may be too low for the intended use. | Specify an appropriate device scale and render again. The guide’s example uses scale 1 as a baseline. |
| You cannot find an editor action | The shortcut or current layout may differ. | Use Zed’s command palette to search for the Agent Panel or formatting action. |
| The agent picks an unexpected operation or format | The request leaves the input or expected output ambiguous. | State whether you supplied a public URL or source files, and name the format and important dimensions explicitly. |
8. Performance, reliability, and cost considerations
The research for this workflow does not establish rendering speed, availability, or pricing, so do not plan around an assumed benchmark. Treat the returned image as a render to inspect, particularly when the design depends on external assets. A public page must be reachable by the hosted capture service, while local source needs to be provided in a form the hosted renderer can use.
For repeated work, make requests specific and reuse a clear prompt pattern. If you are generating many template variations, the guide lists a batch tool; check its current limits and pricing with HCTI. Likewise, verify the live service’s current output formats, parameters, and commercial terms before using it in a production workflow.
Or skip the browser setup
If your goal is capturing a public webpage, ScreenshotNeo offers a direct screenshot API and an MCP server for AI agents. Its API returns an image or PDF from a URL. For example, save a public page as WebP with cURL:
curl -G "https://api.screenshotneo.com/v1/shot" \
  -d access_key=YOUR_API_KEY \
  --data-urlencode url=https://stripe.com \
  -o shot.webp
Equivalent Python:
import requests

r = requests.get(
    "https://api.screenshotneo.com/v1/shot",
    params={"access_key": "YOUR_API_KEY", "url": "https://stripe.com"},
    timeout=90,
)
open("shot.webp", "wb").write(r.content)
Equivalent Node.js:
const q = new URLSearchParams({
  access_key: 'YOUR_API_KEY',
  url: 'https://stripe.com'
});
const res = await fetch(`https://api.screenshotneo.com/v1/shot?${q}`);
See the ScreenshotNeo API documentation for request options and setup. ScreenshotNeo removes cookie banners, popups, and chat widgets before the shot; bot checks, blank pages, and failed loads are never billed. Its MCP server lets AI agents take screenshots. The free plan includes 1,000 screenshots a month with no card, and paid plans start at $5 for 3,000. Sign up free for 1,000 screenshots a month, with no card required.
FAQ
Does Zed take screenshots by itself?
The documented screenshot workflow uses HCTI’s remote MCP integration. Zed provides the editor and Agent Panel; HCTI provides the rendering tools.
Can I render a local file by giving the agent its path?
For the documented hosted HCTI workflow, a local path or localhost URL alone is not enough. Include the HTML and CSS files in the Agent Panel context.
Can I make a PDF or use a saved template?
The HCTI guide lists PDF among the output formats for HTML/CSS image creation and lists template and batch tools. Check its current documentation for exact options.
Is 1440 pixels the required viewport?
No. It is the viewport width used in the guide’s example prompt. Choose a width that matches the page layout you want to inspect.


