How to Take Screenshots Using Windows Paint
Capture part or all of your Windows screen, open it in Paint, edit it, and save the finished image with these step-by-step instructions.
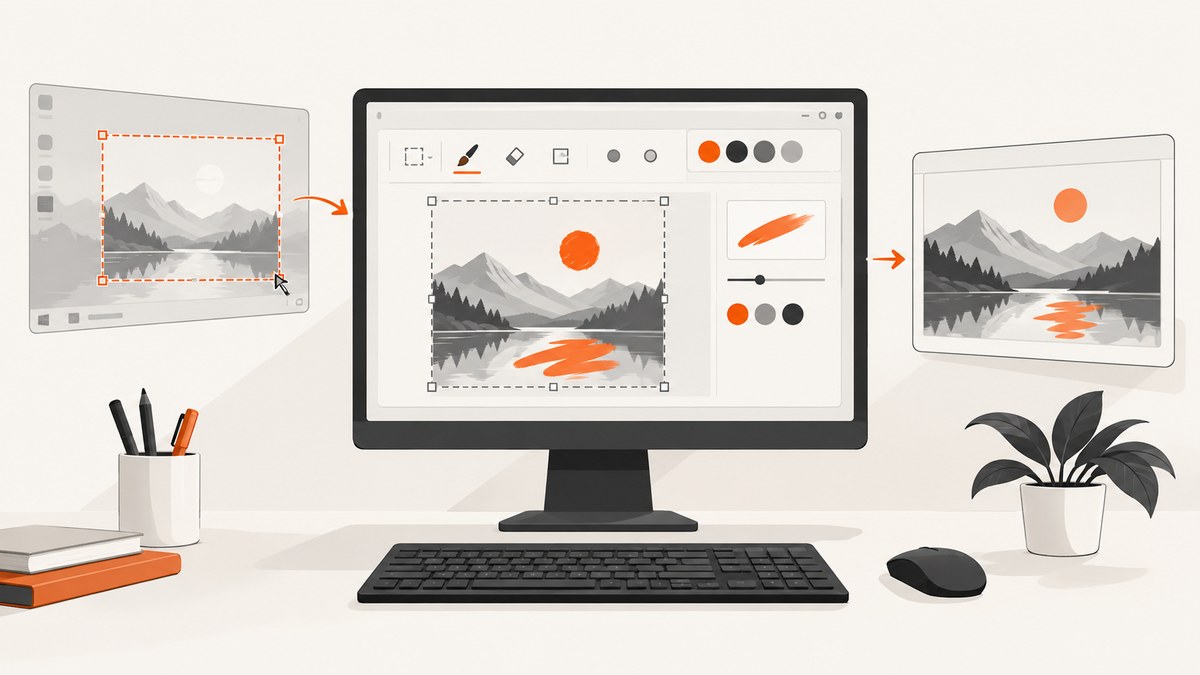
Fast answer: Press Windows+Shift+S, choose a capture mode, select the screen area, then open the snip in Snipping Tool and choose Edit > Edit with Paint. To capture the entire screen directly to Paint, press Print Screen, open Paint, and press Ctrl+V. These workflows apply to Windows 10 and Windows 11. Microsoft documents the Snipping Tool workflow and the Print Screen and Paint paste workflow.
Choose the right capture method
| What you need | Use this method | Result |
|---|---|---|
| A selected rectangle | Windows+Shift+S then rectangular mode | Drag around the exact region. |
| An irregular shape | Windows+Shift+S then freeform mode | Draw the outline you want to capture. |
| One application window | Snipping Tool window mode | Select the target window. |
| The complete display | Snipping Tool full-screen mode or Print Screen | Capture the whole screen. |
| The active window only | Alt+Print Screen | Copy the active window to the clipboard. |
The Print Screen key may be labeled PrtSc, PrtScn, or PrntScrn, and some keyboards do not have a dedicated key. [Microsoft’s shortcut reference](https://support.microsoft.com/en-us/windows/keyboard-shortcuts-in-windows-dcc61a57-8ff0-cffe-9796-cb9706c75eec) points Windows users to Snipping Tool for screenshot capture.
Method 1: Capture a region and edit it in Paint
- Arrange the windows and content you want visible.
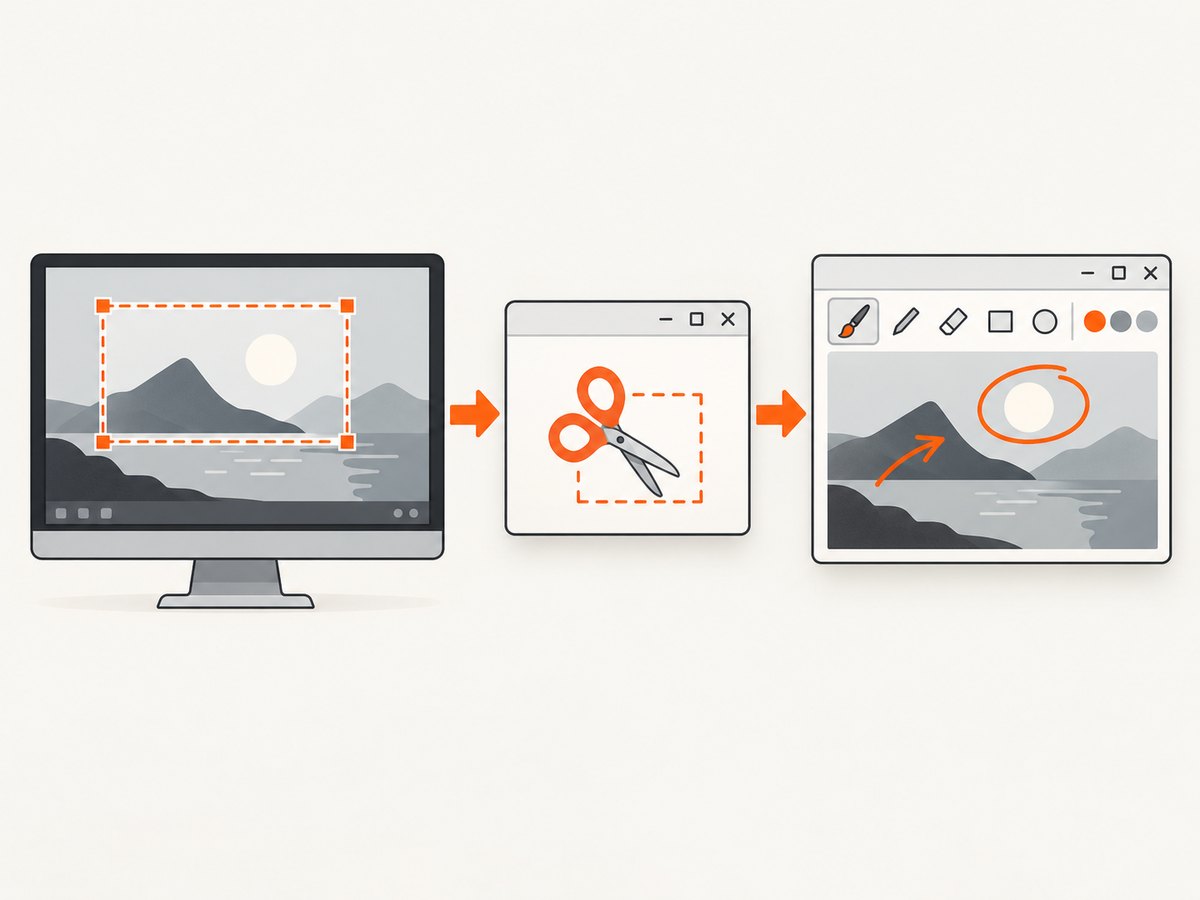
- Press Windows+Shift+S. The Snipping Tool capture overlay appears.
- Choose Rectangular, Freeform, Window, or Full-screen capture.
- For rectangular or freeform capture, drag over the area. Window and full-screen modes capture according to the mode you selected.
- Select the notification that appears after the capture to open the snip in Snipping Tool.
- Choose Edit > Edit with Paint. Paint opens with the captured image.
- Make your changes, such as cropping, resizing, changing color, adding text, or circling an item.
- Save the finished image from Paint to the location and file type you need.
The snip is copied to the clipboard as well as opened in Snipping Tool, so you can paste it into another application if Paint is not required. Snipping Tool also provides Save as Image for an additional copy and documents automatic saving to the Screenshots folder, with settings for changing automatic-save behavior or the default folder. See Microsoft’s Snipping Tool instructions for the current controls.
Which Snipping Tool mode should you use?
- Rectangular: Best for a clean crop around a dialog, paragraph, image, or control.
- Freeform: Useful when the subject has an irregular outline.
- Window: Captures a chosen application window without manually tracing its edges.
- Full-screen: Captures the entire display immediately.
Method 2: Use Print Screen, then paste into Paint
- Press Print Screen to copy the entire screen to the clipboard.
- Open Paint from the Start menu or Windows search.
- Press Ctrl+V to paste the screenshot.
- Crop or annotate the image. Microsoft’s screen-copy guidance specifically describes circling items and cropping unwanted content in a drawing application such as Paint.
- Save the result from Paint.
For only the currently focused window, press Alt+Print Screen instead, then paste into Paint. This route is useful when you want the clipboard image immediately and do not need to select a custom region.
Editing the screenshot in Paint
After the image is in Paint, use the tools that match your goal:
| Goal | Paint action |
|---|---|
| Remove unrelated content | Crop the canvas around the useful area. |
| Point to a control or error | Use a shape, brush, or line to circle or underline it. |
| Add context | Insert a text label near the relevant part of the screenshot. |
| Fit a documentation slot | Resize the image or crop it to the required dimensions. |
| Improve visibility | Adjust color or use Paint’s available enhancement tools. |
Keep an untouched copy when the screenshot may be needed again. Use Save as Image in Snipping Tool before editing, or save a second copy from Paint before making destructive changes.
Saving and finding the file
- Snipping Tool capture: Windows documents automatic saving to the Screenshots folder for the current workflow. Open Snipping Tool settings if you need to change automatic-save behavior or the default folder.
- Paint capture: Save directly from Paint and choose a location you can find again, such as Documents or a project folder.
- Extra copy: Use Snipping Tool’s Save as Image when you want a separate file in addition to the automatic save.
If you cannot locate a file, open File Explorer and check the Screenshots folder first. Microsoft’s File Explorer guide explains how to browse folders and manage files.
Keyboard and accessibility notes
- If the keyboard has no usable Print Screen key, use Windows+Shift+S instead.
- On some laptops, the Print Screen function may share a key with another action; consult the keyboard’s labeling or manufacturer instructions for the required function-key combination.
- Keyboard navigation can be used through the screen-clipping flow, and the result can be opened in Snipping Tool or pasted into an application. Microsoft’s Snipping Tool documentation includes screen-reader guidance.
- Snipping Tool also supports video snips, but video capture is separate from the still-image-to-Paint workflow described here.
Troubleshooting
| Problem | Likely cause | Fix |
|---|---|---|
| Windows+Shift+S does nothing | The shortcut was not pressed together, or Snipping Tool is unavailable or not responding. | Open Snipping Tool from Windows search and start a new capture there. Then try the shortcut again. |
| The screenshot is not in Paint | The snip was captured but the Paint handoff was skipped. | Open the Snipping Tool notification or window and select Edit > Edit with Paint. |
| Paint pastes an old image | The new capture did not replace the clipboard contents. | Take the screenshot again, wait for the capture notification, then press Ctrl+V in Paint. |
| Only one monitor appears | You captured a single window or display instead of the full-screen mode you intended. | Repeat the capture with full-screen mode, or capture each display separately. |
| The screenshot includes popups or private data | Those elements were visible when the capture was made. | Close or hide them before capturing, then crop or cover sensitive details in Paint. |
| The saved file cannot be found | It was saved automatically or manually to a different folder. | Check the Screenshots folder, then review Snipping Tool’s save settings and Paint’s recent save location. |
| Print Screen is unavailable | The keyboard lacks a dedicated key or uses a different label. | Use Snipping Tool’s shortcut or a keyboard with a PrtSc key. |
Quality, performance, and reliability tips
- Choose the smallest useful area: A region or window capture creates a cleaner file and reduces later cropping.
- Prepare the screen first: Close transient notifications, move the pointer away from important content, and wait for the page or application to finish rendering.
- Use full-screen mode deliberately: It is fast, but it may include unrelated monitors, taskbars, or private information.
- Keep an original: Save the raw capture before annotations when the image may be used in documentation, support tickets, or later editing.
- Verify before sharing: Inspect the saved file at its actual size to catch clipped edges, hidden dialogs, or unreadable text.
Or skip the browser setup
If your real goal is a repeatable screenshot of a web page rather than a one-off desktop capture, ScreenshotNeo returns a PNG, JPEG, WebP, or PDF from one GET request. It accepts the cookie or consent banner like a visitor and removes more than 60 known consent platforms, newsletter popups, and chat widgets before the capture; each step can be turned off. Bot checks, CAPTCHAs, blank pages, timeouts, failed loads, and cache hits are not billed, and the response identifies the result with X-Page-Verdict and X-Billed headers. It also provides an MCP server for Claude, Cursor, and other MCP clients, with take_screenshot, get_page_info, and capture_pdf tools.

See the ScreenshotNeo API documentation for all options.
cURL
curl -G "https://api.screenshotneo.com/v1/shot" -d access_key=YOUR_API_KEY --data-urlencode url=https://stripe.com -o shot.webpPython
import requests
r = requests.get("https://api.screenshotneo.com/v1/shot", params={"access_key": "YOUR_API_KEY", "url": "https://stripe.com"}, timeout=90)
open("shot.webp", "wb").write(r.content)
Node.js
const q = new URLSearchParams({ access_key: 'YOUR_API_KEY', url: 'https://stripe.com' });
const res = await fetch(`https://api.screenshotneo.com/v1/shot?${q}`);
ScreenshotNeo supports full-page shots with lazy images loaded, CSS-element capture, dark mode, device presets and custom viewports, retina scale, PDF paper sizes and page ranges, custom CSS and JavaScript, clicks, selector or network-idle waits, request blocking, headers, cookies, user agents, authorization, timezone, geolocation, transparent backgrounds, resizing, chosen cache TTLs, signed links, asynchronous jobs with signed webhooks, bulk capture of up to 100 URLs per call, usage reporting, and an OpenAPI specification. Its parameter names also match those used by other screenshot APIs, which simplifies switching.
The Free plan includes 1,000 shots per month with no card. Paid plans start at $5 for 3,000 shots; yearly billing gives two months free, and every feature is available on every plan. Create a free ScreenshotNeo account to start with 1,000 screenshots a month and no card.
FAQ
Can I take a screenshot without opening Paint?
Yes. Snipping Tool can save the capture directly, and Windows documents automatic saving to the Screenshots folder. Paint is needed when you want its editing tools.
What is the quickest way to capture only one window?
Use Windows+Shift+S, choose window mode, and select the application window.
Does Print Screen automatically open Paint?
No. Print Screen copies the image to the clipboard. Open Paint and press Ctrl+V to paste it.
Can I capture an irregular shape?
Yes. Choose freeform mode in the Snipping Tool overlay and draw around the area.
Is this workflow available on Windows 10?
Yes. Microsoft’s Snipping Tool documentation covers Windows 10 and Windows 11.


