How to Take an Element Screenshot in Google Chrome with Selenium
Capture one DOM element in Chrome with Selenium, save PNG or bytes, handle waits and failures, and compare a hosted ScreenshotNeo workflow.
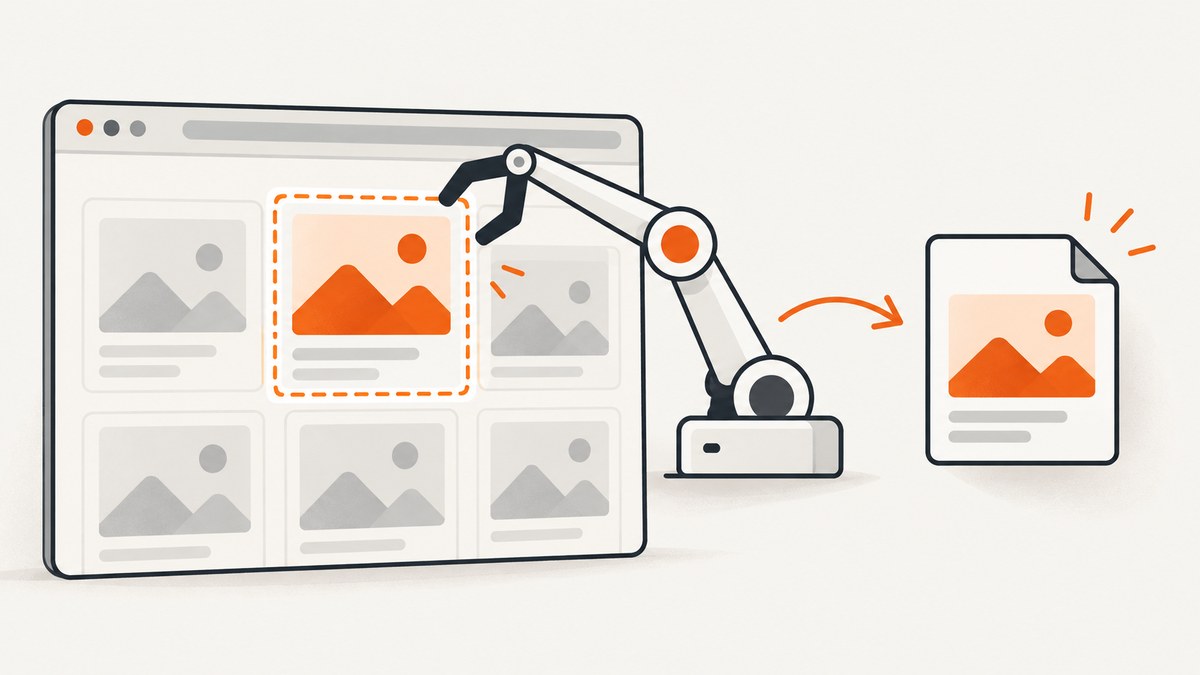
Direct answer: In Selenium Python, find the target WebElement and call element.screenshot('/absolute/path/element.png'). Selenium scrolls the element into view and captures the visible rectangle around it as a PNG. Use screenshot_as_png when you need bytes in memory or screenshot_as_base64 when another API expects Base64.
from selenium import webdriver
from selenium.webdriver.common.by import By

 driver = webdriver.Chrome()
try:
    driver.get("https://example.com")
    element = driver.find_element(By.CSS_SELECTOR, "main")
    saved = element.screenshot("/absolute/path/element.png")
    if not saved:
        raise OSError("Could not save element screenshot")
finally:
    driver.quit()
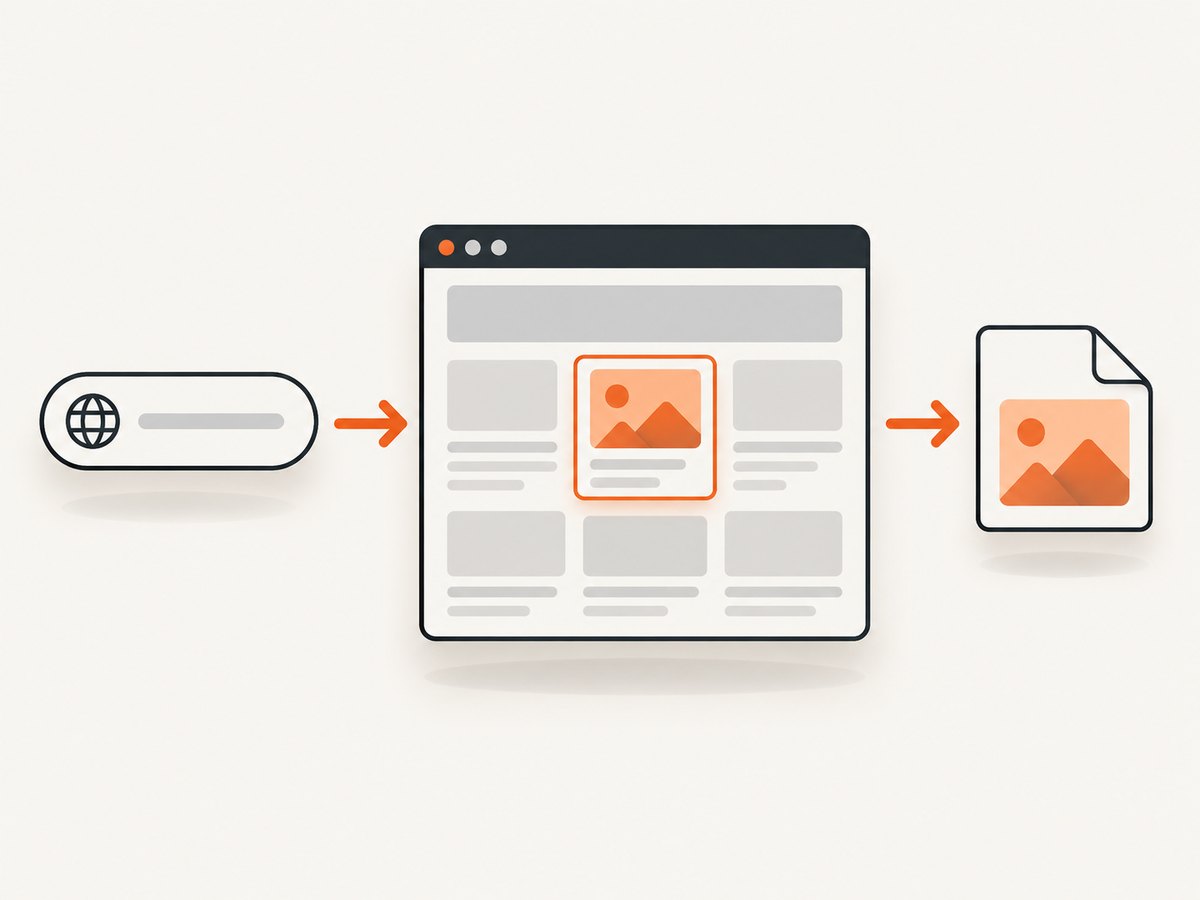
Remove the extra indentation before driver = webdriver.Chrome() when copying the sample. The Python API documents that the method writes a PNG and returns False when an I/O error prevents saving. Use an absolute path so the output location is unambiguous. Selenium’s element screenshot behavior is defined by the WebDriver specification: the element is scrolled into view, its visible bounding rectangle is captured, and the result is a lossless PNG encoded for the client.
1. Install Selenium and prepare Chrome
You need Python, Google Chrome, and Selenium. Recent Selenium releases can manage a compatible driver automatically through Selenium Manager. In a virtual environment:
python -m venv .venv
source .venv/bin/activate        # Windows: .venv\\Scripts\\activate
python -m pip install --upgrade selenium
Confirm that Chrome starts before adding application logic:
python - <<'PY'
from selenium import webdriver

driver = webdriver.Chrome()
try:
    driver.get("https://example.com")
    print(driver.title)
finally:
    driver.quit()
PY
In CI or a server without a display, add headless options. A fixed window size makes layout and element dimensions repeatable:
from selenium import webdriver
from selenium.webdriver.chrome.options import Options

options = Options()
options.add_argument("--headless=new")
options.add_argument("--window-size=1440,1000")
options.add_argument("--disable-dev-shm-usage")
# options.add_argument("--no-sandbox")  # commonly required in some containers

driver = webdriver.Chrome(options=options)
2. Locate the exact element
find_element returns one element and raises NoSuchElementException if no match exists. Prefer a stable ID, data attribute, or semantic selector over a long chain of classes that changes with every redesign.
from selenium.webdriver.common.by import By

card = driver.find_element(By.ID, "pricing-card")
hero = driver.find_element(By.CSS_SELECTOR, "main .hero")
first_button = driver.find_element(By.XPATH, "//main//button[1]")
For repeated components, use find_elements and select deliberately:
cards = driver.find_elements(By.CSS_SELECTOR, "article.product-card")
if len(cards) < 3:
    raise RuntimeError(f"Expected at least 3 cards, found {len(cards)}")
cards[2].screenshot("/absolute/path/third-card.png")
A selector can match a hidden template, an off-canvas menu, or an element that is replaced during rendering. Inspect the DOM and check visibility before capture.
3. Wait until the element is ready
Calling screenshot() immediately after get() can capture a skeleton, an empty chart, or a partially loaded image. Use explicit waits for presence, visibility, and a page-specific readiness condition. Selenium’s expected conditions are preferable to arbitrary long sleeps.
from selenium.webdriver.support.ui import WebDriverWait
from selenium.webdriver.support import expected_conditions as EC

wait = WebDriverWait(driver, 20)
card = wait.until(
    EC.visibility_of_element_located((By.CSS_SELECTOR, "main .product-card"))
)
# Optional application-specific check: wait for a loaded state class.
wait.until(lambda d: "is-loaded" in card.get_attribute("class"))
card.screenshot("/absolute/path/product-card.png")
When the site loads content through JavaScript, wait for a selector that only appears after rendering, or execute a small state check:
wait.until(lambda d: d.find_element(By.CSS_SELECTOR, "#chart").get_attribute("data-ready") == "true")If an element is replaced after the wait, Selenium raises StaleElementReferenceException. Re-find it immediately before capture rather than reusing a stale reference.
4. Save a PNG, bytes, or Base64
Write directly to a file
path = "/tmp/element.png"
if not element.screenshot(path):
    raise OSError(f"Selenium could not write {path}")
The Selenium Python API documents PNG output. Keep the .png extension and ensure the parent directory exists and is writable.
Keep PNG bytes in memory
png_bytes = element.screenshot_as_png
with open("/absolute/path/element.png", "wb") as output:
    output.write(png_bytes)
# Upload png_bytes to object storage or attach it to a test report.
Get Base64 text
import base64

encoded = element.screenshot_as_base64
png_bytes = base64.b64decode(encoded)
Bytes avoid a temporary file when you are returning an HTTP response, hashing an image, or sending it to a visual regression service. Base64 is useful for JSON payloads but increases size compared with raw bytes.
5. Understand the capture boundary
An element screenshot is not a crop of the entire document. The WebDriver definition captures the visible region enclosed by the element’s bounding rectangle after scrolling it into view. A very tall element can therefore be clipped according to browser and driver behavior, and content outside the element is excluded.
Check the geometry before capture:
rect = element.rect
print({"x": rect["x"], "y": rect["y"], "width": rect["width"], "height": rect["height"]})
print("displayed:", element.is_displayed(), "enabled:", element.is_enabled())
If you need the current browser window instead, use a driver screenshot method:
driver.save_screenshot("/absolute/path/window.png")
# or: png_bytes = driver.get_screenshot_as_png()
The Chrome WebDriver API documents whole-window file and PNG methods separately from WebElement.screenshot().
6. Complete Python example with robust waits and diagnostics
from pathlib import Path
from selenium import webdriver
from selenium.webdriver.common.by import By
from selenium.webdriver.chrome.options import Options
from selenium.webdriver.support.ui import WebDriverWait
from selenium.webdriver.support import expected_conditions as EC
from selenium.common.exceptions import TimeoutException, StaleElementReferenceException

URL = "https://example.com"
SELECTOR = "main"
OUTPUT = Path("/tmp/element.png").resolve()

options = Options()
options.add_argument("--headless=new")
options.add_argument("--window-size=1440,1000")

driver = webdriver.Chrome(options=options)
try:
    driver.get(URL)
    wait = WebDriverWait(driver, 20)
    wait.until(lambda d: d.execute_script("return document.readyState") == "complete")
    element = wait.until(EC.visibility_of_element_located((By.CSS_SELECTOR, SELECTOR)))
    OUTPUT.parent.mkdir(parents=True, exist_ok=True)
    try:
        saved = element.screenshot(str(OUTPUT))
    except StaleElementReferenceException:
        element = wait.until(EC.visibility_of_element_located((By.CSS_SELECTOR, SELECTOR)))
        saved = element.screenshot(str(OUTPUT))
    if not saved or not OUTPUT.exists() or OUTPUT.stat().st_size == 0:
        raise OSError(f"Screenshot was not written: {OUTPUT}")
    print(f"Saved {OUTPUT} ({OUTPUT.stat().st_size} bytes)")
except TimeoutException:
    driver.save_screenshot("/tmp/timeout-debug.png")
    raise
finally:
    driver.quit()
7. Node.js Selenium example
The JavaScript binding exposes the element’s screenshot as a Base64 string. Decode it to a PNG file with Node’s fs module.
import { Builder, By, until } from "selenium-webdriver";
import chrome from "selenium-webdriver/chrome.js";
import { writeFile } from "node:fs/promises";

const options = new chrome.Options().addArguments("--headless=new", "--window-size=1440,1000");
const driver = await new Builder().forBrowser("chrome").setChromeOptions(options).build();
try {
  await driver.get("https://example.com");
  const element = await driver.wait(until.elementLocated(By.css("main")), 20000);
  await driver.wait(until.elementIsVisible(element), 20000);
  const base64 = await element.takeScreenshot(true);
  await writeFile("/tmp/element.png", Buffer.from(base64, "base64"));
} finally {
  await driver.quit();
}
Install the binding with npm install selenium-webdriver. Re-locate the element if a framework rerenders it between the wait and the screenshot.
8. Common failures and fixes
| Symptom | Likely cause | Fix |
|---|---|---|
NoSuchElementException |
Selector is wrong or content has not rendered. | Verify the selector in DevTools and use an explicit wait. |
TimeoutException |
Element never became visible, or a consent dialog blocks rendering. | Capture a debug window screenshot, inspect page state, and handle the dialog before waiting. |
StaleElementReferenceException |
JavaScript replaced the node. | Find the element again immediately before screenshot(). |
| Blank or transparent image | Zero-size element, hidden state, unfinished canvas, or capture occurred too early. | Print element.rect, check is_displayed(), wait for a ready marker, and verify the element has dimensions. |
| Clipped content | Element screenshot follows its visible bounding rectangle; it is not a full-document capture. | Capture a larger container, use a window screenshot, or create a page-specific scrolling/cropping workflow. |
Permission denied or False return |
Output directory does not exist or is not writable. | Use an absolute path, create the directory, and check the boolean return. |
| Chrome fails in CI | Missing browser, incompatible driver, sandbox, shared-memory, or display configuration. | Install matching Chrome, use headless mode, add --disable-dev-shm-usage, and inspect driver logs. |
| Different pixels between runs | Fonts, viewport, device scale, animations, time, or remote assets differ. | Pin the viewport, wait for fonts and network content, disable animations with injected CSS, and use the same browser image. |
9. Reliability and visual consistency checklist
- Use a stable selector and assert that it matches the intended element.
- Set a deterministic viewport and, when relevant, device scale factor.
- Wait for visibility plus an application-specific ready condition.
- Freeze or wait out animations and carousels.
- Ensure web fonts, images, and canvas data have loaded before capture.
- Save diagnostics such as a full-window screenshot and page HTML when a capture fails.
- Close the driver in a
finallyblock so repeated jobs do not leak Chrome processes. - Retry only transient browser or network failures; do not hide selector or permission errors with retries.
Exact appearance depends on the page and browser/driver environment. The cited APIs define capture mechanics but do not promise pixel-identical output across browser versions.
10. Performance and cost considerations
Starting Chrome is usually more expensive than taking another element screenshot in an already-running session. Reuse one driver for a controlled batch, but isolate tests when state, cookies, or memory growth could affect results. Smaller element captures require less image encoding and storage than full-window images. Headless mode reduces display requirements, while a fixed viewport reduces layout surprises.
Selenium itself has no per-screenshot service fee, but you pay for the machine, browser processes, CI minutes, storage, and maintenance of Chrome and driver compatibility. A hosted API can be simpler when you need queueing, bulk URLs, consistent cleanup, or screenshots from jobs that should not manage browsers directly.
11. Or skip the browser setup
ScreenshotNeo provides a website screenshot API and MCP server. For a CSS element capture, pass the selector and URL to the API; see the ScreenshotNeo documentation for the complete parameter list.

curl -G "https://api.screenshotneo.com/v1/shot" \
  -d access_key=YOUR_API_KEY \
  --data-urlencode url=https://example.com \
  -d selector="main .product-card" \
  -o element.webp
import requests
r = requests.get(
"https://api.screenshotneo.com/v1/shot",
params={
"access_key": "YOUR_API_KEY",
"url": "https://example.com",
"selector": "main .product-card",
},
timeout=90,
)
r.raise_for_status()
open("element.webp", "wb").write(r.content)const q = new URLSearchParams({
access_key: 'YOUR_API_KEY',
url: 'https://example.com',
selector: 'main .product-card'
});
const res = await fetch(`https://api.screenshotneo.com/v1/shot?${q}`);
if (!res.ok) throw new Error(`Screenshot failed: ${res.status}`);
const image = Buffer.from(await res.arrayBuffer());ScreenshotNeo removes cookie and consent banners, newsletter popups, and chat widgets before capture. Bot checks, blank pages, failed loads, timeouts, and cache hits are not billed, and response headers identify the page verdict and billing status. Its MCP server exposes take_screenshot, get_page_info, and capture_pdf for Claude, Cursor, and other MCP clients. The free plan includes 1,000 screenshots per month with no card; paid plans start at $5 for 3,000 shots. Create a free ScreenshotNeo account.
12. Frequently asked questions
Can Selenium save an element as JPEG or WebP?
The documented WebElement.screenshot() output is PNG. Convert the PNG afterward with an image library if another format is required.
Does Selenium capture an element that is below the fold?
The WebDriver element screenshot algorithm scrolls the element into view before capturing its visible bounding rectangle.
How do I capture several elements?
Find them with find_elements, iterate over the returned list, and use deterministic filenames. Re-check each element if the page rerenders between captures.
Should I use an element or window screenshot for visual regression?
Use an element screenshot when the component is the test boundary. Use a window screenshot when surrounding layout, navigation, or overlays are part of the expected result.
Where can I verify the API details?
See the Selenium Python WebElement API, the W3C WebDriver specification, and the Selenium Chrome WebDriver API.


