How to Run Selenium Headless on Heroku with JavaScript Enabled
Run Selenium-controlled Chrome on Heroku with JavaScript enabled. Configure the current Chrome for Testing buildpack for dynos or Heroku CI, then launch Chrome headlessly from Node.js.
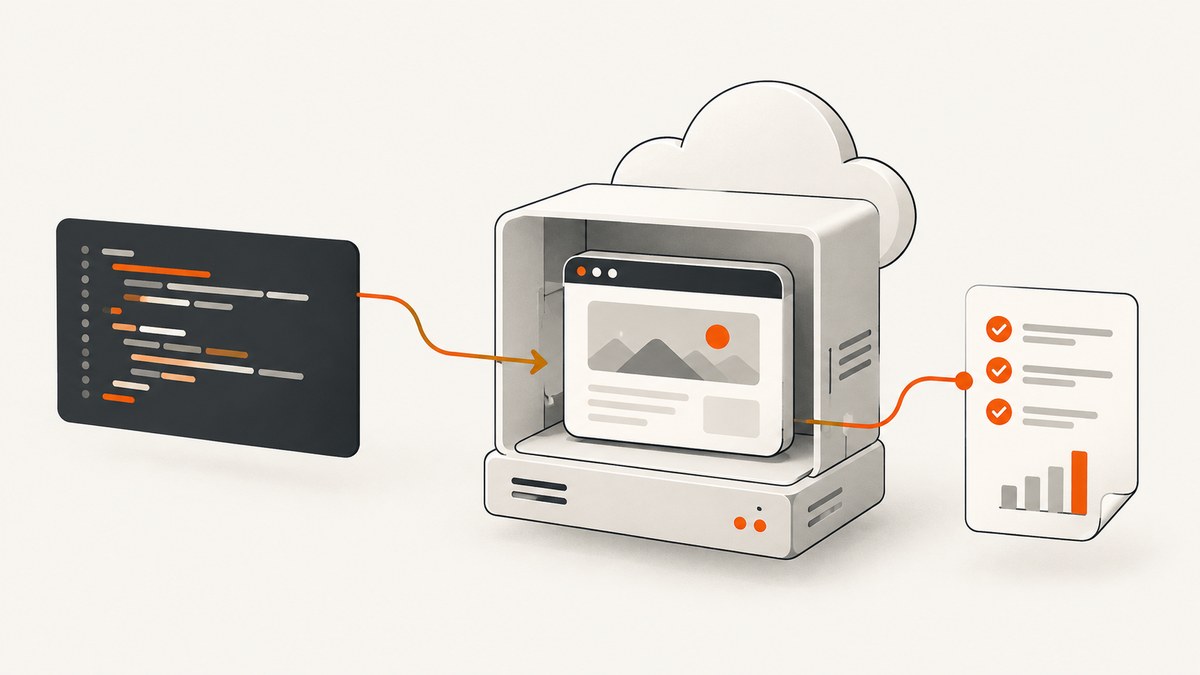
To run Selenium with JavaScript on Heroku, install the matched Chrome and ChromeDriver binaries with Heroku’s heroku-community/chrome-for-testing buildpack, install the Node.js package selenium-webdriver, and launch Chrome with --headless and --no-sandbox. Keep the driver lifecycle inside a try/finally block so the browser is closed even when a navigation or assertion fails.
This setup runs JavaScript in the page because it drives Chrome, a full browser engine; “JavaScript enabled” does not require a special Selenium switch. The buildpack provides the browser binaries, the npm package provides Selenium’s JavaScript binding, and your code defines the browser options and automation. Heroku’s buildpack places chrome and chromedriver on PATH and keeps their versions aligned. Heroku Chrome for Testing buildpack documentation
1. Choose the Heroku environment
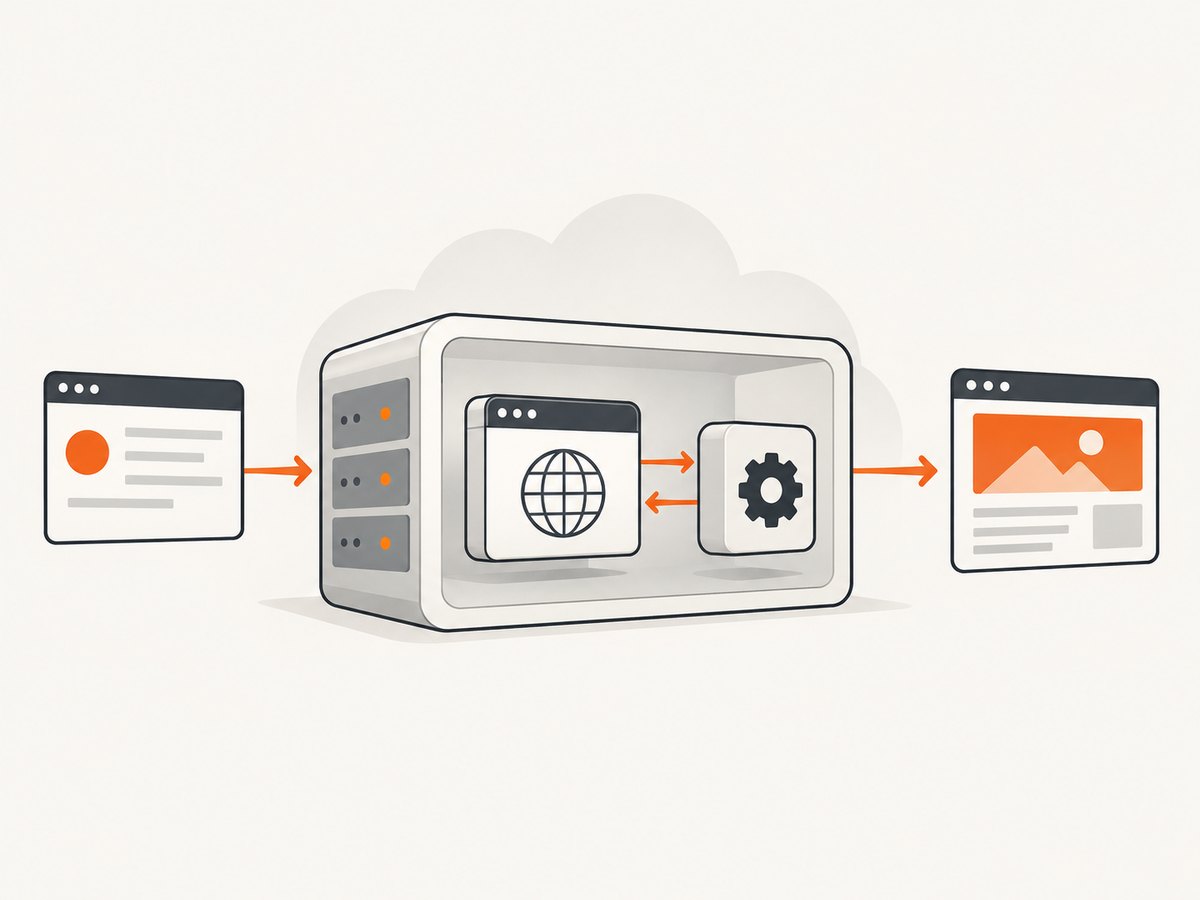
A deployed web app dyno and a Heroku CI test dyno are configured separately. The same buildpack and Selenium code can be used in both, but adding the buildpack to a production app does not automatically add it to CI.
| Where Chrome runs | Configure | Typical purpose |
|---|---|---|
| App dyno | Add the buildpack to the app’s buildpacks | Browser automation initiated by a running app, such as generating a screenshot or performing a browser task |
| Heroku CI test dyno | Add the buildpack under environments.test.buildpacks in app.json |
Run browser tests as part of the test suite |
For an app dyno, add Chrome for Testing ahead of the Node.js buildpack, then deploy:
heroku buildpacks:add -i 1 heroku-community/chrome-for-testing -a YOUR_APP
heroku buildpacks

git push heroku main
Use your app’s actual name and deployment branch. The buildpack downloads Stable by default. To select another release channel, set GOOGLE_CHROME_CHANNEL to Stable, Beta, Dev, or Canary and rebuild:
heroku config:set GOOGLE_CHROME_CHANNEL=Stable -a YOUR_APPUse a non-Stable channel when you deliberately want to exercise that browser channel. The installed binaries can change as the buildpack tracks releases; for repeatable tests, record the channel and investigate browser changes when a deployment starts behaving differently. Don’t hard-code the buildpack’s current absolute Chrome path: it can change. The buildpack README documents PATH resolution and channel selection.
2. Install the JavaScript binding and configure Node
Current Selenium JavaScript API documentation requires Node.js 22 or newer. Set the app’s Node runtime according to Heroku’s current Node.js setup instructions, then add Selenium as a project dependency. The npm package is the language binding; it does not itself install Chrome on the dyno. Selenium JavaScript API documentation
npm install selenium-webdriverFor example, save the following as browser-shot.js. It opens a page, waits for a page title, prints the title, and always quits the driver. The selector wait is useful when the page’s key content appears after JavaScript executes.
const { Builder, Browser, By, until } = require('selenium-webdriver');
const chrome = require('selenium-webdriver/chrome');

async function main() {
  const options = new chrome.Options()
    .addArguments('--headless', '--no-sandbox');

  const driver = await new Builder()
    .forBrowser(Browser.CHROME)
    .setChromeOptions(options)
    .build();

  try {
    await driver.get('https://example.com');
    await driver.wait(until.elementLocated(By.css('h1')), 10000);
    console.log(await driver.getTitle());
  } finally {
    await driver.quit();
  }
}

main().catch((error) => {
  console.error(error);
  process.exitCode = 1;
});
Run it in the app’s Node process with node browser-shot.js, or call main() from your application code. If Chrome cannot start, first verify the buildpack is installed and the two required flags are present in the Chrome options. The buildpack no longer uses the legacy Chrome shim that injected flags automatically. Heroku says dynos typically need --headless and --no-sandbox; add other flags only to address a specific observed issue. Buildpack launch guidance
Run a task and return a value
The browser can interact with a page before it returns a result. Keep waits explicit: a page load event does not necessarily mean a client-rendered component or delayed request has finished.
const { Builder, Browser, By, until } = require('selenium-webdriver');
const chrome = require('selenium-webdriver/chrome');

async function readHeading(url) {
  const options = new chrome.Options()
    .addArguments('--headless', '--no-sandbox');
  const driver = await new Builder()
    .forBrowser(Browser.CHROME)
    .setChromeOptions(options)
    .build();

  try {
    await driver.get(url);
    const heading = await driver.wait(
      until.elementLocated(By.css('h1')),
      10000,
      'The page did not render an h1 within 10 seconds'
    );
    return await heading.getText();
  } finally {
    await driver.quit();
  }
}

readHeading('https://example.com')
  .then(console.log)
  .catch((error) => {
    console.error(error);
    process.exitCode = 1;
  });
Choose selectors that are stable in the target application, preferably dedicated test attributes when available. If the target requires authentication, provide credentials through protected environment variables and automate the site’s supported sign-in flow; don’t commit secrets or reuse a local browser profile.
3. Configure Selenium in Heroku CI
Heroku CI needs both Chrome and the Node.js buildpack in its test environment. Put Chrome for Testing first, then the language buildpack. Add a test script if your project does not already define one in package.json. Heroku CI browser testing is documented as a beta feature, so check its current availability and limitations for your pipeline. Heroku CI browser and UAT documentation
{
  "environments": {
    "test": {
      "buildpacks": [
        { "url": "heroku-community/chrome-for-testing" },
        { "url": "heroku/nodejs" }
      ],
      "scripts": {
        "test": "npm test"
      }
    }
  }
}
Put this in app.json at the repository root. Heroku CI provisions the test environment and runs the configured test command. In package.json, make sure npm test actually executes your Selenium suite. For example:
{
  "scripts": {
    "test": "node test/browser-check.js"
  },
  "dependencies": {
    "selenium-webdriver": "^4.0.0"
  }
}
Use the Selenium version your project has selected and committed in its lockfile; the version range above is illustrative, not a tested compatibility matrix. CI needs the binding installed with the rest of the project’s dependencies. The browser buildpack installs Chrome and ChromeDriver; your code still needs to create Selenium options and launch the driver. To debug a test run, Heroku CI documents heroku ci:debug for entering a test dyno and inspecting the environment. Heroku CI setup and debugging
4. Understand the relevant options
| Setting | When to use it | Guidance |
|---|---|---|
--headless |
Normal dyno and CI automation | Runs Chrome without a visible desktop window. |
--no-sandbox |
Typical Heroku dyno launch | Heroku’s buildpack guidance lists it alongside headless mode for dynos. |
--disable-gpu |
Only if launch or rendering diagnosis points to a GPU issue | Heroku describes this as a possible additional flag, not a default requirement. |
--remote-debugging-port=9222 |
Only if required to diagnose a specific startup problem | Also conditional; don’t add it reflexively. |
GOOGLE_CHROME_CHANNEL |
Testing against a browser channel other than Stable | Supported values are Stable, Beta, Dev, and Canary. |
| PATH-based executable resolution | Normal Selenium setup | Let the buildpack’s chrome and chromedriver resolve from PATH rather than pinning its internal directory. |
Do not carry forward old examples that combine heroku/google-chrome with a separate heroku/chromedriver buildpack. Heroku recommends Chrome for Testing because the paired binaries stay aligned. The old Chrome shim behavior is not part of this setup; pass the required launch flags through Selenium’s Chrome options. Current buildpack instructions · Archived ChromeDriver buildpack
5. Reliability, performance, and cost
- Always quit: Call
driver.quit()infinally. A leaked Chrome process consumes dyno resources and can interfere with later work. - Bound waits: Use explicit waits with a timeout and a useful error message. Avoid indefinite waits, and avoid arbitrary long sleeps when a selector or application condition can describe readiness.
- Control concurrency: Each simultaneous WebDriver session starts a browser process. Limit concurrent sessions to what the dyno can support and close sessions promptly. Measure memory and duration with your actual pages; this guide makes no benchmark claim.
- Keep tests diagnostic: Log the target URL, operation, and failure stage without logging credentials or sensitive page content. On failure, distinguish browser startup, navigation, selector wait, and assertion errors.
- Expect remote pages to vary: Network delays, third-party scripts, bot checks, and changing markup can make automated tasks fail. Prefer controlled test fixtures for application tests and use bounded retries only for transient conditions.
- Account for platform runtime: Browser installation happens at build time; browser sessions consume dyno runtime while executing. Heroku CI test dynos and add-ons are billed according to Heroku’s applicable pricing, so include browser-test runtime in CI cost planning. Check current plan details rather than relying on an old estimate.
6. Troubleshooting
| Symptom | Likely cause | Fix |
|---|---|---|
chrome not found or driver cannot locate Chrome |
The Chrome for Testing buildpack did not run in this environment. | Check heroku buildpacks for app dynos; for CI, inspect environments.test.buildpacks in app.json. Redeploy or rerun CI after correcting the environment. |
| Chrome exits immediately or reports sandbox errors | Required dyno flags are missing. | Add --headless and --no-sandbox to chrome.Options() where the driver is created. |
| ChromeDriver and Chrome report a version mismatch | A legacy split buildpack or manually installed binary is taking precedence. | Remove old Chrome and ChromeDriver buildpacks and use the combined Chrome for Testing buildpack. Check for hard-coded executable paths or environment overrides. |
| Works locally, fails on Heroku | Local Chrome may differ from the buildpack browser, or local display/sandbox assumptions may not hold in a dyno. | Use the Heroku buildpack and flags in the dyno/CI configuration. Log the error stage and inspect the test environment with the Heroku CI debug command. |
| Navigation succeeds, but element lookup times out | Client-side rendering or a delayed request has not produced the selector, or the selector changed. | Wait for the relevant stable selector or state, confirm the selector against the current page, and set a realistic bounded timeout. |
| Test passes locally but is flaky in CI | Timing, remote dependencies, or test data differ between environments. | Use deterministic test data, wait on page conditions rather than fixed delays, and capture enough non-sensitive logs to locate the failure. |
| Recent deploy changes browser behavior | The Stable channel may have advanced, or the buildpack/runtime changed. | Review the selected channel and build output. Reproduce with a controlled channel where useful, then validate before returning to your normal channel. |
Or skip the browser setup
If your task is to capture a website image or PDF rather than interact with the page as a Selenium test, ScreenshotNeo provides a one-request screenshot API and an MCP server for AI agents. It is not a replacement for Selenium when a test must click controls, assert behavior, or exercise your application’s interactive flows.
One GET request can return a screenshot. The example saves the response as WebP; see the ScreenshotNeo API documentation for request options and response details.
curl -G "https://api.screenshotneo.com/v1/shot" \
  -d access_key=YOUR_API_KEY \
  --data-urlencode url=https://stripe.com \
  -o shot.webp
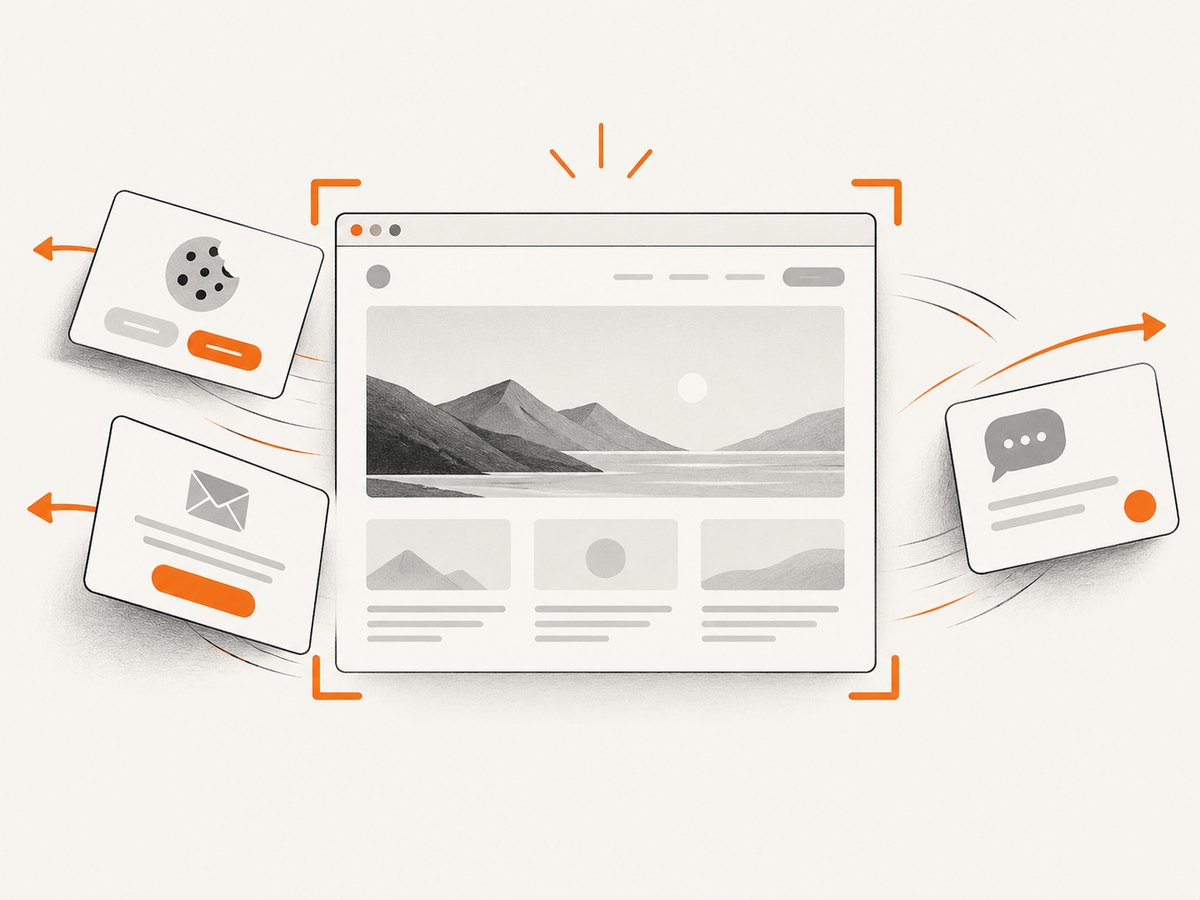
With Selenium, you maintain the browser binaries and driver lifecycle in your Heroku environment. ScreenshotNeo handles the capture request and offers clean shots: cookie banners, popups, and chat widgets are removed before the shot; bot checks, blank pages, and failed loads are never billed; and an MCP server lets AI agents take screenshots. The free plan includes 1,000 screenshots a month with no card, and paid plans start at $5 for 3,000. Sign up free for 1,000 screenshots a month, no card required.
FAQ
Does Selenium run JavaScript in headless Chrome?
Yes. Selenium drives Chrome, so the page’s JavaScript runs as it does in the browser, subject to the page, network, and browser conditions.
Does Heroku’s buildpack install the npm Selenium package?
No. It provides Chrome and ChromeDriver. Your Node.js project installs selenium-webdriver separately.
Can I use this for a screenshot-only job?
Yes, Selenium can capture screenshots, but it may be more browser setup than a one-request screenshot API needs. Use the method that matches whether you need browser interaction and assertions or just an image.
Do I need to set a Chrome binary path?
Normally no. The buildpack puts its executables on PATH; use PATH resolution unless your application has a specific reason to override it.


