How to Take and Save a Screenshot of a Specific Element with Selenium and Python
Capture one DOM element as a PNG with Selenium Python, wait for dynamic content, save reliably in CI, and troubleshoot cropping and missing files.

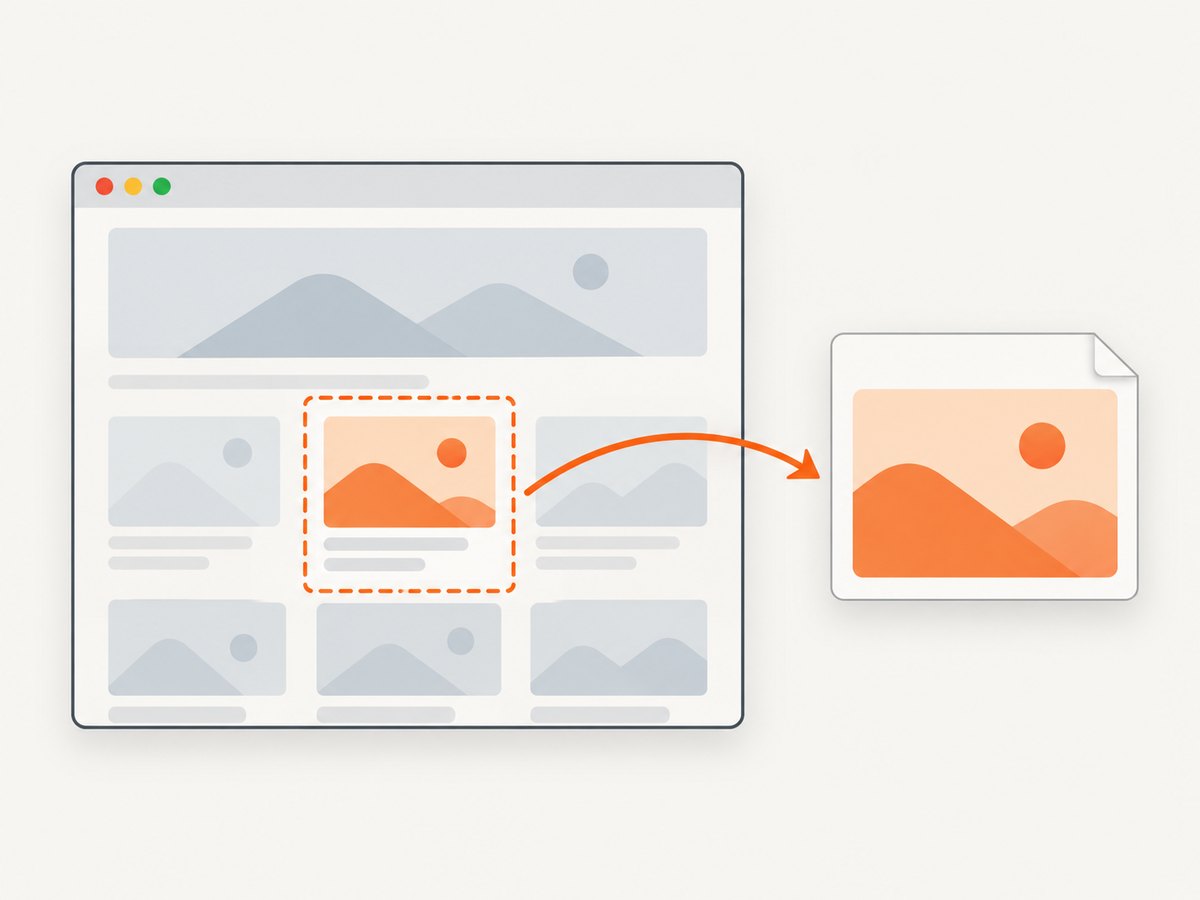
To save a screenshot of one element with Selenium and Python, locate it with driver.find_element(...) and call element.screenshot("path/to/file.png"). Selenium writes a PNG of the current element; create the destination folder first, use a stable locator, and check the method’s return value. This is different from driver.save_screenshot(...), which captures the current browser window.
1. Install Selenium and prepare a browser
Use Python 3 and Selenium’s Python package. This example uses Chrome; Selenium starts and manages the browser through its WebDriver support. Follow the official [Selenium installation documentation](https://www.selenium.dev/documentation/webdriver/getting_started/install_drivers/) for browser and driver setup details.
python -m pip install seleniumSave the following as element_screenshot.py. It opens a page, waits for an h1 element, saves its image under a created output directory, and fails clearly if the screenshot could not be written.
from pathlib import Path

from selenium import webdriver
from selenium.webdriver.common.by import By
from selenium.webdriver.support import expected_conditions as EC
from selenium.webdriver.support.ui import WebDriverWait

output_dir = Path("artifacts")
output_dir.mkdir(parents=True, exist_ok=True)
output_file = output_dir / "page-heading.png"

with webdriver.Chrome() as driver:
    driver.get("https://example.com")
    element = WebDriverWait(driver, 15).until(
        EC.visibility_of_element_located((By.CSS_SELECTOR, "h1"))
    )
    saved = element.screenshot(str(output_file))
    if not saved:
        raise OSError(f"Selenium could not write {output_file.resolve()}")

print(f"Saved element screenshot to {output_file.resolve()}")
The Selenium Python WebElement API documents screenshot(filename) as saving the current element to a PNG image file. The method returns False if an I/O error occurs. Selenium’s implementation writes the returned PNG bytes to the supplied path and warns if its extension is not .png.
2. Choose a locator that survives page changes
A screenshot is only as dependable as the element selection. Selenium’s Python API offers the following locator strategies; use the narrowest selector that reflects a stable feature of the page.
| Strategy | Example | Useful when |
|---|---|---|
| ID | By.ID, "checkout-total" |
The page exposes a stable, unique ID. |
| CSS selector | By.CSS_SELECTOR, "main .summary" |
You need a concise selector based on class, attribute, or ancestry. |
| Name | By.NAME, "email" |
A form control has a useful name attribute. |
| Class name | By.CLASS_NAME, "product-card" |
A single class identifies the target. For multiple classes, use CSS. |
| Tag name | By.TAG_NAME, "h1" |
The page has one relevant element of that tag or you will select among results. |
| XPath | By.XPATH, "//section[@aria-label='Order summary']" |
The selection depends on structure or conditions that are awkward in CSS. |
| Link text | By.LINK_TEXT, "View receipt" |
You need to locate an anchor by its full visible text. |
| Partial link text | By.PARTIAL_LINK_TEXT, "receipt" |
A stable substring identifies the link. |
These strategies are listed in the Selenium Python By API. Prefer an ID or a dedicated test attribute when the page provides one. Deep selectors tied to incidental layout can break when the site’s markup changes.
If a selector matches multiple nodes, find_element returns the first match. Make the selector more specific, or use find_elements and select by a meaningful condition. If no node matches, Selenium raises NoSuchElementException; waiting can solve a timing problem, but it cannot fix an incorrect selector.
3. Wait for the right state before capture
Modern pages often render or replace content after navigation. An immediate lookup may happen before the element exists, and an immediate screenshot may catch a skeleton, animation, or incomplete content. An explicit wait lets the script proceed only when a condition is true.
from selenium.webdriver.support import expected_conditions as EC
from selenium.webdriver.support.ui import WebDriverWait

locator = (By.CSS_SELECTOR, "[data-testid='price-card']")
element = WebDriverWait(driver, 20).until(
    EC.visibility_of_element_located(locator)
)
element.screenshot("artifacts/price-card.png")
Use presence_of_element_located if the node only needs to exist in the DOM. Use visibility_of_element_located when it must also be displayed with nonzero dimensions. If the page updates the element later, wait for the particular text, attribute, or state that indicates the desired content is ready. A fixed sleep can be appropriate for a known animation or unavoidable delay, but it wastes time when the page is already ready and may still be too short on a slow run.
4. Save the PNG safely
For local work, a relative path is convenient. In CI, resolve the output location explicitly and make sure the runner can write there. Here is a reusable helper that creates the parent directory, checks the return value, and uses an absolute path in its error message.
from pathlib import Path
from selenium.webdriver.remote.webelement import WebElement

def save_element_png(element: WebElement, destination: str | Path) -> Path:
    path = Path(destination).expanduser().resolve()
    path.parent.mkdir(parents=True, exist_ok=True)
    if path.suffix.lower() != ".png":
        raise ValueError(f"Element screenshots must use a .png path: {path}")
    if not element.screenshot(str(path)):
        raise OSError(f"Selenium could not write the screenshot: {path}")
    return path

# After locating and waiting for your element:
written = save_element_png(element, "artifacts/checkout-total.png")
print(written)
Keep generated screenshots in an artifacts directory rather than among source files. In parallel tests, use a distinct filename per test and run so one worker does not overwrite another worker’s evidence. Configure your CI system to retain or publish that directory if you need to inspect the images after the job ends.
5. Understand element capture versus window capture
Use element.screenshot(...) for one DOM element. Use driver.save_screenshot(...) for the browser’s current window. The methods capture different scopes, so changing between them changes what the output represents.
# One DOM element
card = driver.find_element(By.CSS_SELECTOR, ".product-card")
card.screenshot("artifacts/product-card.png")

# Current browser window
ok = driver.save_screenshot("artifacts/current-window.png")
if not ok:
    raise OSError("Could not save the browser window screenshot")
The WebDriver specification describes element screenshots as best effort: an implementation may return the whole element or only its visible portion. Clipping, off-screen position, unusual layout, and browser/driver behavior can therefore affect the result. If the image is cropped unexpectedly, scroll the element into view and check that the browser and driver versions are compatible before considering a workaround.
6. Troubleshooting common failures
| Symptom | Likely cause | Fix |
|---|---|---|
NoSuchElementException |
Wrong selector, wrong page, or lookup before rendering. | Verify the URL and selector in the live DOM; wait for presence or visibility if rendering is asynchronous. |
TimeoutException from an explicit wait |
The condition never became true within the timeout. | Check the locator, page state, visibility, and whether the content is inside an iframe. Switch to the relevant frame before finding its element. |
| Screenshot file is missing | Parent directory does not exist, path is relative to a different working directory, or runner cannot write there. | Create the directory, print or resolve the full destination path, and choose a writable artifacts location. |
The method returns False |
An I/O error occurred while writing the PNG. | Check permissions and disk space; use a writable path and report the resolved filename. |
| Unexpected extension or warning | The filename does not end in .png. |
Use a .png extension. The method returns PNG data rather than converting to arbitrary formats. |
| Image contains only part of the element | Element capture is best effort; clipping or driver behavior may limit the captured portion. | Scroll into view, inspect the element’s bounds and overflow, and confirm browser/driver versions. |
| Image is blank or shows a loading state | Capture ran before the desired content was rendered, or the element is hidden. | Wait for visibility and for an application-specific ready condition; confirm the element has dimensions. |
StaleElementReferenceException |
The page replaced the node after it was located. | Wait for the update, then locate the element again rather than reusing the stale reference. |
| Element is inside an iframe | Find operations still target the top-level document. | Switch with driver.switch_to.frame(...), locate and capture the element, then return with driver.switch_to.default_content(). |
For a frame, identify it by a stable locator, switch into it, then perform the normal wait-and-capture flow:
frame = driver.find_element(By.CSS_SELECTOR, "iframe.payment-frame")
driver.switch_to.frame(frame)
try:
    field = WebDriverWait(driver, 10).until(
        EC.visibility_of_element_located((By.NAME, "cardnumber"))
    )
    field.screenshot("artifacts/card-number-field.png")
finally:
    driver.switch_to.default_content()
7. Reliability, performance, and cost considerations
Element capture avoids collecting unrelated page content, which can make a focused test artifact easier to review. It still requires a browser session, a loaded page, a correct locator, and a writable destination. Add an explicit wait, deterministic naming, a return-value check, and useful failure context to make automation easier to diagnose. Do not assume a fixed capture time or cross-browser crop behavior; the supplied Selenium documentation does not publish a numeric performance guarantee.
For CI, browser startup and navigation are generally part of the workflow’s resource use, so reuse a driver within a test where appropriate and close it reliably. The context manager in the complete example closes the driver when the block ends. Save only artifacts your workflow needs, since files consume workspace storage and may contain page data that should be handled under your project’s normal retention practices.
8. Or skip the browser setup
If you need a screenshot without installing and managing WebDriver, ScreenshotNeo is a website screenshot API and MCP server. Its endpoint accepts a URL and returns an image or PDF; this one-call example requests a WebP screenshot. See the API documentation for request options, including selecting an element by CSS selector.

import requests

r = requests.get(
    "https://api.screenshotneo.com/v1/shot",
    params={"access_key": "YOUR_API_KEY", "url": "https://example.com"},
    timeout=90,
)
r.raise_for_status()
open("shot.webp", "wb").write(r.content)
ScreenshotNeo removes cookie banners, newsletter popups, and chat widgets before capture, with each cleanup step configurable. Bot checks, blank pages, failed loads, timeouts, and cache hits are not billed; response headers identify the page verdict and billing status. Its MCP server exposes take_screenshot, get_page_info, and capture_pdf for AI agents. The free plan includes 1,000 screenshots per month with no card, and paid plans start at $5 for 3,000 shots. Create a free account for 1,000 screenshots a month, with no card.
9. cURL and Node.js alternatives
If your task is to capture a page by URL rather than an element inside a Selenium-controlled browser, the same ScreenshotNeo endpoint can be called from cURL or Node.js. The API accepts the target URL as a parameter; see its docs for output and capture options.
curl -G "https://api.screenshotneo.com/v1/shot" \
  -d access_key=YOUR_API_KEY \
  --data-urlencode url=https://example.com \
  -o shot.webp
const q = new URLSearchParams({
access_key: 'YOUR_API_KEY',
url: 'https://example.com'
});
const res = await fetch(`https://api.screenshotneo.com/v1/shot?${q}`);
if (!res.ok) throw new Error(`Screenshot request failed: ${res.status}`);
const bytes = new Uint8Array(await res.arrayBuffer());
await import('node:fs/promises').then(fs => fs.writeFile('shot.webp', bytes));These URL-based calls capture a page, while Selenium’s WebElement.screenshot targets a specific DOM node in the browser session. Choose based on whether the required boundary is a URL or an element already selected in your automation flow.
10. FAQ
Does Selenium save an element screenshot as PNG?
Yes. WebElement.screenshot(filename) writes a PNG image to the given path. Use a filename ending in .png.
Can I capture an element without taking a whole-page screenshot?
Yes. Call screenshot on the located WebElement. A driver-level screenshot captures the current browser window instead.
Why is my element screenshot clipped?
The WebDriver element screenshot behavior is best effort and may include only the visible portion. Scroll the target into view and inspect clipping or overflow in the page.
Can Selenium save directly to JPEG?
The element screenshot method produces PNG data. If another image format is needed, save the PNG and convert it with an image library as a separate step.


