How to Capture Element Screenshots with Selenium in Python
Capture one page element with Selenium in Python, save PNGs or bytes, handle waits and failures, and compare an API-based workflow.
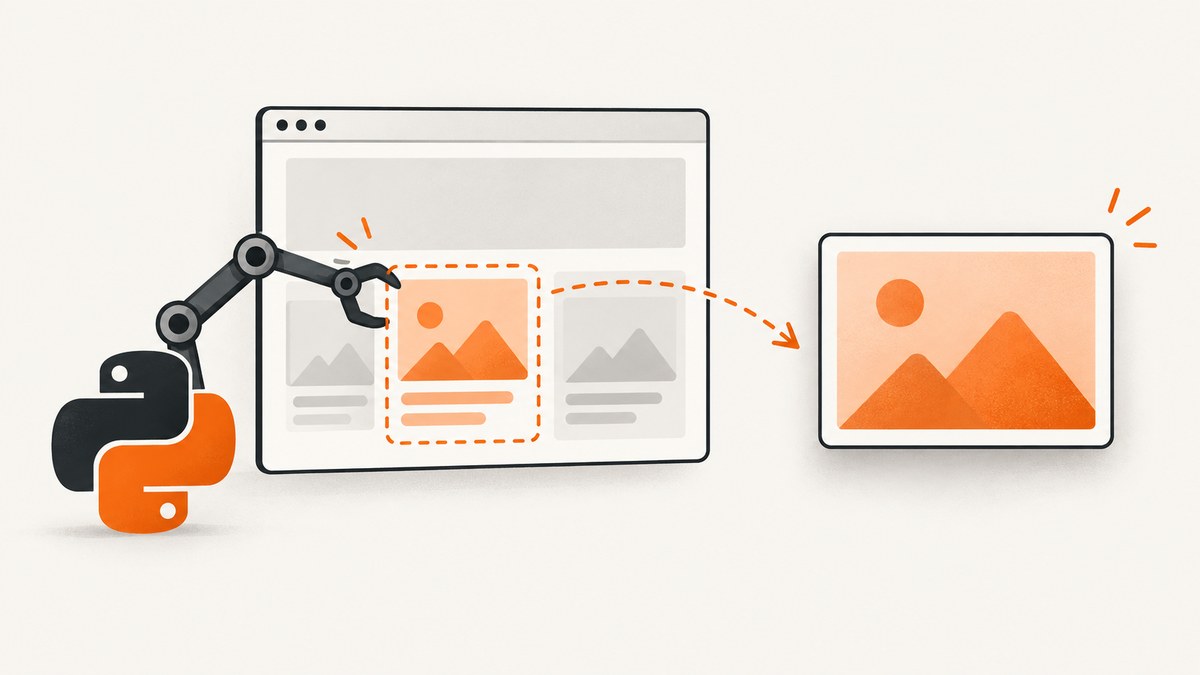
Direct answer: find the target WebElement, make sure the page is in the state you want, then call element.screenshot('element.png'). Selenium saves a PNG of that element and returns True or False for the file write. The same element can also be read as PNG bytes with element.screenshot_as_png or as base64 text with element.screenshot_as_base64. The official Selenium implementation documents this as “Save a PNG screenshot of the current element to a file.”
This guide shows a complete Python workflow, reliable waits, locator choices, in-memory output, high-DPI considerations, common failures, and an API alternative when you do not want to operate a browser yourself.
1. Install Selenium and a browser driver
Install the Python package in your virtual environment:
python -m pip install -U seleniumRecent Selenium releases can manage a compatible driver for common browsers through Selenium Manager. If your environment does not allow automatic driver management, install Chrome, Chromium, Firefox, or another supported browser and provide the driver path according to your deployment setup.
A headless Linux server needs a browser installed as well. Container images should include the browser and its shared libraries; a Python package alone cannot render a page.
2. Minimal element screenshot
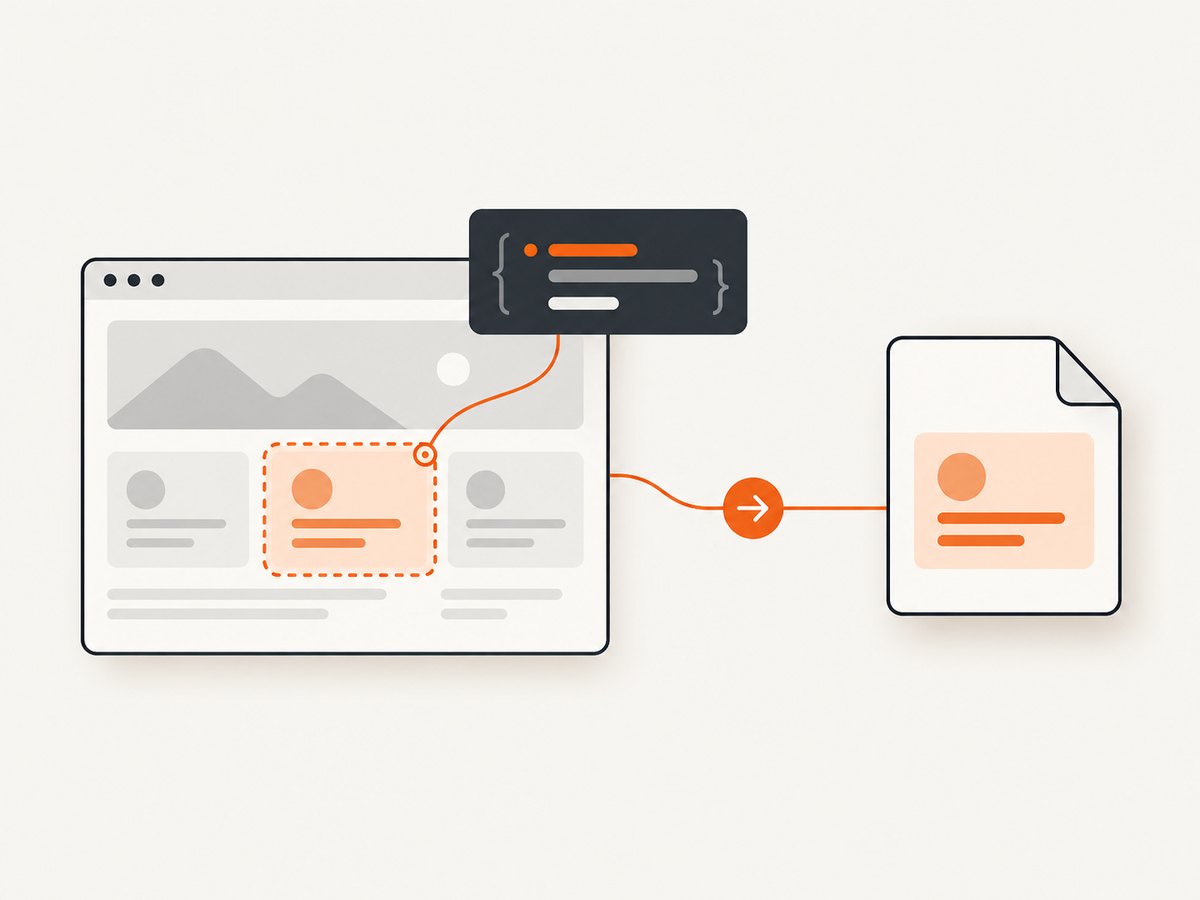
The following script opens a page, selects the main element, saves it as a PNG, checks the documented boolean result, and always closes the browser:
from selenium import webdriver
from selenium.webdriver.common.by import By


driver = webdriver.Chrome()
try:
    driver.get('https://example.com')
    element = driver.find_element(By.CSS_SELECTOR, 'main')
    saved = element.screenshot('element.png')
    if not saved:
        raise OSError('Could not save element screenshot')
finally:
    driver.quit()
Use a full path when the destination must be predictable, for example /tmp/captures/element.png. The Selenium Python implementation writes a PNG and returns a boolean indicating whether the file was saved. See the official WebElement implementation and the WebDriver API reference.
3. Select the correct element
Your locator determines what is captured. Prefer a stable ID or a purposeful data attribute when the application provides one:
element = driver.find_element(By.ID, 'invoice-preview')
# or
 element = driver.find_element(By.CSS_SELECTOR, '[data-testid="invoice-preview"]')
# or
 element = driver.find_element(By.XPATH, "//section[@aria-label='Invoice preview']")
Remove the accidental leading space before the second example if you copy it into a file. CSS selectors are usually easiest to read and maintain. Avoid selectors based on generated class names that change on every build.
If more than one node matches, find_element returns the first match. Use find_elements when you intend to capture several matches:
cards = driver.find_elements(By.CSS_SELECTOR, '.product-card')
for index, card in enumerate(cards, start=1):
    card.screenshot(f'product-card-{index}.png')
For diagnostic work, inspect element.size and element.location. A zero width or height usually means the element is hidden, collapsed, or not yet laid out.
4. Wait for the page state, not an arbitrary delay
A screenshot is only as useful as the state it captures. Navigation returning does not guarantee that an image, chart, web font, or client-rendered component is ready. Use an explicit wait for a meaningful condition:
from selenium.webdriver.support.ui import WebDriverWait
from selenium.webdriver.support import expected_conditions as EC

wait = WebDriverWait(driver, 20)
element = wait.until(
    EC.visibility_of_element_located((By.CSS_SELECTOR, '[data-testid="invoice-preview"]'))
)
element.screenshot('/tmp/invoice-preview.png')
Other useful conditions include presence_of_element_located when visibility is not required, element_to_be_clickable before an interaction, and a custom predicate for a loading indicator disappearing:
def loading_finished(browser):
    return not browser.find_elements(By.CSS_SELECTOR, '.loading-spinner')

wait.until(loading_finished)
Use a short, controlled delay only when a page has an animation or delayed paint that cannot be observed through a DOM condition. A fixed sleep is not universally necessary and can make a suite slower or still race the page.
5. Scroll and layout behavior
Selenium captures the selected element, including content outside the currently visible viewport when the browser can render it. To make the intended position explicit, scroll it into view before capture:
driver.execute_script(
    "arguments[0].scrollIntoView({block: 'center', inline: 'nearest'});",
    element,
)
element.screenshot('/tmp/centered-element.png')
The API also exposes location_once_scrolled_into_view, but Selenium documents that helper with a caution that its behavior may change without warning. Treat it as a diagnostic aid rather than a stable screenshot contract. If a sticky header overlaps the result, scroll with JavaScript and add a small page-specific adjustment.
For content that expands as it is viewed, trigger the expansion first. Lazy images may require scrolling, waiting for a nonzero natural width, or removing a collapsed state before the screenshot.
6. Save to a file, memory, or base64
Use the file method for an artifact on disk:
ok = element.screenshot('/tmp/element.png')
if not ok:
    raise OSError('Selenium did not save the screenshot')
Use screenshot_as_png when you want to upload or process bytes without a temporary file:
png_bytes = element.screenshot_as_png
with open('/tmp/element-from-bytes.png', 'wb') as output:
    output.write(png_bytes)
Use screenshot_as_base64 for systems that accept base64 text:
import base64

encoded = element.screenshot_as_base64
png_bytes = base64.b64decode(encoded)
Both properties represent the same PNG capture. They do not produce JPEG or WebP output through the WebElement API.
7. Full runnable example with a robust setup
from pathlib import Path

from selenium import webdriver
from selenium.webdriver.common.by import By
from selenium.webdriver.support.ui import WebDriverWait
from selenium.webdriver.support import expected_conditions as EC


URL = 'https://example.com'
SELECTOR = 'main'
OUTPUT = Path('/tmp/selenium-element.png')

options = webdriver.ChromeOptions()
options.add_argument('--headless=new')
options.add_argument('--window-size=1440,1200')

OUTPUT.parent.mkdir(parents=True, exist_ok=True)
driver = webdriver.Chrome(options=options)
try:
    driver.get(URL)
    wait = WebDriverWait(driver, 20)
    element = wait.until(
        EC.visibility_of_element_located((By.CSS_SELECTOR, SELECTOR))
    )
    driver.execute_script(
        "arguments[0].scrollIntoView({block: 'center'});", element
    )
    saved = element.screenshot(str(OUTPUT))
    if not saved:
        raise OSError(f'Could not save screenshot to {OUTPUT}')
    print(f'Saved {OUTPUT} ({element.size})')
finally:
    driver.quit()
Adjust the browser options for your environment. A larger window can change responsive layout and therefore the element dimensions. Keep the viewport fixed when screenshots are compared in tests.
8. Element screenshot versus window screenshot
| Need | Use | Result |
|---|---|---|
| One selected component | element.screenshot(filename) |
PNG of that WebElement |
| PNG bytes | element.screenshot_as_png |
Bytes in memory |
| Base64 text | element.screenshot_as_base64 |
Base64 encoded PNG |
| Current browser window | driver.save_screenshot(filename) |
Window screenshot |
A WebDriver screenshot is the right choice for the visible browser window. It does not substitute for selecting a particular node. Conversely, an element screenshot is not a full-page capture tool: it targets the selected element and its rendered box.
9. Common errors and fixes
| Error or symptom | Cause | Fix |
|---|---|---|
NoSuchElementException |
The selector is wrong, the route has not loaded, or the element is inside an iframe. | Verify the selector in browser developer tools, wait for the element, and switch to the correct frame with driver.switch_to.frame(...) before locating it. |
StaleElementReferenceException |
A client-side render replaced the node after you located it. | Wait for the update to finish, then locate the element again immediately before capture. |
| Screenshot is blank or tiny | The element is hidden, collapsed, covered, or not laid out. | Check element.size, wait for visibility, scroll it into view, and confirm CSS does not set zero dimensions. |
| Wrong duplicate element | The selector matches several nodes. | Use a unique ID, add a parent scope, or choose an explicit index from find_elements. |
| Missing images or fonts | Resources are still loading, blocked, or lazy loaded. | Wait for a resource-specific condition, scroll the element, and check browser logs and network access. |
| File is not created | The directory does not exist or the process cannot write there. | Create the directory, use an absolute path, check permissions, and handle the method's False return. |
| Driver startup failure | Browser, driver, or required system libraries are unavailable. | Install a supported browser, let Selenium Manager resolve its driver, or configure a matching driver explicitly. |
| Element is in a shadow root | Normal document locators cannot cross the shadow boundary. | Access the shadow root first, then locate the descendant element within it. |
| Unexpected mobile layout | Viewport or device emulation differs from the expected environment. | Set a deterministic window size or mobile emulation configuration before navigation. |
10. Reliability and performance checklist
- Pin the browser and Selenium versions in CI when pixel stability matters.
- Use explicit waits tied to application state; avoid long global sleeps.
- Capture after animations finish, or disable transitions in a test-only stylesheet.
- Set a fixed viewport, timezone, locale, and test data when visual diffs must be repeatable.
- Close every driver in a
finallyblock so failed tests do not leak browser processes. - Write unique filenames for parallel jobs and create the output directory before capture.
- Retry navigation or the capture only for transient infrastructure failures; repeated selector failures usually indicate a real page change.
- Keep screenshots at the smallest required scope. Element captures generally use less storage and are easier to compare than whole-window images.
Capture time is dominated by browser startup, navigation, JavaScript execution, and resource loading. Reusing one driver for a controlled batch can avoid repeated startup cost, but isolate tests when state, cookies, or memory growth could affect results.
11. Or skip the browser setup
If you only need an element image from a public page, ScreenshotNeo provides a hosted screenshot API. Its element capture accepts a CSS selector, alongside full-page capture, custom CSS and JavaScript, waits, device presets, retina scale, headers, cookies, user agents, blocking rules, caching, and other options. Read the parameter details in the ScreenshotNeo documentation.
curl -G 'https://api.screenshotneo.com/v1/shot' \
  -d access_key=YOUR_API_KEY \
  --data-urlencode url=https://example.com \
  --data-urlencode selector=main \
  -o element.webp
The API returns PNG, JPEG, WebP, or PDF depending on the requested output. Here are complete Python and Node.js requests; add the selector parameter when you want one element:
import requests

r = requests.get(
    'https://api.screenshotneo.com/v1/shot',
    params={
        'access_key': 'YOUR_API_KEY',
        'url': 'https://example.com',
        'selector': 'main',
    },
    timeout=90,
)
r.raise_for_status()
open('element.webp', 'wb').write(r.content)
const q = new URLSearchParams({
access_key: 'YOUR_API_KEY',
url: 'https://example.com',
selector: 'main'
});
const res = await fetch(`https://api.screenshotneo.com/v1/shot?${q}`);
if (!res.ok) throw new Error(`HTTP ${res.status}`);
const bytes = Buffer.from(await res.arrayBuffer());
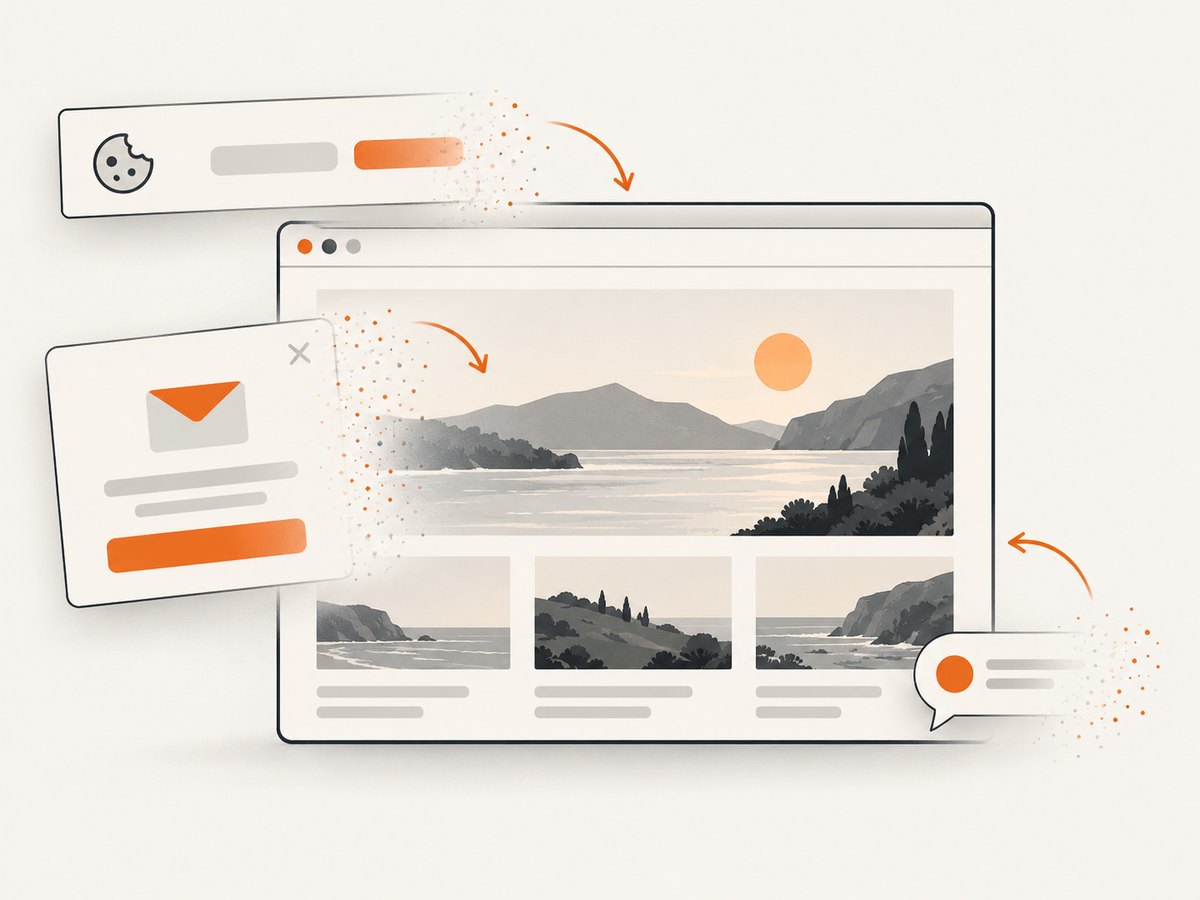
require('node:fs').writeFileSync('element.webp', bytes);ScreenshotNeo accepts cookie and consent banners before capture and removes more than 60 known consent platforms, newsletter popups, and chat widgets; each step can be turned off. Bot checks, blank pages, timeouts, failed loads, and cache hits are not billed, and the response identifies the result with X-Page-Verdict and X-Billed headers. An MCP server provides take_screenshot, get_page_info, and capture_pdf tools for Claude, Cursor, and other MCP clients.
Free accounts include 1,000 screenshots each month with no card. Paid plans start at $5 for 3,000 shots, and every feature is available on every plan. Create a free ScreenshotNeo account.
12. Cost and operational notes
Running Selenium costs the compute and maintenance of a browser environment: browser processes, driver compatibility, fonts, system libraries, storage, and your own retry and queue logic. It is a good fit when you need access to an authenticated session, local files, or custom browser instrumentation.
An API shifts that browser operation to a service and gives you an HTTP response to store or stream. For ScreenshotNeo, only clean shots are billed; failed loads and cache hits are free. Choose a cache TTL when repeated captures are acceptable, use signed links for public image tags, and use asynchronous jobs with signed webhooks for slower or larger batches. Bulk capture supports up to 100 URLs per call, and a usage API helps reconcile consumption.
13. FAQ
Does Selenium save an element as JPEG?
No. The WebElement screenshot methods produce PNG output. Convert the bytes with an image library if another format is required.
Can I capture an element that is below the fold?
Yes, when the browser can render it. Wait for it, then scroll it into view before calling screenshot.
Why does my element screenshot differ between machines?
Viewport size, browser version, fonts, device pixel ratio, locale, timezone, animations, and dynamic data can all change rendering. Fix those inputs for repeatable output.
Should I use driver.save_screenshot instead?
Use it for the current browser window. Use element.screenshot when the output scope is one selected element.
Can an API replace Selenium for private pages?
It depends on the authentication model. ScreenshotNeo supports custom headers, cookies, user agents, and Authorization values; verify that your access method is compatible before moving a private workflow.


