How to Take Screenshots with Selenium WebDriver on Heroku
Run Selenium with headless Chrome on Heroku, save screenshots locally, and upload artifacts that must survive dyno restarts.
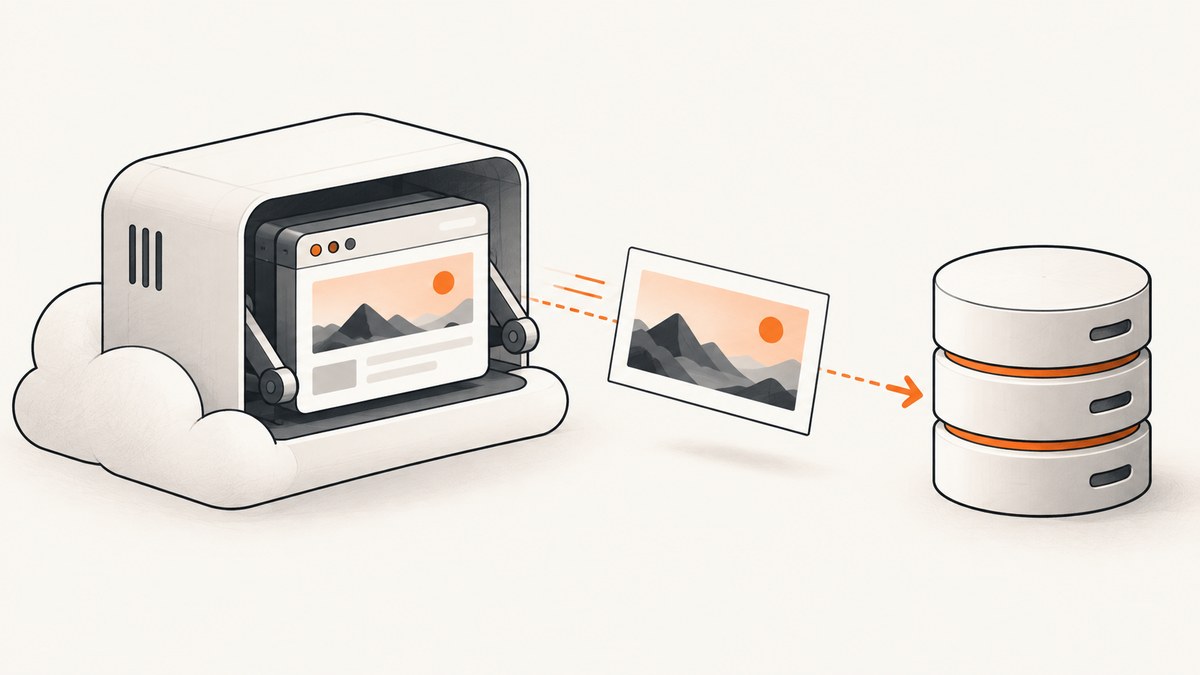
To take a screenshot with Selenium WebDriver on Heroku, run headless Chrome with ChromeDriver, navigate to the target page, and call WebDriver’s screenshot method. In Heroku CI, Heroku documents the heroku-community/chrome-for-testing buildpack for providing Chrome and ChromeDriver. A screenshot saved on a dyno is temporary: upload it to object storage if it needs to survive a process exit, restart, or dyno replacement.
The key distinction is between capturing an image and retaining it. Selenium can write a PNG successfully and the file can still disappear when the dyno stops. This guide shows the documented Heroku CI setup and a runnable Python example, then explains durable storage, troubleshooting, and operational tradeoffs.
1. Check whether the Heroku CI recipe fits
Heroku’s documented browser testing path is part of Heroku CI’s user acceptance testing (UAT) feature. Before adopting it, check your pipeline generation and current browser support: Heroku labels CI browser/UAT support beta and best effort, says it is unavailable for Fir-generation pipelines, and warns that browser support can change without notice. See Heroku’s browser and UAT guide.
The documented approach needs three pieces:
- Chrome and ChromeDriver: the Chrome for Testing buildpack supplies the browser components for the CI test environment.
- A Selenium language binding: add the binding for the language and version used by your test suite.
- Driver options in your test code: instantiate WebDriver with suitable options, including headless mode, and write the test that navigates to the page and captures the image.
The buildpack provides browser components; it does not write, launch, or run your Selenium test for you. Heroku recommends headless Chrome for UAT. Its explanation is that headless mode uses the browser without spending cycles rendering content to the screen. The exact Selenium setup is language-binding-specific, so check the current documentation for the Selenium version you install.
2. Configure Chrome for Testing in Heroku CI
For the Heroku CI UAT route, add the Chrome for Testing buildpack to the test environment’s buildpacks in app.json. Heroku’s example uses this buildpack declaration:
{
  "environments": {
    "test": {
      "buildpacks": [
        { "url": "heroku-community/chrome-for-testing" }
      ]
    }
  }
}
If your test environment already declares buildpacks, include the Chrome buildpack alongside the existing entries, following the structure of your app’s current app.json. Once the test environment is built, the guide says chrome and chromedriver are available to the test run.
Keep the browser setup in the test environment where the documented UAT workflow expects it. The buildpack alone does not cause a screenshot to be taken. Your application still needs a test command, test framework, and Selenium code that creates a driver and exercises the page. If you are using a different Heroku runtime or deployment workflow rather than Heroku CI UAT, verify that the browser components are installed and available in that environment; do not assume the CI buildpack declaration automatically configures every runtime.
3. Capture a screenshot with Selenium WebDriver
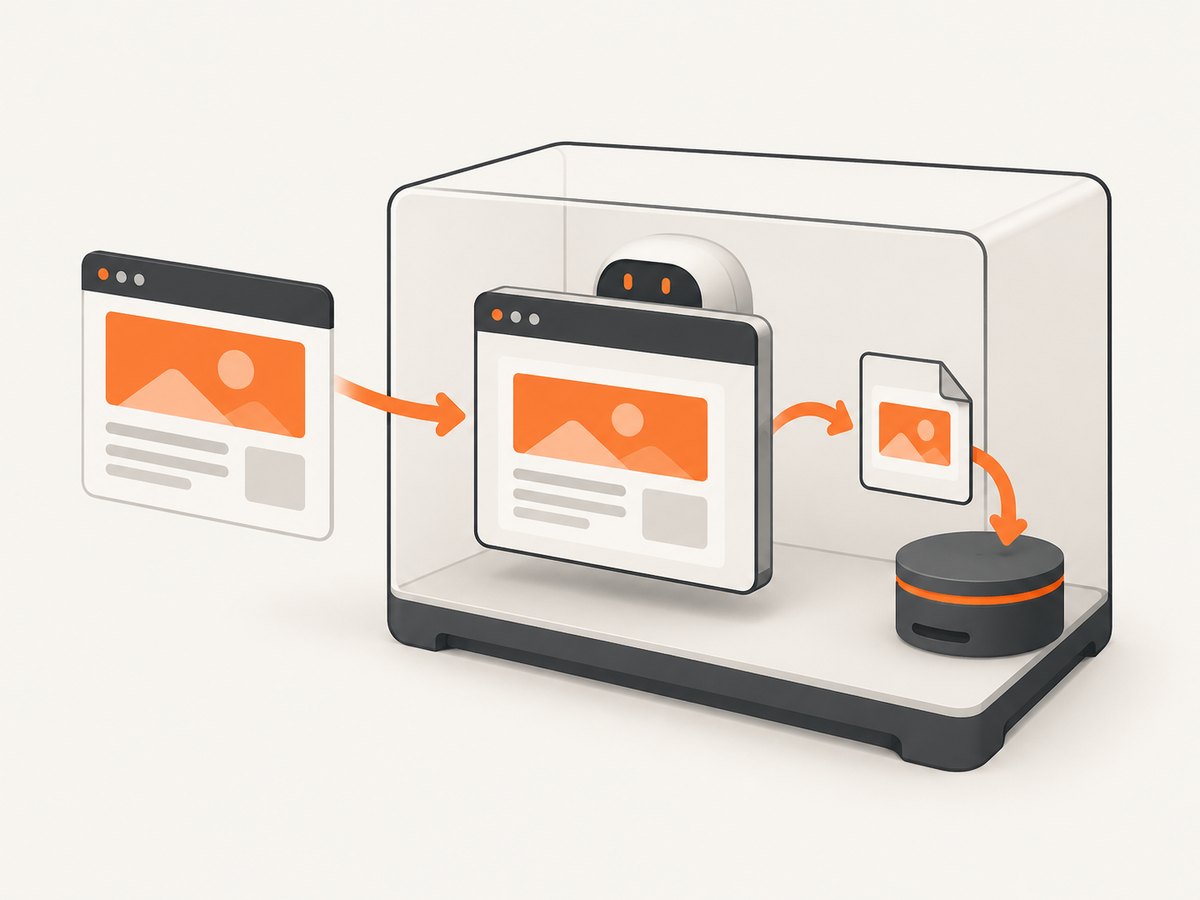
Here is a minimal Python test using Selenium 4. Install the Selenium binding in your test dependencies, then run this code in the environment where Chrome and ChromeDriver are available. The test writes a PNG to the current working directory, checks the return value, and always closes the browser.
from pathlib import Path
from selenium import webdriver
from selenium.webdriver.chrome.options import Options


def capture_page(url: str, output_path: str = "artifacts/page.png") -> Path:
    output = Path(output_path)
    output.parent.mkdir(parents=True, exist_ok=True)

    options = Options()
    options.add_argument("--headless")
    options.add_argument("--no-sandbox")
    options.add_argument("--disable-dev-shm-usage")
    options.add_argument("--window-size=1440,1000")

    driver = webdriver.Chrome(options=options)
    try:
        driver.set_page_load_timeout(45)
        driver.get(url)
        saved = driver.save_screenshot(str(output))
        if not saved:
            raise RuntimeError(f"WebDriver did not save screenshot to {output}")
        return output
    finally:
        driver.quit()


if __name__ == "__main__":
    path = capture_page("https://example.com")
    print(f"Saved screenshot: {path}")
The Selenium binding’s current driver-management behavior and the installed Chrome/ChromeDriver pairing can differ by version and environment. Heroku’s guide establishes the availability of the browser components in its CI path; confirm your binding’s current driver configuration if it attempts to download or locate a different driver. The options above are Chrome command-line options passed through Selenium; headless mode is the central requirement for the documented UAT style. The other flags are common container adjustments and may not be needed in every environment.
Screenshot scope and file format
save_screenshot() captures the current browser viewport to PNG. Set the window size before navigation or capture when a stable viewport matters. If you need the whole document rather than the viewport, Selenium’s basic screenshot call alone should not be treated as a portable full-page capture feature; browser-specific techniques can vary. Verify the behavior you choose against the Chrome and Selenium versions in your environment.
To capture a specific application state, navigate to the page, perform the needed interactions, and wait for a page condition before saving. A fixed sleep is easy to write but makes every run wait the full duration and can still be too short on a slow response. Prefer an explicit wait for a known element or condition in your test framework, using that framework’s documented Selenium APIs.
4. Know where the screenshot goes
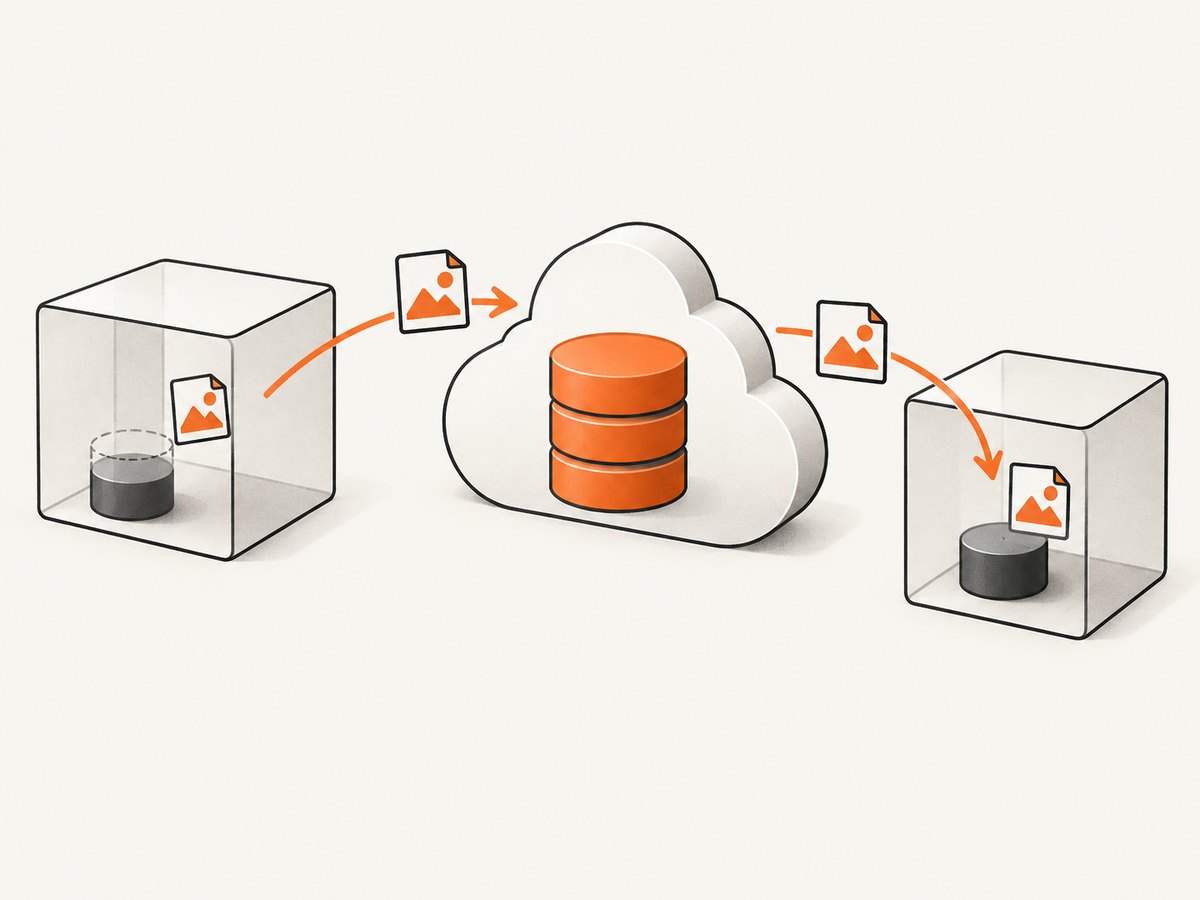
A local path such as artifacts/page.png is useful as a temporary artifact while the process and dyno are alive. It is not durable storage. Heroku documents that each dyno has its own ephemeral filesystem, writes are discarded when a dyno stops or restarts, and files are not visible to other dynos. Its deployment guidance also says local files outside the app slug are lost when a dyno is replaced, which occurs at least daily. See Dyno Isolation, Dynos (App Containers), and Preparing a Codebase for Heroku Deployment.
Choose storage according to the artifact’s lifetime:
| Need | Where to write | What to expect |
|---|---|---|
| Inspect a file during the same test run | Temporary dyno path | Useful during that process; do not rely on it after the dyno stops. |
| Keep a screenshot after the run or retrieve it later | Managed object storage | Upload the file while the process can still read it; retain its object key or URL. |
| Read it from another dyno | Managed object storage | Dynos do not share their local filesystems. |
Heroku names Amazon S3 as an object-storage option and documents using it for static assets and uploads. It is an example, not the only possible object store. See Using AWS S3 to Store Static Assets and File Uploads. The storage integration is separate from Selenium: capture to a local file, upload that file using your storage client, and handle upload failures before discarding the local copy.
Upload sequence and reliability
- Create a unique output name for each run or test case so parallel jobs do not overwrite one another.
- Capture the screenshot and check that the screenshot call succeeded.
- Upload the file to the object store using that service’s client and credentials configured for the environment.
- Check the upload result, record the object key, and expose or retain the file only according to your application’s access rules.
- Remove the temporary file when it is no longer needed; it will not serve as the retained copy.
Keep credentials in the platform’s configuration rather than committing them with the test code. Treat browser capture and storage upload as separate failure points: a successful screenshot does not prove the upload succeeded. For important test evidence, report upload failure explicitly and preserve the test’s failure status instead of silently logging success.
5. Tune capture time and resource use
Headless mode avoids displaying a browser window, but the browser still loads and renders the page. Capture time depends on the target site, network, assets, and any waits your test performs. Avoid waiting for an arbitrary long period on every run. Use a page-load timeout as a bound and wait for the particular content that must appear in the image.
- Choose a deliberate viewport. Set width and height to match the scenario under test; consistent dimensions make image comparisons easier to interpret.
- Limit parallel browsers to available capacity. Each browser process consumes resources. If runs become slow or unstable, reduce concurrency and inspect browser logs before increasing it.
- Keep artifacts purposeful. Large numbers of screenshots increase upload, retention, and retrieval work. Use unique names and a retention policy appropriate to the tests.
- Separate capture from storage. Keep the screenshot temporarily until upload confirmation, then rely on the object store for persistence.
The research sources do not provide a benchmark for screenshot duration or a fixed resource allocation, so measure against your app, page set, and CI workload. The tradeoff is operational: shorter waits and lower concurrency can improve predictability, while retaining every image indefinitely increases storage use. Price and limits depend on the object-storage service and configuration; check its current terms rather than assuming a Heroku filesystem has a storage price or retention guarantee.
6. Troubleshoot common failures
| Symptom | Likely cause | What to check or change |
|---|---|---|
chrome or chromedriver cannot be found |
The buildpack is missing from the Heroku CI test environment, or the test is running outside that environment. | Confirm the test environment buildpack declaration and inspect the build/run output. Verify you are following the CI UAT path described by Heroku. |
| WebDriver cannot start the browser | Browser/driver mismatch, unavailable executable, or unsupported environment configuration. | Check installed Chrome and ChromeDriver versions and the Selenium binding’s driver configuration. Rebuild after changing the buildpack setup. |
| Browser exits immediately in a container | Chrome startup flags or container resources may not fit the environment. | Review Chrome’s startup error output, keep headless mode enabled, and try container flags such as --no-sandbox or --disable-dev-shm-usage only when appropriate to the environment. |
| Screenshot is blank or content is missing | The page may not have finished loading, a required interaction has not happened, or the screenshot was taken before the target content rendered. | Wait for a meaningful page condition, check the final URL and page state, then capture. Do not assume that navigation completion means all client-rendered content is ready. |
| Page load hangs | The site is slow, waiting on a resource, or not responding. | Set a page-load timeout, record the failed URL and error, and decide whether the test should retry. Keep retries bounded to avoid multiplying long delays. |
| Screenshot call reports failure or no file appears | Output directory is absent, path is invalid, or the screenshot operation failed. | Create the parent directory, use an absolute or clearly resolved path, check the method’s return value, and verify the file before upload. |
| File disappears after the run | The image was left on the ephemeral dyno filesystem. | Upload to object storage before the process ends; do not use a dyno path as a durable artifact store. |
| Another dyno cannot see the image | Each dyno has a separate filesystem. | Read the artifact from shared managed storage using its object key or URL. |
| CI browser test cannot run on the pipeline | The current Heroku CI browser/UAT feature may not support that pipeline generation or may have changed. | Check the current Heroku guide and confirm pipeline generation and supported browser behavior before debugging Selenium code. |
7. Or skip the browser setup
If your goal is simply to capture a URL and keep the browser installation out of your application, ScreenshotNeo provides a website screenshot API and MCP server. The API accepts one GET request with a URL and can return PNG, JPEG, WebP, or PDF. See the ScreenshotNeo API documentation for request options and details.
curl -G "https://api.screenshotneo.com/v1/shot" \
  -d access_key=YOUR_API_KEY \
  --data-urlencode url=https://stripe.com \
  -o shot.webp
import requests
r = requests.get(
"https://api.screenshotneo.com/v1/shot",
params={"access_key": "YOUR_API_KEY", "url": "https://stripe.com"},
timeout=90,
)
r.raise_for_status()
open("shot.webp", "wb").write(r.content)const q = new URLSearchParams({ access_key: 'YOUR_API_KEY', url: 'https://stripe.com' });
const res = await fetch(`https://api.screenshotneo.com/v1/shot?${q}`);
if (!res.ok) throw new Error(`Screenshot request failed: ${res.status}`);
await Bun.write('shot.webp', res);Replace YOUR_API_KEY with your API key and change the target URL as needed. The API can also capture an element, full pages, device viewports, and PDFs; it supports custom CSS and JavaScript, waits, cookies, headers, user agents, blocking rules, caching, and other options. ScreenshotNeo accepts the parameter names used by other screenshot APIs to make switching easier.
- Cookie and consent banners, newsletter popups, and chat widgets are removed before capture; each cleanup step can be turned off.
- Bot checks, blank pages, timeouts, failed loads, and cache hits are not billed. Responses identify the page verdict and billing status in headers.
- An MCP server provides
take_screenshot,get_page_info, andcapture_pdftools for Claude, Cursor, and other MCP clients. - The free plan includes 1,000 screenshots a month with no card; paid plans start at $5 for 3,000 screenshots.
Sign up free for 1,000 screenshots a month, with no card required.
8. Frequently asked questions
Can I use Selenium screenshots as Heroku CI test artifacts?
You can write the file during the test run, but a dyno-local file is temporary. If you need it after the run or from another process, upload it to managed storage as part of the test workflow.
Does the Chrome for Testing buildpack run my Selenium tests?
No. Heroku documents the buildpack as providing Chrome and ChromeDriver. Your project supplies Selenium, the test framework, driver options, and test code.
Is this CI setup supported on every Heroku pipeline?
No. Heroku’s current guide says CI browser/UAT support is beta and best effort and unavailable for Fir-generation pipelines. Check the guide for current support before relying on it.
Should I use PhantomJS instead?
Heroku’s guide describes PhantomJS as unmaintained and not directly supported in the Heroku CI context. The documented recommendation is to consider Chrome for browser testing.


