How to Capture Selenium Screenshots in VSTS (Azure DevOps)
Capture Selenium screenshots on failure, attach them to Azure DevOps test results, publish unsupported formats, and troubleshoot missing evidence.
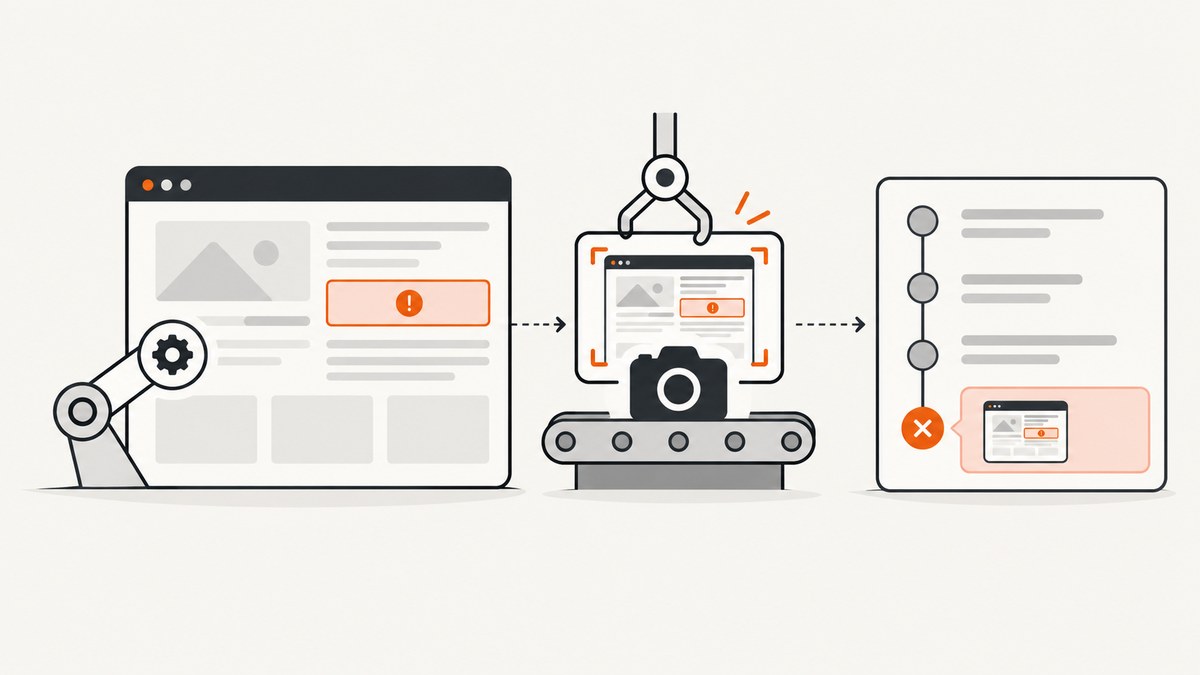
To capture Selenium screenshots in VSTS (now Azure DevOps), take the screenshot in your test code, save it on the build agent, and then register or publish the file before the test workspace is cleaned up. For Visual Studio Test results, call TestContext.AddResultFile(fileName). NUnit 3.7 and later can use TestContext.AddTestAttachment(). Publish the results with a format that supports attachments, such as TRX or NUnit 3.0. If you produce JUnit or xUnit results, publish the screenshots as build artifacts or upload them through the Azure DevOps attachment API instead.
Selenium creates the image; Azure DevOps does not automatically capture a browser screenshot just because a test ran. The file must be written and connected to a test result or pipeline output.
1. Choose where the screenshot should appear
| Route | Where you inspect the image | When to use it |
|---|---|---|
| Test-result attachment | Specific automated test result details | Use VSTest/TRX or a supported NUnit attachment mechanism. |
| Build artifact | Build summary, under Artifacts | Use this for JUnit or xUnit output, or when you want a folder of all failure images. |
| Attachment REST API | An attachment associated with a test iteration or result | Use when you need result-level placement but your result format does not carry attachments. |
Microsoft’s UI-testing guidance says that most UI frameworks can capture screenshots and documents framework-specific registration methods and result-format limits. See Microsoft’s UI testing considerations.
2. Capture the browser image in Selenium
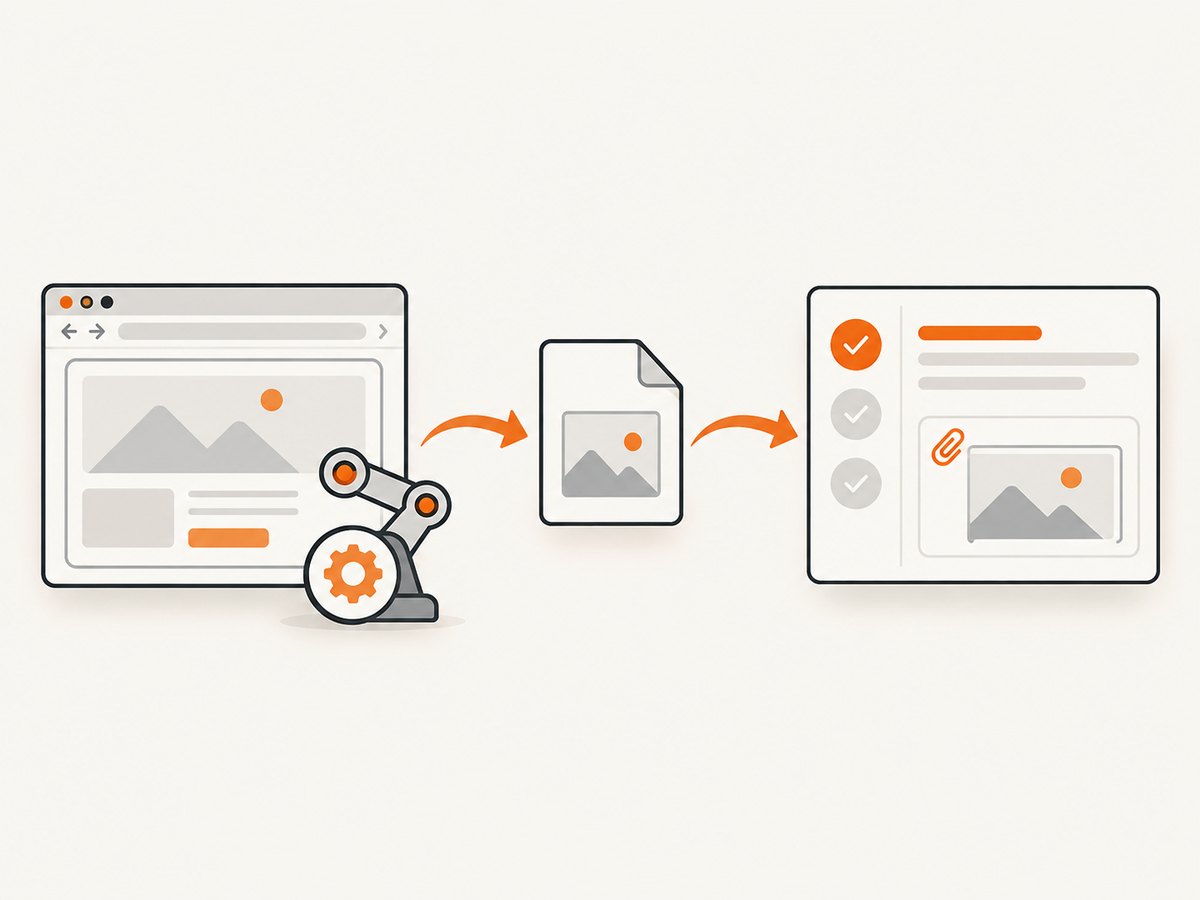
Capture on the failure path so successful runs do not create unnecessary files. Save to a predictable directory such as the agent’s temporary directory or the pipeline workspace. Use a unique name containing the test name and a timestamp; parallel tests must not overwrite one another.
using System;
using System.IO;
using OpenQA.Selenium;

public static class ScreenshotHelper
{
    public static string Save(IWebDriver driver, string testName)
    {
        var root = Environment.GetEnvironmentVariable("BUILD_ARTIFACTSTAGINGDIRECTORY")
                   ?? Path.GetTempPath();
        var directory = Path.Combine(root, "selenium-screenshots");
        Directory.CreateDirectory(directory);

        var safeName = string.Join("_", testName.Split(Path.GetInvalidFileNameChars()));
        var file = Path.Combine(directory, $"{safeName}_{DateTime.UtcNow:yyyyMMddHHmmssfff}.png");
        ((ITakesScreenshot)driver).GetScreenshot().SaveAsFile(file);
        return file;
    }
}
Keep the driver alive until after the capture. If the browser has already been disposed in a finally block, Selenium cannot produce an image. A full-page image is a separate concern: a normal WebDriver screenshot commonly represents the current viewport. For a page-length image, use a browser-specific full-page capability or scroll and stitch images, then attach the resulting file.
Capture useful state with the image: current URL, browser console output, and the exception message. Put those in the test log or a neighboring text file. Do not assume that a local file is retained after the agent job ends.
3. Add a failure hook to a Visual Studio Test
For MSTest/VSTest, define TestContext on the test class. In the failure branch, save the image and call TestContext.AddResultFile(fileName). The path must exist on the agent when the result is produced.
using Microsoft.VisualStudio.TestTools.UnitTesting;
using OpenQA.Selenium;
using OpenQA.Selenium.Chrome;
using System;

[TestClass]
public class CheckoutTests
{
    public TestContext TestContext { get; set; }
    private IWebDriver driver;

    [TestInitialize]
    public void SetUp()
    {
        driver = new ChromeDriver();
    }

    [TestMethod]
    public void CheckoutShowsConfirmation()
    {
        try
        {
            driver.Navigate().GoToUrl("https://example.test/checkout");
            Assert.AreEqual("Confirmation", driver.FindElement(By.Id("title")).Text);
        }
        catch
        {
            var file = ScreenshotHelper.Save(driver, TestContext.TestName);
            TestContext.AddResultFile(file);
            throw;
        }
    }

    [TestCleanup]
    public void TearDown()
    {
        driver?.Quit();
        driver?.Dispose();
    }
}
Register the attachment before rethrowing the exception. Rethrowing preserves the failed test status while the result file registration adds diagnostic evidence.
4. Add an attachment with NUnit
Microsoft’s guidance identifies TestContext.AddTestAttachment() for NUnit 3.7 or later. Check the NUnit version used by the agent and call the method only after the file has been written.
using NUnit.Framework;
using OpenQA.Selenium;
using OpenQA.Selenium.Chrome;
using System;

[TestFixture]
public class LoginTests
{
    private IWebDriver driver;

    [SetUp]
    public void SetUp() => driver = new ChromeDriver();

    [Test]
    public void LoginWorks()
    {
        try
        {
            driver.Navigate().GoToUrl("https://example.test/login");
            Assert.That(driver.Title, Does.Contain("Account"));
        }
        catch
        {
            var file = ScreenshotHelper.Save(driver, TestContext.CurrentContext.Test.Name);
            TestContext.AddTestAttachment(file, "Browser screenshot on failure");
            throw;
        }
    }

    [TearDown]
    public void TearDown() => driver?.Quit();
}
Use the NUnit adapter and result writer configured for your pipeline. The test result file and the screenshot must be created in the same job; publishing a path from a different agent will fail unless you first transfer the file.
5. Publish TRX or NUnit results in Azure Pipelines
The Publish Test Results task supports attachments for VSTest (TRX) and NUnit 3.0. Its default pattern is aimed at JUnit XML, so set testRunner and the file glob to match what your test command actually emits.
steps:
- task: VSTest@2
  inputs:
    testSelector: 'testAssemblies'
    testAssemblyVer2: '**/*Tests.dll'
    resultsFolder: '$(Build.ArtifactStagingDirectory)/test-results'

- task: PublishTestResults@2
  inputs:
    testRunner: VSTest
    testResultsFiles: '**/*.trx'
    searchFolder: '$(Build.ArtifactStagingDirectory)/test-results'
    mergeTestResults: true
    failTaskOnFailedTests: true
The exact output folder and file name depend on your test command. Inspect the agent log or list the directory before publishing when diagnosing a missing result.
For NUnit output, select the NUnit runner and publish the XML pattern generated by your adapter. Confirm that the produced NUnit format is one supported by the task version in use. See the PublishTestResults@2 reference.
6. Publish screenshots when the result format cannot carry them
Microsoft states that JUnit and xUnit result attachments cannot be published through the Publish Test Results route because those schemas do not formally define attachments. The screenshot can still be useful; publish it separately as an artifact.
steps:
- task: CopyFiles@2
  inputs:
    SourceFolder: '$(Build.ArtifactStagingDirectory)/selenium-screenshots'
    Contents: '**/*.png'
    TargetFolder: '$(Build.ArtifactStagingDirectory)/published-screenshots'

- task: PublishBuildArtifacts@1
  inputs:
    PathtoPublish: '$(Build.ArtifactStagingDirectory)/published-screenshots'
    ArtifactName: 'selenium-screenshots'
    publishLocation: 'Container'
This places the images on the build summary’s Artifacts page rather than inside an individual test result. Use stable file names that include the test class, test method, and attempt number so a parallel run remains understandable.
If result-level placement is required, use the Azure DevOps Test Results attachment API. The request needs the correct organization, project, test run or result identifiers, API version, and authorization scope. Follow Microsoft’s Create Test Iteration Result Attachment documentation rather than copying identifiers between runs.
7. Find the screenshot and control retention
Open the pipeline’s published test run, select the automated test result, and inspect its Attachments area. Azure DevOps distinguishes run-level attachments from attachments on an individual result. Supported image files can be previewed in the Test Run Hub.
Artifact images appear on the build summary under Artifacts, so they are not expected in the test-result attachment panel. Automated test-result retention follows the associated build’s retention by default. If evidence disappears sooner than expected, review build retention settings and whether the job that generated the file completed successfully. See Manage test runs in Azure DevOps Test Plans.
8. Agent, browser, and driver considerations
Microsoft’s Selenium pipeline guidance covers Microsoft-hosted and self-hosted agents. Hosted Visual Studio Windows images include Selenium WebDrivers intended to match their installed browser versions. Linux, Ubuntu, and macOS hosted agents do not necessarily have drivers preinstalled, so install and pin a compatible browser and driver before debugging screenshot code.
Hosted images change over time. Check the current image software list and record the browser, driver, Selenium, and test-adapter versions in the build log. On self-hosted agents, UI tests may require an interactive desktop session and appropriate autologon configuration. A headless browser can still capture images, but pages that depend on a visible window, GPU, fonts, or a display server may behave differently.
9. Troubleshooting checklist
| Symptom | Likely cause | Fix |
|---|---|---|
| No image file | Failure hook ran after driver disposal, or the directory was never created. | Capture before teardown and call Directory.CreateDirectory for the destination. |
| Test fails but result has no attachment | The file was saved but never registered. | Call AddResultFile or AddTestAttachment and verify the path exists. |
| Publish task says no results found | Runner or glob does not match the generated file. | List the results directory; set testRunner and testResultsFiles to the actual format. |
| TRX publishes but image is absent | The screenshot path was outside the result’s accessible workspace or registration happened too late. | Save inside the job workspace and register before rethrowing the failure. |
| JUnit/xUnit attachment cannot be displayed | The result schema does not support attachments through Publish Test Results. | Publish images as build artifacts or use the Test Results attachment API. |
| Screenshot is blank | Capture occurred before navigation, rendering, or asynchronous content finished. | Wait for a reliable element or page condition; avoid an arbitrary short delay where possible. |
| Driver session will not start | Browser and driver versions differ, or the agent lacks a driver/display. | Pin compatible versions and check the hosted image software list or self-hosted display setup. |
| Parallel tests overwrite files | All tests use the same file name. | Include class, method, attempt, process, and a high-resolution timestamp. |
| Images vanish after the run | They remained only on the temporary agent workspace. | Attach them to results or copy and publish them as artifacts in the same job. |
10. Performance, reliability, and cost notes
- Capture only on failure unless every passing test needs visual evidence. PNG files are convenient for diagnostics but can consume artifact storage; choose JPEG when lossless text detail is not required.
- Do not make the screenshot operation hide the original failure. Wrap capture and attachment calls so a filesystem or driver error is logged, then rethrow the test exception.
- Use one screenshot per failed test and keep names deterministic. Excessive screenshots from retries can obscure the first failure; include the retry number.
- Wait for a meaningful condition such as a result element, not just a fixed sleep. This reduces blank captures while avoiding unnecessary pipeline time.
- Keep browser and driver versions pinned where possible. A changed hosted image can alter layout, fonts, viewport size, or screenshot timing.
- Retention is tied to build retention for automated test results by default. Treat long-term evidence as an artifact with an explicit retention policy.
11. Or skip the browser setup
If you need a screenshot of a URL rather than an in-process Selenium assertion, ScreenshotNeo provides a GET endpoint that returns PNG, JPEG, WebP, or PDF. It handles the browser session for you and exposes the result through response headers.
curl -G "https://api.screenshotneo.com/v1/shot" -d access_key=YOUR_API_KEY --data-urlencode url=https://stripe.com -o shot.webpimport requests
r = requests.get("https://api.screenshotneo.com/v1/shot", params={"access_key": "YOUR_API_KEY", "url": "https://stripe.com"}, timeout=90)
open("shot.webp", "wb").write(r.content)const q = new URLSearchParams({ access_key: 'YOUR_API_KEY', url: 'https://stripe.com' });
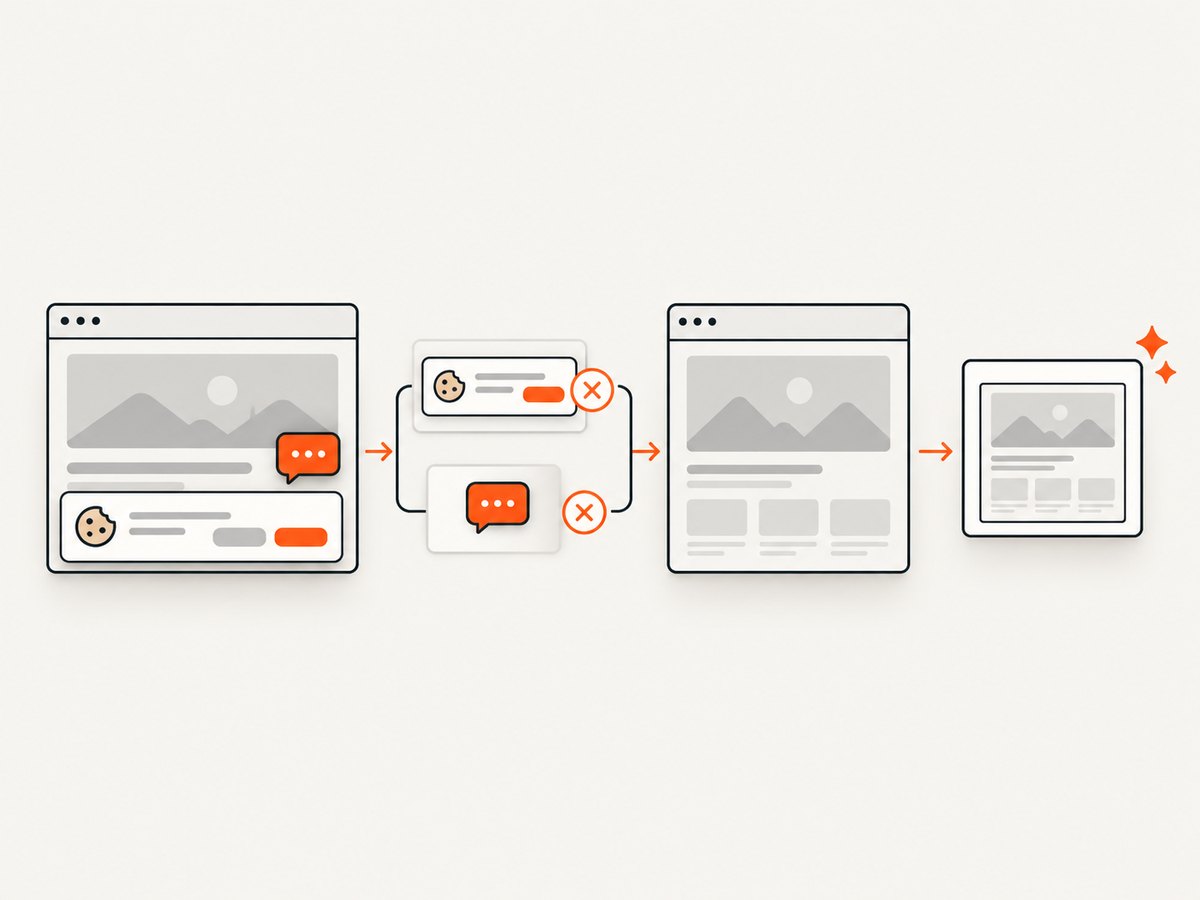
const res = await fetch(`https://api.screenshotneo.com/v1/shot?${q}`);See the ScreenshotNeo API documentation for request parameters. Before capture, it can accept cookie or consent banners and remove more than 60 known consent platforms, newsletter popups, and chat widgets; each step can be disabled. Bot checks or CAPTCHAs, blank pages, timeouts, failed loads, and cache hits are not billed, and the response identifies the page verdict and billing state with X-Page-Verdict and X-Billed headers. Its MCP server provides take_screenshot, get_page_info, and capture_pdf tools for Claude, Cursor, and other MCP clients.
It also supports full-page capture with lazy images loaded, CSS-element capture, device presets or custom viewports, retina scale, custom CSS and JavaScript, waits, request blocking, headers, cookies, user agents, authorization, timezone, geolocation, transparency, resizing, caching, signed links, asynchronous jobs with signed webhooks, bulk capture for up to 100 URLs per call, and a usage API. The Free plan includes 1,000 screenshots per month with no card; paid plans start at $5 for 3,000 screenshots. Create a free ScreenshotNeo account.
12. FAQ
Does VSTS capture Selenium screenshots automatically?
No. Selenium must create the file, and your test framework or pipeline must register or publish it.
Can I attach a screenshot from a JUnit XML result?
Not through the documented Publish Test Results attachment route. Publish the image as a build artifact or use the Azure DevOps attachment API.
Where should I save screenshots on a hosted agent?
Use a job workspace such as the artifact staging directory, create the directory explicitly, and publish or attach the files before the job ends.
Why does my image show only the viewport?
A standard WebDriver screenshot is generally viewport-sized. Implement a browser-specific full-page capture or a scroll-and-stitch routine when you need the entire document.
How do I preserve evidence for a long-running project?
Review build retention and publish important images as artifacts with the retention period your project requires.


