How to Set Up MCP Servers in Codex
Configure MCP servers in Codex with STDIO or Streamable HTTP, authentication, verification, permissions, troubleshooting, and practical examples.
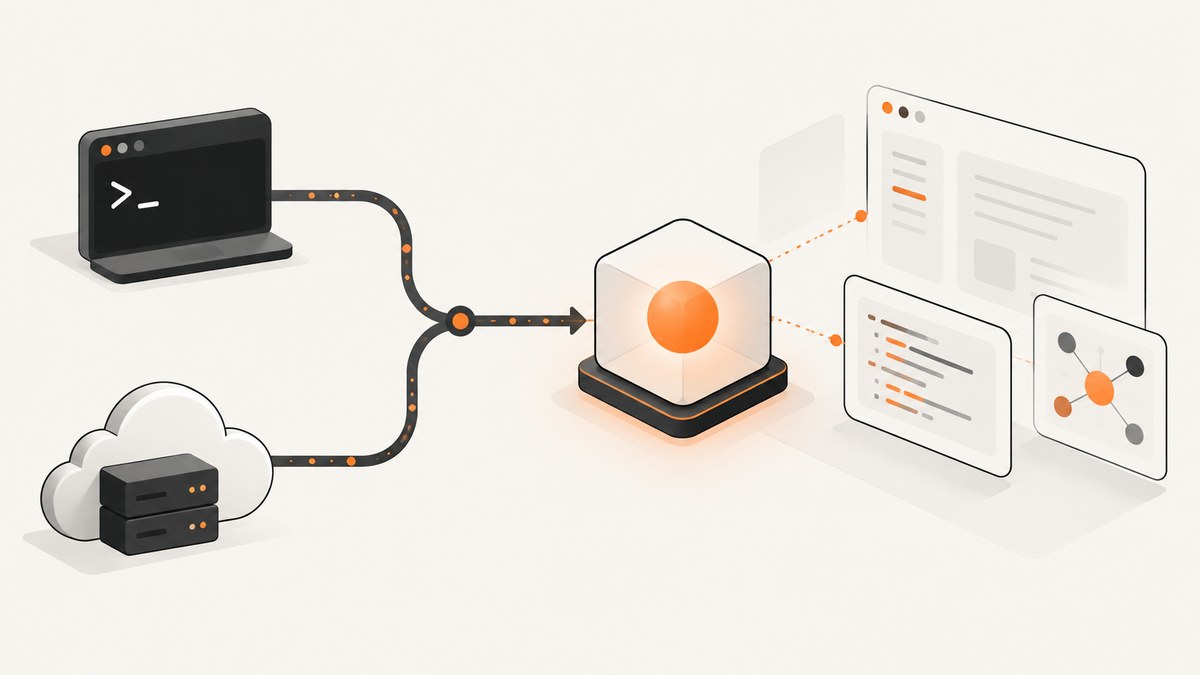
Short answer: Codex reads MCP settings from ~/.codex/config.toml (or a trusted project’s .codex/config.toml). Add a server as either STDIO, where Codex launches a local command, or Streamable HTTP, where Codex connects to a URL. You can configure it in the desktop app, IDE extension, CLI, or TOML, then verify it with codex mcp list and /mcp in the Codex TUI. The official [Codex MCP guide](https://developers.openai.com/codex/extend/mcp) is the reference for current UI labels and fields.
This guide covers a complete setup, authentication, permissions, timeout controls, verification, failure diagnosis, and production considerations.
1. Understand how Codex stores MCP configuration
Codex stores MCP configuration in config.toml alongside other Codex settings. The default user file is:

~/.codex/config.tomlA trusted project can also contain:
.codex/config.tomlThe desktop app, Codex CLI, and IDE extension share this configuration. Configure a server once and it can be available in each client, subject to the client being restarted and the server being enabled.
STDIO versus Streamable HTTP
| Transport | How it works | Use it when | Requirements to check |
|---|---|---|---|
| STDIO | Codex starts a local executable and communicates over standard input/output. | The provider gives you a command such as a package runner, binary, or script. | Runtime, dependencies, working directory, environment variables, and executable permissions. |
| Streamable HTTP | Codex connects to an MCP server URL. | The provider hosts the server remotely or you run it as a network service. | URL reachability, TLS, OAuth or token requirements, and HTTP headers. |
Ask the server provider which transport it supports before configuring anything. Do not infer an endpoint, command, token, or callback URL from another server.
2. Add an MCP server in the desktop app
- Open Settings.
- Select MCP servers.
- Choose Add server.
- Enter a local name for the server.
- Select STDIO or Streamable HTTP.
- For STDIO, enter the command and arguments supplied by the provider. For HTTP, enter the provider’s server URL.
- Save the server and restart Codex as directed by the guide.
- If the server requires OAuth, select Authenticate and complete the displayed flow.
- Open the composer and run
/mcpto inspect connected servers and tools.
The server list shows whether a server is enabled and whether authentication is required. If it does not appear after saving, restart the desktop app before changing the configuration.
3. Add an MCP server in the IDE extension
- Open the extension’s gear menu.
- Choose MCP servers, then Add server.
- Enter a name and select the transport.
- Provide the STDIO command or Streamable HTTP URL from the server documentation.
- Save and restart the extension.
- Authenticate if the server requires OAuth.
The IDE extension uses the shared Codex MCP configuration, so a server added elsewhere may already be present. Check its enabled state and authentication status in the MCP list.
4. Add a local STDIO server with the CLI
The CLI is useful for repeatable setup and scripts. The documented form is:
codex mcp add <server-name> --env VAR1=VALUE1 --env VAR2=VALUE2 -- <stdio-server-command>For example, the official guide demonstrates this syntax with Context7:
codex mcp add context7 -- npx -y @upstash/context7-mcpThis illustrates command structure; use the command and arguments recommended by the server you selected.
Pass environment variables explicitly when the provider requires them:
codex mcp add internal-tools \
  --env API_BASE_URL=https://internal.example \
  --env API_TOKEN=REPLACE_WITH_SECRET \
  -- python -m internal_mcp_server
Keep real tokens out of shell history where possible. Prefer the provider’s documented secret or environment-variable mechanism, and never commit a live credential to a repository.
Inspect configured servers with:
codex mcp list
codex mcp --help
If an existing server supports OAuth, start its login flow with:
codex mcp login <server-name>Use /mcp in the Codex TUI to inspect active connections and available tools.
5. Configure a server directly in config.toml
Direct TOML editing gives the most control. A minimal STDIO entry has this shape:
[mcp_servers.example]
command = "the-server-command"
args = ["argument"]
A minimal Streamable HTTP entry is:
[mcp_servers.example]
url = "https://your-mcp-server.example/mcp"
These are structural examples. Replace placeholders with values from the provider’s current documentation.
Useful optional controls
The configuration reference documents controls for availability, tool exposure, approvals, and timing:
| Setting | Purpose |
|---|---|
enabled |
Turn a configured server on or off. |
required |
Declare that Codex should treat the server as required during startup. |
enabled_tools |
Allow only the listed tools. |
disabled_tools |
Deny specific tools, even when otherwise available. |
default_tools_approval_mode |
Set the default approval behavior for tool calls. |
| Per-tool approval settings | Apply a more specific approval policy to an individual tool. |
startup_timeout_sec |
Maximum time Codex waits for server initialization. The documented default is 10 seconds. |
tool_timeout_sec |
Maximum time Codex waits for a tool call. The documented default is 60 seconds. |
An allow list can be narrowed further with a deny list. Start with only the tools you need, especially for servers that can read files, call external services, or change data.
6. Authenticate HTTP MCP servers safely
A Streamable HTTP server may allow anonymous access or require OAuth, a bearer token, or custom HTTP headers. Use the method specified by that server.
OAuth
Run codex mcp login <server-name> for a configured OAuth-capable server, or select Authenticate in the desktop app or IDE extension. Follow the callback and registration instructions shown by Codex and the provider. OAuth metadata and callback behavior are server-specific.
Bearer tokens and headers
Some servers require an authorization header or another custom header. If the configuration supports an environment-variable-backed header, reference the variable rather than writing a live token into a shared TOML file. Keep secrets out of source control, screenshots, issue reports, and published examples.
7. Verify that the connection works
- Run
codex mcp listand confirm the server is configured. - Open the Codex TUI and run
/mcp. - In the desktop app or IDE extension, confirm the server is enabled and inspect OAuth status.
- Invoke a harmless read-only tool first.
- Check the server’s own logs if initialization or a tool call fails.
Verification should confirm both connection and permissions. A server can be connected while a requested tool is denied by an allow list, deny list, or approval policy.
8. Troubleshoot common setup errors
| Symptom | Likely cause | Fix |
|---|---|---|
Server is missing from codex mcp list |
The CLI command was not saved, or a different Codex configuration location is being used. | Run the add command again, inspect the active user’s ~/.codex/config.toml, and check spelling of the server name. |
| STDIO server exits immediately | Missing runtime, package, dependency, permission, argument, or environment variable. | Run the exact command manually in the same environment, install required dependencies, and verify the working directory and variables. |
| HTTP connection times out | Incorrect URL, blocked network route, TLS problem, or a server that needs longer startup. | Open the exact URL from the same machine, confirm HTTPS and credentials, and adjust startup_timeout_sec only when the provider documents a slow startup. |
| OAuth login fails | Provider metadata, registration, callback, or account configuration does not match. | Start authentication from Codex again and follow the displayed callback and provider instructions rather than copying values from another service. |
| Tool is not visible | The server did not initialize, or enabled_tools/disabled_tools filters it. |
Inspect /mcp, temporarily review tool policy, and restart after configuration changes. |
| Tool call exceeds the timeout | The operation legitimately takes longer than the 60-second documented default. | Check server performance and network calls first; increase tool_timeout_sec only when longer execution is expected and acceptable. |
| Changes in the UI have no effect | The client has not reloaded shared configuration. | Save, restart the desktop app or IDE extension, then verify again with the MCP list. |
9. Reliability, performance, and operating practices
- Choose the shortest path: STDIO avoids a network hop but depends on the local runtime. HTTP centralizes the service but adds DNS, TLS, authentication, and network failure points.
- Keep startup predictable: Pin package versions where the provider supports it, verify the command outside Codex, and avoid interactive prompts.
- Limit tool exposure: Use
enabled_tools,disabled_tools, and approval modes to reduce accidental access. - Match timeouts to work: The documented defaults are 10 seconds for startup and 60 seconds for a tool call. Treat these as configuration defaults, not performance guarantees.
- Use project scope carefully: A project
.codex/config.tomlis appropriate only for a trusted repository. Review it before running Codex in an unfamiliar checkout. - Separate environments: Use different credentials and server names for development and production, and rotate tokens through the provider’s supported process.
10. Or skip the browser setup
If the MCP task is collecting screenshots for an agent workflow, [ScreenshotNeo](https://screenshotneo.com) provides an MCP server with take_screenshot, get_page_info, and capture_pdf. You can connect it to Claude, Cursor, or any MCP client, including Codex, using the provider’s current MCP instructions in the [ScreenshotNeo documentation](https://screenshotneo.com/docs/).
For a direct screenshot API call, the endpoint returns PNG, JPEG, WebP, or PDF depending on your parameters. The simplest request is:
curl -G "https://api.screenshotneo.com/v1/shot" -d access_key=YOUR_API_KEY --data-urlencode url=https://stripe.com -o shot.webpPython:
import requests

r = requests.get(
    "https://api.screenshotneo.com/v1/shot",
    params={"access_key": "YOUR_API_KEY", "url": "https://stripe.com"},
    timeout=90,
)
r.raise_for_status()
open("shot.webp", "wb").write(r.content)
Node.js:
const q = new URLSearchParams({ access_key: 'YOUR_API_KEY', url: 'https://stripe.com' });
const res = await fetch(`https://api.screenshotneo.com/v1/shot?${q}`);
if (!res.ok) throw new Error(`Screenshot failed: ${res.status}`);
const buffer = Buffer.from(await res.arrayBuffer());
await import('node:fs/promises').then(fs => fs.writeFile('shot.webp', buffer));
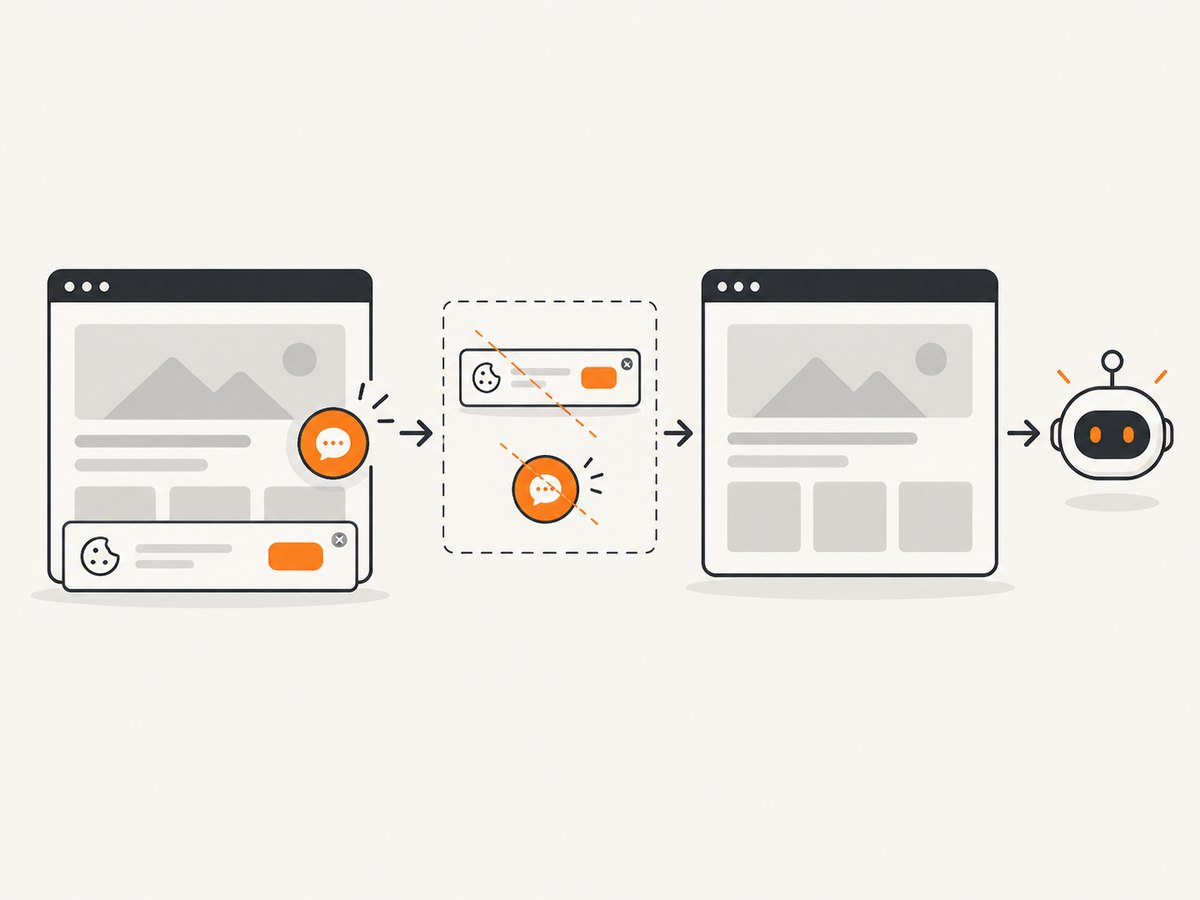
ScreenshotNeo removes cookie and consent banners, newsletter popups, and chat widgets before capture. Bot checks or CAPTCHAs, blank pages, timeouts, failed loads, and cache hits are not billed; response headers identify the page verdict and whether the shot was billed. Its MCP server lets AI agents take screenshots, and 1,000 screenshots each month are free with no card. Paid plans start at $5 for 3,000 shots.
Create a free ScreenshotNeo account to get the 1,000 monthly screenshots.
11. FAQ
Do I need to configure each Codex client separately?
No. The desktop app, CLI, and IDE extension share MCP settings through Codex configuration. You may still need to restart the client after adding a server.
Can one server support both STDIO and HTTP?
Only if the provider implements and documents both transports. Select the transport that matches the server you will actually run.
Where should I put a project-specific server?
Use .codex/config.toml in a trusted project. Keep user-wide servers in ~/.codex/config.toml.
Are timeout values benchmarks?
No. Ten seconds and 60 seconds are documented default configuration values for startup and tool calls. Actual performance depends on the server and environment.
Which MCP server should I choose?
Compare transport, authentication, runtime requirements, available tools, approval controls, and whether initialization and tool calls fit your configured timeouts. The official Codex MCP documentation remains the controlling source as the product changes.
12. Setup checklist
- Identify whether the provider offers STDIO or Streamable HTTP.
- Obtain the exact command, URL, dependencies, and authentication method from the provider.
- Add the server in the desktop app, IDE extension, CLI, or
config.toml. - Keep credentials in environment-backed or provider-supported secret storage.
- Set tool allow and deny lists deliberately.
- Verify with
codex mcp listand/mcp. - Test a read-only tool before enabling write-capable operations.
- Review startup and tool timeouts against the server’s documented behavior.
Codex MCP setup is complete when the server appears in the client, authentication succeeds, the intended tools are visible, and a harmless call returns successfully.