How to Sharpen Screenshots with wkhtmltoimage
Learn how to make wkhtmltoimage screenshots look sharper by fixing capture size, choosing the right format, and applying careful post-processing.
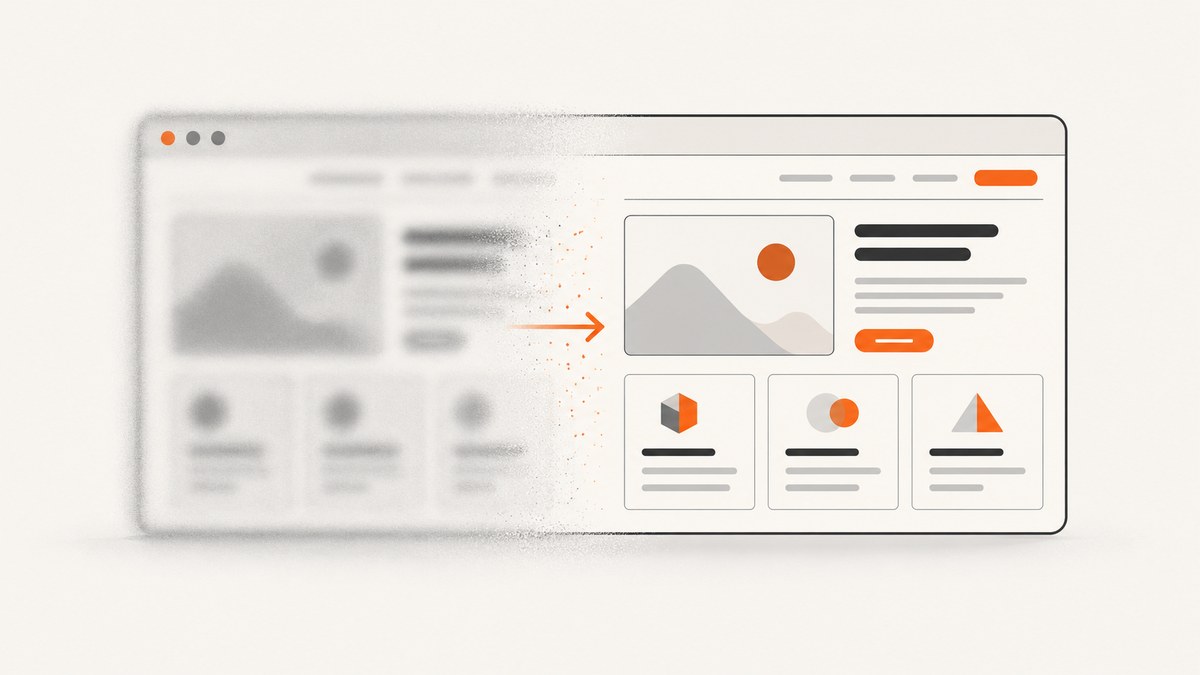
To sharpen screenshots made with wkhtmltoimage, first fix the capture dimensions and zoom if the page was rendered too small. Save crisp interfaces as PNG when practical, and use a restrained post-capture filter only when the existing pixels look mildly soft. The --quality option controls output encoding quality; it is not a sharpening strength. Sharpening increases edge contrast, but cannot restore detail the capture never contained.
The most useful diagnosis is to separate three causes that can look like blur: unsuitable rendering scale, lossy compression, and softness in pixels that have already been rendered. This guide shows how to inspect the installed build, choose capture settings, process an existing image, and troubleshoot common artifacts.
1. Check your wkhtmltoimage build and available options
Options and behavior can differ between packaged builds. Start by recording the installed version and reading that binary’s own help before relying on a command copied from another system:
wkhtmltoimage --version
wkhtmltoimage --help
Look for the output-width, zoom, output-quality, and format options in the help text. The Debian Bookworm manual documents zoom and output quality, and the wkhtmltoimage library settings reference describes load.zoomFactor. Those references explain the concepts, but they do not establish that every binary has identical flags or behavior. See the Debian wkhtmltoimage manual and the wkhtmltoimage settings reference.
Keep this distinction in mind: a zoom or width setting changes how content is rendered into the capture, while an image filter changes pixels after rendering. A quality setting affects encoding and file size according to the format and build. None of these is interchangeable with the others.
2. Fix capture scale before sharpening
If the screenshot looks blurry because the page was captured too small and then enlarged elsewhere, recapture at a suitable width and viewport. Zoom can make content larger, but also changes line wrapping, responsive breakpoints, and the amount of the page visible. Compare the result at its intended display size, and verify that important sections remain in frame.
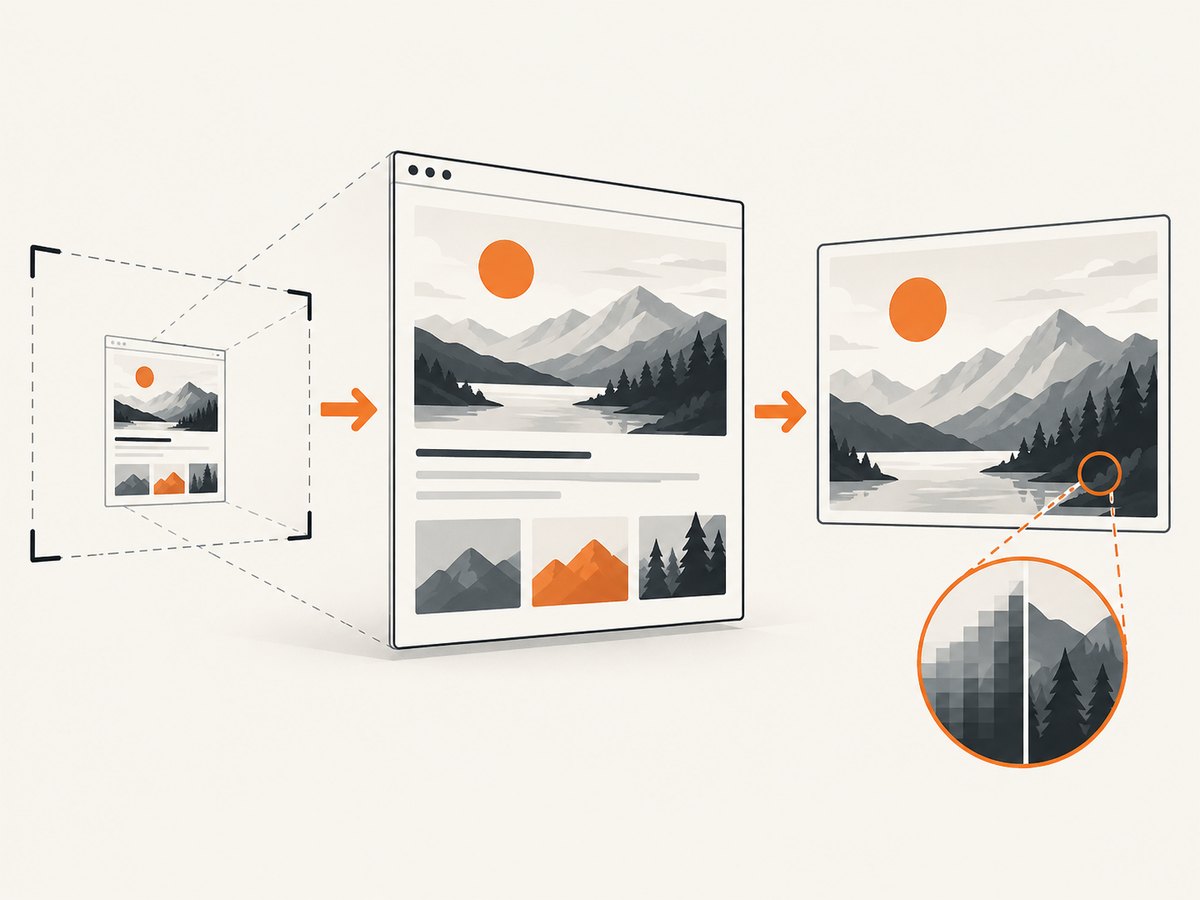
Because command-line switches can vary, use the forms shown by your installed --help. A typical invocation may look like this; treat the option spelling and support as build-specific:
wkhtmltoimage --width 1440 --zoom 1 https://example.com page.pngHere, --width asks for a target rendering width on builds that support it, and the zoom value of 1 represents the baseline scale on builds using that option. Do not assume this exact command works on every package. If the help output does not list one of these switches, use the settings your build documents rather than silently substituting another flag.
Choose a useful target width
- Capture close to the width at which the image will be displayed. Upscaling a small screenshot makes softness more obvious.
- For a responsive site, choose the intended desktop or mobile width before capture; a larger width can trigger a different layout.
- For full-page captures, inspect the entire output. A scale change may affect page height, text wrapping, and lazy-loaded content.
- When comparing settings, change one input at a time and preserve the original output so you can identify which setting improved the result.
Do not use zoom simply to make tiny text look larger in a fixed-width image without checking layout. Larger rendered content can wrap, overflow, or cause a different page region to be captured.
3. Pick a format that preserves the detail you need
For interface screenshots with text, icons, and thin lines, PNG is a sensible lossless choice when file size is acceptable. JPEG uses lossy compression and can introduce blocks or ringing around high-contrast edges, which may be mistaken for blur. If you need JPEG for delivery size, raise its quality setting only as supported by your build, then inspect the output at 100%.
The wkhtmltoimage manual documents an output quality option, but its meaning is format-dependent and build-dependent. Do not call it a sharpening control. ImageMagick’s documentation specifically says PNG quality settings do not change PNG image appearance, while JPEG quality is a lossy encoding choice; that describes ImageMagick behavior and should not be generalized to every wkhtmltoimage binary. Refer to ImageMagick command-line options and the installed wkhtmltoimage help.
| Need | Starting choice | Trade-off |
|---|---|---|
| Crisp text and flat graphics | PNG | Lossless image data; files may be larger. |
| Smaller photographic image | JPEG with a suitable quality value | Lossy compression can create edge artifacts. |
| Existing image has mild softness | Careful unsharp mask after capture | Can add halos or emphasize jagged edges. |
4. Apply conservative post-capture sharpening
If scale and encoding are already appropriate and the screenshot is still mildly soft, use ImageMagick’s -unsharp or -sharpen operator. Keep an untouched source file: sharpening is easier to compare and adjust when the original remains available.
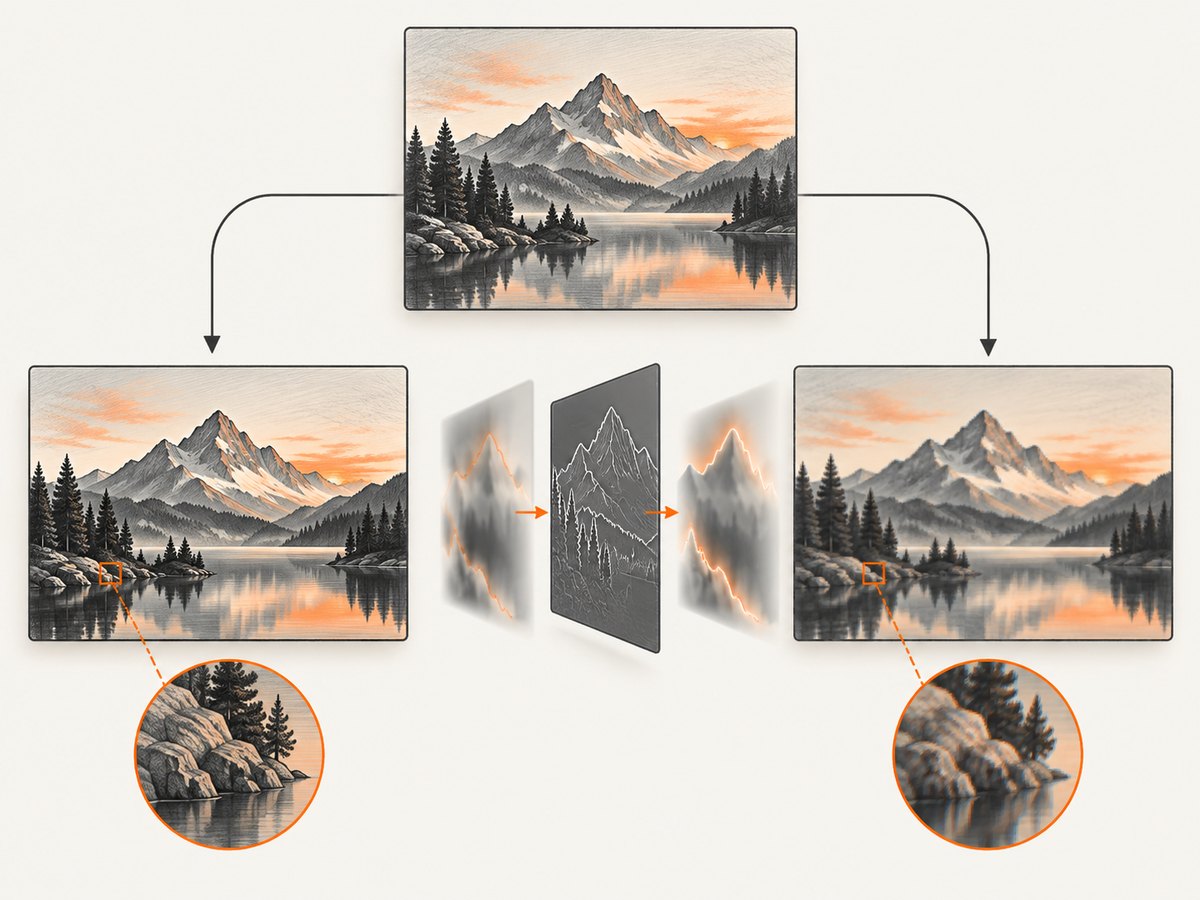
magick page.png -unsharp 0x1 page-sharp.pngThis is an illustrative starting point, not a universal preset or a result validated against every kind of screenshot. Inspect the processed image at 100% size. If letters acquire bright or dark outlines, or diagonals become jagged, reduce the effect or return to the original. The ImageMagick reference explains that sigma is the main determinant of the sharpening effect; radius sets the size of the Gaussian operator’s working array. Read its entries for -unsharp and -sharpen before tuning values.
Sharpening increases local edge contrast. It does not recreate characters, textures, or fine lines lost through undersized rendering, blur in the source page, or compression. If the result needs a strong filter to look legible, return to capture dimensions or the page’s own rendering first.
5. A repeatable workflow
- Record the binary: run
wkhtmltoimage --versionand keep the output with your notes or build logs. - Inspect supported options: use
wkhtmltoimage --helpto confirm width, zoom, output format, and quality switches. - Render at the intended dimensions: select the actual display width and appropriate page or viewport behavior. Check responsive layout and page coverage.
- Save a lossless reference: create a PNG first when practical so you can distinguish render softness from lossy compression.
- Compare at 100%: look at small text, thin borders, diagonal edges, and repeated patterns. Also preview at the size readers will see.
- Use post-processing only if needed: create a separate sharpened output, retain the original, and reduce the effect if halos or jagged edges appear.
- Recheck the exact delivery file: confirm format, dimensions, and visual quality after any conversion or resizing in your pipeline.
For automated jobs, log the wkhtmltoimage version and the capture arguments alongside the output. That makes changes in packaging or defaults easier to diagnose. If multiple workers generate screenshots, keep their versions and rendering configuration consistent when comparable output matters.
6. Common problems and fixes
| Symptom | Likely cause | What to try |
|---|---|---|
| Text is soft everywhere | Capture is too small, or the page itself rendered soft | Capture at the intended width; inspect the source page and avoid enlarging a small output. |
| Text has blocks or ringing | Lossy JPEG compression | Compare with PNG; if JPEG is required, adjust the supported quality setting and inspect again. |
| Sharpening creates outlines | Filter effect is too strong for the edges | Lower the unsharp effect, compare to the original, and avoid sharpening already crisp text. |
| Layout changes after increasing zoom | Zoom changed wrapping or responsive behavior | Set the target width first, use baseline zoom where suitable, and verify the page at that viewport. |
| Option is rejected or ignored | Different wkhtmltoimage build or unsupported switch | Check --version and --help; follow the installed build’s documentation. |
| Full-page result misses content | Scale, page coverage, or page loading behavior changed | Inspect the whole output, confirm the chosen capture mode, and ensure the page has finished loading before capture. |
| Output looks worse after resizing | Resampling softened edges or enlarged missing detail | Resize from the best available original and avoid repeated resize-and-save cycles. |
7. Performance, reliability, and cost
Capture settings affect the rendering task and the resulting file dimensions; post-processing adds another image operation and an output artifact. The available references do not provide a benchmark for capture speed, sharpening quality, or a universally optimal setting, so measure these in your own pipeline if they matter. Compare the same URL, viewport, binary version, and output format to keep the comparison meaningful.
For reliability, pin or record the binary version, preserve the unprocessed capture, and validate output dimensions and file type before publishing or storing it. A URL can change over time, so reproducibility also depends on the page content and its loaded resources. For cost, wkhtmltoimage is a command-line capture workflow rather than a per-screenshot hosted API in this guide; account for the compute and storage you operate, and for the engineering time spent maintaining browser-rendering dependencies. No cost or speed figure is implied here.
8. Or skip the browser setup
ScreenshotNeo is a website screenshot API and MCP server from Yorker Media. One GET request returns an image or PDF, so you can avoid setting up a local browser capture job. Its documentation covers the API and its options.
curl -G "https://api.screenshotneo.com/v1/shot" -d access_key=YOUR_API_KEY --data-urlencode url=https://stripe.com -o shot.webpPython:
import requests

r = requests.get(
    "https://api.screenshotneo.com/v1/shot",
    params={"access_key": "YOUR_API_KEY", "url": "https://stripe.com"},
    timeout=90,
)
open("shot.webp", "wb").write(r.content)
Node.js:
const q = new URLSearchParams({ access_key: 'YOUR_API_KEY', url: 'https://stripe.com' });
const res = await fetch(`https://api.screenshotneo.com/v1/shot?${q}`);
if (!res.ok) throw new Error(`Screenshot request failed: ${res.status}`);
const bytes = new Uint8Array(await res.arrayBuffer());
await import('node:fs/promises').then(fs => fs.writeFile('shot.webp', bytes));
ScreenshotNeo removes cookie banners, newsletter popups, and chat widgets before capture. Bot checks, blank pages, and failed loads are never billed, and the response includes X-Page-Verdict and X-Billed headers. Its MCP server lets AI agents use take_screenshot, get_page_info, and capture_pdf. The free plan includes 1,000 screenshots per month with no card; paid plans start at $5 for 3,000 shots. Sign up for the free plan.
9. Frequently asked questions
Does increasing quality make a screenshot sharper?
Not in the sense of applying a sharpening filter. Quality relates to output encoding; the effect depends on format and the particular wkhtmltoimage build. It cannot add source detail.
Should I always sharpen screenshots after capture?
No. First inspect the unprocessed output. Sharp text can become less natural when a filter adds halos or makes edges jagged.
Can ImageMagick recover text that was captured too small?
No. It can change local contrast in available pixels, but it cannot reconstruct detail that the capture did not contain. Recapture at a suitable scale when possible.
Why does the same command behave differently on another machine?
The installed build, packaging, supported options, and page resources can differ. Compare versions and local help output, then use the settings supported by each binary.
Which image should I keep as the source of truth?
Keep the original capture, preferably before sharpening or lossy conversion. Generate delivery variants from that source so processing remains reversible.


