How to Create Social Media Visuals With a Notion Widget
Build repeatable social graphics from a Notion page with a Placid Studio embed. Set up templates, share the Studio, generate creatives, and troubleshoot common embed issues.

You can create repeatable social media graphics from a Notion workspace by embedding Placid Studio, a third-party form that uses templates with editable fields. Set up a Placid project and template, create a Studio that exposes the template, enable the sharing setting required by the tutorial’s embed flow, then paste its embed URL into a Notion Embed block. From the embedded form, choose a template, enter content, preview the result, and download the generated creative.
This is not a native Notion visual-design widget. Notion’s official mobile widgets are shortcuts to workspace pages or databases; the workflow here embeds an external Placid Studio on a Notion page. [Notion’s mobile widget guide](https://www.notion.so/help/mobile-widgets) explains the separate home-screen feature.
1. Decide whether a widget is the right fit
An embedded Studio is useful when your team already organizes campaigns in Notion and wants a repeatable path from a content brief to a downloadable asset. It keeps the template form near the calendar and brand references. It does not turn Notion itself into a graphics editor: Placid supplies the template and generation form.
| Need | Does this workflow fit? |
|---|---|
| Generate new images, videos, or PDFs from reusable designs | Yes. Placid Studio is described as generating these outputs from custom templates. |
| Change a headline, URL, or image for each post | Yes, if the template includes dynamic layers for those values. |
| Display an existing calendar or page on a phone home screen | Use Notion’s mobile page or database widget instead. |
| Embed a page that requires a login in Notion’s desktop or mobile app | Notion says login-required embeds do not work in those apps; check the service’s sharing behavior before designing around it. |
Placid is the directly documented generator for this workflow. Other services may be useful for design or displaying widgets, but the research does not establish them as equivalent template-generation embeds. Compare options by output type, placeholder support, embed behavior in your Notion client, and sharing controls.
2. Create a project and a reusable template
- In Placid, open an existing project or create a project for the social graphics you want to produce.
- Open Templates and create a design from a preset or a blank canvas.
- Lay out the elements that should stay consistent: background, logo placement, typography, colors, and any fixed decoration.
- Add dynamic layers for values that will change per post. Typical examples are a headline, a URL or subline, and a photo.
- Save the template. Make sure its variable fields cover the content contributors should be able to change without redesigning the composition.
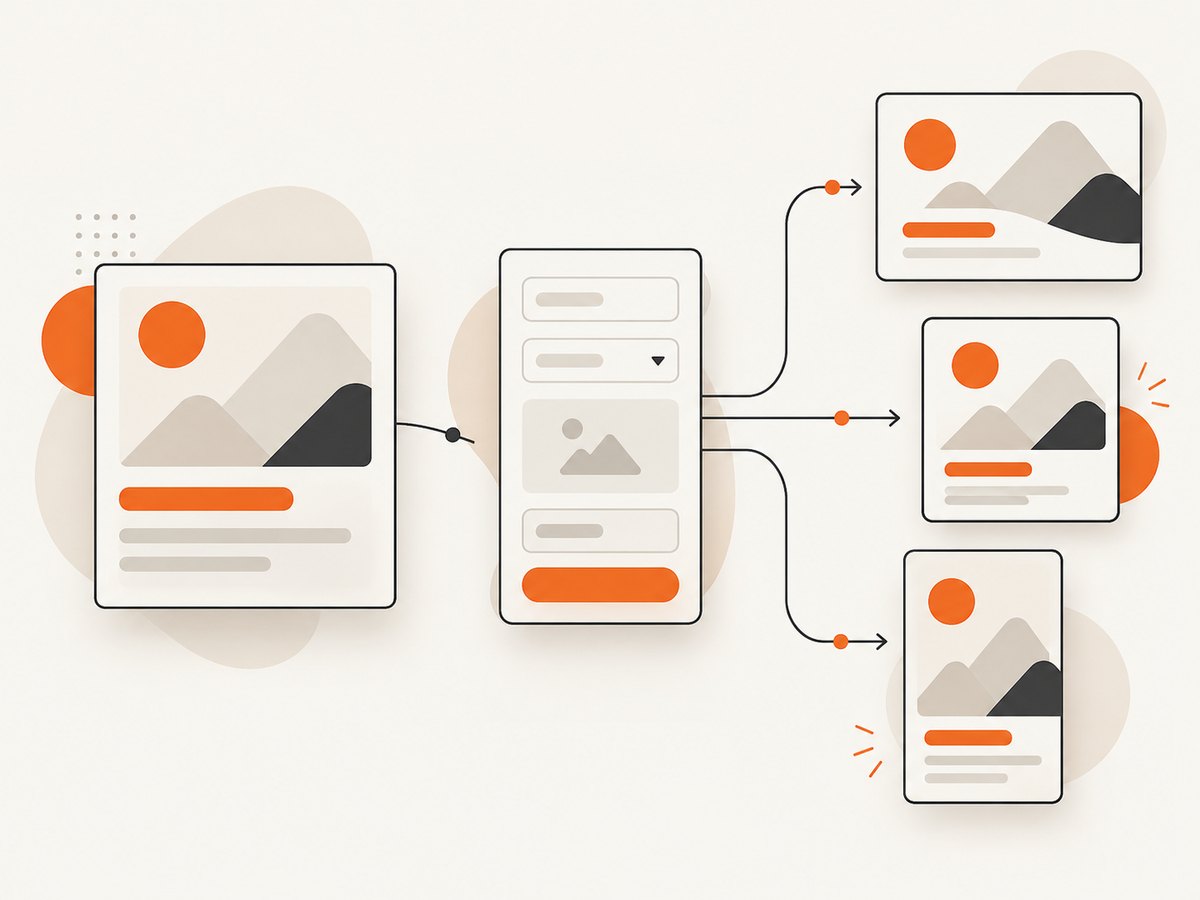
The template is the repeatable part of the process: design once, then generate variations by filling its placeholders. Keep the number of editable fields intentional. Too few fields can force people to redesign; too many can make the form harder to use and can let copy overflow the layout. Check the longest likely headline and image crop in the template before you share it.
Plan the template around the content calendar
Use the fields your team actually records in its campaign workflow. For example, a post brief might have a campaign name, platform, publish date, caption, destination URL, and asset. The template might expose only the headline, short supporting line, and image. That separation keeps planning information in the calendar while giving the Studio form the values needed to render the visual.
- Use a short headline field for text that must fit a fixed graphic area.
- Keep a supporting line separate from the main title so it can be omitted when unnecessary.
- Use an image placeholder only when contributors should supply or select different media.
- Preview a few different combinations, including a short title and a long title, before adding the form to a shared team page.
3. Configure Placid Studio and its sharing controls
- Open Studio in Placid and create a custom Studio.
- Name it so teammates can tell which campaign or set of templates it serves.
- Select the templates that users should be able to generate from, or include all templates in the project if that is appropriate.
- Open the Studio’s Share Settings and enable public sharing for the embed flow described in the tutorial.
- Copy the Studio’s embed URL from its sharing or embed settings. Interface labels may change, so use the current sharing panel if the wording differs.
The source tutorial describes a password and a maximum Placid-credit limit as optional controls. Consider these if the Studio will be accessible through a shared page. Public sharing is a requirement in the documented flow, so review what the shared Studio exposes before placing it in a workspace used by a broad audience. A password is optional, not a universal requirement. A credit limit can help constrain use of the Studio, but it is not a substitute for deciding who should have access.
4. Embed the Studio in a Notion page
- Open the Notion page where people plan and create social content. A campaign hub can place the Studio alongside the content calendar, brand assets, and publishing notes.
- Type
/embedand choose the Embed block. - Paste the Studio embed URL and confirm the embed.
- Resize the block so the form and preview are practical to use. Notion allows many embeds to be resized and rearranged.
- Open the page in the Notion clients your team uses and confirm the Studio loads and can be used there.
Paste an HTTPS embed URL, not raw iframe markup. Notion’s help documentation says some sites prohibit embedding, and login-required embeds do not work in Notion’s desktop or mobile apps. If the block does not render, confirm that the URL is the Studio’s embed or share URL and that the service permits embedding. [Notion’s embed guide](https://www.notion.so/help/embeds-bookmarks-and-link-mentions) covers the general embed behavior and limitations.
5. Generate, preview, and retrieve a visual
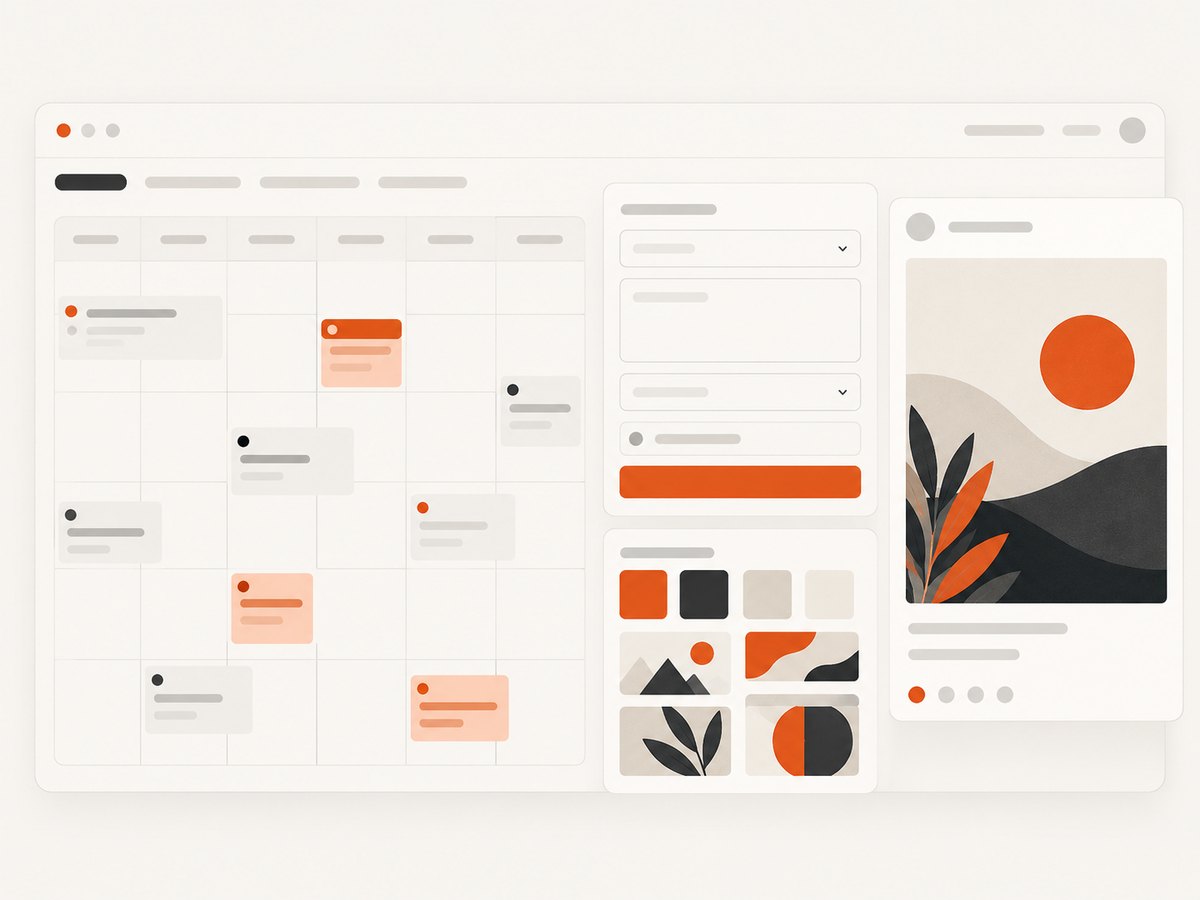
- In the embedded Studio form, choose the template for the post.
- Enter the dynamic text and upload or select the media the template expects.
- Preview the creative. Check spelling, line breaks, image crop, and whether the content fits the design.
- Generate the asset and download it from the Studio. The tutorial describes generated creatives appearing in a table below the form.
- Put the downloaded file where your publishing workflow expects it, and add a link or reference back to the relevant calendar entry if your team needs to find it later.
The preview step matters because a template can accept content that is too long or an image that crops poorly. Treat the Studio as an asset-generation step, then verify the resulting file before scheduling or publishing it. If several people create graphics, agree on where finished files belong and how the calendar entry identifies the approved version.
6. Organize the workspace for repeat use
A useful Notion hub gives the creator enough context to complete the graphic without hunting through unrelated pages. One practical layout is:
- Content calendar: campaign, channel, owner, publish date, brief, and status.
- Embedded Studio: the form for generating the selected creative.
- Brand references: approved colors, copy guidance, and links to source assets.
- Finished creative reference: the downloaded file or its approved storage location, connected to the calendar item.
This layout is an organizational suggestion, not a feature of the embed itself. The Studio creates and provides the creative; your Notion page supplies the planning context. The source tutorial also mentions sharing a public Studio page with team members outside Notion and automating through no-code tools or an API as optional extensions. Those are not required for the basic workflow.
Or skip the browser setup
If your task is capturing a web page as an image or PDF rather than generating a designed social graphic from a template, [ScreenshotNeo](https://screenshotneo.com) is a website screenshot API and MCP server from Yorker Media. It does not replace Placid’s template workflow; it is an alternative when the source you need is a webpage.
curl -G "https://api.screenshotneo.com/v1/shot" -d access_key=YOUR_API_KEY --data-urlencode url=https://stripe.com -o shot.webpSee the [ScreenshotNeo API documentation](https://screenshotneo.com/docs/) for request options. Cookie banners, popups, and chat widgets are removed before the shot. Bot checks, blank pages, and failed loads are never billed. An MCP server lets AI agents take screenshots. The Free plan includes 1,000 screenshots a month with no card; paid plans start at $5 for 3,000. [Create a free ScreenshotNeo account](https://screenshotneo.com/account/sign-up/).
7. Troubleshooting common problems
| Symptom | Likely cause | What to do |
|---|---|---|
| The block shows a link or fails to load | The pasted URL is not an embed URL, or the site blocks third-party embedding. | Copy the Studio embed URL from its sharing settings, use the HTTPS URL in an Embed block, and check whether the service permits embedding. |
| The embed works in one place but not in the Notion desktop or mobile app | The embed requires a login, which Notion says is unsupported in its desktop and mobile apps. | Check the Studio’s sharing mode and try the supported public embed flow. If access must remain login-gated, use the Studio separately rather than relying on an app embed that cannot authenticate. |
| Teammates cannot open the Studio | Sharing is disabled, or the Studio’s optional password is enabled and they do not have it. | Review Share Settings and share the required access details with the intended users. Keep the page’s audience in mind when enabling public sharing. |
| The expected template is missing | The Studio exposes selected templates and the desired one was not included. | Edit the Studio configuration and add the template, or include all project templates if that is suitable. |
| The graphic has clipped text or an awkward crop | The submitted value or image does not fit the design’s placeholder area. | Shorten the copy, choose a better source image, adjust the template, and preview again. Test long and short content during template setup. |
| Usage stops unexpectedly | An optional maximum Placid-credit limit may have been reached. | Review the Studio’s configured limit and account usage, then adjust the cap if appropriate. |
| The embed is too cramped to work in | The block has not been sized for the form and preview. | Resize the block and arrange it near the calendar or relevant campaign information. |
8. Reliability, access, and workflow costs
The important reliability boundary is the external embed: Notion can display content only when the embedded service allows it and the client can access it. Test the actual Studio URL in the Notion app and devices the team uses. A working browser preview alone does not establish that an embed requiring authentication will work in Notion’s desktop or mobile app.
Access also follows the sharing configuration. Public sharing makes the documented embed flow possible, so review the exposed templates and inputs and use the optional password or credit maximum when they fit your team’s needs. Avoid placing private information in the form or its shared context unless the service’s access settings are suitable for it.
For efficiency, finalize the template before inviting a group to use it. A well-scoped template reduces repeated layout work and makes outputs more consistent, while a poor template causes recurring manual fixes. The sources provide no measured generation time, service uptime, or cost figures for this workflow, so plan around your Placid account’s own terms and usage rather than assuming a particular throughput or price.
9. Frequently asked questions
Can I create graphics inside Notion itself?
This workflow places a third-party Placid form inside a Notion page. Placid provides the templates and generates the output; Notion provides the workspace context and embed container.
Is the Studio embed the same as a Notion mobile widget?
No. The official mobile widget is a home-screen shortcut to a page or database. The Studio is an external form embedded in a Notion page.
Can people outside my workspace use it?
The tutorial describes sharing a public Studio page with people outside Notion as an optional extension. Check the Studio’s sharing controls and audience before distributing it.
Can I automate the process?
The tutorial mentions no-code tools and an API as optional automation paths, but they are not needed to create the embedded form workflow. Consult Placid’s current documentation for the supported integrations and API details.
Can I use this to capture a webpage as a social image?
A template generator and a webpage screenshot solve different jobs. For a direct webpage capture, ScreenshotNeo offers a screenshot API; see its [documentation](https://screenshotneo.com/docs/).


