How to Stitch Website Screenshots into a Full-Page Image
Learn when to use native full-page capture, how to stitch screenshots manually, and how to avoid seams, repeated headers, and missing content.

Short answer: use your browser’s native full-page screenshot first. Firefox, Chrome DevTools, and Microsoft Edge can capture content below the viewport in one operation. Stitch separate screenshots only when native capture fails, when you need selected sections, or when you must control exactly how overlaps and sticky elements are handled.
Manual stitching is straightforward when every frame uses the same viewport size, zoom level, scroll position increments, and page state. The difficult parts are dynamic content, lazy-loaded images, fixed headers, nested scrolling areas, and pages that change while you capture them. This guide covers the native browser methods, a reliable manual workflow, automation options, troubleshooting, quality checks, and a way to avoid managing a browser at all.
1. Try native full-page capture first
A native capture usually produces a cleaner result because the browser can render the document as one page instead of asking you to align independent frames. It also avoids most seam calculations.
Firefox
- Open the page you want to capture.
- Right-click an empty part of the page. On macOS, Control-click.
- Select Take Screenshot. You can also press Ctrl+Shift+S on Windows or Linux, or Command+Shift+S on macOS.
- Choose Save full page to download the complete page.
- Use Copy if you want the image on your clipboard instead of saving a file.
Firefox documents this as a way to capture visible content or an entire web page. The exact menu appearance can vary with browser version and platform.
Chrome DevTools
- Open Chrome DevTools with F12, Ctrl+Shift+I, or Command+Option+I.
- Enable the Device Toolbar by clicking its phone-and-tablet icon.
- Open the Device Toolbar’s More options menu.
- Select Capture a full size screenshot.
This captures page content outside the visible viewport. Chrome moves interface labels occasionally, so use DevTools command search for “full size screenshot” if the menu is different in your version.
Microsoft Edge
- Open Edge’s Screenshot tool.
- Choose the full-page capture option.
- Save or copy the result. Edge also provides markup tools and selected-area capture.
Microsoft notes that Screenshot availability and behavior can vary by device type, market, and browser version.
2. When manual stitching is the right fallback
Use a scroll-and-stitch workflow when a native capture is unavailable, a page’s full-size capture is broken, or you only need selected sections. It can also help when you need to remove a particular banner or combine screenshots from a controlled sequence.
Manual stitching is less suitable for pages with animations, live dashboards, rotating ads, infinite scroll, or content that changes as you move through it. The page can be different in frame two even if the scroll distance is correct.
3. Prepare the page and capture settings
- Choose a fixed viewport. Set the browser window or device emulation to the final width you need.
- Set zoom to 100%. Browser zoom changes CSS pixel dimensions and makes alignment harder.
- Disable avoidable motion. Pause videos, carousels, animated backgrounds, and auto-refreshing widgets.
- Wait for the page to settle. Confirm that fonts, images, and layout shifts have finished.
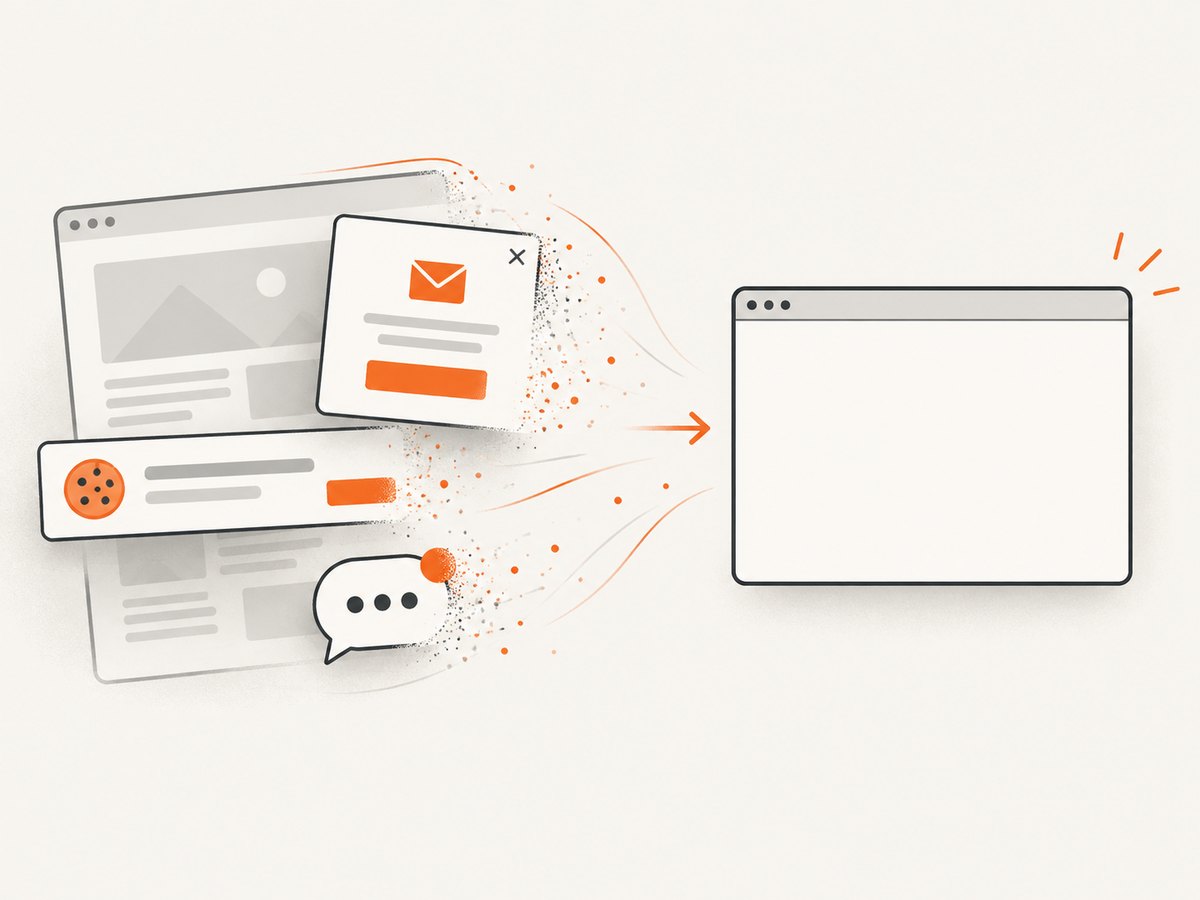
- Handle cookie dialogs and popups. Close them before the first frame, or they may appear in only some frames.
- Record the viewport dimensions. You need the same width and height for every screenshot.
- Plan an overlap. Capture each frame with a repeated strip of the previous frame. Overlap gives you landmarks for alignment and protects against small scroll inaccuracies.
Before capturing, scroll through the page once. This encourages lazy-loaded images and below-the-fold components to render. Return to the top, wait again, and then begin the sequence.
4. Capture successive viewport screenshots
Capture from top to bottom without changing the browser size, zoom, device emulation, or page state. A practical sequence looks like this:
- Capture the page at the top.
- Scroll by slightly less than one viewport height so the next frame overlaps the previous one.
- Wait for newly visible images and content to finish loading.
- Capture the next frame.
- Repeat until the bottom of the document is visible.
For a viewport 900 pixels high, a scroll increment between 700 and 800 pixels leaves a useful overlap. The correct value depends on the page and the precision of your scrolling tool. Do not assume that a fixed increment will work if the page contains scroll-linked effects or expanding sections.
What to include in every frame
- The same left and right page boundaries.
- Enough repeated content to identify matching landmarks.
- Any page section that might change height after images load.
5. Assemble the frames in an image editor
- Create a tall canvas wide enough for one screenshot.
- Place the first frame at the top.
- Add the second frame on a new layer below it.
- Move the second frame upward until repeated landmarks align exactly.
- Crop the duplicate overlap from one of the layers.
- Continue downward, aligning each frame against the one above it.
- Flatten or export the finished image as PNG, JPEG, or WebP.
Use repeated text baselines, image edges, card borders, and horizontal rules as alignment landmarks. If a landmark appears twice because of overlap, keep one copy and remove the duplicate strip. A guide layer or temporary transparency makes seams easier to see.

Sticky headers and floating controls
Fixed headers, chat buttons, cookie controls, and floating share bars can appear in every viewport. Decide whether they belong in the final image. If they do not, hide them before capture or remove each repeated copy during assembly. If the header should appear only once, keep it from the first frame and crop it from later frames.
6. A repeatable stitching algorithm
If you are building your own tool, treat each screenshot as a rectangle with a known viewport width and height. The basic algorithm is:
- Capture frame
iat scroll positiony_i. - Find the vertical offset where frame
ioverlaps framei-1. - Place frame
iaty_ion the composite canvas. - Blend or crop the overlap so only one copy remains.
- Repeat until the last frame.
Exact pixel matching can fail when text is anti-aliased differently or when a page animates. Feature matching based on edges or local keypoints is more tolerant, but it can still select the wrong repeated card or heading. For controlled pages, fixed scroll increments plus manual review are often more predictable.
7. Common problems and fixes
| Problem | Cause | Fix |
|---|---|---|
| Sticky header repeats | A fixed element is rendered in every viewport. | Hide it before capture, crop duplicate strips, or use native full-page capture. |
| Visible seam or jump | Frames use different scroll offsets, zoom, or viewport widths. | Lock all dimensions, add overlap, and align repeated landmarks before cropping. |
| Blank image regions | Lazy content has not loaded or a request failed. | Scroll through once, wait for images, check the network, then recapture the affected frames. |
| Missing lower sections | The page uses an inner scroll container or infinite scroll. | Scroll the correct container, expand content, or capture sections separately. |
| Different fonts between frames | Web fonts loaded after the first capture. | Wait for fonts before starting and keep the same browser session for all frames. |
| Content shifts between frames | Ads, live data, animations, or delayed scripts change layout. | Disable motion where possible, block unstable requests, or capture with a browser automation script that waits for a stable state. |
| Very large output file | A tall PNG contains many uncompressed pixels. | Use WebP or JPEG when transparency and lossless text edges are not required; resize only after stitching. |
| Capture stops at a browser limit | The document or image exceeds practical canvas dimensions. | Split the page into sections, export multiple files, or use a PDF workflow. |
8. Quality checklist before you publish or archive the image
- Check the entire image from top to bottom at 100% zoom.
- Confirm that no section is duplicated or missing.
- Look for horizontal jumps in text, borders, and image edges.
- Check that lazy-loaded images are present.
- Verify that sticky headers, chat widgets, and cookie banners appear only as intended.
- Confirm the final width, height, color profile, and file format.
- Open the exported file in a second viewer to catch clipping or transparency issues.
9. Automating the capture with a browser
Browser automation is useful when you need repeatable captures for many pages. A typical script launches a browser, sets a viewport, navigates to the URL, waits for network activity and images, and asks the browser for a full-page screenshot. The exact API depends on the automation library you choose.
For pages where native full-page capture fails, automation can still require custom handling: scrolling to trigger lazy loading, hiding selectors, waiting for a particular element, or capturing an inner scroll container. Keep a deterministic viewport and save the URL, timestamp, viewport, and wait conditions beside each output so you can reproduce a result.
10. Or skip the browser setup
ScreenshotNeo provides a website screenshot API: one GET request returns a PNG, JPEG, WebP, or PDF. It supports full-page capture with lazy images loaded, element capture by CSS selector, custom CSS and JavaScript, click actions, waits, device presets, dark mode, retina scale, headers, cookies, user agents, authorization, timezone, geolocation, blocked requests, transparent backgrounds, resizing, caching, signed links, asynchronous jobs, webhooks, bulk capture, and usage reporting. See the ScreenshotNeo API documentation for the complete option set.
cURL
curl -G "https://api.screenshotneo.com/v1/shot" \
  -d access_key=YOUR_API_KEY \
  --data-urlencode url=https://stripe.com \
  -o shot.webp
Python
import requests

r = requests.get(
    "https://api.screenshotneo.com/v1/shot",
    params={"access_key": "YOUR_API_KEY", "url": "https://stripe.com"},
    timeout=90,
)
r.raise_for_status()
open("shot.webp", "wb").write(r.content)
Node.js
const q = new URLSearchParams({
  access_key: 'YOUR_API_KEY',
  url: 'https://stripe.com'
});
const res = await fetch(`https://api.screenshotneo.com/v1/shot?${q}`);
if (!res.ok) throw new Error(`HTTP ${res.status}`);
const buffer = Buffer.from(await res.arrayBuffer());
require('fs').writeFileSync('shot.webp', buffer);
ScreenshotNeo removes cookie and consent banners, newsletter popups, and chat widgets before the capture. Bot checks, blank pages, timeouts, failed loads, and cache hits are not billed; response headers identify the page verdict and whether the shot was billed. Its MCP server gives Claude, Cursor, and other MCP clients the tools take_screenshot, get_page_info, and capture_pdf. The Free plan includes 1,000 screenshots per month with no card; paid plans start at $5 for 3,000 shots. Create a free ScreenshotNeo account.
11. Performance, reliability, and cost considerations
Performance
A single native full-page capture is usually faster than capturing and editing many frames. Manual stitching adds image decoding, alignment, cropping, and export work. For automation, reduce unnecessary waits, reuse a browser session where safe, and capture only the element or section you need.
Reliability
Deterministic inputs matter more than a clever stitching algorithm. Fix the viewport, wait for fonts and images, freeze animations, and record the capture conditions. For changing pages, compare two consecutive captures or inspect the result before distributing it.
Cost
Browser capture has no per-shot API charge, but it consumes local compute and maintenance time. An API can be easier to operate for scheduled or high-volume work. ScreenshotNeo bills only clean shots and offers caching with a TTL you choose, which can reduce repeated work for unchanged URLs.
12. FAQ
Is stitching better than a full-page screenshot?
Usually no. Native full-page capture is simpler and avoids most seams. Stitching is useful when native capture fails or when you need selective control.
How much overlap should screenshots have?
Use enough repeated content to identify landmarks, often 100–200 pixels. More overlap improves alignment but increases editing work.
Why is my full-page image missing images?
Lazy-loaded resources may not have appeared before capture. Scroll through the page once, wait for the images, and capture again.
Can I stitch screenshots from different browsers?
You can, but font rendering, line wrapping, and antialiasing may differ. Capture every frame in the same browser session whenever possible.
Should I export PNG, JPEG, or WebP?
PNG preserves sharp text and transparency. JPEG is smaller for photographic pages. WebP is a practical compact choice when your destination supports it.
Can I capture only one section?
Yes. Select the section in an editor, capture an element with an automation tool, or use ScreenshotNeo’s CSS selector capture.


