Storybook Visual Regression Testing Without Chromatic
Build reliable Storybook visual regression tests with Playwright, versioned baselines, CI review, and a hosted screenshot option.
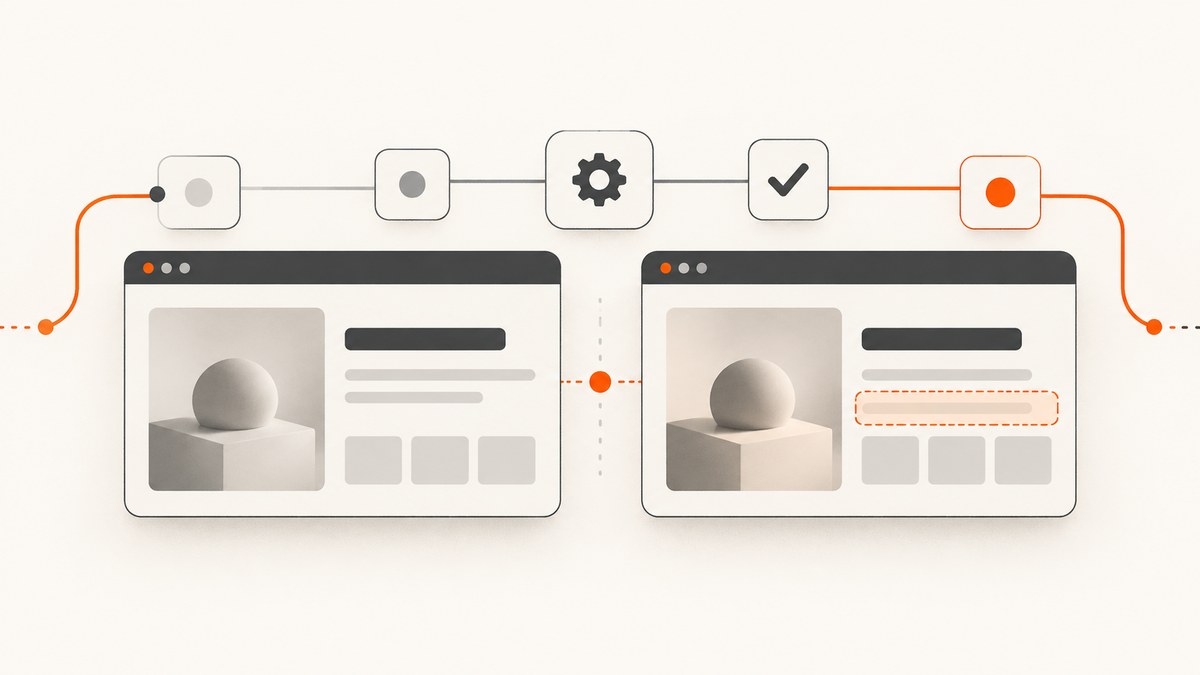
Yes. You can run Storybook visual regression tests without Chromatic by rendering stories with Playwright, capturing screenshots, comparing them with approved baseline images, and reviewing intentional changes in pull requests. The tradeoff is ownership: your team must keep the Storybook server, browser, fonts, fixtures, comparison thresholds, baseline files, and CI artifacts consistent.
This guide builds that workflow from first principles, explains current Storybook guidance, and covers the failure modes that make screenshot tests noisy. It also shows when a hosted service can reduce maintenance.
What visual regression testing does
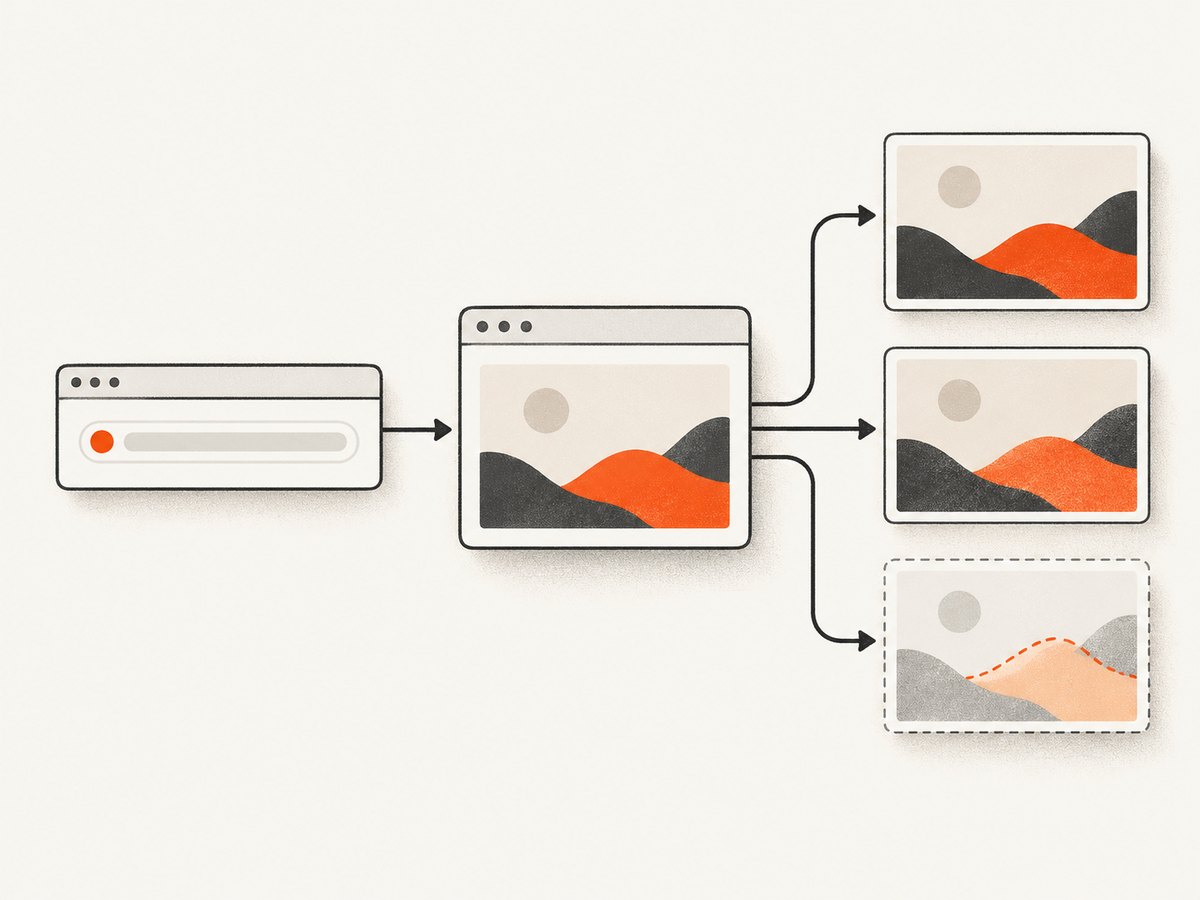
A visual regression test follows five steps:
- Render a story in a known environment.
- Capture an image at a fixed viewport and device scale.
- Compare the new image with a versioned, known-good baseline.
- Publish the diff when pixels differ.
- Accept a new baseline only after a human reviews the change.
The baseline is not an assertion that the UI can never change. It is the expected appearance for a particular browser, viewport, font set, data fixture, and story state. When a design change is intentional, update the baseline in the same reviewed change as the component.
Storybook’s official visual-testing documentation describes a Chromatic-backed workflow through the @chromatic-com/storybook addon. Its native visual-testing panel is not a Chromatic-free local image-diff engine. If you avoid Chromatic, assemble the capture and comparison pieces yourself or use another hosted service.
Current Storybook test guidance
Older tutorials often begin with Storybook Test Runner. The current documentation says that runner is based on Jest and Playwright, but that it has been superseded by the Vitest addon for Vite-powered Storybook frameworks. Use the Vitest addon for interaction and component tests where it fits, while treating screenshot capture as a separate responsibility.
Do not confuse DOM snapshots with visual screenshots. Storybook’s snapshot guide shows a postVisit hook that saves a snapshot for each story; that example checks serialized DOM output. Pixel regression requires an image capture and an image comparison algorithm.
DIY architecture: separate the responsibilities
A maintainable setup has explicit boundaries:
| Responsibility | Typical choice | What you own |
|---|---|---|
| Storybook build | build-storybook or a local server |
Deterministic stories, assets, environment variables |
| Browser capture | Playwright | Browser version, viewport, fonts, waits, animations |
| Comparison | Playwright toHaveScreenshot or an image-diff package |
Thresholds, masking, full-page behavior |
| Baselines | Git, artifact storage, or a dedicated store | Review and retention policy |
| CI feedback | Pull-request checks and uploaded artifacts | Readable diffs and approval rules |
The Storybook Playwright addon documents screenshot generation and comparison helpers, including a toMatchScreenshots matcher using jest-image-snapshot. Its listed compatibility changes over time, so check the live addon page and your project’s versions before pinning packages.
Build a reproducible Playwright capture
1. Install and configure
npm install -D @playwright/test
npx playwright install --with-deps chromium
Create playwright.config.ts with one deliberately fixed project:
import { defineConfig } from '@playwright/test';

export default defineConfig({
  testDir: './visual-tests',
  snapshotPathTemplate: '{testDir}/__screenshots__/{projectName}/{arg}{ext}',
  expect: {
    toHaveScreenshot: {
      animations: 'disabled',
      caret: 'hide',
      scale: 'css',
      maxDiffPixelRatio: 0.001,
    },
  },
  use: {
    baseURL: 'http://127.0.0.1:6006',
    viewport: { width: 1280, height: 800 },
    deviceScaleFactor: 1,
    colorScheme: 'light',
    locale: 'en-US',
    timezoneId: 'UTC',
    reducedMotion: 'reduce',
  },
  webServer: {
    command: 'npm run storybook -- --ci --port 6006',
    url: 'http://127.0.0.1:6006',
    reuseExistingServer: !process.env.CI,
    timeout: 120000,
  },
});
Generate and commit the first baseline deliberately:
npx playwright test --update-snapshots2. Visit a story and compare it
Storybook’s iframe URL is stable when you use the story’s ID. For a story exported as Primary from Button.stories.tsx, the ID is commonly button--primary. Confirm the exact ID in Storybook’s URL or generated index.
import { test, expect } from '@playwright/test';

test('Button primary', async ({ page }) => {
  await page.goto('/iframe.html?id=button--primary&viewMode=story');
  await page.evaluate(() => document.fonts.ready);
  await page.locator('[data-testid="button"]').waitFor({ state: 'visible' });
  await expect(page).toHaveScreenshot('button-primary.png', {
    animations: 'disabled',
  });
});
Use a stable selector only when the story needs a readiness check. If the story is fully rendered after the page load, a selector wait can be unnecessary. For full-page layouts, use fullPage: true; for a component, prefer the component locator so unrelated Storybook chrome cannot change the result.
3. Control story data and time
Visual tests become noisy when stories call live APIs, generate random IDs, depend on the current date, or render a moving cursor. Mock network responses and use fixed fixtures. Freeze time when a timestamp is part of the component. Set deterministic feature flags and authentication state in the story itself.
test('invoice with fixed data', async ({ page }) => {
  await page.route('**/api/invoices/*', route => route.fulfill({
    status: 200,
    contentType: 'application/json',
    body: JSON.stringify({ id: 'inv-001', total: 4200, status: 'paid' }),
  }));
  await page.goto('/iframe.html?id=invoice--paid&viewMode=story');
  await expect(page).toHaveScreenshot('invoice-paid.png');
});
Choosing comparison settings
- Exact pixels: useful only when the rendering environment is tightly pinned.
- Maximum differing pixels: catches small localized defects while tolerating a fixed amount of noise.
- Diff ratio: scales the allowance with image size; document the chosen value.
- Masking: hide intentionally dynamic regions, such as avatars or timestamps, but keep masks narrow.
- Antialiasing tolerance: helpful across browser versions, though excessive tolerance can hide real regressions.
Start strict on a small representative set. Increase tolerance only after identifying a repeatable rendering difference. A green build with a broad threshold is less useful than a red build whose diff explains a real change.
CI workflow and baseline review
- Install the exact Node.js and Playwright versions used to create baselines.
- Run Storybook in CI with a fixed port and production-like build.
- Run visual tests with bounded workers.
- Upload actual, expected, and diff images when a test fails.
- Require review of the diff before changing snapshots.
- Commit accepted snapshots with the component change.
Large story sets and low CI memory can cause timeouts. Storybook’s test-runner documentation specifically recommends lowering parallel worker count when project size or available RAM is a problem. In Playwright, use workers: 1 or a small CI-specific value, then increase it only if the environment remains stable.
npx playwright test --workers=2 --reporter=html
npx playwright show-report
Keep browser, operating-system image, fonts, viewport, device scale factor, locale, timezone, and color scheme fixed between baseline generation and CI. A font fallback can move text and create hundreds of unrelated differences.
Coverage strategy
Do not begin by capturing every story. Select stories that represent high-risk visual states:
- Primary navigation, responsive shells, and layout primitives.
- Buttons, forms, validation, disabled, loading, and error states.
- Data-dense tables and cards with long or empty content.
- Dark mode and high-contrast themes.
- Components with overlays, menus, dialogs, or focus rings.
Add stories when a defect escapes or when a component’s risk changes. Keep each screenshot focused enough that a reviewer can identify the cause.
Troubleshooting common failures
| Symptom | Cause | Fix |
|---|---|---|
| Every pixel changes | Different browser, OS, font, scale, or color profile | Pin the CI image and browser; install the same fonts and set deviceScaleFactor. |
| Text shifts between runs | Web fonts have not loaded | Wait for document.fonts.ready and ensure font files are available in CI. |
| Flakes around transitions | CSS or Web Animations are still running | Disable animations in test CSS and use Playwright’s animation setting. |
| Screenshot is blank | Story failed to load, iframe URL is wrong, or an exception stopped rendering | Open the URL in headed mode, inspect console errors, and verify the story ID. |
| Test times out | Storybook startup, a missing fixture, too many workers, or low memory | Increase startup timeout, mock slow calls, reduce workers, and inspect CI logs. |
| Only images differ | Remote assets, lazy loading, or cache variation | Serve fixtures locally, wait for image completion, and avoid external URLs. |
| Diff is mostly Storybook UI | Captured the manager page instead of the story iframe | Use /iframe.html?id=...&viewMode=story or target the component locator. |
| Intentional change fails CI | Baseline was not updated | Review the diff, run with --update-snapshots, and commit only the expected files. |
Performance, reliability, and cost
Capture time grows with story count, browser startup, page complexity, and network waits. Reuse one browser process, run independent stories in controlled parallelism, and avoid unnecessary full-page screenshots. Build Storybook once per job rather than once per test.
Reliability comes from reducing nondeterminism, not from loosening every threshold. Keep screenshots and diffs as CI artifacts for enough time to review failures. If a test is inherently unstable, mark the underlying story as unsuitable for pixel comparison and cover its behavior with interaction tests instead.
DIY software costs can be low because Playwright and image-diff packages are available as open-source tools, but CI minutes, artifact storage, browser maintenance, and engineer review are real costs. A 2026 Argos vendor guide claims $0.0015 per Storybook screenshot and up to 5,000 screenshots per month free; verify that pricing before relying on it because it is a vendor claim and may change.
When a hosted service is a better fit
A hosted visual-testing service can provide centralized baseline review, pull-request integration, artifact retention, and less browser infrastructure. Evaluate it on framework and browser support, rendering consistency, data retention, access controls, screenshot volume, seats, and the workflow for accepting changes. Ask where Storybook and images are uploaded and how long they are retained.
The choice is organizational as much as technical. DIY gives you control over storage and execution while requiring a team-owned review process. Hosted tooling reduces setup and maintenance but introduces service cost and dependency. Neither removes the need for deterministic stories and human review.
Or skip the browser setup
ScreenshotNeo provides a website screenshot API and MCP server. One request captures a URL as PNG, JPEG, WebP, or PDF. It accepts consent banners before capture and removes more than 60 known consent platforms, newsletter popups, and chat widgets; each step can be disabled. Bot checks, blank pages, timeouts, failed loads, and cache hits are not billed, and the response identifies the result with X-Page-Verdict and X-Billed headers. Its MCP server gives Claude, Cursor, and other MCP clients take_screenshot, get_page_info, and capture_pdf tools.

For a deployed Storybook, a single call can capture a story URL:
curl -G 'https://api.screenshotneo.com/v1/shot' -d access_key=YOUR_API_KEY --data-urlencode url=https://storybook.example.com/iframe.html?id=button--primary&viewMode=story -o shot.webpPython:
import requests

r = requests.get(
    'https://api.screenshotneo.com/v1/shot',
    params={'access_key': 'YOUR_API_KEY', 'url': 'https://storybook.example.com/iframe.html?id=button--primary&viewMode=story'},
    timeout=90,
)
r.raise_for_status()
open('shot.webp', 'wb').write(r.content)
Node.js:
const q = new URLSearchParams({
  access_key: 'YOUR_API_KEY',
  url: 'https://storybook.example.com/iframe.html?id=button--primary&viewMode=story'
});
const res = await fetch(`https://api.screenshotneo.com/v1/shot?${q}`);
if (!res.ok) throw new Error(`HTTP ${res.status}`);
require('fs').writeFileSync('shot.webp', Buffer.from(await res.arrayBuffer()));
See the ScreenshotNeo API documentation for the full option set: viewport and device presets, retina scale, full-page or CSS-selector capture, dark mode, custom CSS and JavaScript, click and wait controls, request blocking, headers, cookies, user agents, timezone, geolocation, transparent backgrounds, resizing, caching, signed links, asynchronous jobs, webhooks, bulk capture, usage data, and PDF settings.
ScreenshotNeo includes 1,000 screenshots each month on the free plan with no card. Paid plans start at $5 for 3,000 shots. Create a free ScreenshotNeo account.
FAQ
Can I use Storybook’s Vitest addon for pixel screenshots?
Use Vitest for component and interaction tests where appropriate, then run a screenshot step with Playwright or another image-capture tool. Keep image comparison separate so failures identify whether behavior or pixels changed.
Should baselines live in Git?
Git works well for moderate suites because baseline changes appear in code review. Large suites may use artifact or object storage, provided each baseline is versioned and reviewable.
How many browsers should I test?
Start with the browser that matches your supported production path and add others when rendering differences or customer risk justify them. Each browser requires its own stable baseline.
Are visual diffs a replacement for accessibility tests?
No. A screenshot can show an obvious layout problem while missing keyboard order, semantics, contrast calculations, and screen-reader behavior. Combine visual checks with accessibility and interaction tests.
What makes a baseline trustworthy?
A reproducible environment, deterministic story data, a reviewed initial capture, and a clear policy for accepting changes. Without those, the baseline merely records one machine’s output.


