How to Style Individual Words in Generated Text Layers
Learn how word-level styling works in generated text layers, follow documented editor workflows, and troubleshoot selection, readability, and export problems.

Word-level styling means selecting one word or a run of words inside a text object and applying formatting to that selection while leaving the rest of the text unchanged. It is different from changing the style of the entire text box. The exact controls depend on the editor. DoubleSpeed documents individual-word color and emphasis inside text blocks, while Kapwing documents a generated-subtitle workflow in which you generate captions, double-click a subtitle, highlight a word, and choose color or font options.
This guide explains the reliable editing model, gives a documented example, covers selection and export edge cases, and shows how to verify the result with screenshots.
What word-level styling changes
A text layer usually has two levels of formatting:
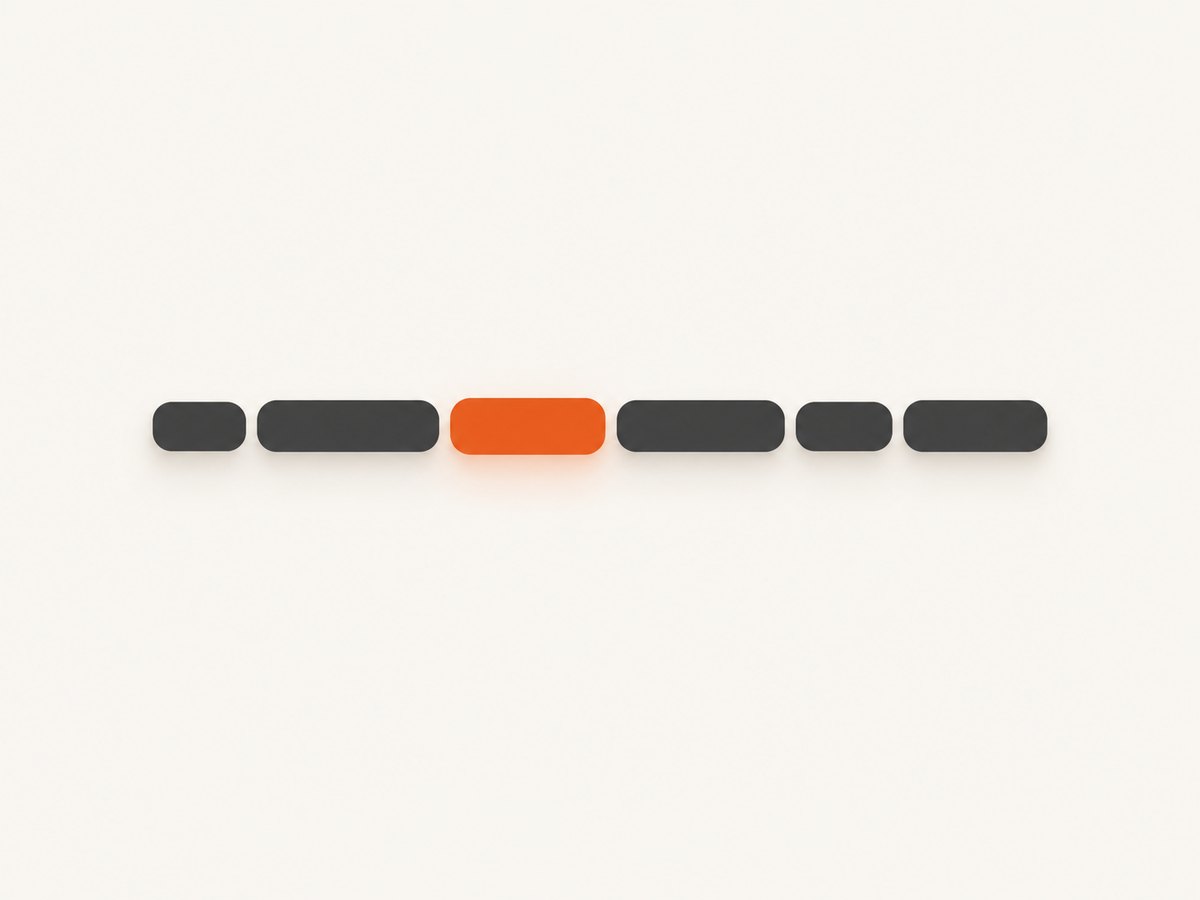
- Object-level formatting: font family, size, alignment, line spacing, box position, animation, and effects applied to the complete layer.
- Range-level formatting: color, weight, font, underline, or emphasis applied only to selected characters or words.
When range-level formatting is available, the editor stores a span inside the text object. For example, in Update your password today, only today might use an accent color. The layer remains one editable object, so changing the sentence later should not require rebuilding three separate text boxes.
DoubleSpeed’s August 26, 2026 changelog says: “You can now style individual words inside a text block, so a single word can carry its own color or emphasis.” Read that as confirmation that the capability exists; the changelog does not define every current button or keyboard shortcut. Use the current DoubleSpeed editor UI for the exact selection controls. DoubleSpeed changelog
Documented workflow: generated subtitles in Kapwing
The clearest published click-by-click example comes from Kapwing. Its February 2023 release note says to generate captions, double-click a subtitle, highlight the word, and choose color or font options in the right column. This is Kapwing’s documented caption workflow; panel names and gestures may differ in another editor. Kapwing February 2023 release notes
- Open the video or project containing the generated captions.
- Run the caption-generation step and wait until subtitle segments appear.
- Double-click the subtitle segment you want to edit so its text enters editing mode.
- Drag across the target word, or use a keyboard selection, until only the intended characters are highlighted.
- Choose a color or font option from the formatting controls in the right column.
- Click outside the subtitle to inspect the rendered result, then play the surrounding video to check timing and legibility.
- Repeat for other words, keeping the treatment consistent unless a change in emphasis is intentional.
In DoubleSpeed or another editor, map the same concepts to its UI: enter text-editing mode, select a range within the layer, apply the inline style, and preview the result. If double-clicking selects the whole object, look for a second click, an Edit Text command, or a text cursor before selecting characters.
Step-by-step method for any editor
1. Prepare the text layer
Use a short, final version of the text before styling. Generated captions often change after punctuation, timing, or transcript edits. If you style first and regenerate later, the editor may replace the text spans and remove your formatting.
2. Enter character editing mode
Object selection normally shows a bounding box and handles. Character editing shows a caret or a highlighted range inside the text. Do not apply a color while only the bounding box is active; that usually changes the complete layer.
3. Select the smallest useful range
Select a complete word when the emphasis is semantic. Include adjacent punctuation only when the design requires it. For right-to-left text, emoji, or combined characters, inspect the highlight carefully because what appears to be one visual symbol can contain multiple code points.
4. Apply one deliberate treatment
Set the color, font, weight, or other available inline property. A single accent color is easier to scan than several competing colors. Keep contrast high enough for the background and for compression artifacts in the final export.
5. Inspect in context
Preview the complete subtitle line, not only the selected word. A color that looks balanced on a dark editor canvas may disappear over bright footage. Check the frame before and after the subtitle appears, since motion or a scene cut can change contrast.
6. Export and recheck
Open the exported video or image and confirm that the inline style survived. Some workflows rasterize captions during export, while others preserve editable text only in the project file. Keep the source project until the final render has been approved.
Design guidance for readable emphasis
- Use a consistent meaning: reserve one treatment for actions, warnings, names, or other categories you define.
- Protect contrast: test the selected color against the lightest and darkest backgrounds in the sequence.
- Keep the base style stable: changing font, color, and weight on every highlighted word makes the hierarchy noisy.
- Style fewer words: emphasis works because most surrounding text remains ordinary.
- Consider localization: a word-level highlight may move or disappear when subtitles are translated or rewrapped.
- Check line wrapping: a heavier font or different character width can push a word onto a new line and alter timing or safe-area placement.
No source reviewed for this guide establishes a measured improvement in engagement, retention, readability, or viewing time from word-level styling. Treat these as editorial and accessibility practices, then validate them with your own audience and content.
Controls to compare when choosing an editor
Product documentation does not provide a head-to-head evaluation of DoubleSpeed, Kapwing, or other editors. When comparing tools, ask these concrete questions:
| Question | Why it matters |
|---|---|
| Can you select characters inside one text block? | Separates true word-level styling from whole-layer formatting. |
| Which inline properties are supported? | One editor may offer color and font while another also offers weight, underline, or effects. |
| How do you enter text-editing mode? | Selection errors often come from remaining in object mode. |
| Does formatting survive regeneration? | Generated captions may be replaced when the transcript changes. |
| Does the exported file preserve the appearance? | Ensures the delivered video or image matches the project preview. |
Troubleshooting
Selecting a word changes the whole text block
Cause: the object is selected rather than the characters inside it. Fix: enter text-editing mode, place the caret in the sentence, and drag across the word. If the editor still applies a global change, consult its current help or changelog; the reviewed sources do not establish a universal shortcut.
The color control is disabled
Cause: no character range is selected, the layer is locked, or the caption is still being generated. Fix: wait for generation to finish, unlock the layer, and select at least one character.
The style disappears after regenerating captions
Cause: regeneration can replace the underlying text spans. Fix: finalize transcript wording and timing first, then apply inline styles. Save a project version before regeneration so you can compare results.
The highlighted word is hard to read
Cause: insufficient contrast, a busy background, or a font weight that is too light at export size. Fix: choose a color with stronger contrast, add a consistent outline or background treatment if the editor supports it, and inspect the exported resolution.
Emoji or accented characters select incorrectly
Cause: visual characters can contain multiple underlying code points. Fix: select by dragging slowly, preview the complete line, and avoid splitting a combined emoji or diacritic sequence.
Timing no longer matches the voice
Cause: changing font width can rewrap a subtitle or alter its visual reading speed. Fix: replay the entire subtitle segment after styling and adjust its line break, duration, or font size.
The export looks different from the editor
Cause: export scaling, color management, or rasterization can change the appearance. Fix: inspect the actual output file on the target device and keep the original project for another export with corrected settings.
Verifying text layers with screenshots
A repeatable screenshot check helps teams review many generated captions. Capture the same viewport after styling, compare the selected-word treatment against a baseline, and store the result with the project version. For dynamic editors, wait for a stable selector or network idle before capture. Hide popups and consent controls so they do not cover the text under review.
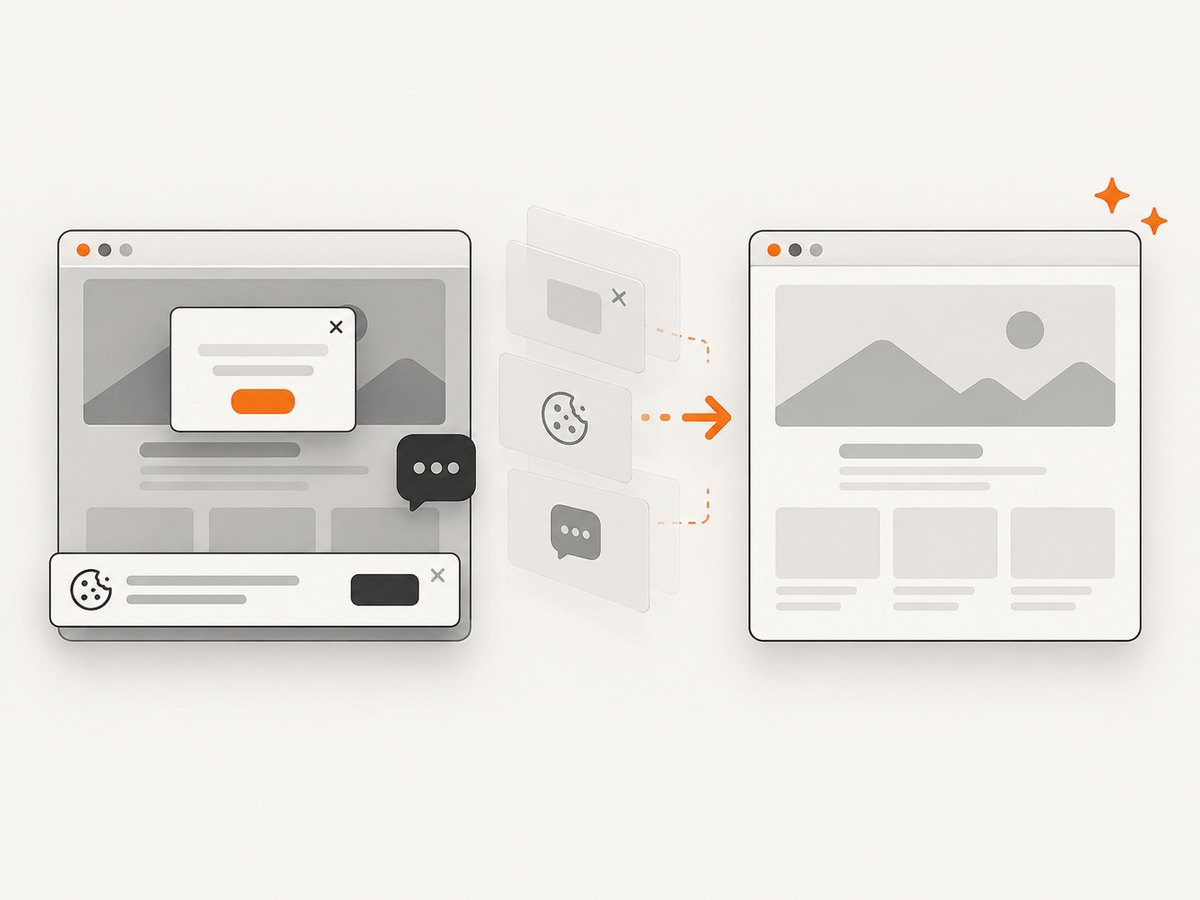
For a browser-based do-it-yourself capture, use Playwright or another browser automation tool to open the editor, wait for the canvas to render, and save a PNG. Keep credentials in environment variables, use a deterministic viewport, and avoid capturing while fonts or subtitle assets are still loading. A useful review checklist is:
- Only the intended word changed.
- The selected color remains readable over every relevant frame.
- Line wrapping and subtitle timing are unchanged or intentionally updated.
- The exported file matches the preview.
- No cookie banner, chat widget, or other overlay obscures the layer.
Or skip the browser setup
ScreenshotNeo provides a website screenshot API and MCP server for developers. One GET request returns a PNG, JPEG, WebP, or PDF, so you can capture a rendered editor review page without maintaining browser automation. See the ScreenshotNeo API documentation for the complete option set.
cURL
curl -G "https://api.screenshotneo.com/v1/shot" -d access_key=YOUR_API_KEY --data-urlencode url=https://stripe.com -o shot.webpPython
import requests
r = requests.get("https://api.screenshotneo.com/v1/shot", params={"access_key": "YOUR_API_KEY", "url": "https://stripe.com"}, timeout=90)
open("shot.webp", "wb").write(r.content)
Node.js
const q = new URLSearchParams({ access_key: 'YOUR_API_KEY', url: 'https://stripe.com' });
const res = await fetch(`https://api.screenshotneo.com/v1/shot?${q}`);
For this workflow, the useful options include a CSS selector for one element, full-page capture with lazy images loaded, custom CSS or JavaScript, waits for a selector or network idle, viewport and device presets, retina scale, hiding selectors, custom headers and cookies, and caching with a TTL you choose. You can also block ads, trackers, requests, or resource types, set timezone or geolocation, resize the output, and use signed links for public image tags. Async jobs with signed webhooks and bulk capture for up to 100 URLs per call help when a review queue grows. The MCP server exposes take_screenshot, get_page_info, and capture_pdf for Claude, Cursor, and other MCP clients.
Cookie banners, newsletter popups, and chat widgets are removed before the shot. Bot checks, blank pages, failed loads, timeouts, and cache hits are not billed, and response headers identify the page verdict and whether it was billed. The free plan includes 1,000 screenshots each month with no card; paid plans start at $5 for 3,000 shots, and every feature is available on every plan. Create a free ScreenshotNeo account.
Performance, reliability, and cost notes
- Performance: use a stable viewport, target a specific selector instead of a full page when reviewing one layer, and wait only for the assets your page needs. Bulk capture and caching reduce repeated work.
- Reliability: treat bot checks, blank pages, timeouts, and failed loads as distinct outcomes. Inspect
X-Page-VerdictandX-Billedrather than assuming every HTTP response is a usable image. - Cost: cache stable review pages with an appropriate TTL, avoid duplicate captures, and use async jobs for large batches. Clean shots are the only billed shots.
- Security: keep the access key server-side, pass authentication through supported headers or cookies, and use signed links when a public image URL is required.
FAQ
Is word-level styling the same as using separate text boxes?
No. Word-level styling keeps the words in one editable text object and applies formatting to a selected range. Separate boxes can provide positioning control but make editing and timing harder.
Does every subtitle editor support it?
No. Confirm that the product supports character-range selection inside a text layer. Kapwing documents this for generated subtitles, and DoubleSpeed documents the capability for text blocks.
Can I style a word before generating captions?
Usually you need the generated text object first. Apply styling after wording and timing are stable because regeneration may replace the formatted spans.
What should I do when the product documentation is vague?
Use the current editor to test whether a caret and partial selection are possible, then verify the exported file. Check the product’s current help pages and changelog for interface changes.
Can screenshots prove that the text is editable?
A screenshot proves the rendered appearance, not editability. Keep the source project and, when needed, record the editing steps or inspect the layer structure separately.
Sources
- DoubleSpeed changelog, including the August 26, 2026 word-level styling entry.
- Kapwing February 2023 release notes, dated February 3, 2023.
- Descript feature request, useful for reader wording but not confirmation of current support.


