How to Style Website Screenshots With JavaScript
Use Playwright to apply CSS or JavaScript before capture, control what appears in the image, and make screenshots more repeatable.
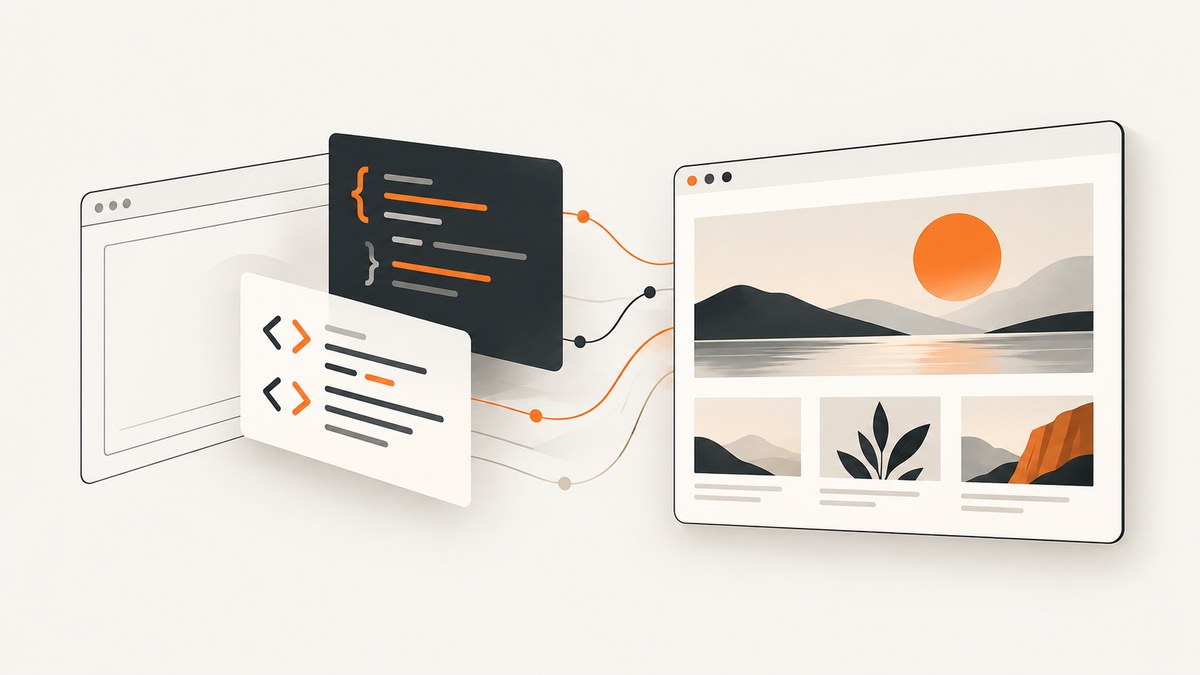
To style a website screenshot with JavaScript, load the page in a browser automation tool, then apply capture-only CSS or run JavaScript before saving the image. Playwright’s page.screenshot() supports a style option for temporary screenshot styles; use page JavaScript when you need to change page state, click controls, remove nodes, or add annotations. The examples below use Playwright with Node.js.
This distinction keeps visual cleanup separate from interaction: CSS is suited to presentation changes that should exist only in the image, while JavaScript can change the page before capture. Decide whether you need the viewport, full page, one component, or a crop before choosing the screenshot options. See the official Playwright screenshot documentation for the API details.
1. Set up a runnable Playwright script
Install Playwright and its Chromium browser in a Node.js project:
npm init -y
npm install playwright
npx playwright install chromium
Save this as capture.mjs. It opens a real page, applies screenshot-only CSS, waits for the main content, and writes a full-page PNG.
import { chromium } from 'playwright';

const browser = await chromium.launch({ headless: true });
try {
  const page = await browser.newPage({ viewport: { width: 1440, height: 900 } });
  await page.goto('https://example.com', { waitUntil: 'domcontentloaded' });
  await page.locator('main').waitFor({ state: 'visible', timeout: 15000 });

  await page.screenshot({
    path: 'styled.png',
    fullPage: true,
    type: 'png',
    animations: 'disabled',
    style: `
      .cookie-banner, .chat-widget { display: none !important; }
      main { outline: 3px solid #6b5bff !important; }
    `,
  });
} finally {
  await browser.close();
}
Replace https://example.com and the illustrative selectors with a page and selectors you control or are authorized to capture. If the page does not have a main element, remove that wait or use a selector that exists. The screenshot style is applied during capture, including within Shadow DOM and inner frames, as described by Playwright’s Page API.
2. Choose where and how the style applies
Screenshot-only CSS
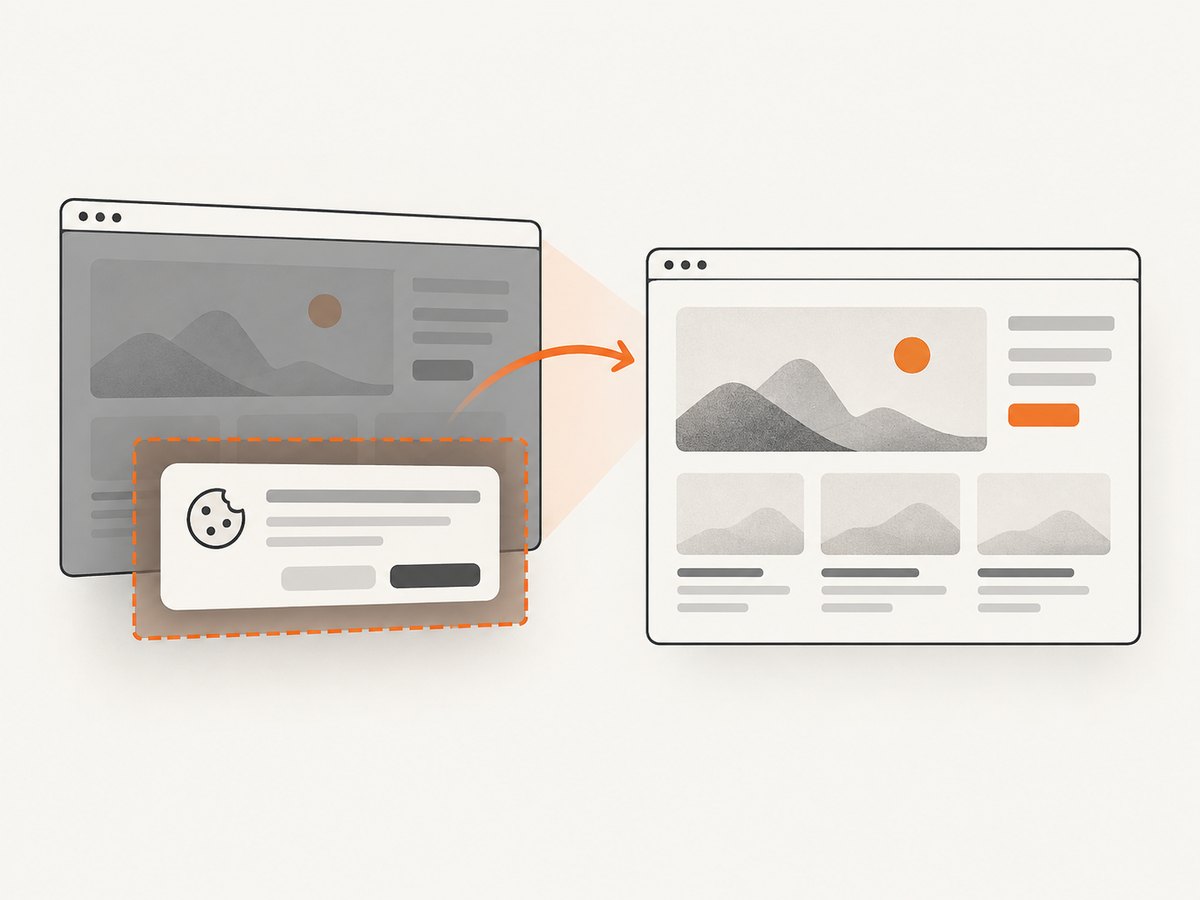
Use the style string when you want to adjust appearance without changing the page’s lasting state. Typical uses include hiding a timestamp or rotating banner, hiding an overlay, normalizing a background, or highlighting a region.
await page.screenshot({
  path: 'clean.png',
  style: `
    .newsletter-modal, .floating-chat { visibility: hidden !important; }
    .volatile-date { color: transparent !important; }
    *, *::before, *::after {
      animation-duration: 0s !important;
      transition-duration: 0s !important;
      caret-color: transparent !important;
    }
  `,
});
Choose display: none if the element should take up no space. Choose visibility: hidden if you want to preserve its layout footprint. A broad selector such as * can have unintended visual effects; prefer narrow selectors after inspecting the page. Since the style is for capture, do not expect it to remain active for later browser interactions.
JavaScript before capture
Use page JavaScript for state changes and DOM operations. For example, wait for a page-specific condition, open a menu, or remove an element:
await page.goto('https://example.com', { waitUntil: 'domcontentloaded' });
await page.waitForFunction(() => document.querySelector('[data-ready="true"]'));
await page.evaluate(() => {
  document.querySelector('.cookie-banner')?.remove();
  document.querySelector('[aria-label="Menu"]')?.click();
  const note = document.createElement('div');
  note.textContent = 'Captured state';
  note.style.cssText = 'position:fixed;top:12px;right:12px;z-index:99999;background:#fff;padding:8px';
  document.body.append(note);
});
await page.screenshot({ path: 'state.png', fullPage: true });
Use the real accessible label or a stable selector for the site in question. A script run before capture changes the live page in that browser tab, unlike the screenshot-time stylesheet. If a control triggers an asynchronous update, wait for the resulting element or state instead of assuming the click completed instantly.
3. Select capture scope and output
| Need | Playwright option | What it means |
|---|---|---|
| Visible viewport | Default screenshot | Captures the current viewport dimensions. |
| Whole scrollable page | fullPage: true |
Captures the full page vertically; large pages can produce large files. |
| One component | locator(selector).screenshot() |
Captures the selected element and its bounds. |
| Precise region | clip: { x, y, width, height } |
Captures a rectangle in page viewport coordinates. |
For an element capture, wait for that locator to be visible and make sure it is not obscured. A clip rectangle must fit the viewport. Full-page capture can trigger lazy-loaded content differently from a viewport shot; when complete page content matters, scroll or wait for the relevant images and sections before capturing.
// Component
await page.locator('.pricing-card').screenshot({ path: 'pricing-card.png' });

// Viewport crop
await page.screenshot({
  path: 'crop.png',
  clip: { x: 120, y: 100, width: 800, height: 500 },
});
Playwright supports PNG, JPEG, and WebP output. JPEG and WebP accept a quality setting from 0 to 100; it does not affect PNG. WebP at quality 100 is lossless. Choose PNG for crisp text and pixel comparisons, and consider a lossy format when smaller files matter more than exact pixels.
await page.screenshot({ path: 'preview.webp', type: 'webp', quality: 82, scale: 'css' });
await page.screenshot({ path: 'retina.png', type: 'png', scale: 'device' });
scale: 'css' creates one output pixel per CSS pixel. scale: 'device' uses device scale and is the default; on a high-DPI context it can create a larger image. Set the viewport explicitly so layout does not depend on defaults. A screenshot may also be returned as a buffer rather than written to a path, which is useful if you need to send it to storage or an image processor.
4. Make captures repeatable
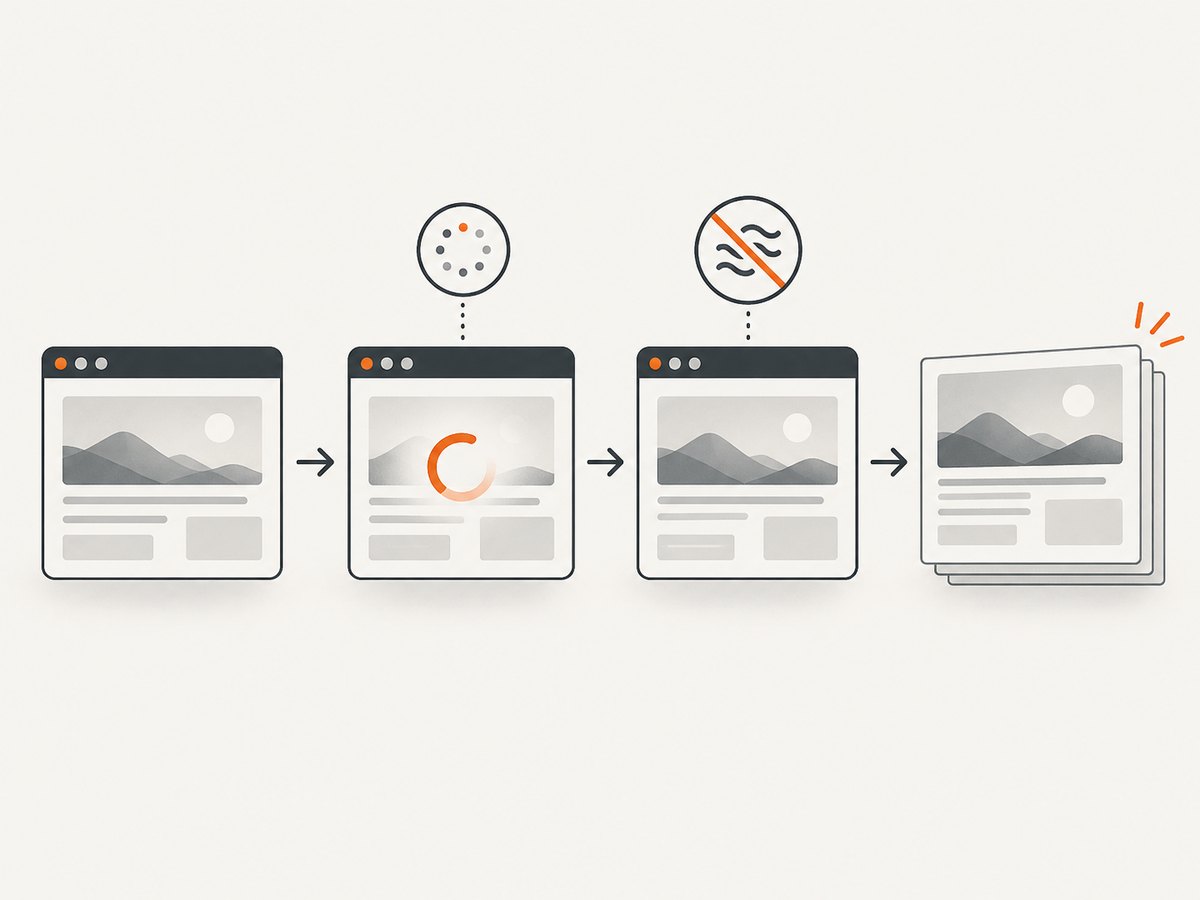
Choose readiness conditions tied to the page rather than relying on a guessed delay. domcontentloaded means initial document parsing completed, but it does not guarantee that client-rendered content, fonts, or images are ready. Wait for a selector that represents the state you need:
await page.goto(url, { waitUntil: 'domcontentloaded' });
await page.locator('[data-testid="report-ready"]').waitFor({ state: 'visible', timeout: 20000 });
await page.screenshot({ path: 'report.png', fullPage: true });
If the application exposes no stable marker, wait for a specific text or a JavaScript expression. A fixed delay is easy but can be too short on slow runs and wasteful on fast ones. Disable animations and hide volatile content that is not part of the comparison. Do not hide an element whose appearance is what you intend to verify.
For visual regression, Playwright Test can save a baseline and compare later runs with toHaveScreenshot(). Keep the browser version, operating system, settings, hardware conditions, power source, and headless mode consistent where possible: Playwright documents these as sources of rendering variation. Investigate unexplained pixel differences before updating a baseline. See Playwright visual comparisons.
5. Common errors and fixes
| Symptom | Likely cause | Fix |
|---|---|---|
| Style has no effect | Selector does not match, or a style is more specific. | Inspect the rendered DOM; use a narrower correct selector and !important for capture overrides. |
| Blank or incomplete screenshot | Capture ran before client rendering or data loading finished. | Wait for a visible page-specific selector or readiness expression. |
| Element screenshot times out | Locator is absent, hidden, covered, or keeps moving. | Check the selector and visibility; wait for the final state and disable animation. |
| Full-page shot misses content | Lazy content did not load or the page uses unusual scrolling. | Scroll through the page and wait for images/sections before the full-page capture. |
| Clip is out of bounds | Clip coordinates exceed the viewport. | Set viewport dimensions and choose a rectangle inside them. |
| Images differ between runs | Environment, fonts, animation, dynamic content, or browser versions differ. | Use a consistent runner and browser, normalize volatile areas, and investigate before changing baselines. |
| Browser launch fails | Browser binaries are missing or the environment lacks required dependencies. | Run npx playwright install chromium; in managed CI, install the dependencies supported by that runner. |
6. Performance, reliability, and cost
A local browser capture uses compute and memory for a browser process, page load, rendering, and image encoding. Full-page images, high device scale, and multiple concurrent pages can increase memory use and output size. Keep a browser instance open for a batch rather than launching one for each URL, set realistic navigation and selector timeouts, and limit concurrency to what the host can sustain. Close pages and browsers in a finally block so failures do not leave processes running.
Reliability comes from explicit state, bounded waits, controlled viewport and browser versions, and capturing in the same environment as the baseline. Rendering can still vary with fonts, operating system, hardware, browser settings, headless mode, or content served by the page. For cost, self-hosted capture has no per-shot API charge, but consumes your infrastructure and maintenance time. Include browser setup, CI execution, retries, storage, and image comparison in the operational cost. A hosted API trades browser management for a per-plan allowance; check the provider’s current terms before choosing one.
7. Or skip the browser setup
ScreenshotNeo is a website screenshot API and MCP server from Yorker Media. Its one-call API can return PNG, JPEG, WebP, or PDF. For styling, pass custom CSS or JavaScript and configure capture options; see the ScreenshotNeo API docs.
curl -G "https://api.screenshotneo.com/v1/shot" \
  -d access_key=YOUR_API_KEY \
  --data-urlencode url=https://stripe.com \
  -d 'css=.cookie-banner{display:none!important}' \
  -o shot.webp
The parameter names used by other screenshot APIs also work, which can make switching easier. ScreenshotNeo removes cookie/consent banners, newsletter popups, and chat widgets before capture; each step can be turned off. Bot checks, blank pages, and failed loads are never billed, and response headers report the page verdict and billing status. Its MCP server gives AI agents tools to take screenshots, get page information, and capture PDFs. The free plan includes 1,000 screenshots a month with no card; paid plans start at $5 for 3,000 shots. Every feature is available on every plan.
Start free with 1,000 screenshots a month and no card.
Frequently asked questions
Can I style a screenshot without changing the website?
Yes. Use Playwright’s screenshot style option for temporary CSS that applies during capture. Use page JavaScript when the capture requires a state change or DOM action.
Can I capture only one element?
Yes. Take a screenshot of a locator, such as page.locator('.card').screenshot(). Wait for the target to be visible and stable first.
Why does a screenshot differ on CI?
Rendering can vary with the host environment, browser version, settings, hardware, power conditions, and headless mode. Keep these consistent and stabilize dynamic page content.
Can I save a screenshot without writing a local file?
Yes. Playwright can return screenshot bytes as a buffer, which your script can pass to an upload or image-processing step.


