How to Take a PNG Screenshot with Python
Learn three reliable ways to capture full screens, regions, and monitors as PNG files in Python on Windows, macOS, and Linux.
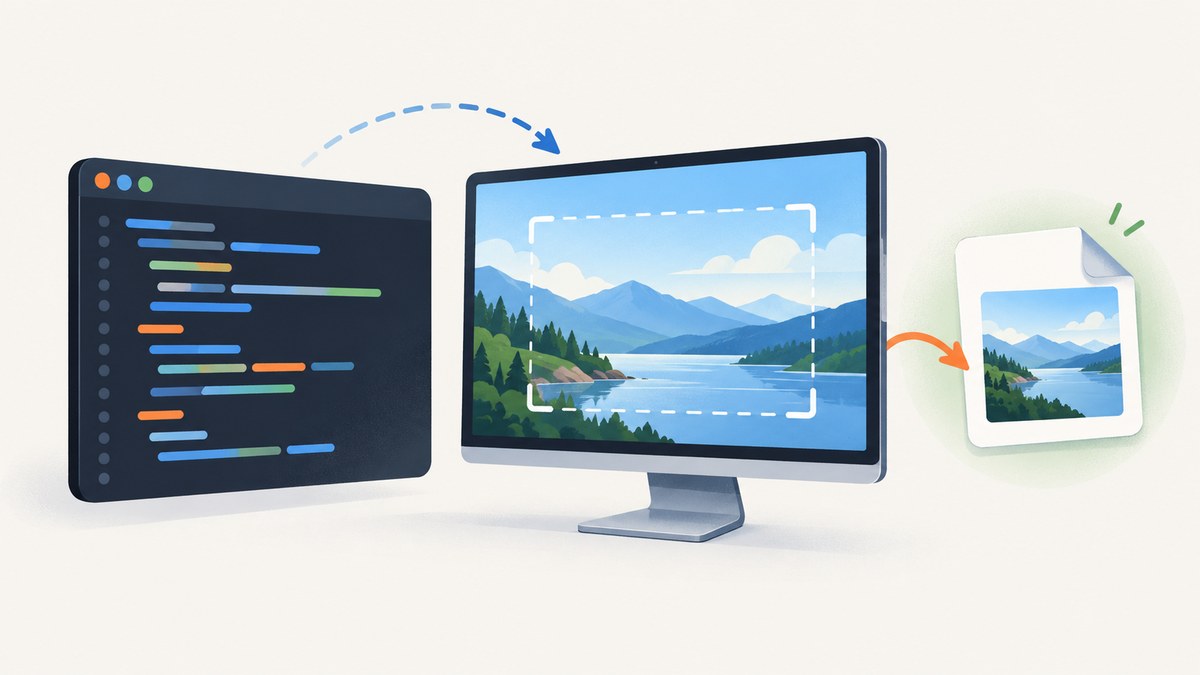
Yes. The shortest way to save a screen capture as PNG in Python is:
import pyautogui

image = pyautogui.screenshot('screenshot.png')
This captures the current screen, saves a lossless PNG named screenshot.png, and returns a Pillow image object. For a selected rectangle, pass region=(left, top, width, height). PyAutoGUI, Pillow’s ImageGrab, and MSS cover most desktop-capture jobs. The right choice depends on whether you need simple automation, an existing Pillow workflow, or explicit monitor and region control.
Choose the Python screenshot method
| Library | Best for | Region syntax | Key consideration |
|---|---|---|---|
| PyAutoGUI | Shortest script and GUI automation | (left, top, width, height) |
Requires Pillow; Linux commonly also needs scrot |
| Pillow ImageGrab | Projects already using Pillow | (left, upper, right, lower) |
Linux support depends on XCB or a screenshot utility |
| MSS | Multiple monitors, repeated capture, pixel access | Region(left, top, width, height) |
More explicit setup, with PNG helpers included |
All three can write PNG files. PNG is lossless; the encoder and filename extension determine the output format.
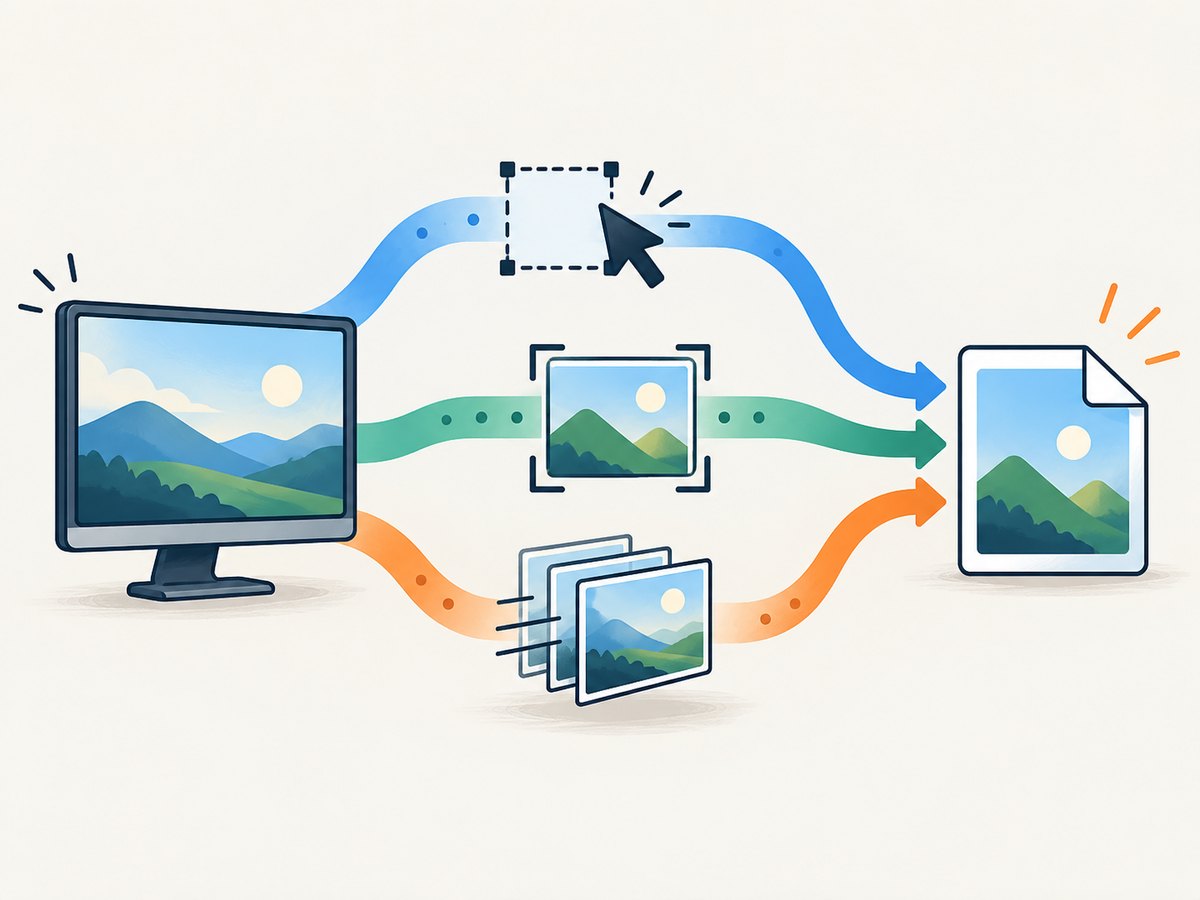
1. Capture the full screen with PyAutoGUI
Install the package in the same environment that runs your script:
python -m pip install pyautoguiThen save a full-screen PNG:
import pyautogui

image = pyautogui.screenshot('screenshot.png')
print(f'Captured {image.width}x{image.height} pixels')
The call both writes the file and returns a Pillow image object, so you can inspect or transform it before saving another copy. PyAutoGUI’s documentation describes an approximate 100 millisecond capture for a 1920 × 1080 screen. Treat that as an environment-specific example rather than a universal benchmark. See the PyAutoGUI screenshot documentation.
Capture only part of the screen
import pyautogui

image = pyautogui.screenshot(
    'region.png',
    region=(0, 0, 800, 600),
)
The tuple means left, top, width, and height. Coordinates start at the desktop’s origin. On a multi-monitor desktop, a monitor can have negative coordinates when it is positioned to the left or above the primary display.
Capture, edit, then save
import pyautogui

image = pyautogui.screenshot()
# Pillow operations can be applied here, for example:
# image = image.crop((0, 0, 800, 600))
image.save('edited.png', format='PNG')
2. Use Pillow ImageGrab directly
If Pillow is already part of your application, ImageGrab.grab() avoids adding a separate automation library.
from PIL import ImageGrab

full = ImageGrab.grab()
full.save('full-screen.png')

part = ImageGrab.grab(bbox=(0, 0, 800, 600))
part.save('region.png')
Here bbox is (left, upper, right, lower). The last two values are coordinates, not width and height. For example, (100, 50, 900, 650) produces an 800 × 600 region.
Install Pillow
python -m pip install PillowRead the Pillow ImageGrab reference for platform-specific behavior. On Linux, capture can depend on XCB or an installed utility such as gnome-screenshot, grim, or spectacle.
3. Capture monitors and regions with MSS
MSS is useful when you need to select a particular monitor, run repeated captures, or work with raw pixels before encoding PNG.
python -m pip install mssimport mss
import mss.tools
with mss.MSS() as sct:
monitor = sct.monitors[1]
shot = sct.grab(monitor)
mss.tools.to_png(shot.rgb, shot.size, output='monitor.png')sct.monitors[0] represents the combined virtual desktop; entries such as sct.monitors[1] and sct.monitors[2] represent individual monitors when available. Capture a rectangle explicitly with Region:
from mss.models import Region
import mss
import mss.tools

with mss.MSS() as sct:
    region = Region(left=100, top=100, width=800, height=600)
    shot = sct.grab(region)
    mss.tools.to_png(shot.rgb, shot.size, output='region.png')
You can also convert a capture to a Pillow image with shot.to_pil('RGB'). The MSS examples cover monitor selection, regions, and PNG encoding.
Platform setup and permissions
Windows
Install the selected Python package and run the script in the desktop session that contains the window you want to capture. A service or locked session may not expose the same desktop. High-DPI scaling can make physical pixel coordinates differ from the coordinates you see in application layouts, so verify the resulting dimensions before relying on fixed regions.
macOS
macOS may ask for Screen Recording permission. Grant it to the application launching Python, such as Terminal, an IDE, or your automation runner. If the output is black or an exception reports denied access, check System Settings → Privacy & Security → Screen Recording, then restart the launching application.
Linux
Desktop-session details matter. PyAutoGUI documents scrot as an additional Linux requirement. Pillow ImageGrab may use XCB or an external screenshot program. Wayland compositors can restrict global screen capture, and a headless server usually has no capturable display at all. Run the script inside a session with display access and follow the prerequisites documented by your chosen library.
Reliable scripts for production use
Create the output directory and validate the file
from pathlib import Path
import pyautogui

output = Path('captures')
output.mkdir(parents=True, exist_ok=True)
path = output / 'screen.png'

image = pyautogui.screenshot(str(path))
if not path.is_file() or path.stat().st_size == 0:
    raise RuntimeError(f'Capture was not written: {path}')

print(f'Saved {path} ({image.width}x{image.height})')
Use a timestamped filename
from datetime import datetime, timezone
from pathlib import Path
import pyautogui

stamp = datetime.now(timezone.utc).strftime('%Y%m%dT%H%M%SZ')
path = Path('captures') / f'screen-{stamp}.png'
path.parent.mkdir(exist_ok=True)
pyautogui.screenshot(str(path))
Capture a known window area
Desktop screenshot libraries generally work in screen coordinates. If a window moves, a hard-coded rectangle captures the wrong pixels. GUI automation can first focus or move the window, then capture. For stable workflows, record the display layout and validate the image dimensions on startup.
Edge cases to plan for
- Multiple monitors: enumerate monitors with MSS and choose the required index; do not assume monitor 1 is always the display your user expects.
- Negative coordinates: a monitor placed left of the primary display can use negative
xvalues. - Retina and high-DPI displays: logical window coordinates and physical screenshot pixels may differ. Inspect
image.sizerather than assuming a fixed resolution. - Transparent or protected windows: operating-system security and application permissions can produce black, blank, or incomplete regions.
- Headless execution: these libraries capture a desktop, not an arbitrary webpage in a server without a display.
- Large captures: a full multi-monitor image consumes more memory and takes longer to encode than a small region.
Common errors and fixes
| Symptom | Likely cause | Fix |
|---|---|---|
ModuleNotFoundError |
Package installed in a different interpreter | Run python -m pip install ... with the same python command used to launch the script. |
Linux error mentioning scrot |
PyAutoGUI’s documented Linux dependency is missing | Install scrot through your distribution, or use the prerequisites for Pillow/MSS. |
| Black or empty image on macOS | Screen Recording permission is denied | Grant permission to Terminal, IDE, or runner, then restart it. |
| Wrong rectangle | Width/height and right/lower coordinate formats were mixed | PyAutoGUI uses (left, top, width, height); Pillow uses (left, upper, right, lower). |
| Capture fails on a server | No display session or Wayland policy blocks capture | Run within an accessible desktop session and configure the compositor’s approved capture path. |
| Unexpected dimensions | High-DPI scaling or monitor arrangement | Print the image dimensions and adjust coordinates for the actual desktop. |
Performance, reliability, and cost
Capture only the area you need when repeated screenshots consume memory or disk. Reuse an MSS context for repeated captures, and encode PNG only when you need a lossless file; keeping pixel data in memory can avoid repeated disk I/O. PyAutoGUI’s approximately 100 ms figure applies to its documented 1920 × 1080 example and should not be treated as a cross-library benchmark. Measure your own display, compositor, resolution, and encoding path.
Desktop capture has no API request charge, but it does require a machine with display access. For unattended jobs, plan for login state, permissions, display availability, monitor geometry, and application windows changing position. A browser screenshot service can be more predictable when the input is a URL rather than a local desktop.
Or skip the browser setup
If your goal is a PNG of a public webpage rather than the pixels on your own desktop, ScreenshotNeo captures the URL with one request. Its cleanup steps accept cookie or consent banners and remove more than 60 known consent platforms, newsletter popups, and chat widgets before the shot; each step can be turned off. Bot checks or CAPTCHAs, blank pages, timeouts, failed loads, and cache hits are not billed, and response headers report the page verdict and billing result.

See the ScreenshotNeo API documentation for all options. A minimal request is:
curl -G "https://api.screenshotneo.com/v1/shot" -d access_key=YOUR_API_KEY --data-urlencode url=https://stripe.com -o shot.webpPython:
import requests

r = requests.get(
    "https://api.screenshotneo.com/v1/shot",
    params={"access_key": "YOUR_API_KEY", "url": "https://stripe.com"},
    timeout=90,
)
r.raise_for_status()
open("shot.webp", "wb").write(r.content)
Node.js:
const q = new URLSearchParams({ access_key: 'YOUR_API_KEY', url: 'https://stripe.com' });
const res = await fetch(`https://api.screenshotneo.com/v1/shot?${q}`);
if (!res.ok) throw new Error(`HTTP ${res.status}`);
const fs = await import('node:fs/promises');
await fs.writeFile('shot.webp', Buffer.from(await res.arrayBuffer()));
ScreenshotNeo supports PNG, JPEG, WebP, and PDF, plus full-page capture with lazy images loaded, CSS-selector element capture, dark mode, device presets or custom viewports, retina scale, custom CSS and JavaScript, clicks, selector or network-idle waits, request blocking, headers, cookies, user agents, authorization, timezone, geolocation, transparent backgrounds, resizing, selectable cache TTLs, signed links, asynchronous jobs with signed webhooks, bulk capture of up to 100 URLs per call, a usage API, and an OpenAPI specification. It also offers an MCP server with take_screenshot, get_page_info, and capture_pdf for Claude, Cursor, and other MCP clients.
The Free plan includes 1,000 shots each month with no card. Paid plans start at $5 for 3,000 shots; yearly billing gives two months free, and every feature is on every plan. Create a free ScreenshotNeo account to start.
FAQ
Does Python save PNG automatically?
PyAutoGUI writes PNG when the filename ends in .png. With Pillow or MSS, call save() or mss.tools.to_png() explicitly.
Which library works on all three major desktop platforms?
PyAutoGUI, Pillow ImageGrab, and MSS support common Windows, macOS, and Linux setups, but Linux display prerequisites and desktop security policies differ.
How do I screenshot a webpage without opening it on my desktop?
Use a browser automation stack or a screenshot API. ScreenshotNeo accepts a URL directly and returns the image response, so no local display session is required.
Can I capture just one application window?
These APIs primarily use screen coordinates. Focus or position the window with automation, determine its bounds, and pass those bounds as a region; window movement and OS permissions still affect reliability.
Why is my PNG larger than expected?
PNG preserves pixels without lossy compression. Large resolutions, multiple monitors, gradients, and detailed interfaces naturally produce larger files. Capture a smaller region or resize after capture when full resolution is unnecessary.


