How to Take a Screenshot in C#
Capture screen pixels in C# with Windows Forms, or let users choose a window with Windows.Graphics.Capture. Includes runnable examples, troubleshooting and a browser screenshot API option.
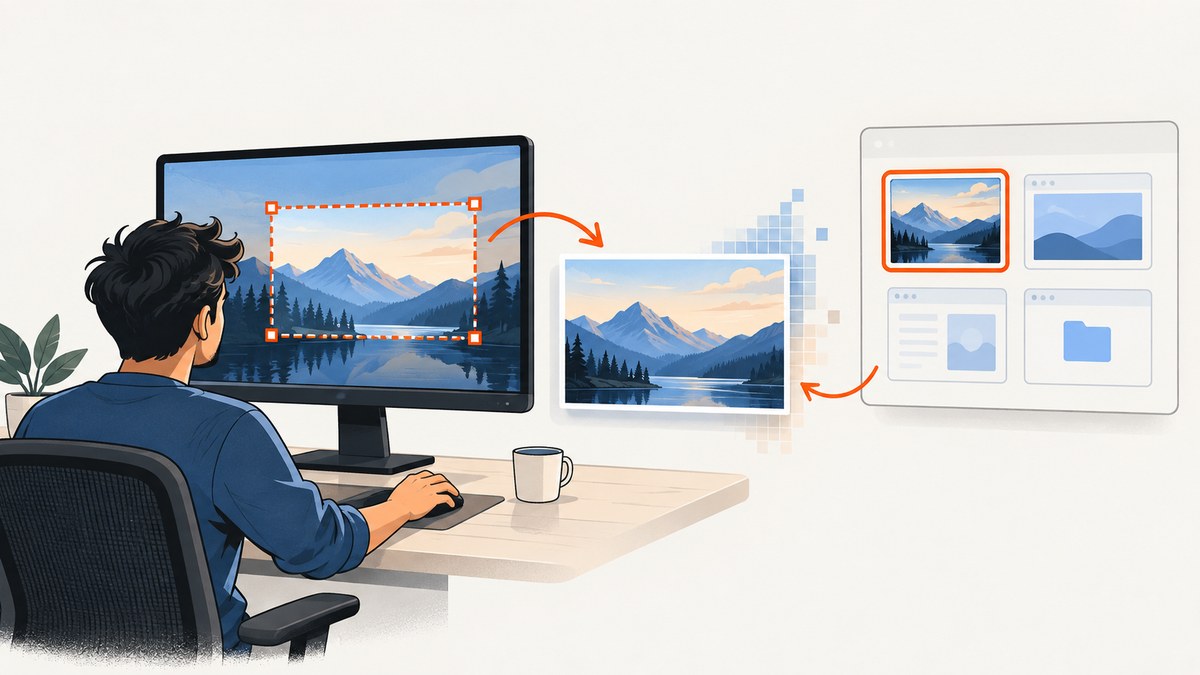
To save a rectangle of pixels currently visible on a Windows screen from a Windows Forms app, draw those pixels into a bitmap with System.Drawing.Graphics.CopyFromScreen. If the user should choose a display or application window through Windows system UI, use Windows.Graphics.Capture instead. These are different workflows: the first copies a rectangle you specify; the second gives your app capture frames from a user-selected item. Microsoft’s documented capture APIs here are Windows APIs; the sources do not establish a cross-platform C# screenshot method. Microsoft documents CopyFromScreen and documents picker-based screen capture.
1. Capture a screen rectangle with Windows Forms
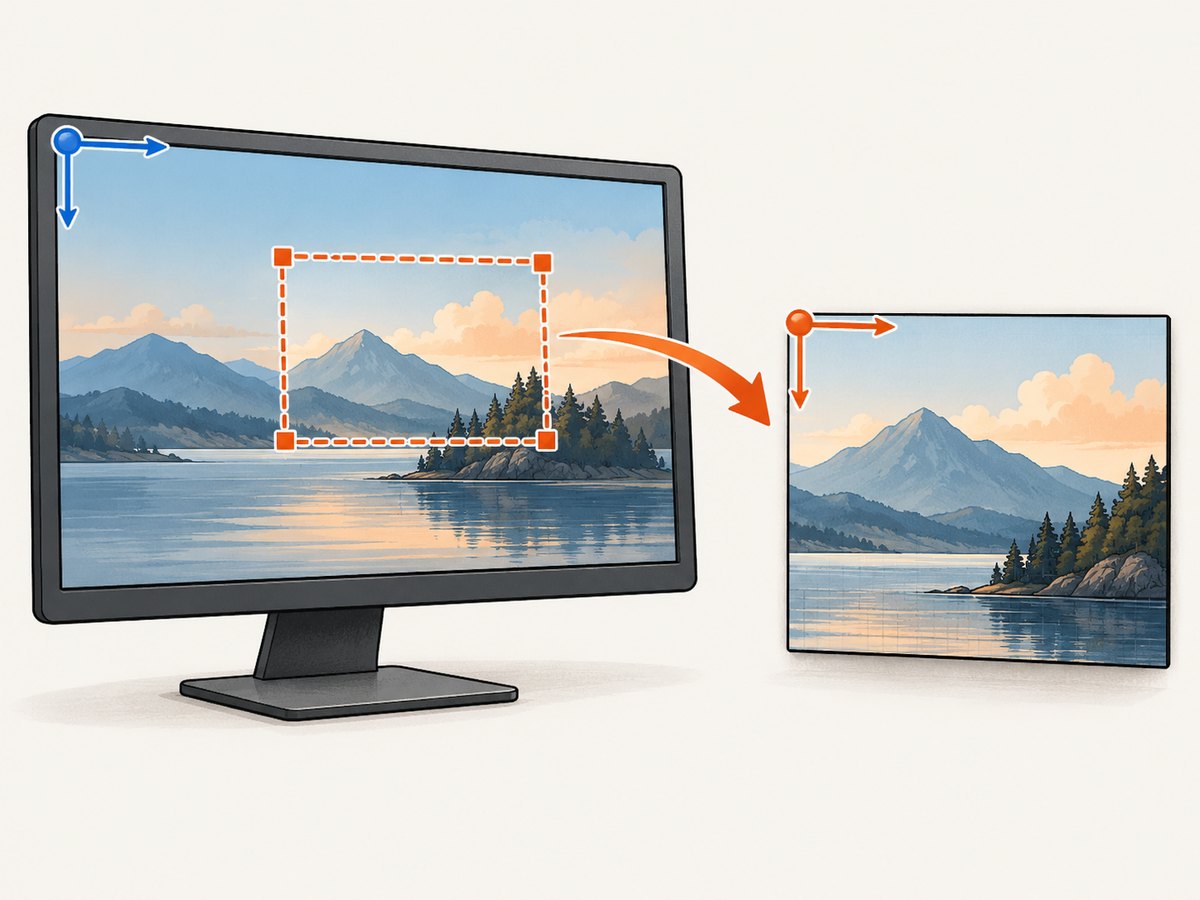
Use this approach when your app knows the screen coordinates and dimensions of the area to capture. The code below is a complete Windows Forms example: it captures a 640-by-400 rectangle beginning at screen coordinate (100, 100), then saves it as a PNG. Change the coordinates and dimensions to fit your task.
using System;
using System.Drawing;
using System.Drawing.Imaging;
using System.Windows.Forms;

internal static class Program
{
    [STAThread]
    private static void Main()
    {
        ApplicationConfiguration.Initialize();

        using var bitmap = new Bitmap(640, 400, PixelFormat.Format32bppArgb);
        using (var graphics = Graphics.FromImage(bitmap))
        {
            graphics.CopyFromScreen(
                sourceX: 100,
                sourceY: 100,
                destinationX: 0,
                destinationY: 0,
                blockRegionSize: bitmap.Size,
                copyPixelOperation: CopyPixelOperation.SourceCopy);
        }

        bitmap.Save("screen-region.png", ImageFormat.Png);
    }
}
In a new WinForms project, replace the generated entry point with this code. The named arguments make the two coordinate spaces clear: sourceX and sourceY refer to the screen, while the destination coordinates refer to the bitmap. The bitmap starts at (0, 0), so the example writes into its upper-left corner.
Choose the right rectangle and file format
- Source rectangle: pass the screen position and dimensions you want. For a form-sized capture, use the form’s on-screen position and size, as Microsoft’s WinForms example does. This copies visible screen pixels; it is not a separate rendering of controls.
- Destination: the destination point is the top-left location in the bitmap. For a bitmap exactly the capture size, (0, 0) is appropriate.
- Pixel operation:
SourceCopycopies the source pixels into the destination. The API also accepts otherCopyPixelOperationvalues; select one only when you need a different raster operation. - Format: use PNG for lossless output, JPEG for smaller photographic captures where some loss is acceptable, or another encoder supported by your application. The example saves PNG.
The API documentation provides overloads that accept source and destination points plus a size, or explicit coordinates and a size. Pick whichever form makes your geometry easiest to read. It can throw Win32Exception if the operation fails, so production code should catch and report that failure at an appropriate UI or service boundary.
Capture a form-sized region
In a running WinForms application, the same operation can use the form’s screen rectangle. A button handler could create the bitmap, copy the form rectangle and save it:
using System.Drawing;
using System.Drawing.Imaging;
using System.Windows.Forms;

private void saveScreenshotButton_Click(object? sender, EventArgs e)
{
    var bounds = Bounds; // Form.Bounds is in screen coordinates.
    using var bitmap = new Bitmap(bounds.Width, bounds.Height);
    using (var graphics = Graphics.FromImage(bitmap))
    {
        graphics.CopyFromScreen(bounds.Location, Point.Empty, bounds.Size);
    }
    bitmap.Save("form.png", ImageFormat.Png);
}
This captures the pixels occupying the form’s rectangle on screen. It does not guarantee that an obscured, minimized, off-screen or otherwise non-visible window will be rendered as if unobstructed. If your requirement is to let a person pick a window and capture it through the Windows capture system, use the picker workflow below.
2. Let the user choose a display or window
Windows.Graphics.Capture is intended for picker-based capture of a display or application window. The system UI asks the user to select the item, and Windows displays a yellow border around the item being captured. The API supplies frames that your app can turn into a snapshot or use in a stream; it is not just a convenience wrapper around a fixed screen rectangle.
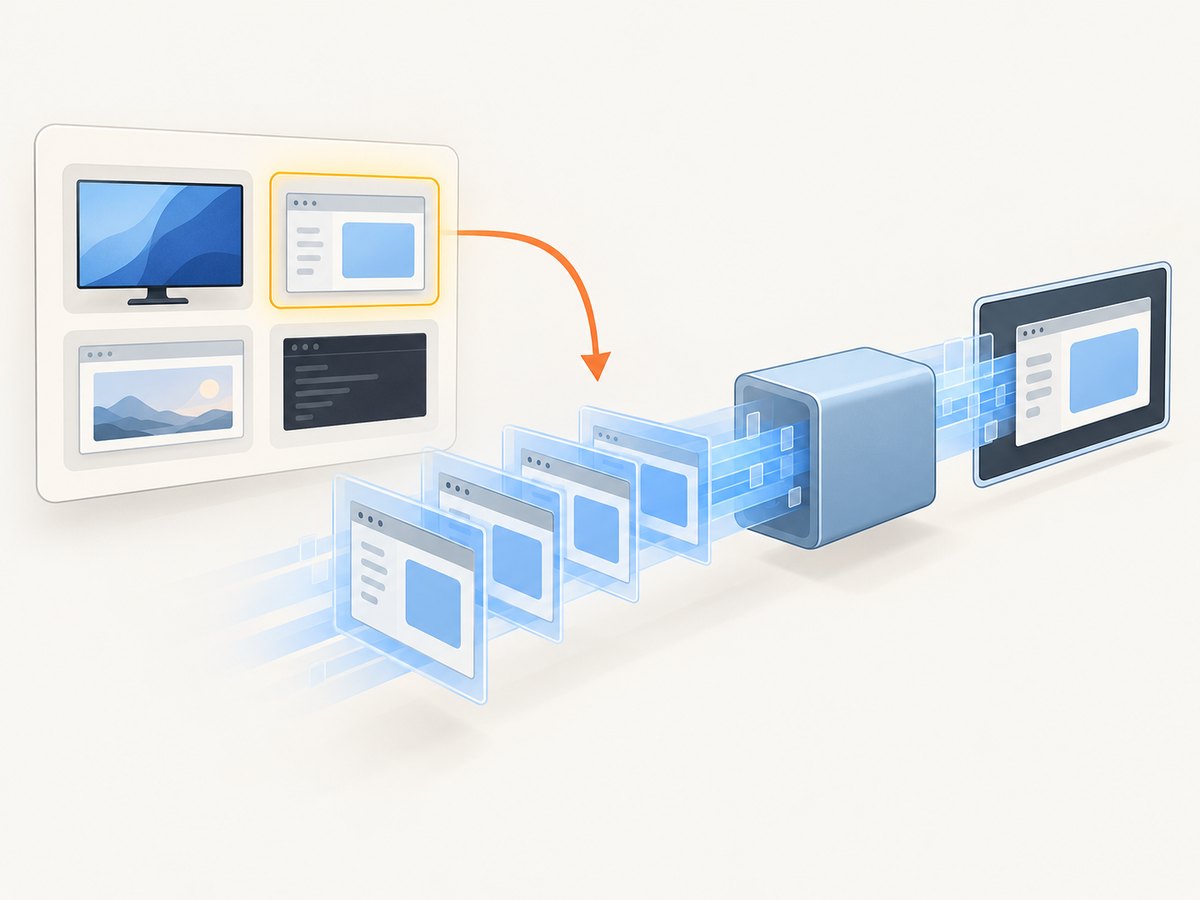
Check support before offering the feature. Microsoft’s guidance uses GraphicsCaptureSession.IsSupported() and notes that availability can depend on device support. A minimal picker flow, following Microsoft’s C# example, looks like this:
using Windows.Graphics.Capture;
using Windows.UI.Popups;

if (!GraphicsCaptureSession.IsSupported())
{
    await new MessageDialog("Screen capture is not supported on this device.").ShowAsync();
    return;
}

var picker = new GraphicsCapturePicker();
GraphicsCaptureItem? item = await picker.PickSingleItemAsync();
if (item is null)
{
    // The user dismissed the picker. Treat this as cancellation.
    return;
}

StartCapture(item); // Implement frame-pool/session setup for your app.
StartCapture is intentionally the boundary where app-specific frame handling begins: a working capture pipeline must create and manage the capture frame pool and session, process arriving frames, and dispose capture resources when finished. Microsoft’s guide covers that setup and its snapshot and stream workflows. Do not treat the short picker snippet as a complete image encoder.
WinUI 3 picker initialization
For WinUI 3 specifically, initialize the picker with your window handle before invoking PickSingleItemAsync. This is a WinUI 3 setup detail, not a universal requirement for every C# application. Follow the platform-specific initialization shown in Microsoft’s guide for the UI framework and target environment you use. Avoid copying a WinUI interop call into a WinForms program without checking its framework requirements.
3. Which method should you use?
| Need | Approach | What to plan for |
|---|---|---|
| Copy a known rectangle of visible pixels | Graphics.CopyFromScreen |
You supply coordinates and size; capture can fail with a Win32 error. |
| Let a user select a display or application window | Windows.Graphics.Capture |
Check support, handle cancellation, and build a frame-processing path. Windows shows capture UI and a yellow border. |
| A person needs a one-off screenshot | Snipping Tool or Print Screen | For example, Alt+Print Screen copies the active window. Snipping Tool supports interactive rectangle, freeform and window capture modes. |
There is no universal winner: choose by target and interaction. The documented APIs do not establish a complete performance comparison, a single minimum Windows version for every scenario, or a cross-platform C# alternative. Verify support and behavior for the framework and devices you ship.
4. Or skip the browser setup
If what you need is a screenshot of a public web page rather than pixels from the Windows desktop, ScreenshotNeo provides a one-request screenshot API. It returns PNG, JPEG, WebP or PDF, and its documented options include full-page capture, element selection, viewport/device settings, waiting conditions and custom CSS or JavaScript. See the ScreenshotNeo API documentation.
curl -G "https://api.screenshotneo.com/v1/shot" -d access_key=YOUR_API_KEY --data-urlencode url=https://stripe.com -o shot.webpimport requests
r = requests.get(
"https://api.screenshotneo.com/v1/shot",
params={"access_key": "YOUR_API_KEY", "url": "https://stripe.com"},
timeout=90,
)
r.raise_for_status()
open("shot.webp", "wb").write(r.content)const q = new URLSearchParams({ access_key: 'YOUR_API_KEY', url: 'https://stripe.com' });
const res = await fetch(`https://api.screenshotneo.com/v1/shot?${q}`);
if (!res.ok) throw new Error(`Screenshot request failed: ${res.status}`);
await Bun.write('shot.webp', res); // In Node.js, use fs/promises to write the response bytes.Cookie banners, newsletter popups and chat widgets are removed before the shot; each cleanup step can be turned off. Bot checks, blank pages, timeouts and failed loads are not billed, and cache hits cost nothing; response headers identify the page verdict and billing status. The service also offers an MCP server with screenshot, page-info and PDF tools for AI agents. The free plan includes 1,000 shots per month with no card; paid plans start at $5 for 3,000 shots. Learn about ScreenshotNeo or sign up for 1,000 free screenshots a month, with no card.
5. Troubleshooting and edge cases
| Symptom | Likely cause | Fix |
|---|---|---|
Win32Exception from CopyFromScreen |
The screen copy operation failed in the current environment or for the supplied capture request. | Catch the exception, log the requested rectangle and environment, and verify that the source coordinates and dimensions describe a valid visible area. Microsoft’s API reference documents this exception. |
| Wrong part of the desktop appears | Source coordinates or dimensions do not match the intended screen region. | Remember that source positions are screen coordinates, not bitmap coordinates. Log or display the rectangle during development and account for the location of the target form. |
| Image is clipped or has unexpected dimensions | The requested rectangle and destination bitmap do not have matching dimensions, or the requested area extends beyond the intended display. | Set bitmap dimensions to the capture width and height, use destination (0, 0), and validate rectangle geometry before copying. |
| Picker returns no item | The user cancelled or dismissed the system picker. | Treat a null item as normal cancellation; do not start the capture session. |
| Capture is unavailable | The device may not support the capture feature. | Check GraphicsCaptureSession.IsSupported() before showing the action and provide a fallback such as a manual screenshot workflow. |
| WinUI 3 picker does not open correctly | The picker was not initialized for the app window. | Initialize it with the WinUI 3 window handle as specified by Microsoft’s guide before calling PickSingleItemAsync. |
| Captured window content is obscured or absent | CopyFromScreen copies the pixels present on the screen at that location. |
Ensure the target is visible and unobstructed, or use the user-selected Windows capture workflow where that matches your requirements. |
6. Performance, reliability and output
A rectangle capture allocates a bitmap proportional to its pixel width times height. Keep the requested region only as large as needed, and dispose both Bitmap and Graphics promptly as in the examples. Encoding and writing the output file are separate work from copying pixels; for repeated captures, consider how your app schedules those operations so a UI remains responsive. The cited API documentation does not publish a speed benchmark, so measure with your actual screen sizes, capture frequency and output format.
For capture that may fail, handle the documented Win32 exception and report enough context to diagnose the rectangle and device. For picker capture, handle unsupported devices and cancellation, then release frame-pool and session resources when capture ends. These steps make the two expected failure paths explicit without assuming capture is available everywhere.
Cost for a local C# capture is primarily your application’s memory, encoding and storage or transfer work; the Microsoft APIs cited here do not describe a per-screenshot service charge. A hosted website screenshot API has plan limits instead. ScreenshotNeo’s listed monthly tiers are Free: 1,000; Starter: $5 for 3,000; Growth: $15 for 15,000; Pro: $39 for 60,000; Scale: $99 for 250,000; Business: $249 for 1,000,000. Yearly billing gives two months free, and every feature is on every plan. Select based on actual volume and the need to capture web pages remotely rather than a local desktop.
7. FAQ
Does CopyFromScreen capture a window that is behind another window?
It copies screen pixels from the chosen rectangle. If another window covers that location, the pixels on screen may belong to the covering window. It does not promise an unobstructed rendering of a hidden form.
Can I use the picker API for a video stream as well as a still image?
Yes. Windows.Graphics.Capture supplies frames that an app can process into snapshots or use in a stream. The required frame-pool and session setup depends on your app.
Is this C# code cross-platform?
The capture APIs described here are Windows APIs, and the sources used for this guide do not establish a cross-platform equivalent. Check the documentation for your target framework and operating system.
Can a website screenshot API capture my desktop?
No. ScreenshotNeo captures web pages by URL. Use a Windows capture API for pixels from a local display or application window.


