How to Take a Screenshot in Blender
Capture Blender’s full window, one editor, or a clean 3D scene with the right built-in command for your goal.
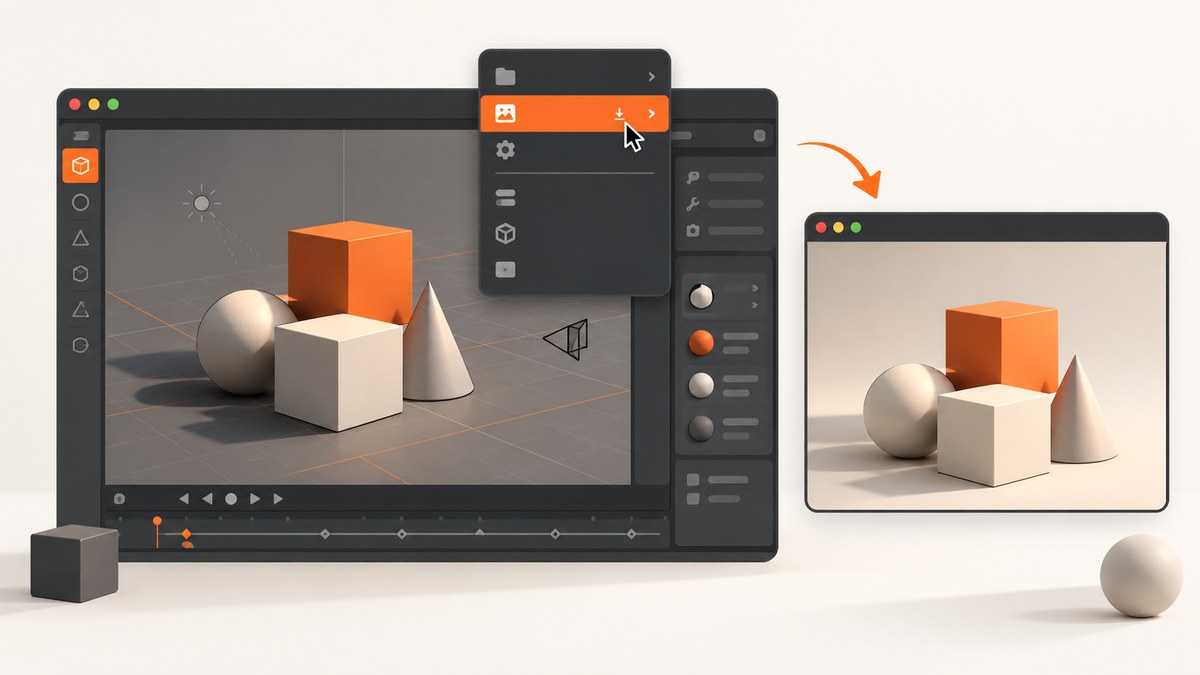
Blender has two different screenshot workflows. To save the complete Blender interface, choose Window > Save Screenshot. To capture only one editor, choose Window > Save Screenshot (Editor), then click the editor. To save an image of the 3D scene without Blender’s surrounding interface, use Viewport Render.
The correct command depends on what you need: interface documentation, one panel, or a scene image.
Choose the right kind of screenshot
| Goal | Blender command | What you get |
|---|---|---|
| Show the entire Blender window | Window > Save Screenshot | The current Blender window, including its panels and interface |
| Show one editor only | Window > Save Screenshot (Editor) | The selected editor area |
| Show the 3D scene from the current view | Viewport Render | A scene image from the active viewpoint, without the surrounding interface |
| Save a normal still render | Render the scene, then save from the Image Editor or with a File Output Node | The rendered image produced by your render workflow |
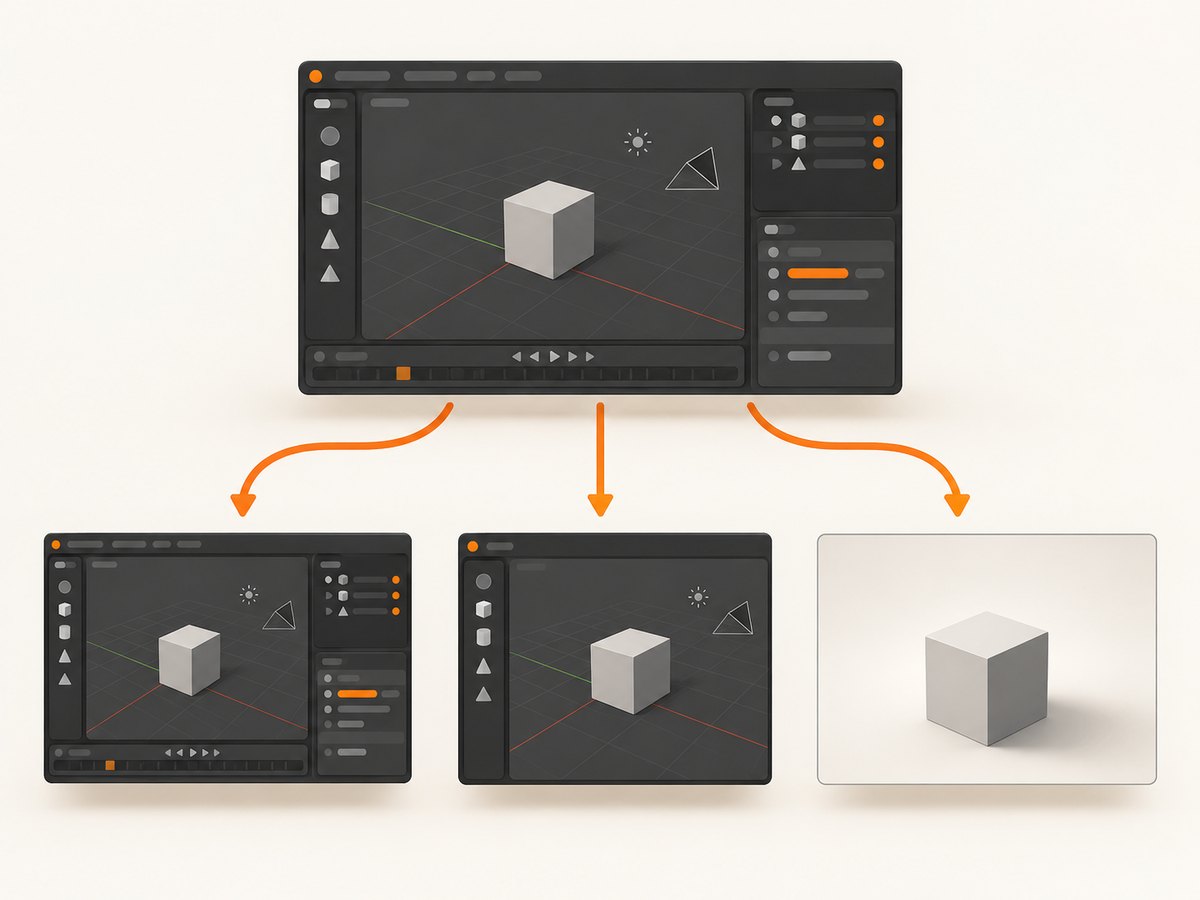
Capture the entire Blender window
- Arrange the Blender window, panels, timeline, and viewport exactly as you want them to appear.
- Open the Window menu in Blender’s top bar.
- Choose Save Screenshot.
- In the File Browser, select the destination and save the image.
The Blender Manual describes this command as capturing a picture of the current Blender window. It includes the visible interface, so maximize or resize Blender first if the window dimensions matter.
Before saving
- Close panels or sidebars that should not appear.
- Set the viewport to the shading mode and angle you want readers to see.
- Move the mouse pointer away from important content when the pointer is visible in your capture.
- Check that temporary popovers, menus, or tooltips are closed.
Capture one Blender editor
- Open Window > Save Screenshot (Editor).
- Click inside the editor area you want to capture, such as the 3D Viewport, Image Editor, Outliner, or Shader Editor.
- Use the File Browser to choose a destination and save the image.
This is useful for documenting a node setup, showing an error in the Outliner, or sharing a focused viewport without the rest of the Blender layout.
If the wrong area is captured
Run the command again and click inside the target editor. Blender uses the editor area selected after you launch the editor screenshot command; clicking a border, header, or another panel can select a different area than intended.
Save an image of the 3D scene with Viewport Render
Use Viewport Render when you want the scene itself rather than a picture of Blender’s interface. It creates a preview render from the current viewpoint. If the current view is not the camera view, Blender uses a virtual camera that matches that perspective.
- Set the viewport to the angle you want.
- Configure the viewport’s display and lighting options.
- Run Viewport Render.
- Review the result in Blender’s image view and save it to the required location.
The documented output settings include resolution, aspect, path, and file format. A viewport render is different from a window screenshot: it does not include Blender’s menus, editors, or desktop surroundings.
Viewport render checklist
- Use the camera view when you need a camera-framed result.
- Use the current perspective when you are documenting a modeling or layout step.
- Set the output resolution and aspect ratio before rendering.
- Choose a file format that matches the next tool in your workflow.
Save a normal still render
A still render is produced by Blender’s normal render pipeline, not by the screenshot command. Still renders are not automatically saved by default. After rendering, save the image from the Image Editor with Image > Save or Image > Save As. For repeatable or automated output, write the result through a File Output Node.
Screenshot versus render
| Question | Use |
|---|---|
| Do I need the menus and panels visible? | Save Screenshot |
| Do I need just one editor? | Save Screenshot (Editor) |
| Do I need a clean image from the current 3D view? | Viewport Render |
| Do I need the final scene render? | Normal render, then save it from the Image Editor or a File Output Node |
Version and platform notes
Blender’s menu wording and available options can change between versions. The checked documentation covers Blender 5.1, with related documentation for 5.2 and 5.3 development. If your installation looks different, open the Window menu and search for “Screenshot.”
Do not rely on one universal keyboard shortcut for Windows, macOS, and Linux. The documented, cross-platform method is the menu command.
Troubleshooting
| Problem | Likely cause | Fix |
|---|---|---|
| You captured the whole window but wanted one panel | You selected Save Screenshot | Use Window > Save Screenshot (Editor), then click inside the target editor. |
| The wrong editor was saved | The click after launching the command landed in another area | Repeat the command and click clearly inside the intended editor. |
| The result contains menus or sidebars | You used a window screenshot for a scene-only image | Use Viewport Render or a normal render instead. |
| The render exists but no file was created | Still renders are not saved automatically by default | In the Image Editor choose Image > Save or Image > Save As, or configure a File Output Node. |
| The menu label differs | Your Blender version has changed the wording | Look in the Window menu for “Screenshot” and consult the manual for that version. |
| Clipboard image pasting does not work | Clipboard support varies by platform | The development documentation states that direct clipboard copying supports PNG; Windows can also paste images by copying a file path, while Linux image clipboard support requires Wayland. This is separate from saving a screenshot through the Window menu. |
Or skip the browser setup
If what you actually need is a screenshot of a web page used in a Blender reference, review, or asset workflow, ScreenshotNeo returns an image or PDF from one request. It is for web pages rather than the local Blender desktop window.
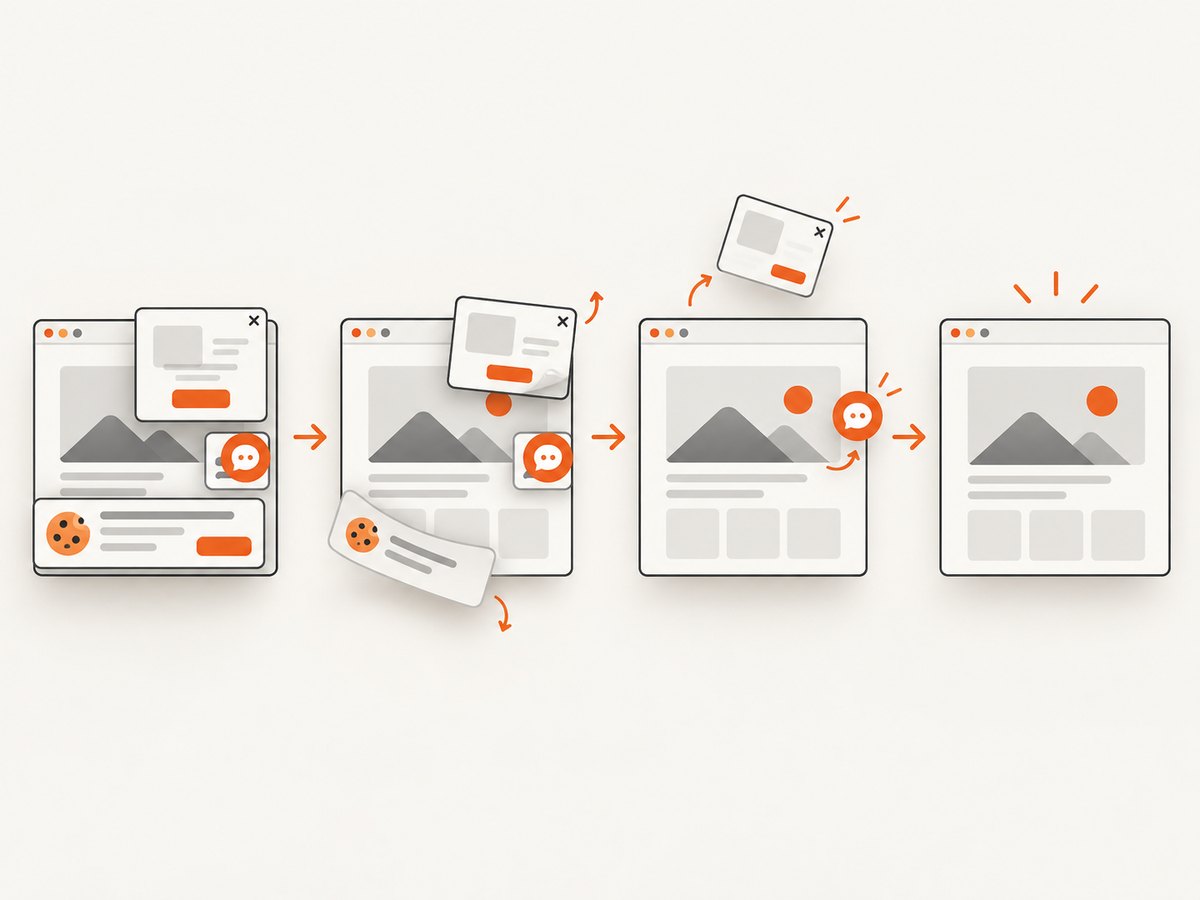
See the ScreenshotNeo API documentation for all options. This basic call captures a page as WebP:
curl -G "https://api.screenshotneo.com/v1/shot" -d access_key=YOUR_API_KEY --data-urlencode url=https://stripe.com -o shot.webpimport requests
r = requests.get(
"https://api.screenshotneo.com/v1/shot",
params={"access_key": "YOUR_API_KEY", "url": "https://stripe.com"},
timeout=90,
)
r.raise_for_status()
open("shot.webp", "wb").write(r.content)const q = new URLSearchParams({ access_key: 'YOUR_API_KEY', url: 'https://stripe.com' });
const res = await fetch(`https://api.screenshotneo.com/v1/shot?${q}`);
if (!res.ok) throw new Error(`Screenshot failed: ${res.status}`);
const data = Buffer.from(await res.arrayBuffer());
require('fs').writeFileSync('shot.webp', data);Cookie banners, newsletter popups, and chat widgets are removed before the shot. Bot checks, blank pages, timeouts, failed loads, and cache hits are not billed, and response headers report the page verdict and billing status. ScreenshotNeo also provides an MCP server so Claude, Cursor, and other MCP clients can take screenshots, inspect pages, and capture PDFs. The Free plan includes 1,000 screenshots per month with no card; paid plans start at $5 for 3,000 shots.
Create a free ScreenshotNeo account to try it with 1,000 screenshots and no card.
Performance, reliability, and cost notes
- Window and editor screenshots are local operations; their time is mainly determined by Blender’s interface and file browser.
- Viewport and normal renders can take longer as scene complexity, resolution, and render settings increase.
- Save the file immediately after a render if you need a durable artifact; a rendered image in the Image Editor is not the same as a file on disk.
- For web captures, ScreenshotNeo bills only clean shots and exposes verdict and billing headers, which helps identify failed or non-billable responses.
FAQ
Is there one Blender shortcut that works everywhere?
The checked documentation does not establish a universal Windows, macOS, and Linux shortcut. Use the documented Window menu commands.
Can I screenshot only the 3D Viewport?
Yes. Choose Window > Save Screenshot (Editor), then click inside the 3D Viewport.
Does Viewport Render include Blender’s interface?
No. It creates an image from the active 3D viewpoint. Use Save Screenshot when the interface itself must be visible.
Why is my rendered image missing after I close Blender?
Still renders are not saved automatically by default. Save from the Image Editor or write the render through a File Output Node.


