How to Test GSuite Calendar Login with Cypress
Test Google Calendar login in Cypress with OAuth tokens and cached sessions. Keep CI reliable with programmatic auth, least-privilege scopes, and isolated test accounts.
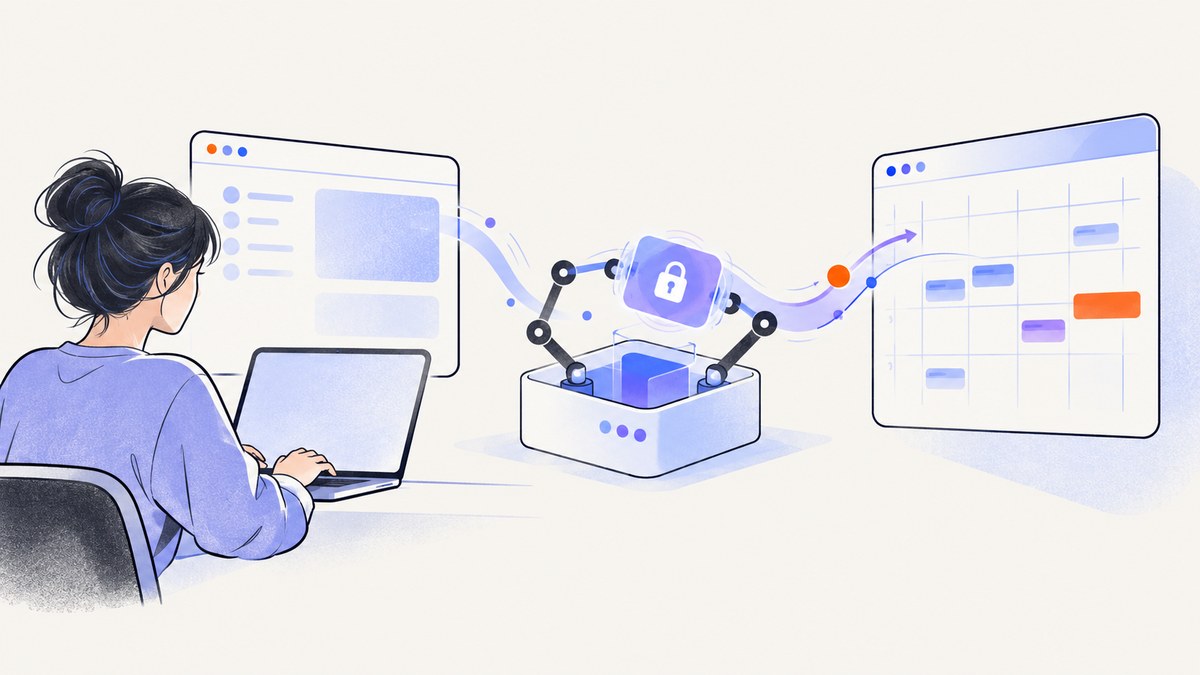
To test Google Calendar login with Cypress, use a dedicated Google test account and OAuth client to obtain tokens programmatically, then establish the authenticated state your application expects before visiting it. Cache that state with cy.session() for repeated tests. Avoid automating Google’s login page as the main CI path: provider bot checks can disrupt browser automation and may put the account at risk.
This approach tests how your application handles an authenticated user and Calendar permissions. It does not prove that Google’s entire sign-in interface works. Keep a limited live-login smoke test only if your environment permits it and it remains stable.
1. Choose the authentication coverage you need
“Google Calendar login” can mean several distinct behaviors. Decide what you need to verify before wiring up tokens:
| Test target | Recommended approach | What it covers |
|---|---|---|
| Authenticated application UI | Programmatic OAuth setup, then visit the app | Your app’s authenticated state and protected pages |
| Calendar data access | Programmatic setup plus a real protected Calendar API request | The granted scope and the app’s handling of Calendar data |
| Google’s sign-in and consent screens | A narrowly scoped live browser smoke test, if permitted | The provider’s interactive UI and your redirect flow |
| Token refresh, revoked consent, or insufficient scope | Dedicated tests for each condition | Recovery and error handling for authorization changes |
Use the first approach for most CI coverage. Cypress cautions against relying on social login as the primary authentication path in CI because provider bot detection can interfere with automation and may lead to account suspension. See the Cypress Google authentication guide and its guidance on social authentication.
2. Set up a dedicated Google test account and OAuth client
- Create a Google Cloud project for the test application and configure its OAuth consent screen.
- Add a dedicated test account as a test user when the consent-screen configuration requires test users.
- Create an OAuth client appropriate for the application’s test setup. Set authorized origins and redirect URIs to match the environment and callback flow you intend to test.
- Choose the narrowest Calendar scope that supports the behavior under test. A read-only calendar view should use a read-only scope; request write access only if the application creates or edits events.
- Use the OAuth 2.0 Playground with the test client. Enable offline access, authorize the required APIs, and exchange the authorization code for a refresh token.
- Store the client ID, client secret, and refresh token in CI secrets or environment variables. Keep them out of source control and logs.
Google OAuth involves obtaining credentials and a grant, exchanging the grant for tokens, checking the granted scopes, calling the API, and refreshing access tokens when needed. The Google OAuth documentation covers that lifecycle. Calendar scopes define the level of calendar data access; see Calendar API authorization scopes.
Use a separate test calendar or otherwise isolated test data. Do not use production calendar contents. If tests create events, remove them reliably during cleanup.
3. Add a programmatic Cypress login command
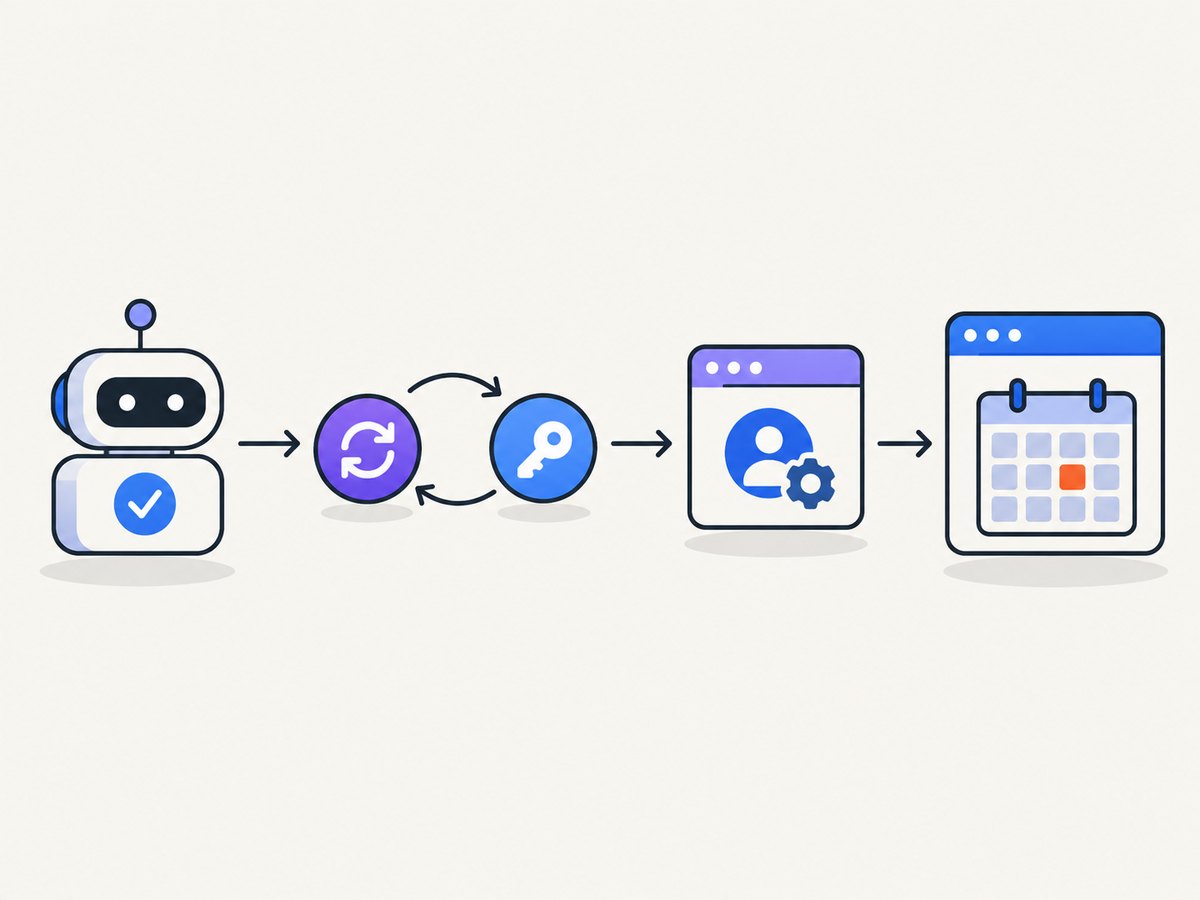
The example below exchanges a refresh token for an access token and ID token, fetches the test user’s profile, writes an application user object to localStorage, and visits the app. Adjust the storage key and object shape to match your application; those details are app-specific. This is a runnable pattern once the environment variables, app URL, and storage format are supplied.
// cypress/support/commands.js
Cypress.Commands.add('loginByGoogleApi', () => {
  const clientId = Cypress.env('googleClientId')
  const clientSecret = Cypress.env('googleClientSecret')
  const refreshToken = Cypress.env('googleRefreshToken')

  if (!clientId || !clientSecret || !refreshToken) {
    throw new Error('Set googleClientId, googleClientSecret, and googleRefreshToken')
  }

  cy.request({
    method: 'POST',
    url: 'https://oauth2.googleapis.com/token',
    form: true,
    body: {
      grant_type: 'refresh_token',
      client_id: clientId,
      client_secret: clientSecret,
      refresh_token: refreshToken,
    },
  }).then(({ body }) => {
    expect(body.access_token, 'Google access token').to.be.a('string')

    return cy.request({
      method: 'GET',
      url: 'https://www.googleapis.com/oauth2/v3/userinfo',
      headers: { Authorization: `Bearer ${body.access_token}` },
    }).then(({ body: profile }) => {
      const appUser = {
        id: profile.sub,
        name: profile.name,
        email: profile.email,
        picture: profile.picture,
        // Include only fields your application actually expects.
        accessToken: body.access_token,
        idToken: body.id_token,
      }

      cy.visit('/', {
        onBeforeLoad(win) {
          win.localStorage.setItem('authUser', JSON.stringify(appUser))
        },
      })
    })
  })
})
Register the command in your Cypress support file if your project does not already load it. Configure secrets outside the spec, using your CI secret store or a local environment file that is excluded from version control. Cypress documents cy.request() for HTTP-based authentication in its network requests guide; the Google guide documents this refresh-token and user-info pattern.
Some applications do not use localStorage for authentication. They may use a cookie, a server-side session, or a backend endpoint that exchanges credentials for an application session. In those cases, create the state through the application’s supported test or login endpoint rather than inventing a client-side storage format. The test must match the actual application contract.
4. Cache login state with cy.session()
For repeated tests, wrap setup in cy.session(). Cypress can restore cookies and localStorage, avoiding the same token exchange and setup for every test. Add a validation callback when the app exposes a protected endpoint such as /auth/me.
// cypress/support/commands.js
Cypress.Commands.add('loginAsCalendarTestUser', () => {
  cy.session('google-calendar-test-user', () => {
    cy.loginByGoogleApi()
  }, {
    validate() {
      cy.request({
        url: '/auth/me',
        failOnStatusCode: false,
      }).its('status').should('eq', 200)
    },
  })
})

// cypress/e2e/calendar.cy.js
describe('Calendar', () => {
  beforeEach(() => {
    cy.loginAsCalendarTestUser()
    cy.visit('/calendar')
  })

  it('shows the signed-in user and calendar view', () => {
    cy.contains('calendar-test@example.com').should('be.visible')
    cy.get('[data-cy=calendar-view]').should('be.visible')
  })
})
Replace the sample selector, route, and email with your application’s actual values. If the session validation endpoint is unavailable, validate a stable authenticated UI element after restoring the session, or use the app’s actual protected API. A cached browser state can become stale after token revocation or expiration; validation should force setup to run again when the session no longer works. See Cypress’s cy.session() documentation.
5. Test Calendar authorization and protected behavior
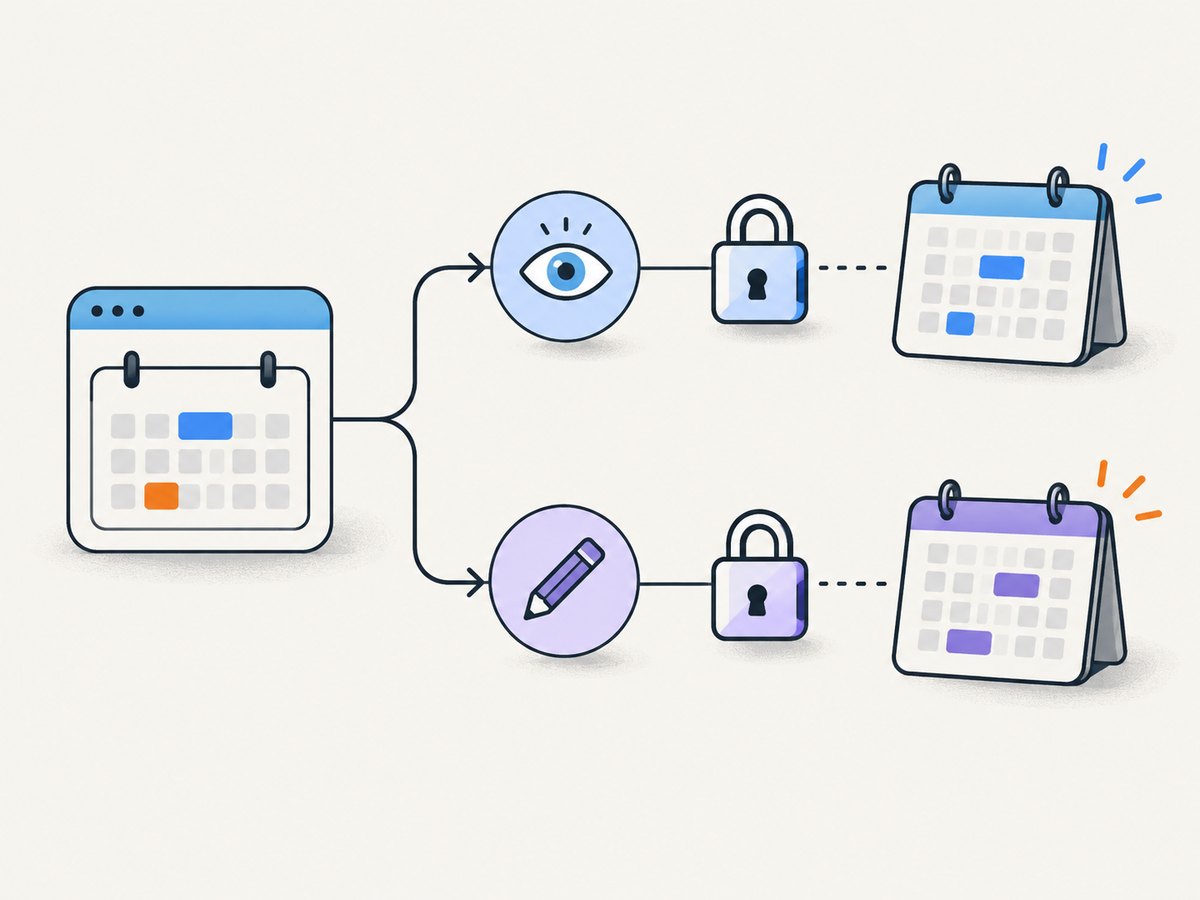
A successful app login does not by itself prove Calendar access. If the product reads or writes Calendar data, assert the corresponding behavior or protected request too. Keep scope requirements explicit in the test configuration and test insufficient authorization when it matters.
it('loads the authorized calendar data', () => {
  cy.loginAsCalendarTestUser()
  cy.visit('/calendar')

  cy.intercept('GET', '**/calendar/events*').as('getEvents')
  cy.reload()
  cy.wait('@getEvents').then(({ response }) => {
    expect(response.statusCode).to.eq(200)
  })

  cy.get('[data-cy=calendar-event]').should('exist')
})
The intercepted route above is an example of an application endpoint, not a fixed Google API URL. Use the request your product actually makes. For a write test, create a clearly identifiable event in the isolated test calendar and delete it afterward. Avoid assertions tied to personal or changing calendar data.
Useful authorization cases include:
- Expected scope granted: the protected calendar view or operation succeeds.
- Scope missing: the app explains which permission is needed and offers a recovery path.
- Consent revoked or refresh token invalid: the app returns to an unauthenticated or reauthorization state cleanly.
- Read-only access: event display works while write actions are rejected or hidden as designed.
- Token refresh: an expired access token is refreshed by the responsible app layer, or the user is prompted if refresh fails.
6. When a live Google login test makes sense
Programmatic auth is stable and fast, but it skips Google’s interactive sign-in UI. Use a live login test only when that UI or your OAuth callback itself is the behavior under test, and only in a controlled environment permitted by your provider configuration. Keep it isolated from the main suite, use a dedicated account, and avoid repeated retries that could trigger bot checks. Never make a brittle provider UI journey the only evidence that your app authentication works.
For callback coverage without depending on every provider screen, test your application’s callback handling using a controlled authorization response or a supported backend test mechanism. Keep at least one end-to-end assertion that verifies the user lands in the correct authenticated state.
7. Troubleshooting common failures
| Symptom | Likely cause | Fix |
|---|---|---|
invalid_grant during token exchange |
Revoked/expired refresh token, wrong client, or token issued for a different OAuth client | Reauthorize the dedicated test account in OAuth Playground using the same client credentials; update the CI secret. |
Token endpoint returns invalid_client |
Client ID or secret does not match the refresh token’s client | Check secret names and environment mapping; ensure the token and credentials belong to the same OAuth client. |
| User-info request returns 401 | Missing, malformed, expired, or wrong access token | Send Authorization: Bearer <access_token>; obtain a fresh access token from the refresh-token exchange. |
| App redirects back to login | Storage key, cookie, user shape, or backend session does not match app expectations | Use the application’s real auth contract or login endpoint; inspect the app’s startup code to identify required state. |
| Session restores but protected page fails | Cached state is stale or validation checks only that storage exists | Validate through a protected endpoint and refresh the session when validation fails. |
| Calendar request returns 403 | Scope is insufficient, consent was not granted, or the test user lacks access to the calendar | Request only the required scope, verify granted scopes, and share the isolated test calendar with the test account if needed. |
| Google login page loops or shows a bot check | Provider automation defenses or an unstable live UI flow | Move primary CI coverage to programmatic auth; retain a minimal live smoke test only where permitted and stable. |
| Works locally, fails in CI | Missing secret, wrong callback/origin configuration, or environment-specific app URL | Check CI secret injection and OAuth client settings for the exact test origin and redirect URI. |
| Tests leave events behind | Test cleanup did not run after assertion failure | Use uniquely named test events and cleanup in a guaranteed teardown path; isolate test data. |
8. Reliability, speed, security, and cost
Programmatic setup removes the provider UI from the critical path, while cy.session() avoids repeating the setup when the cached state remains valid. The tradeoff is fidelity: this tests your app’s authenticated behavior, not Google’s full sign-in experience. Keep a separate live smoke test only for the UI and callback risks it covers.
Token calls still depend on Google’s token and user-info endpoints, so keep failures diagnosable and avoid logging response credentials. If setup is shared across many specs, use a stable test identity and validate restored state. Do not cache a session indefinitely without checking that the application can still make its protected requests.
There is no need for a paid testing service to implement this flow: Cypress, OAuth credentials, and a controlled test account are the core pieces. Budget for the operational cost of maintaining secrets, isolated data, and occasional reauthorization. Never weaken scopes or reuse production credentials to make CI easier.
Or skip the browser setup
If what you need is a screenshot of a page in the authenticated flow, [ScreenshotNeo](https://screenshotneo.com) can capture a URL with one GET request. It is a website screenshot API and MCP server from Yorker Media, with options for cookies, custom headers, Authorization, viewport and device presets, full-page capture, and waiting for a selector or network idle. See the ScreenshotNeo API documentation.
curl -G "https://api.screenshotneo.com/v1/shot" -d access_key=YOUR_API_KEY --data-urlencode url=https://stripe.com -o shot.webpFor an authenticated route, supply the cookie or authorization headers the page requires and make sure your test environment permits access. A screenshot service cannot obtain a Google OAuth grant on your behalf or replace Cypress assertions about your app’s auth behavior. ScreenshotNeo accepts cookie and consent banners like a visitor, then removes 60+ known consent platforms, newsletter popups, and chat widgets before the capture; each of those steps can be turned off. Bot checks, blank pages, timeouts, failed loads, and cache hits cost nothing, and response headers say whether the page was clean and billed. Its MCP server gives AI agents tools named take_screenshot, get_page_info, and capture_pdf.
The free plan includes 1,000 screenshots a month with no card; paid plans start at $5 for 3,000. Every feature is on every plan. Create a free ScreenshotNeo account and get 1,000 screenshots a month with no card.
Here are equivalent examples in Python and Node.js:
import requests

r = requests.get(
    "https://api.screenshotneo.com/v1/shot",
    params={"access_key": "YOUR_API_KEY", "url": "https://stripe.com"},
    timeout=90,
)
r.raise_for_status()
open("shot.webp", "wb").write(r.content)
const q = new URLSearchParams({ access_key: 'YOUR_API_KEY', url: 'https://stripe.com' });
const res = await fetch(`https://api.screenshotneo.com/v1/shot?${q}`);
if (!res.ok) throw new Error(`Screenshot request failed: ${res.status}`);
await require('node:fs/promises').writeFile('shot.webp', Buffer.from(await res.arrayBuffer()));FAQ
Can Cypress log in to Google Calendar without opening a browser?
Yes. Exchange a refresh token for an access token with cy.request(), obtain the test user profile, and establish the application’s expected session state. The browser still visits your app to test its UI.
Does a passing login test prove Calendar permissions work?
No. Assert a protected Calendar operation or request separately, and cover missing or revoked authorization if those states matter to your product.
Should I use a real personal Google account?
No. Use an isolated test account and test calendar, least-privilege scopes, managed secrets, and cleanup for test-created events.
What should I test live against Google?
Reserve live browser coverage for the sign-in UI or callback behavior itself, where permitted. Keep the main authentication suite programmatic and reliable.


