How to Turn Code into an Image with AI
Learn when to generate art from code, when to capture rendered code, and how to automate both workflows with practical examples.
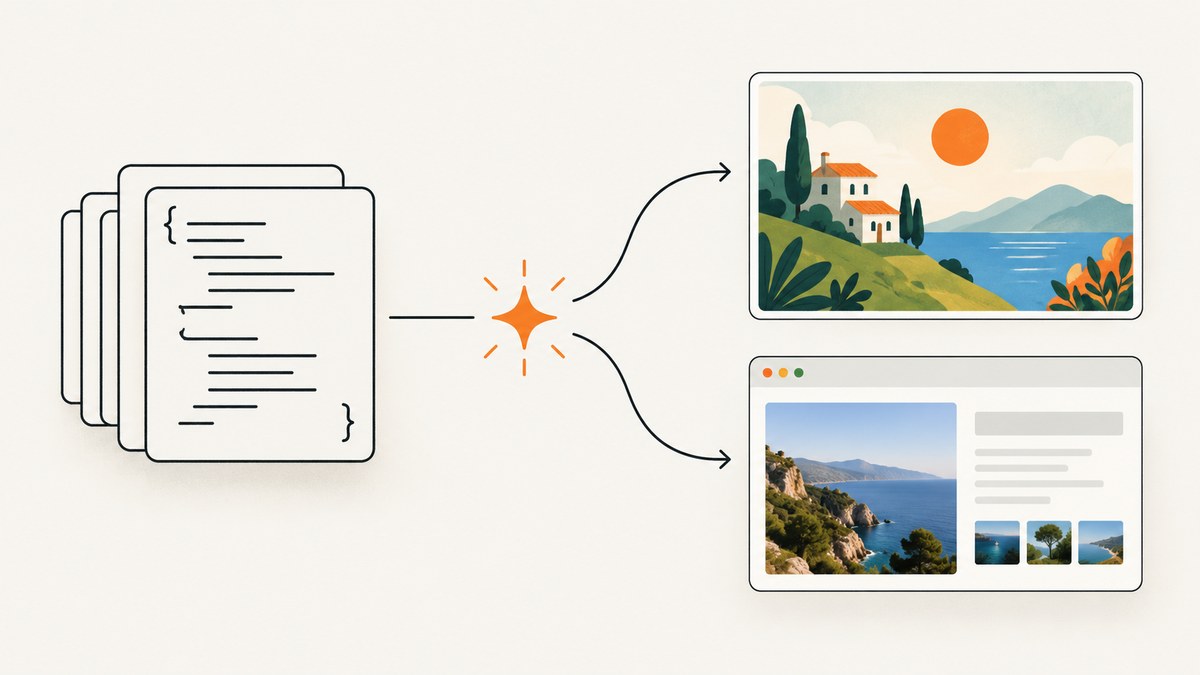
There are two different ways to turn code into an image with AI: generate a new illustration inspired by the code, or run the code and capture its rendered output as a screenshot. Choose image generation for artwork, diagrams, banners, and visual concepts. Choose a browser or application screenshot when the pixels must match what the code actually produces.
Prompt-based image generation is not a universal conversion from arbitrary source code to a faithful raster image. A model can create an image associated with your code, but it cannot replace rendering the code when accuracy matters.
1. Decide which kind of image you need
| Goal | Best route | What you get |
|---|---|---|
| Illustration for a tutorial or landing page | AI image generation | New artwork guided by a prompt |
| Concept art based on an algorithm | AI image generation | An interpretation of the idea or theme |
| Exact output of HTML, CSS, SVG, or a web app | Render, then screenshot | Pixels produced by the real code |
| Repeatable production screenshots | Browser automation or a screenshot API | Automated images at a known viewport and state |
Ask one question first: must the image contain the exact output of the program? If yes, render it. If no, an AI-generated asset may be appropriate.
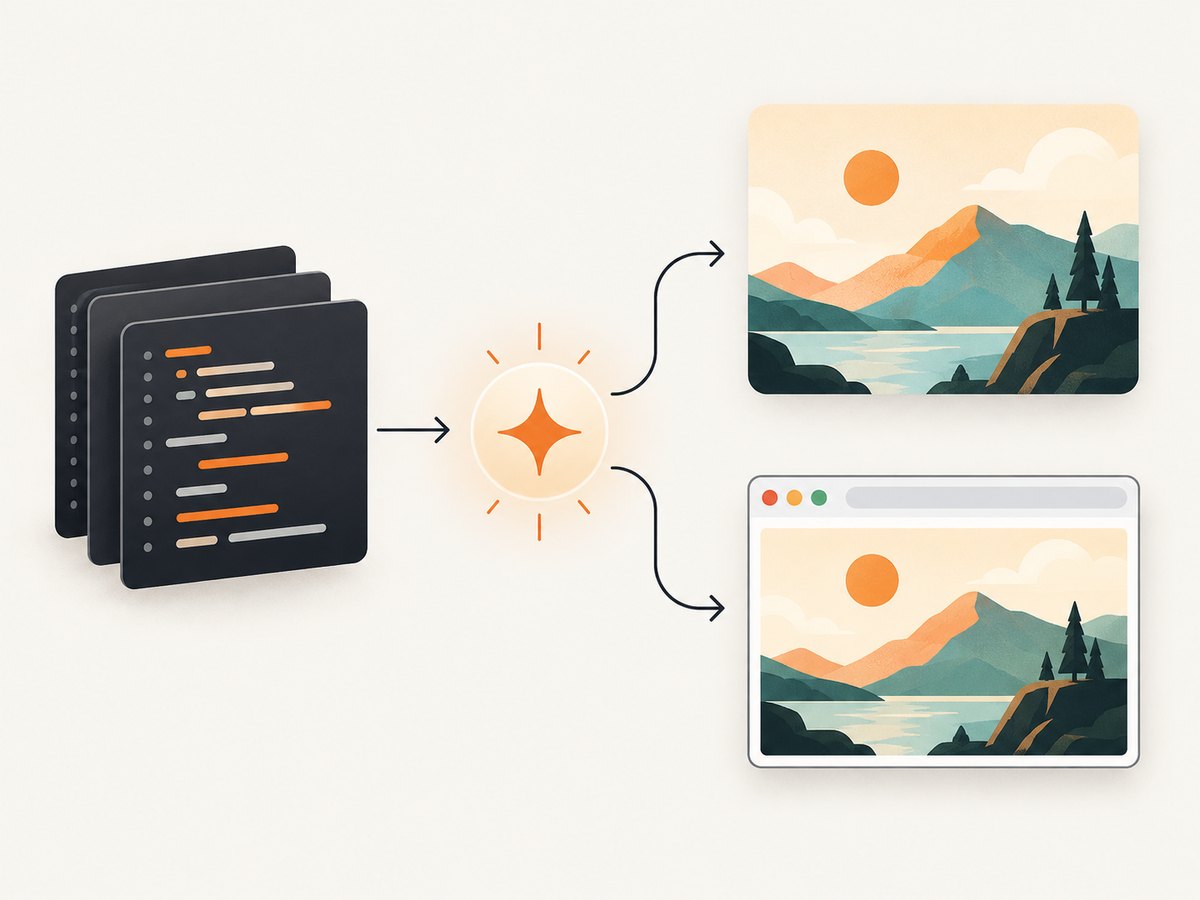
2. Generate an image associated with code
Describe the subject, visual style, composition, aspect ratio, background, and constraints in your prompt. ChatGPT Images can create a new image, edit an uploaded or generated image, request a transparent background, and use an aspect-ratio choice. Availability and controls depend on the current ChatGPT plan and client, so check the current product documentation before documenting a particular interface.
A useful prompt structure
Create an editorial illustration for a developer article about a sorting algorithm.
Show colorful geometric cards being arranged into ascending order by a visible flow of motion.
Flat vector style, high contrast, generous whitespace, 16:9 composition,
transparent background if supported, no text, no letters, no logos, no UI copy.
Iterate with targeted edits
Review the first result, then change one property at a time: subject placement, palette, background, aspect ratio, or the amount of detail. If you need to preserve a character or diagram, upload the prior image and describe the exact region or feature to change. Keep a copy of the prompt and source image so revisions remain reproducible.
3. Generate images programmatically
For an application workflow, use an image-generation API. OpenAI documents image generation and editing through the Image API, and image generation as a tool in the Responses API. The Responses route is useful for conversational, multi-turn edits and can accept image inputs. Consult the current OpenAI image-generation documentation for supported models and parameters.
Python example
from openai import OpenAI
import base64

client = OpenAI()  # reads OPENAI_API_KEY from the environment

result = client.images.generate(
    model="gpt-image-1",
    prompt=(
        "A clean editorial illustration of a Python function transforming "
        "data into a colorful chart, flat vector style, 16:9, no text or logos"
    ),
    size="1536x1024",
)

image_bytes = base64.b64decode(result.data[0].b64_json)
with open("code-illustration.png", "wb") as file:
    file.write(image_bytes)

print("Saved code-illustration.png")
Node.js example
import OpenAI from "openai";
import fs from "node:fs";

const client = new OpenAI({ apiKey: process.env.OPENAI_API_KEY });
const result = await client.images.generate({
  model: "gpt-image-1",
  prompt: "Editorial illustration of code becoming a glowing data visualization, flat vector style, 16:9, no text or logos",
  size: "1536x1024"
});

const image = Buffer.from(result.data[0].b64_json, "base64");
fs.writeFileSync("code-illustration.png", image);
console.log("Saved code-illustration.png");
SDK method names and supported model settings can change. Pin your SDK version, handle API errors, and verify the selected model supports the requested size, quality, and transparency options. The API reference states that transparent backgrounds on supported models require PNG or WebP output. Larger sizes and higher quality settings use more image tokens, increasing latency and eventual cost; check live pricing before quoting a dollar amount.
Transparency and output formats
- Request a transparent background only when the selected model supports it.
- Use PNG or WebP for transparent output according to the API reference.
- Use JPEG when a small photographic file is more important than an alpha channel.
- Validate the returned MIME type and decode the bytes before storing them.
4. Render code, then take a screenshot
If the image must show what your code actually does, place the code in its target environment first. For web code, that normally means creating an HTML document, opening it in a real browser, waiting for fonts and data, and capturing the viewport or full page. Browser automation is a screenshot workflow, not image synthesis.
Complete Playwright example
import { chromium } from "playwright";

const browser = await chromium.launch();
const page = await browser.newPage({
  viewport: { width: 1440, height: 900 },
  deviceScaleFactor: 2
});

await page.goto("file:///absolute/path/to/example.html", {
  waitUntil: "networkidle"
});
await page.screenshot({
  path: "rendered-code.png",
  fullPage: true,
  animations: "disabled"
});

await browser.close();
Install Playwright with npm install playwright and install its browser binaries with npx playwright install chromium. Replace the file URL with your local page or deployed test URL. For dynamic pages, wait for a meaningful selector instead of relying only on a fixed delay:
await page.goto("https://example.com/demo", { waitUntil: "domcontentloaded" });
await page.locator("[data-render-complete]").waitFor({ state: "visible" });
await page.screenshot({ path: "stable-output.png", fullPage: true });
Make screenshots reproducible
- Set the viewport, device scale factor, timezone, locale, and color scheme.
- Use a fixed test dataset and deterministic random seed where possible.
- Wait for fonts, images, and application data before capture.
- Disable animations or freeze them at a known point.
- Hide timestamps, ads, rotating content, and cursor indicators.
- Capture the same browser and operating-system versions in CI.
5. Capture one element or a full page
A viewport screenshot shows only the visible browser area. A full-page screenshot stitches the complete document, which is useful for long tutorials and dashboards but can produce very tall files. Element capture is better for a chart, code block, or card:
await page.locator(".chart").screenshot({ path: "chart.png" });For pages that load images lazily, scroll through the page before the final capture so deferred content is present. If a component is rendered inside a shadow root or canvas, select the host element or use the component’s own export method when available.
6. Or skip the browser setup
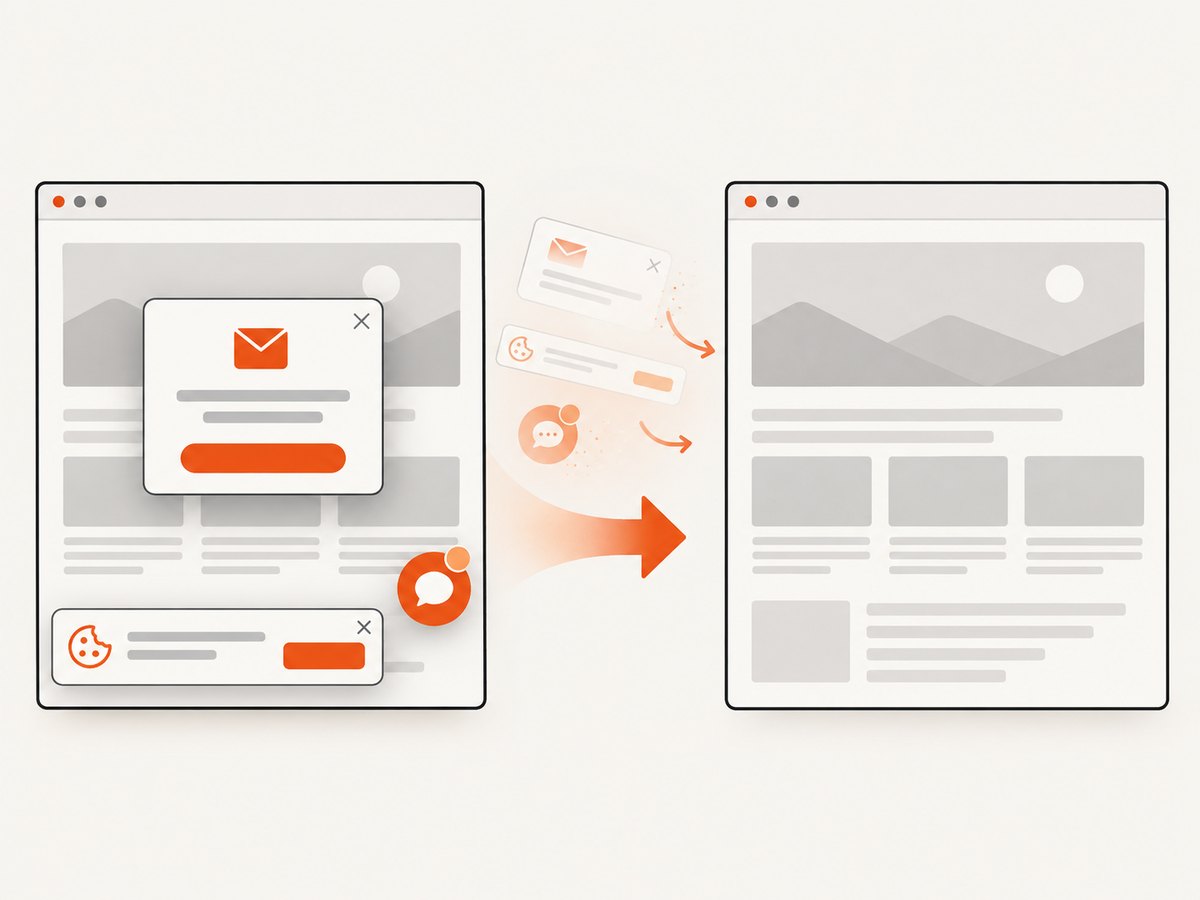
ScreenshotNeo provides a website screenshot API and MCP server. It accepts one GET request and returns PNG, JPEG, WebP, or PDF. Cookie and consent banners are accepted and removed before capture, along with more than 60 known consent platforms, newsletter popups, and chat widgets. Bot checks, blank pages, failed loads, timeouts, and cache hits are not billed, and response headers identify the page verdict and billing result.
See the ScreenshotNeo API documentation for all options. This is the smallest call:
curl -G "https://api.screenshotneo.com/v1/shot" -d access_key=YOUR_API_KEY --data-urlencode url=https://stripe.com -o shot.webpimport requests
r = requests.get(
"https://api.screenshotneo.com/v1/shot",
params={"access_key": "YOUR_API_KEY", "url": "https://stripe.com"},
timeout=90,
)
r.raise_for_status()
open("shot.webp", "wb").write(r.content)const q = new URLSearchParams({ access_key: 'YOUR_API_KEY', url: 'https://stripe.com' });
const res = await fetch(`https://api.screenshotneo.com/v1/shot?${q}`);
if (!res.ok) throw new Error(`Screenshot failed: ${res.status}`);
const data = Buffer.from(await res.arrayBuffer());
require('node:fs').writeFileSync('shot.webp', data);ScreenshotNeo also supports full-page capture with lazy images loaded, CSS-selector element capture, dark mode, 12 device presets and custom viewports, retina scale, PDF paper sizes and page ranges, custom CSS and JavaScript, clicks, selector or network-idle waits, blocking ads and resource types, custom headers and cookies, user agents and Authorization, timezone and geolocation, transparent backgrounds, resizing, TTL caching, signed links, asynchronous jobs with signed webhooks, bulk capture of up to 100 URLs per call, a usage API, and an OpenAPI specification. Parameter names used by other screenshot APIs also work, which can simplify migration.
An MCP server exposes take_screenshot, get_page_info, and capture_pdf to Claude, Cursor, and other MCP clients. That lets an AI agent inspect a page and capture it without custom browser orchestration. One thousand screenshots per month are free with no card; paid plans start at $5 for 3,000 shots. Every feature is available on every plan. Create a free ScreenshotNeo account.
7. Choosing dimensions, quality, and format
| Requirement | Recommendation |
|---|---|
| Documentation image | PNG or WebP, fixed width, readable code size |
| Transparent illustration | PNG or supported transparent WebP |
| Photographic or gradient-heavy output | WebP or JPEG |
| Print or archival output | High-resolution PNG or PDF |
| Social preview | Use the target platform’s aspect ratio and safe margins |
Retina screenshots improve sharpness on high-density displays but increase file size. Resize after capture only when the text remains legible. For generated images, larger dimensions and higher quality increase token use and latency.
8. Troubleshooting
| Symptom | Likely cause | Fix |
|---|---|---|
| The image does not match the code | An image model interpreted the prompt | Render the code and capture it with a browser or application screenshot. |
| Blank or partially loaded screenshot | Capture happened before data, fonts, or images finished | Wait for a selector, network idle, or an explicit application-ready signal. |
| Lazy images are missing | The page never scrolled into their loading threshold | Scroll through the document or enable full-page capture that loads lazy images. |
| Different result on every run | Animation, random data, ads, or rotating content | Freeze animation, seed data, block nondeterministic resources, and use a fixed viewport. |
| Transparent background is rejected | The selected image model or format does not support transparency | Use a supported model and PNG or WebP, or remove the transparency request. |
| API request times out | Target page is slow, blocked, or waiting on a third-party resource | Set a realistic timeout, remove unnecessary resources, and inspect page status before retrying. |
| Fonts differ in CI | Font is unavailable or loaded after capture | Install or bundle the font and wait for document.fonts.ready. |
| Screenshot contains cookie banners or chat bubbles | The page was captured without cleanup | Hide known selectors in Playwright or use ScreenshotNeo’s consent and widget removal. |
| Generated file is too large | Oversized dimensions, retina scale, or lossless format | Reduce dimensions or scale and choose WebP when transparency is not required. |
9. Performance, reliability, and cost
Performance
- Reuse a browser process for batches instead of launching one browser per URL.
- Block analytics, ads, video, and other resources that do not affect the visual result.
- Capture only the required element when a full page is unnecessary.
- Use caching for unchanged URLs and a TTL that matches your update frequency.
- For generated images, start with a smaller size while iterating, then render the final size.
Reliability
- Retry transient navigation and network failures with bounded exponential backoff.
- Record the URL, viewport, browser or model version, prompt, and output hash.
- Fail the job when a required selector is absent instead of silently saving a blank image.
- Validate image bytes and dimensions before publishing.
- Use asynchronous jobs and signed webhooks for large capture batches.
Cost
Image API cost and latency depend on the tokens required to render the image; larger size and higher quality consume more. Check current pricing before committing to a budget. Browser automation cost is dominated by compute time, browser startup, page resources, and retries. ScreenshotNeo bills only clean shots; bot checks, blank pages, timeouts, failed loads, and cache hits cost nothing. Its plans are Free: 1,000 shots/month; Starter: $5 for 3,000; Growth: $15 for 15,000; Pro: $39 for 60,000; Scale: $99 for 250,000; Business: $249 for 1,000,000. Yearly billing gives two months free.
10. A practical decision checklist
- Do I need a faithful rendering or a new visual interpretation?
- Is the target output HTML, SVG, canvas, a desktop app, or a generated asset?
- Have I fixed the viewport, fonts, locale, timezone, and data?
- Are asynchronous content and lazy images ready before capture?
- Do I need transparency, PDF output, an element crop, or a full page?
- Will retries, caching, and output validation make the workflow safe for production?
FAQ
Can AI convert any source file directly into a screenshot?
No. An image model can make artwork inspired by source code, but an exact screenshot requires executing the code in its target environment.
Should I use a screenshot or an AI-generated illustration for documentation?
Use a screenshot for steps that depend on exact layout or output. Use generated artwork for explanatory diagrams, covers, and decorative assets.
Can I edit an existing generated image?
Yes. Image workflows support editing uploaded or previously generated images, subject to the selected product and model’s current capabilities.
What is the fastest way to automate website screenshots?
Use browser automation when you need full control over the runtime. Use ScreenshotNeo when you want a single API call, cleanup of consent banners and widgets, billing visibility, or MCP access for AI agents.
Does a higher image quality always produce a better result?
Higher quality can improve detail but increases token use and latency. Test at a smaller setting while iterating and choose the lowest setting that meets the publishing requirement.


