How to Turn a Design Template into a Template Form
Turn a finished design into a fillable PDF or reusable Word form. Choose the right output, add and review fields, and test the result before sharing it.
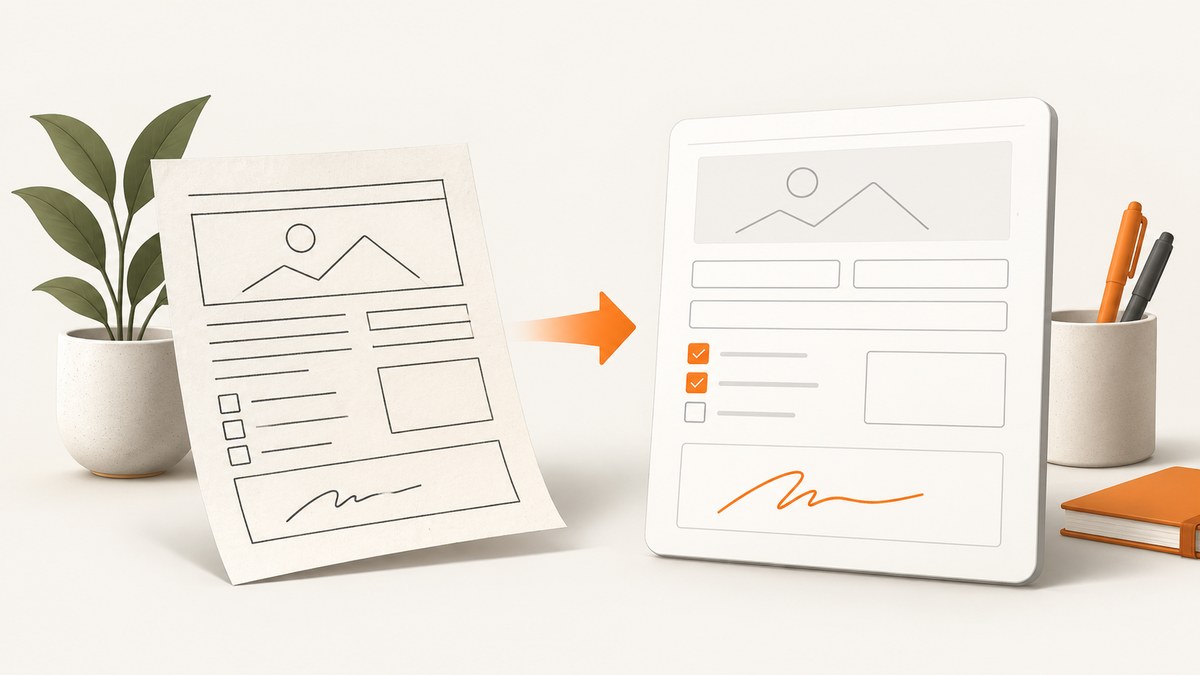
A design template becomes a form when you add interactive fields to the blank areas and save it in a format recipients can use. First decide what they need to return: choose a fillable PDF when the layout should look consistent across devices or be printed, and an editable Word document when recipients should fill fields and save or print a document. For a fillable PDF, Acrobat’s Prepare a form workflow can start from an existing file or scan. For Word, add content controls such as text fields, checkboxes, dates, and dropdowns. In either case, inspect and test the result before distributing it.
1. Choose the form format
The format determines how you add fields and how recipients interact with the result. A PDF form preserves the page layout while letting a person enter responses in form fields. A Word form remains a document that people can fill in and save or print. These are different deliverables; exporting a design as an ordinary PDF or DOCX does not, by itself, make its blank areas interactive.
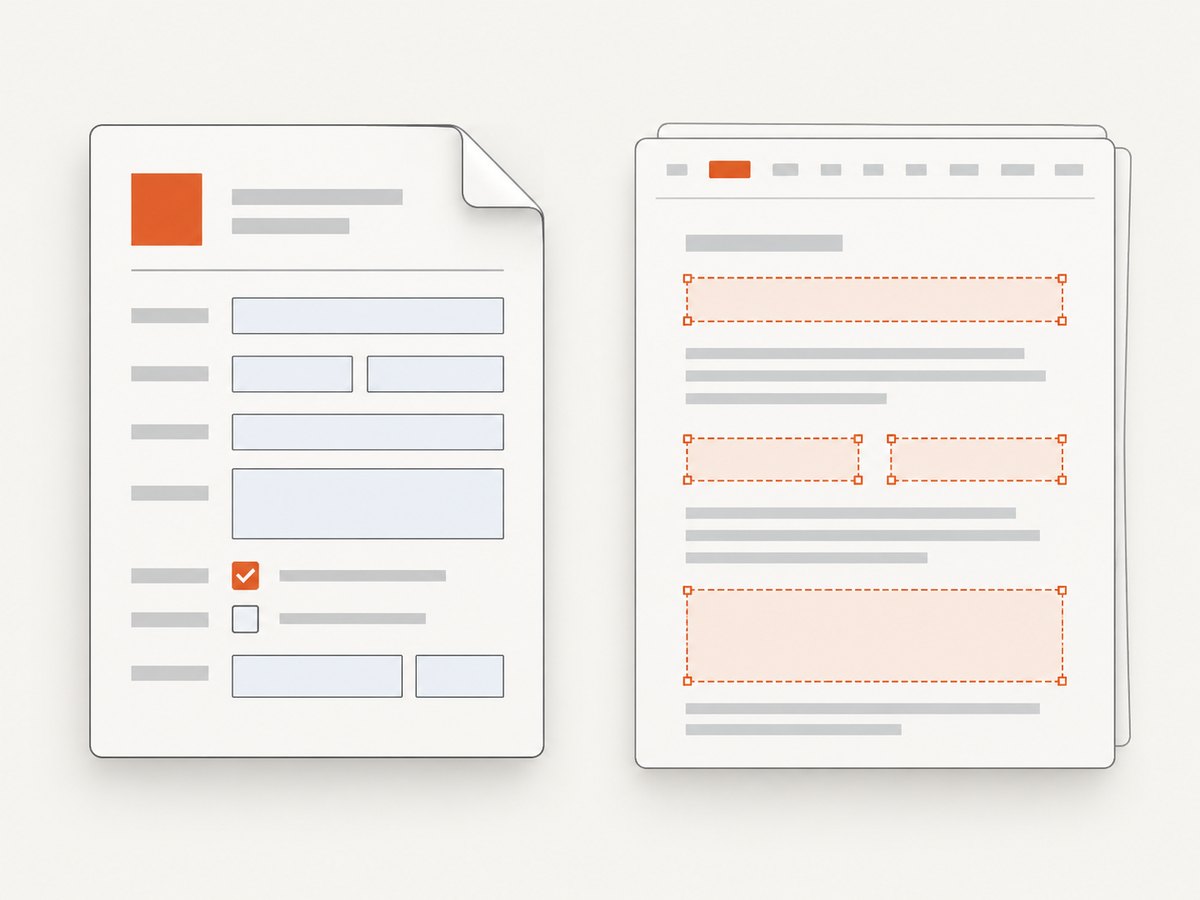
| Need | Choose | Field workflow |
|---|---|---|
| Keep the visual layout fixed and collect typed responses in a PDF | Fillable PDF | Prepare a form in Acrobat; review recognized and added fields. |
| Let recipients complete, save, or print a document | Word form | Add Word content controls and optionally restrict editing. |
| Use a Canva template as the visual starting point | Canva for design, then a form authoring application | Customize the design; use a documented form tool to add interactive fields. |
Canva’s help explains how to preview a template and select Customize this template to open it in the editor. That supports using Canva for the visual design stage; the cited instructions do not describe adding interactive PDF form fields. If a Canva design must become a fillable PDF, prepare the exported design in an application with form-field tools. Canva: Create designs using templates.
2. Prepare the design before adding fields
Make the visual layout final enough that adding fields will not need to be repeated. Check that each prompt has a clear answer area, labels are unambiguous, and the page has enough room for likely responses. If someone will fill the form on screen, make fields visibly distinct from decorative lines. If it will be printed, leave practical writing space and check that controls or field outlines do not obscure the design.
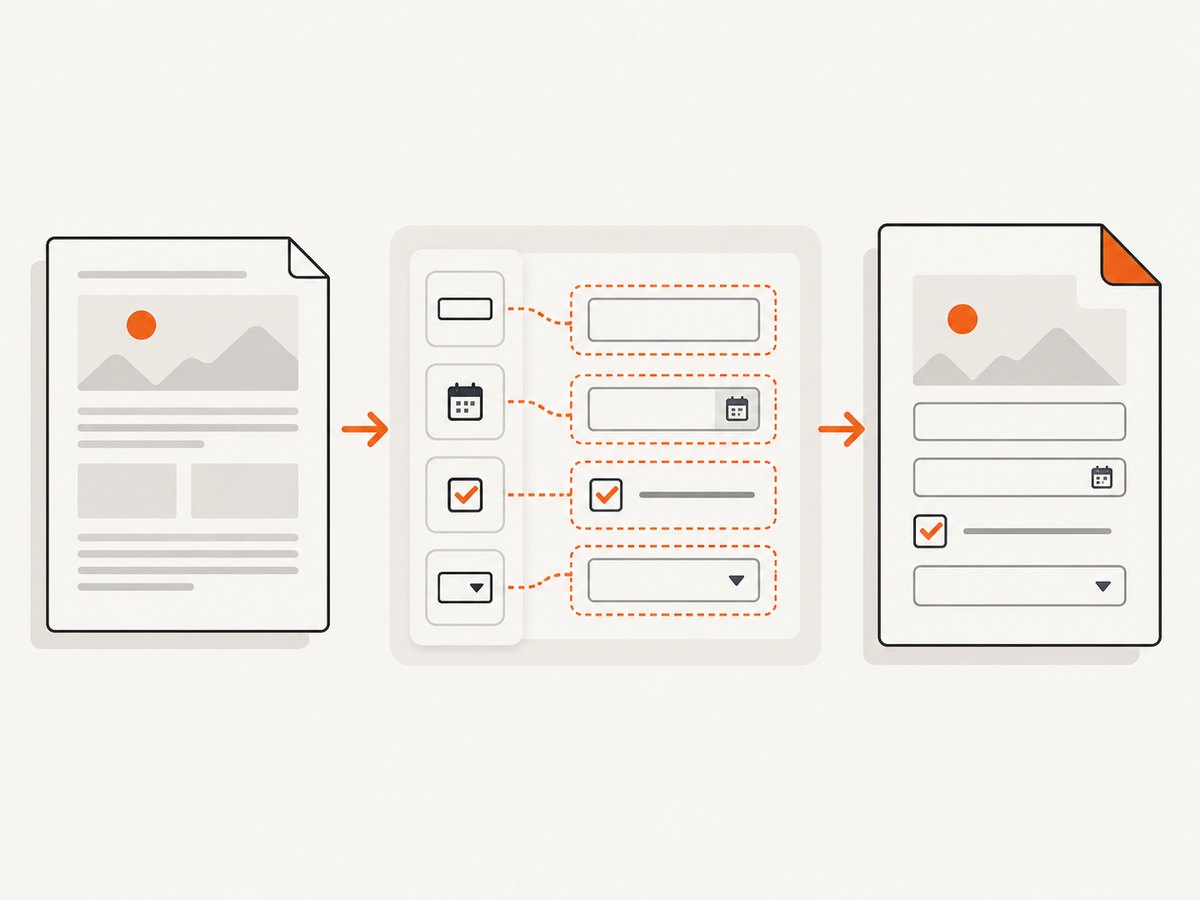
- Choose the output first. Keep an editable source copy, then create a suitable document or PDF for the chosen form workflow.
- Lay out prompts and answer areas. Use a consistent alignment and enough room for the expected response. Reserve separate areas for signatures, dates, and checkboxes.
- Keep labels with their fields. Avoid placing instructions where a typed answer could cover them. Use clear wording for required information and choice lists.
- Plan the response types. Note which blanks need short text, longer explanations, dates, selections, or signatures before inserting controls.
- Export or save a working file. Keep the original design so you can correct the layout if field placement reveals a problem.
A scan or a flattened design can provide the page appearance, but the static artwork is not automatically an editable form. Fields must be added and checked in the form-authoring step.
3. Make a fillable PDF in Acrobat
Acrobat’s form workflow starts with an existing digital file or scan. It identifies likely static fields and creates interactive fields, but automatic recognition is only a first pass: inspect the field locations, types, and labels. Adobe documents creating a fillable form from existing Word, Excel, or scanned documents and using All tools > Prepare a form. See Adobe’s PDF forms guide.
- Open Prepare a form. In Acrobat, choose All tools > Prepare a form.
- Select the source. Choose an existing file or scan. If signers need to sign, select the signatures option when it is available for your workflow.
- Create the form. Select Create form and let Acrobat identify likely fields.
- Review every field. Move, resize, or delete incorrect fields. Add missing fields and the appropriate form components from the Prepare a form pane.
- Preview and save. Check the form in its recipient view, then save a copy with a clear filename.
Look for fields that overlap labels, extend into nearby columns, or appear where a decorative line or printed instruction was mistaken for an answer area. Confirm that each field has the intended type: for example, a choice should be a checkbox or dropdown rather than a free-text field. The PDF form route is useful when recipients should interact with a stable page layout. Adobe’s help describes the workflow and the need to review and adjust recognized fields; it does not promise that every design will be recognized correctly.
Review checklist for PDF fields
- Each question has a field in the right position and of the right type.
- Field boundaries do not cover prompt text or run into adjacent answers.
- Long answers have enough room for the intended response.
- Choice fields contain the intended options and do not allow unintended entries when choices should be fixed.
- The saved copy opens and accepts sample entries in the software your recipients are likely to use.
4. Make an editable Word form
In Word, begin with a template or document and insert content controls where responses belong. Microsoft documents plain or rich text controls, checkboxes, date pickers, and dropdown or combo-box controls. You can configure control properties and use Developer > Restrict Editing to limit changes to the layout. Microsoft’s instructions cover desktop Word versions and note that creating fillable forms is not available in Word for the web. See Microsoft’s Word form instructions.
- Open the design-derived document. If the visual design is elsewhere, first bring its layout into a Word document you can edit.
- Show the Developer tab. Use Word’s ribbon settings to make Developer available if it is hidden.
- Place the cursor at an answer location. Select the appropriate content control from Developer: plain text for constrained text, rich text for formatted or multi-paragraph responses, checkbox for a yes/no selection, date picker for dates, or dropdown/combo box for choices.
- Set control properties. Select a control and open Developer > Properties. Configure the choices or display format where applicable.
- Protect the layout if useful. Select Developer > Restrict Editing, choose the restrictions, and start enforcing protection. Consider whether recipients need to change any part of the document beyond the fields.
- Save a form copy and test it. Reopen a copy, enter sample responses, save it, and verify the layout and controls remain usable.
Word content controls are interactive elements, not just blank lines or placeholder text. Use a plain-text control when formatting should be limited; use rich text when respondents need formatting or multiple paragraphs. A dropdown constrains the response to provided choices, while a combo box can allow a user-entered value as well as listed choices. Use the control properties to set the available choices and formats.
If the form will be reused as a starting point, save it as a Word template. Microsoft documents the .dotx format and the macro-enabled .dotm format for documents that contain macros. The template workflow cited here is for Word desktop on Windows; Microsoft notes that steps can vary on other platforms. See Microsoft: Create a template.
5. Test the form as a recipient
Authoring view can conceal issues that become obvious when someone fills the form. Test a separate copy, enter realistic short and long answers, make selections, save, close, and reopen it. Check both screen use and printing if both matter. For a Word form, verify that protection still permits the intended controls to work. For a PDF, check the recipient view and ensure fields accept the expected response types.
- Can a first-time recipient tell where to type or select?
- Do longer answers fit, continue, or print in an acceptable way?
- Are dates, required choices, and signature areas clear?
- Does the document retain its visual layout after saving and reopening?
- Does a printed copy remain legible, with enough room for handwritten responses if needed?
- Did you distribute the form copy rather than the original design source?
For repeat use, keep a clearly named blank master separate from completed copies. If the form changes, update the master and repeat the recipient test; existing completed files should remain separate from the template.
6. Troubleshooting common problems
| Problem | Likely cause | What to do |
|---|---|---|
| Acrobat did not create a field over a blank area | The area was not recognized as a field, or the artwork does not clearly indicate an input. | Add a field manually in Prepare a form, then set its type and size. |
| Acrobat created fields in the wrong places | Static lines, labels, or decorative shapes were interpreted as answer areas. | Delete, move, or resize the incorrect fields and preview the whole page. |
| A recipient can change the Word layout | Editing restrictions were not applied or do not cover the intended content. | Set Restrict Editing in desktop Word, enforce the restriction, and test a copy. |
| Word controls are missing from the ribbon | The Developer tab is hidden, or the document is open in an environment without the authoring workflow. | Enable the Developer tab in desktop Word. Microsoft says fillable form creation is not available in Word for the web. |
| A dropdown does not show the expected choices | Its properties were not configured or saved as intended. | Select the control, open Properties, correct the entries, then reopen a test copy. |
| Text overlaps a prompt or neighboring field | The field is too small, misplaced, or the design leaves too little answer space. | Resize or move the field; if needed, revise the source layout and recreate the form. |
| The saved output is hard to use when printed | The design prioritizes screen entry or leaves insufficient handwriting space. | Print a test copy, revise spacing and contrast, and test again before distribution. |
7. Reliability, reuse, and effort
The most reliable workflow is to keep the source design, the blank form master, and completed responses as separate files. Automatic field recognition can reduce manual placement but still requires a review pass. For Word, content controls and editing restrictions can help preserve the layout, but test the document in the version and platform recipients will use. A recipient who cannot use interactive fields may need a printable version, so decide whether print is part of the requirement.
Expect effort to depend on the number of fields, complexity of the layout, and how much correction automatic recognition needs. The cited procedural sources do not provide field-recognition accuracy or time-saving figures, so plan by inspecting your own form rather than assuming a particular level of automation. Test changes whenever the underlying layout shifts, because even small page changes can misalign placed fields.
Or skip the browser setup
If you publish the finished form on a webpage, you may also want a screenshot of how that page renders for documentation or review. ScreenshotNeo is a website screenshot API and MCP server; one GET request returns an image or PDF. Its clean-shot flow accepts cookie and consent banners and removes 60+ known consent platforms, newsletter popups, and chat widgets before capture, with each step configurable. Bot checks, blank pages, failed loads, timeouts, and cache hits cost nothing, and responses identify the page verdict and billing status. Its MCP server gives AI agents tools to take screenshots, get page information, and capture PDFs. There are 1,000 free shots per month without a card; paid plans start at $5 for 3,000. See the ScreenshotNeo documentation.
curl -G "https://api.screenshotneo.com/v1/shot" -d access_key=YOUR_API_KEY --data-urlencode url=https://example.com -o shot.webpimport requests
r = requests.get("https://api.screenshotneo.com/v1/shot", params={"access_key": "YOUR_API_KEY", "url": "https://example.com"}, timeout=90)
open("shot.webp", "wb").write(r.content)const q = new URLSearchParams({ access_key: 'YOUR_API_KEY', url: 'https://example.com' });
const res = await fetch(`https://api.screenshotneo.com/v1/shot?${q}`);Replace YOUR_API_KEY with your key and https://example.com with the public page you want to capture. The cURL and Python examples save the response body as an image; the Node.js example makes the GET request, and res contains the response. ScreenshotNeo supports PNG, JPEG, WebP, and PDF, plus options including full-page capture, CSS selectors, viewport and device presets, custom CSS and JavaScript, wait conditions, caching, and async jobs. Read the ScreenshotNeo overview and docs for request options.
Create a free ScreenshotNeo account for 1,000 screenshots a month with no card.
FAQ
Can I make the design itself fillable in Canva?
The cited Canva instructions describe customizing a visual template, not adding interactive PDF fields. Use a form-authoring application for the fillable output.
Can people complete a Word form in Word for the web?
Microsoft’s documentation says fillable-form creation is not available in Word for the web. Create and configure the controls in desktop Word.
Should I use a PDF or Word for a template people fill repeatedly?
Choose based on the recipient’s expected output: PDF for a stable page layout with interactive fields; Word when an editable document is the intended result. Test the exact file recipients will receive.
Does automatic field detection mean the form is finished?
No. Review each detected field, correct placement and type, add missing fields, and preview the saved form.


