How to Turn an Image Into a Website Link
Learn how to make an image clickable with HTML or WordPress, write accessible alt text, avoid common URL mistakes, and test the destination.
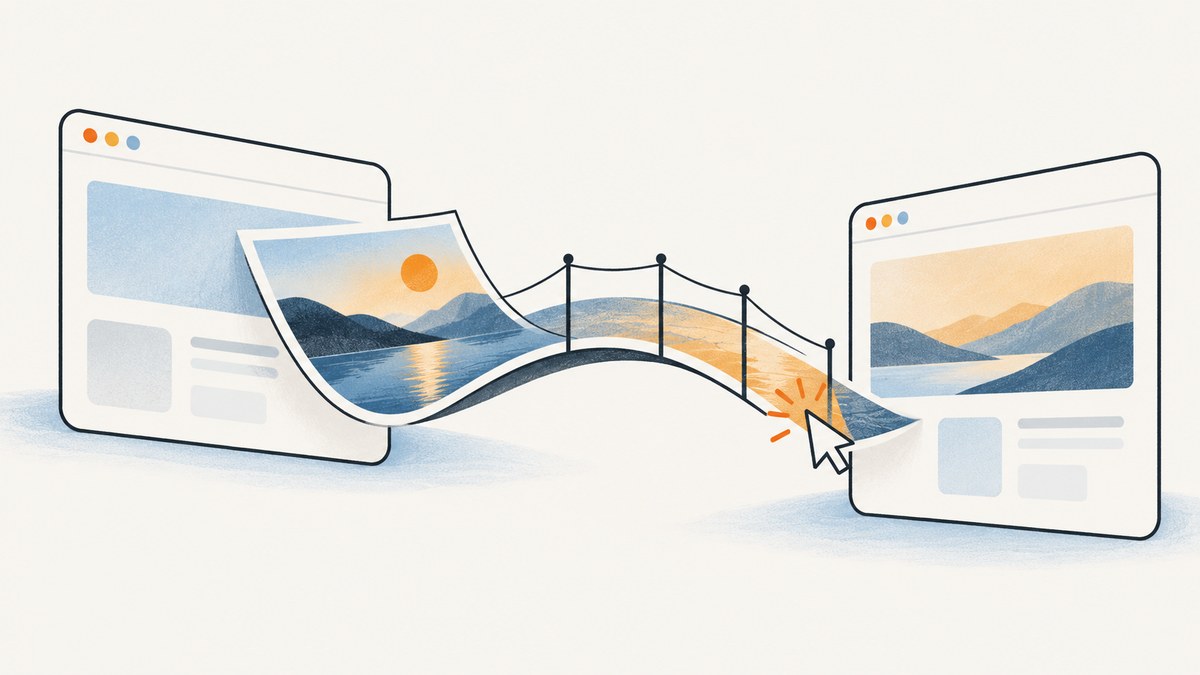
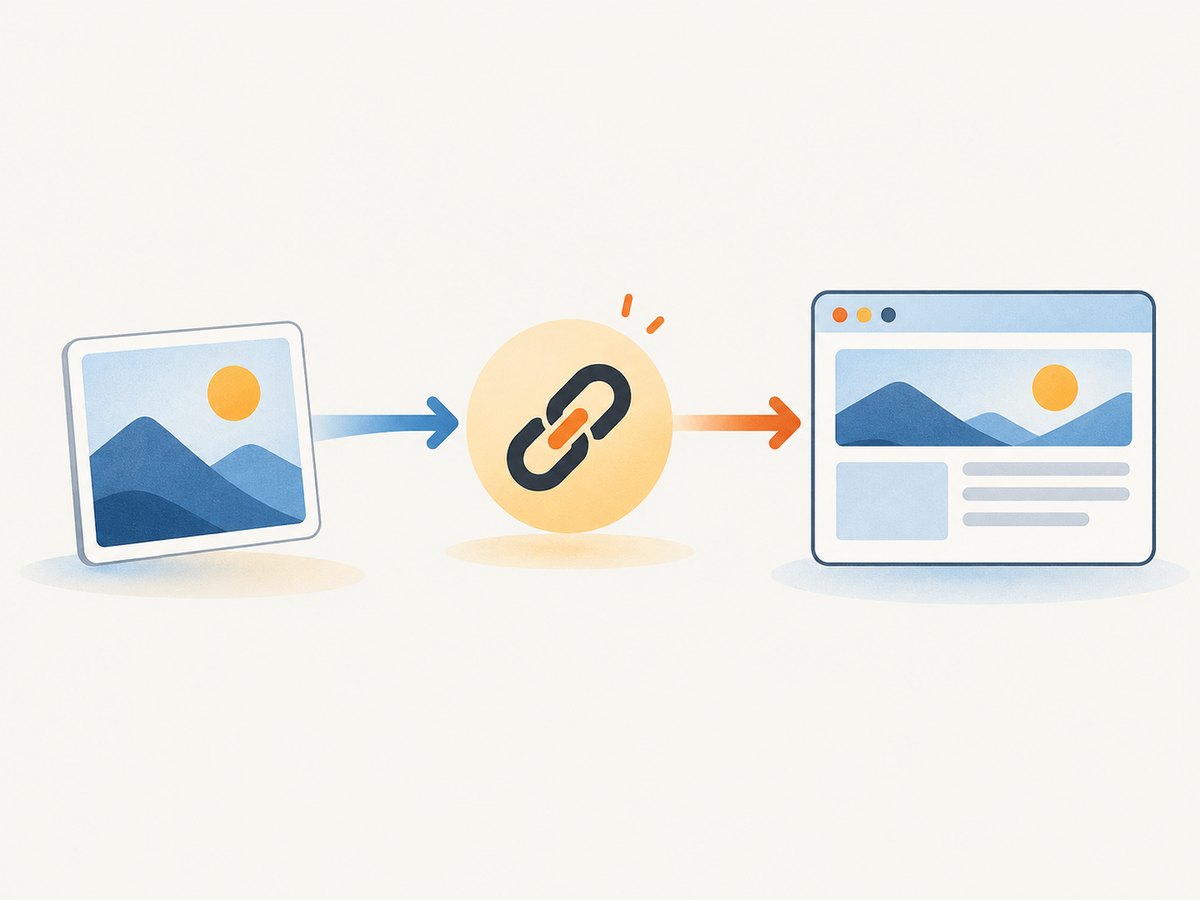
To turn an image into a website link, put the <img> element inside an <a> element. The anchor’s href is the page visitors reach. The image’s src is the file the browser displays.
<a href="https://example.com/destination">
  <img src="/images/example-image.jpg" alt="Visit the destination page">
</a>
Replace the example destination and image path with values that exist on your site. The image itself becomes the clickable content. This is the general HTML method documented by MDN’s guide to creating links.
How the image link works
There are two different addresses in this pattern:
| Part | Attribute | What it does |
|---|---|---|
| Destination page | href |
Defines where the browser goes after a click or tap. |
| Displayed image | src |
Defines which image file the browser loads. |
| Accessible link wording | alt |
Describes the image’s purpose when it is the link’s only content. |
A common mistake is to put the destination URL in src or the image URL in href. Keep the jobs separate: href points to a page, while src points to an image.
Write accessible alt text for a linked image
When an image is the only content inside a link, its alt text acts as the link text for people using screen readers or for anyone who cannot see the image. Describe the destination or action, not just the pixels in the picture.
<a href="https://example.com/pricing">
  <img src="/images/pricing-chart.png" alt="View pricing plans">
</a>
View pricing plans tells someone what will happen after activating the link. An alt value such as blue chart with three columns describes the appearance but may not explain the link’s purpose.
MDN’s image reference distinguishes informative, decorative, and linked images. If nearby visible text already communicates the destination and the image repeats that information, an empty alt value can be appropriate:
<a href="/about">
  <img src="/images/team.jpg" alt="">
  <span>About our team</span>
</a>
Do not omit the alt attribute indiscriminately. Decide whether the image supplies the link’s meaning or is only decorative.
Complete HTML examples
Link to another page on the same site
<a href="/guides/web-performance">
  <img
    src="/images/web-performance.jpg"
    alt="Read the web performance guide"
    width="1200"
    height="675"
  >
</a>
A root-relative path such as /guides/web-performance works when the destination is on the same domain. Supplying width and height helps the browser reserve space before the image finishes loading, which reduces layout movement.
Link to an external website
<a href="https://developer.mozilla.org/en-US/docs/Web/HTML">
  <img
    src="https://cdn.example.com/images/html-guide.webp"
    alt="Read the HTML guide on MDN"
  >
</a>
Use the complete https:// address for an external destination. The image itself may use an absolute URL, although hosting images on a site or CDN you control generally makes maintenance and permissions clearer. MDN’s HTML images guide also warns against hotlinking another site’s image without permission.
Open the destination in a new tab
<a href="https://example.com" target="_blank" rel="noopener">
  <img src="/images/reference.png" alt="Open the reference site">
</a>
target="_blank" asks the browser to open a new tab. It is optional. The rel="noopener" value prevents the newly opened page from using the opener window through script. Use a new tab only when it fits the user flow; making an image clickable does not require it.
Make the whole image area clickable
Keep the image inside the anchor and avoid placing unrelated controls inside the same link. CSS can remove the default border or add a focus style:
.image-link {
  display: inline-block;
}

.image-link img {
  display: block;
  max-width: 100%;
  height: auto;
}

.image-link:focus-visible {
  outline: 3px solid #155eef;
  outline-offset: 4px;
}
<a class="image-link" href="/case-studies/retail">
<img src="/images/retail-case-study.jpg" alt="Read the retail case study">
</a>The focus style makes keyboard navigation visible. Check that the image remains usable at narrow widths and that the clickable area is not obscured by an overlapping element.
Make an image clickable in WordPress
In the WordPress block editor, you do not need to edit HTML manually:
- Open the post or page in the WordPress editor.
- Select the Image block.
- Use the link control in the block toolbar.
- Paste or choose the destination URL.
- For an external page, include the complete address beginning with
https://. - Optionally enable opening the link in a new tab or add a
nofollowrelationship. - Preview or publish, then click the image yourself.
The WordPress link-control documentation explains that the editor checks URL format but does not verify that the destination exists or loads. A URL can pass the editor’s validation and still lead to a missing page, a redirect loop, or an access-denied response.
WordPress instructions apply to the blocks and editor provided by WordPress. Other CMSs and site builders may expose different controls. If your editor has an HTML or code view, use the anchor pattern shown above.
Image source, destination, and permissions
The image address and destination address can be unrelated:
<a href="https://shop.example.com/product/widget">
  <img src="/uploads/widget-photo.jpg" alt="View the widget product page">
</a>
The photo can live on your main site while the click goes to a shop subdomain. Conversely, an image hosted by a CDN can link to a page on your main domain.
- Use an image you created, licensed, or have explicit permission to publish.
- Avoid hotlinking an image from another site without permission. The other site may pay the bandwidth cost, change the file, or remove it.
- Prefer relative image paths for files on your own site when practical; they can simplify a future domain change.
- Use a CDN when your deployment needs one, while keeping the destination URL in
href. - Use HTTPS for both the page and image where possible to avoid mixed-content problems.
Check that the link works
- Open the page in a private browser window or a browser where you are not logged in.
- Move the pointer over the image and confirm the browser shows the expected destination.
- Activate it with a mouse, keyboard, and touch device.
- Confirm the destination loads without a redirect loop or unexpected login requirement.
- Use a screen reader or inspect the rendered HTML to verify the link has useful accessible text.
- Test the page after publishing, not only inside the editor preview.
For an automated check, inspect the rendered markup. You should find an anchor containing an image, with a valid href and an intentional alt value:
<a href="/destination">
  <img src="/images/example.jpg" alt="Open the destination">
</a>
Or skip the browser setup
If your workflow needs screenshots of the destination page, ScreenshotNeo can capture a URL with one GET request. This does not replace the HTML link itself; it gives you a clean image or PDF of the page to use in a preview, report, test artifact, or content workflow.
See the ScreenshotNeo documentation for the complete API. This is a runnable cURL example:
curl -G "https://api.screenshotneo.com/v1/shot" -d access_key=YOUR_API_KEY --data-urlencode url=https://example.com -o shot.webpPython:
import requests

r = requests.get(
    "https://api.screenshotneo.com/v1/shot",
    params={"access_key": "YOUR_API_KEY", "url": "https://example.com"},
    timeout=90,
)
r.raise_for_status()
open("shot.webp", "wb").write(r.content)
Node.js:
const q = new URLSearchParams({ access_key: 'YOUR_API_KEY', url: 'https://example.com' });
const res = await fetch(`https://api.screenshotneo.com/v1/shot?${q}`);
if (!res.ok) throw new Error(`Screenshot failed: ${res.status}`);
const image = Buffer.from(await res.arrayBuffer());
require('fs').writeFileSync('shot.webp', image);
ScreenshotNeo removes cookie and consent banners, newsletter popups, and chat widgets before capture. Each step can be turned off. Bot checks and CAPTCHAs, blank pages, timeouts, failed loads, and cache hits are not billed, and response headers identify the page verdict and whether the shot was billed. It also provides an MCP server with take_screenshot, get_page_info, and capture_pdf tools for Claude, Cursor, and other MCP clients.
The Free plan includes 1,000 screenshots per month with no card. Paid plans start at $5 for 3,000 shots; yearly billing gives two months free. Create a free ScreenshotNeo account to get started.
Troubleshooting image links
| Symptom | Likely cause | Fix |
|---|---|---|
| The image displays but clicking does nothing | The image is not inside an anchor, or another element covers it. | Inspect the rendered HTML and place <img> inside <a>. Check overlapping CSS and pointer events. |
| The click opens the image file | The image URL was placed in href. |
Put the page URL in href; keep the image file in src. |
| A broken-image icon appears | The src path is wrong, the file was removed, or access is denied. |
Open the image URL directly, correct relative-path resolution, and check server permissions. |
| The WordPress link saves but leads nowhere | WordPress validates the URL format, not the destination’s availability. | Open the published link and correct the URL, DNS, redirect, or destination page. |
| Screen-reader users hear unhelpful text | The alt text describes the picture but not the link purpose, or is missing. | Write concise destination or action text. Use alt="" only when nearby text already supplies the purpose. |
| The image is not keyboard reachable | The image was made clickable with a non-semantic click handler instead of an anchor. | Use a real <a href> element and provide a visible :focus-visible style. |
| The new tab behavior is unexpected | target="_blank" was added unnecessarily. |
Remove it if a same-tab navigation is clearer. If retained, include rel="noopener". |
| The image is replaced or bandwidth spikes | You are hotlinking another site’s file. | Host a permitted copy yourself or through your CDN. |

Performance and reliability considerations
Choose an appropriate image size
Do not make a visitor download a multi-megapixel original when the displayed link is a small card. Use an appropriately sized WebP, JPEG, or PNG, and include dimensions. Responsive images can offer alternate files:
<a href="/reports/annual">
  <img
    src="/images/annual-800.webp"
    srcset="/images/annual-400.webp 400w,
            /images/annual-800.webp 800w,
            /images/annual-1600.webp 1600w"
    sizes="(max-width: 600px) 100vw, 800px"
    width="1600"
    height="900"
    alt="Read the annual report"
  >
</a>
Keep the image readable at the size where it appears. Compression should not remove details that communicate the destination, especially when the image contains a product or chart.
Keep navigation dependable
- Use stable, canonical destination URLs where possible.
- Update links when a page is moved; add a redirect only when the old address must remain supported.
- Do not rely on an image alone for critical navigation if the surrounding design can also provide visible text.
- Test redirects, authentication requirements, and mobile layouts.
- Make sure lazy-loading does not leave an invisible overlay above the link.
When to use an image link
An image link works well for article cards, product tiles, logos that lead home, diagrams with a detail page, and campaign banners. Give the link visible text as well when the destination is important or when users may not recognize the image’s meaning.
Do not put several unrelated destinations inside one image. If different areas need different targets, use separate images or an accessible image-map implementation with carefully tested keyboard behavior. For most content, multiple clearly labeled links are easier to understand and maintain.
Frequently asked questions
Can I link an image without writing HTML?
Yes. WordPress and many visual editors provide a link control for an image block. The editor still generates the same underlying anchor-and-image structure.
Should the image URL and page URL be the same?
No. src identifies the displayed file, while href identifies the destination. They can point to different paths, domains, or services.
Is opening a linked image in a new tab required?
No. It is an optional behavior. Choose it based on the context and make the behavior clear to users.
What should alt text say when the image is a logo?
If the logo links to a home page, use wording such as the organization name or “Go to Example’s home page.” If nearby text already names the destination and the logo is redundant, an empty alt value may be appropriate.
Why does my link work in the editor but not after publishing?
The published page may rewrite relative paths, apply different CSS, require authentication, or contain cached markup. Test the public page and inspect its final HTML.
Can a screenshot be used as the linked image?
Yes, provided you have permission to publish the screenshot and the image accurately represents the destination. ScreenshotNeo can generate a clean screenshot or PDF from a URL when you need an automated capture workflow.
Final checklist
- Put the image inside an
<a href="...">element. - Put the image file path in
src. - Write alt text that communicates the destination or action.
- Use a full
https://URL for external destinations. - Confirm you have permission to use and host the image.
- Test the published link with mouse, keyboard, touch, and a screen reader.
- Check the destination itself; URL syntax validation does not prove that a page loads.


