How to Turn a Screenshot into a Shareable Link
Upload a screenshot to a service that fits your audience and privacy needs, then copy its link. Here are practical steps for Drive, Imgur, Dropbox, and GitHub.
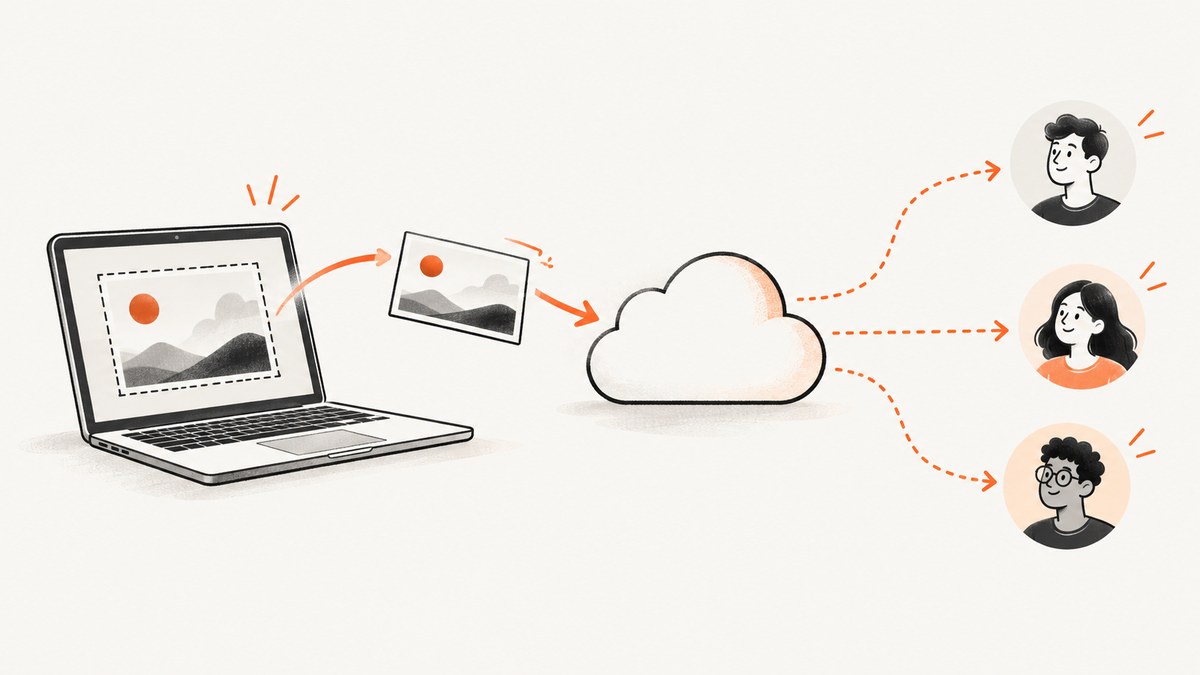
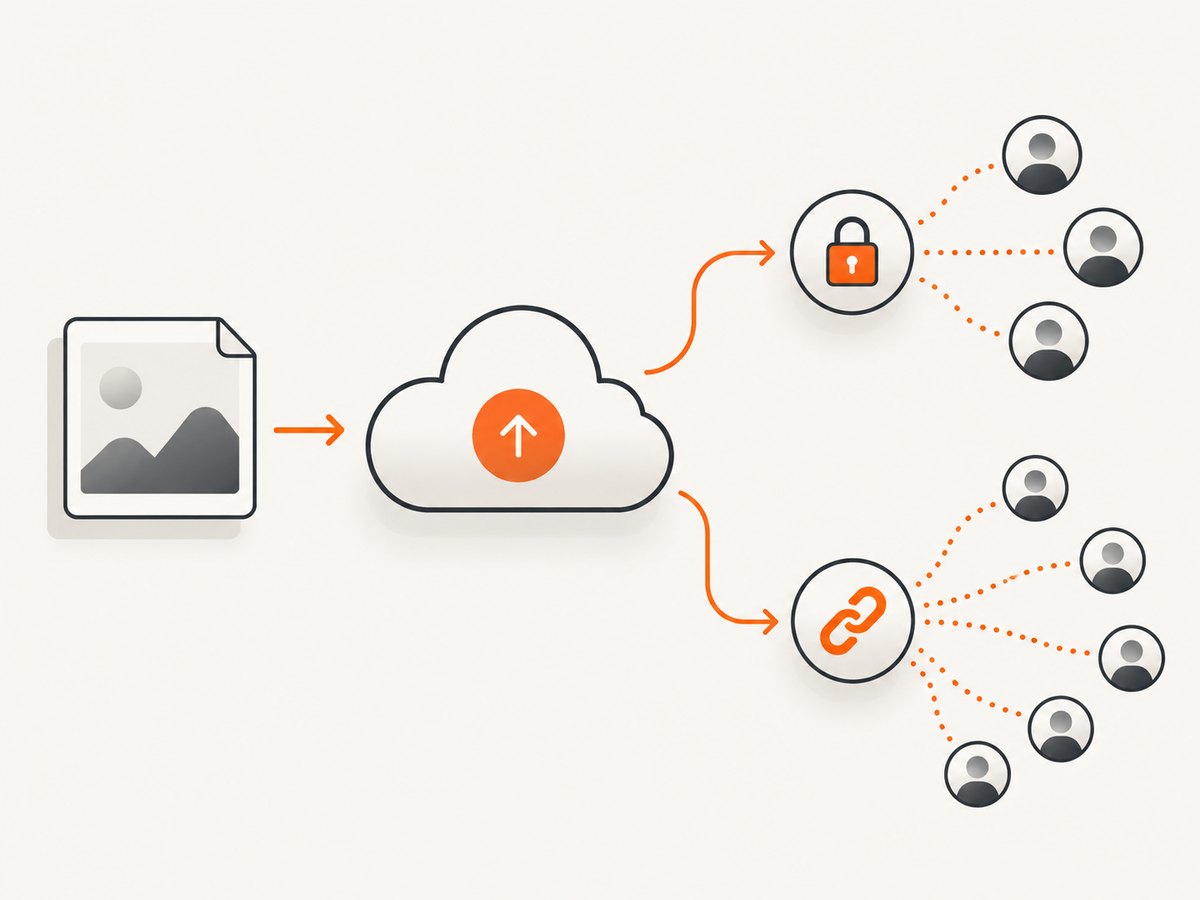
To turn a screenshot into a shareable link, upload or attach the image to a service, set who can access it, and copy the URL that service creates. For a screenshot that only named people should see, Google Drive offers restricted sharing. For a quick public image URL, use Imgur. Dropbox is handy if it already handles your screenshots, and GitHub fits screenshots attached to developer discussions.
Choose the service based on the audience and privacy you need. A link is a way to reach a hosted file; it does not make a private screenshot safe to publish. Remove credentials, personal information, internal URLs, and other sensitive details before uploading.
1. Choose the right link for the screenshot
Before you upload, decide whether recipients need to view the image, comment on it, or edit it, and whether they should sign in. Also consider whether the recipient needs a direct image URL or whether a viewer page is fine.
| Service | Useful for | Access and link notes |
|---|---|---|
| Google Drive | Sharing with named recipients or by link | Choose Restricted or Anyone with the link and assign a role. The link opens the Drive file experience. |
| Imgur | Quick public image sharing | Uploaded content can be reached using its direct URL. Treat public uploads as visible to anyone with the URL. |
| Dropbox | People already capturing or storing screenshots there | Copy a shared link, with the available sharing settings applied. |
| GitHub | Issues, pull requests, and other developer conversations | Attach the image in a supported text field; GitHub inserts an anonymized URL. |
For confidential screenshots, use a restricted audience and verify the permissions before copying the link. A public-by-link setting is convenient, but it is not the same as granting access only to named people.
2. Google Drive: control who can open the screenshot
- Upload the image file to Google Drive.
- Select the file and open Share.
- Under General access, choose Restricted for named recipients, or Anyone with the link if link holders should be able to open it without signing in.
- Choose the recipient role: Viewer, Commenter, or Editor. Give only the access needed.
- Click Copy link, then paste it into your message or issue.
Google documents that anyone with the link can use the file without signing in to a Google Account. That is convenient for external recipients, but anyone who gets the URL can use it. Google also says the owner’s name and email are visible when a file link is shared. Review the permissions and identity information before distributing a link. See Google Drive’s sharing instructions.
Viewer is usually appropriate when people only need to inspect a screenshot. Commenter is useful when they should discuss it in Drive, and Editor allows changes to the file or its sharing setup, subject to the account’s settings. Owners can also control whether viewers and commenters can download, print, or copy. Those controls do not prevent someone from taking another screenshot of what they can see.
If the recipient sees an access request, check that the file is shared with the correct account or change General access deliberately. Work or school account policies can limit external sharing. If access should be temporary or limited to a team, do not choose Anyone with the link just to avoid handling a permission request.
3. Imgur: make a public image URL
- Open Imgur and select New post.
- Browse for the screenshot or drag it into the upload area.
- Use a public post only if the image is appropriate for public sharing.
- Open the uploaded image and copy its direct URL or the share link intended for your audience.
- Open the copied link in a private browser window to confirm it loads as expected.
Imgur says uploaded content can still be found through its direct link, including when removed from a post. Its help page lists an upload limit of 50 images per hour. See Imgur’s upload instructions. Avoid uploading screenshots containing secrets, personal data, or unredacted credentials. A public image host is not an access-control system.
Use the direct image URL when a forum or document needs to embed the image itself. Use a post or share page when readers should see the image in its hosting context. Link formats can vary, so verify the specific URL you copied instead of assuming every Imgur link is a raw image file.
4. Dropbox: capture, store, and share from one place
For screenshots you already keep in Dropbox, create a shared link for the existing image and check its sharing controls before copying it. The available settings determine who can open the link, so confirm them for the account and folder involved.
Dropbox also supports automatic screenshot saving in its desktop app on Mac and Windows, except Dropbox Lite. Once enabled, screenshots save to a Screenshots folder, and settings can copy either a link or the image itself. On Mac, choose the behavior next to When screenshot is ready; on Windows, use Copy link to clipboard. The exact setup is described in Dropbox’s screenshot help.
- Enable Dropbox screenshot saving in the desktop app preferences.
- Choose whether the app should copy the screenshot or a link when a capture is ready.
- Take the screenshot, then paste the copied link into the intended conversation.
- For an existing screenshot, create a shared link and inspect its access settings before sending it.
This approach is convenient when Dropbox is already part of the capture workflow. If the screenshot is in a synced folder, remember that link access follows Dropbox sharing settings, not the fact that the file exists on your computer.
5. GitHub: attach screenshots to developer discussions
When the screenshot explains a bug, review, or implementation detail, attach it directly to the relevant GitHub issue, pull request, discussion, or supported text field. Paste the image or use the attachment control; GitHub uploads it and inserts a URL into the text field.
- Open the relevant GitHub discussion or comment box.
- Paste the image or select the attachment control and choose the screenshot.
- Wait for the upload to finish and inspect the inserted URL and preview.
- Submit the comment or save the discussion so the context and image stay together.
GitHub documents a maximum image and GIF size of 10 MB for this attachment workflow. If your image exceeds the limit, export a smaller image or reduce its dimensions, then attach it again. See GitHub’s attachment documentation. Do not put confidential material in a public repository discussion.
6. Verify the link before sharing
A copied URL can be valid while still giving the recipient the wrong experience. Check it once before sending, especially when the screenshot contains work material or the audience is external.
- Test access: Open the link in a private window or a browser profile that is not signed into your account. If it fails, the recipient may need permission or sign-in.
- Check the destination: Confirm that it displays the screenshot, not a folder or unrelated file.
- Check the privacy setting: Make sure Restricted access or link access matches the audience you intended.
- Check what the image reveals: Crop or redact secrets, names, emails, tokens, customer data, and browser tabs that should not be shared.
- Check the message context: Explain what the image shows and where to focus, particularly in a long issue or thread.
“Anyone with the link” describes who can access the file, not a guarantee that the URL is private, unguessable, or temporary. Likewise, a direct image URL and a viewer page are different destinations: choose the one the receiving app supports and test it in that app.
7. Troubleshooting common link problems
| Problem | Likely cause | What to do |
|---|---|---|
| Recipient sees “Request access” | The file is Restricted, the recipient is signed into another account, or an organization policy blocks external access. | Share with the correct email, ask the recipient to switch accounts, or review the organization’s sharing policy. Change to Anyone with the link only if broad access is acceptable. |
| Link opens a folder or preview instead of the image | You copied a folder or viewer URL rather than a direct image URL. | Open the individual file and copy its share link. For an embedding use case, check the destination’s direct-image requirements. |
| Image upload is rejected on GitHub | The image exceeds the documented 10 MB limit or the upload has not finished. | Resize or recompress the image, then attach it again and wait for the inserted URL. |
| Imgur link works for you but not as expected in a post | The copied link may be a post page, or the destination may require a direct image URL. | Open the uploaded image and copy the intended link type. Test it in the target forum or document. |
| Dropbox copied the file instead of a link | Screenshot preferences are set to copy the image, or the app’s link option is disabled. | Change the screenshot preference to copy a link, or create a shared link from the saved file. |
| Screenshot includes a secret or private detail | The screenshot was shared before redaction, or a portion outside the main content was overlooked. | Remove or restrict the existing shared file, create a redacted copy, and share that copy. Avoid assuming that deleting a post retracts every copy of a URL. |
8. Capture a website screenshot, then share it
If you need a screenshot of a live page rather than a link for an existing image, first capture the page, then upload the resulting PNG, JPEG, or WebP to your sharing service. A browser capture and a share link are separate steps: the capture creates an image file; the hosting service makes that file available at a URL.
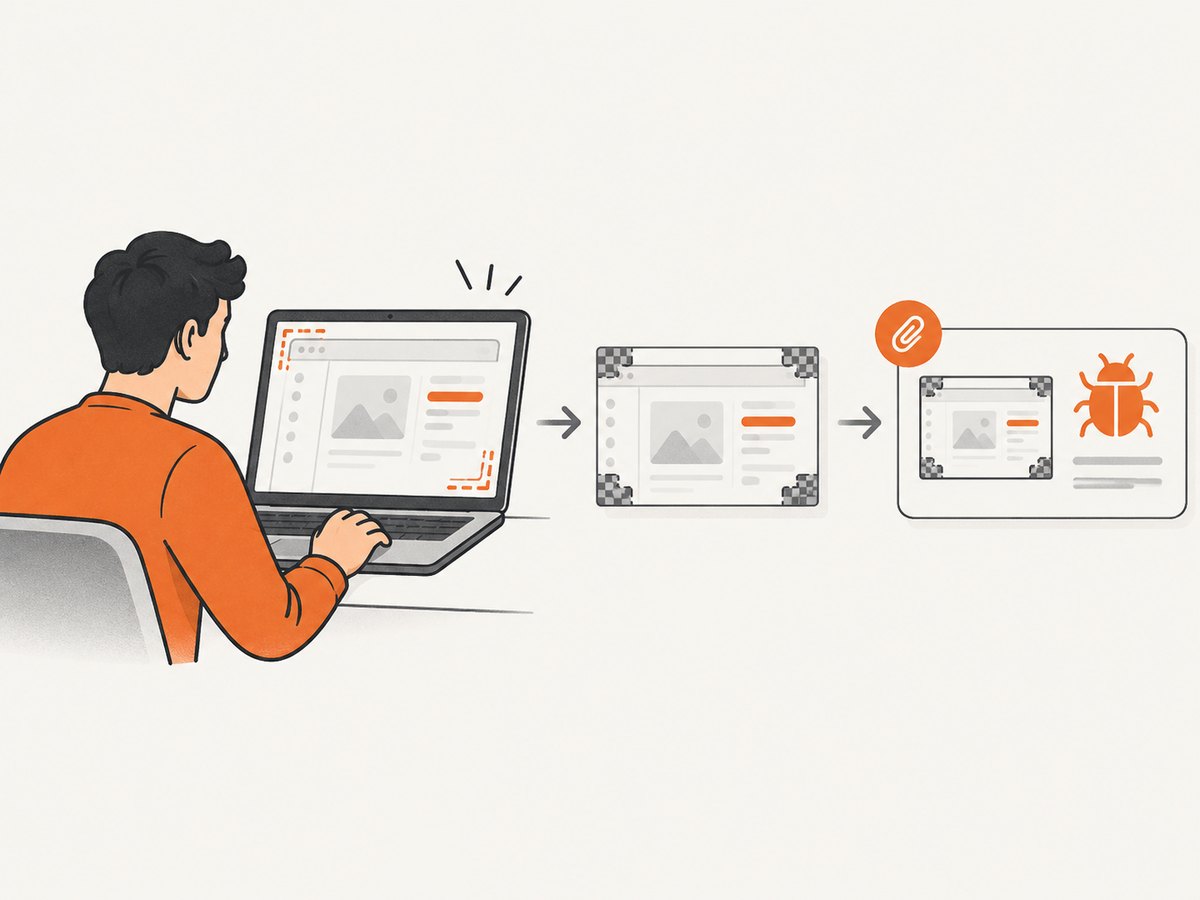
For manual work, take the screenshot with your browser or operating system, inspect it for private information, and follow one of the upload methods above. For repeatable captures, a screenshot API can make the capture step programmable. ScreenshotNeo is a website screenshot API and MCP server: one GET request with a URL returns an image or PDF. It does not replace the upload or access-control step when your goal is to share the resulting file through a link.
Or skip the browser setup
Use ScreenshotNeo to capture the page, then upload the returned image to Drive, Dropbox, Imgur, or the destination that fits your audience. See the ScreenshotNeo API docs for configuration.
curl -G "https://api.screenshotneo.com/v1/shot" -d access_key=YOUR_API_KEY --data-urlencode url=https://stripe.com -o shot.webpimport requests
r = requests.get("https://api.screenshotneo.com/v1/shot", params={"access_key": "YOUR_API_KEY", "url": "https://stripe.com"}, timeout=90)
open("shot.webp", "wb").write(r.content)const q = new URLSearchParams({ access_key: 'YOUR_API_KEY', url: 'https://stripe.com' });
const res = await fetch(`https://api.screenshotneo.com/v1/shot?${q}`);- Cookie banners, newsletter popups, and chat widgets are removed before the shot; each cleanup step can be turned off.
- Bot checks, blank pages, timeouts, failed loads, and cache hits cost nothing; response headers identify the page verdict and billing status.
- An MCP server lets AI agents using Claude, Cursor, or another MCP client take screenshots.
- 1,000 screenshots a month are free with no card. Paid plans start at $5 for 3,000 screenshots.
Sign up for ScreenshotNeo and get 1,000 free screenshots a month, with no card required.
9. Performance, reliability, and cost considerations
For a one-off screenshot, manual capture and upload is usually the shortest workflow. Repeated captures add browser setup, page loading, rendering, and image transfer to the process. Use a stable viewport and wait for the page content you need before capturing; otherwise, animations, lazy-loaded images, or slow assets can make repeated screenshots differ.
For sharing, image dimensions and file size affect how quickly recipients can load a link. Crop irrelevant browser chrome, resize oversized captures when detail permits, and use a compressed format supported by your destination. Keep an original if the recipient needs to zoom or inspect fine text. Do not trade away information required to understand the issue merely to save a few bytes.
Reliability depends on both capture and hosting. Test the generated image before upload, then test the final link with recipient-like access. For repeated automated capture, handle timeouts and failed loads explicitly, and retain enough context to identify which target URL and capture settings produced a file. For a shared link, check the service’s current access controls instead of assuming an old link setting still applies.
The four hosting choices described here do not require an extra screenshot API: Drive, Imgur, Dropbox, and GitHub handle different sharing contexts. ScreenshotNeo’s listed plans are Free (1,000 shots/month), Starter ($5 for 3,000), Growth ($15 for 15,000), Pro ($39 for 60,000), Scale ($99 for 250,000), and Business ($249 for 1,000,000); yearly billing gives two months free. Every feature is on every plan. Those charges are for screenshot capture; you still choose a place and permissions for sharing the resulting file.
FAQ
Can I create a link without uploading the screenshot?
No. A link needs a hosted destination or an attachment service. Capture or save the image, then upload it or attach it where you want to share it.
Is a link-only screenshot private?
Not by itself. Access depends on the service’s sharing settings. Choose named recipients for sensitive material and review what information the screenshot exposes.
Can I share a screenshot as a direct image URL?
Some services expose a direct image URL, while others primarily provide a viewer or file page. Imgur supports a direct URL for uploaded content; test the specific link format with the destination where you will use it.
What is the simplest option for a bug report?
Attach the image to the GitHub issue or pull request that needs it. That keeps the screenshot beside the technical context, subject to GitHub’s image size limit.
Can I automate website screenshots and share them automatically?
You can automate the capture step with an API, but creating a shareable link still requires a hosting or attachment destination and its access settings. Treat capture and sharing as separate parts of the workflow.


