How to Turn a Screenshot Into a UI Design
Turn a screenshot into editable UI layers, refine the result, or capture a live interface when you have access to the website.
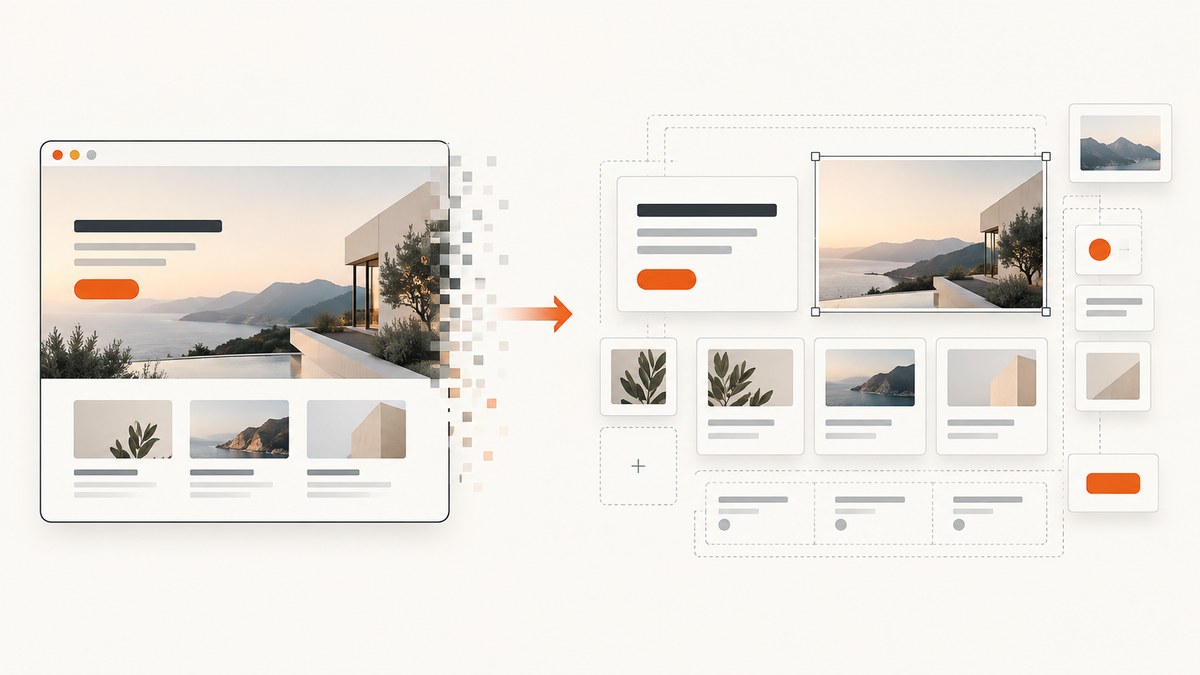
A screenshot is a picture of an interface, not an editable design file. To turn it into one, place the image on a Figma Design canvas, ask Figma’s agent to extract the whole layout or specific components, then inspect and refine the generated text, shapes, and frames. If you can access the live website instead of just an image, Figma has a separate code-to-canvas workflow that captures the running interface into editable design layers. Neither workflow should be treated as a finished, production-ready design without review. Figma’s screenshot-to-design guide describes the image-based process.
1. Choose the workflow for the input you have
First decide whether you have a screenshot file or a live, coded interface. The distinction matters: an image converter interprets pixels, while a code-to-canvas workflow captures a browser-rendered screen. Both can give you editable design layers, but neither automatically turns a screenshot into production source code.
| Input | Use this approach | What to expect |
|---|---|---|
| PNG, JPEG, or other screenshot image | Place the image on the Figma Design canvas and prompt the agent. | An editable interpretation of the pixels; verify text, spacing, and structure. |
| Website or app you can run in a browser | Use Figma’s documented code-to-canvas options, such as its Chrome extension or remote MCP workflow. | Editable layers captured from the live UI, with limitations for some page types. |
| Screenshot, but no source or live access | Use image-based conversion, then recreate or correct uncertain elements manually. | The image is the only evidence available; hidden behavior and responsive rules cannot be recovered from it. |
Pick the image route when the reference is a static mockup, an app screen, or a site you cannot access. Choose live capture when you can load the interface and want its current browser-rendered content on the design canvas. If your actual goal is working HTML, CSS, or application code, treat the design as a reference and implement it separately.
2. Convert a screenshot into editable Figma layers
- Prepare the reference. Use the clearest screenshot you have. Crop unrelated browser chrome if it distracts from the interface, but keep relevant content such as menus or full-page sections. Avoid compressing the image or resizing it so far that text and icons become indistinct.
- Put it on the canvas. Open a Figma Design file and drag the image onto the canvas, or select an image already in the file.
- Open the agent. Open it from the left side rail. Figma lists Command+Enter on Mac and Control+Enter on Windows as shortcuts.
- Describe the scope. Ask for the whole screen, a particular region, or a named component. State whether you want a visual recreation or only the structural hierarchy. If you have a design library in the file, tell the agent to use it as a guide.
- Inspect the result. Check the generated hierarchy, text, spacing, alignment, colors, and component boundaries. Correct errors by hand or ask a follow-up prompt with a specific change.
- Make it yours. Replace the reference’s branding and copy where appropriate. Apply your own design system and verify that the result matches the intended use before sharing or building from it.
Figma says conversion quality depends on the clarity and complexity of the screenshot. Clean layouts and familiar interface patterns are more straightforward to interpret; custom or ambiguous elements may need more guidance and manual work. Treat the generated frame as a starting point rather than a verified transcription. See the official screenshot converter instructions for the current in-product workflow.
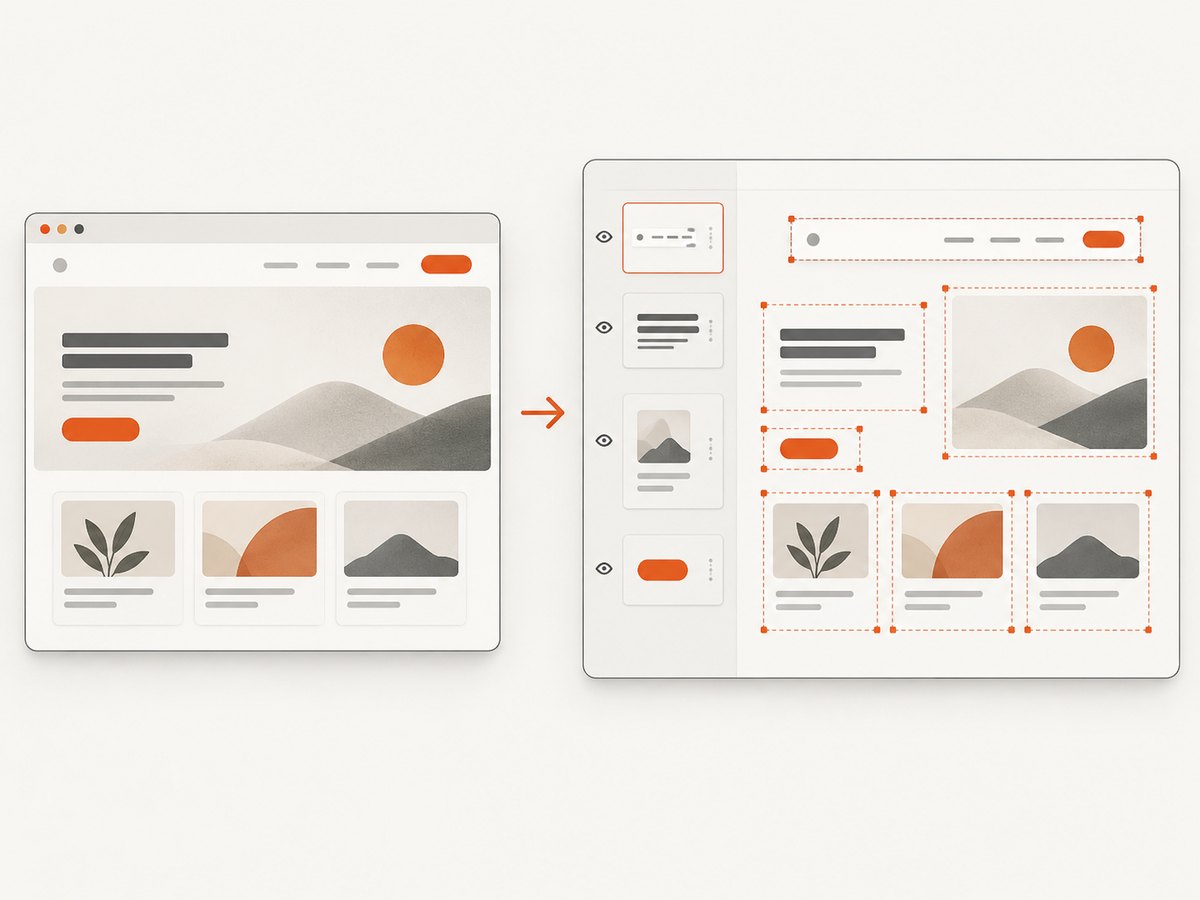
Prompts that control the result
A precise prompt tells the tool what to include and what kind of structure you expect. For example:
Recreate the full visible dashboard as editable layers. Preserve the two-column layout, sidebar, card boundaries, spacing, and text hierarchy. Use separate text layers for labels and values. Do not add content that is not visible in the screenshot.For a smaller extraction, name the area and its purpose:
Extract only the top navigation from this screenshot as an editable component. Keep the logo area, navigation links, search control, and account button in separate logical layers. Match the visible spacing and alignment.For structure-only work, avoid asking for pixel fidelity:
Build a low-fidelity wireframe of this screen. Preserve the section order, column relationships, and approximate sizes. Represent text as editable text layers and images as placeholders. Ignore exact colors and decorative details.These are prompt examples, not guaranteed commands or a claim that every element will be identified correctly. Refine the request based on what the first result gets wrong. “Fix it” gives little direction; “keep the card widths, align their left edges, and make the heading a separate text layer” identifies concrete changes.
3. When you have the live interface
If the page is running in a browser, you can capture the coded screen into editable Figma frames rather than reconstructing from a screenshot image. Figma documents a Chrome extension, copying layers from a Figma Make preview, and the remote Figma MCP server’s code-to-canvas tool. The MCP route can capture a full screen or a selected element, and repeated captures can support a multi-screen flow. Follow the current Figma code-to-canvas documentation for setup details.
This route is useful when documenting an existing product, gathering patterns for a redesign, or bringing a running prototype into a design file. Captured layers are not automatically mapped to your library’s components and styles, even if compatible variables from a library added to the file can be used. Review and map components where needed. Complex scroll-driven pages, canvas-rendered interfaces, and virtualized lists may not capture cleanly; try a specific element or another viewport when the full page is incomplete.
Capture a representative state
Before using code-to-canvas, load the exact state you want to document. Set the viewport, sign in if appropriate, dismiss dialogs that should not appear in the design, and wait for the content to settle. A capture reflects the page state presented to the tool; it cannot infer a menu that was never opened, content that did not load, or a mobile breakpoint you did not display. Capture those states separately when they matter.
4. Capture a clean browser reference with ScreenshotNeo
When the interface is a public website, you may need a reliable screenshot to use as the image input in your design workflow. ScreenshotNeo is a website screenshot API and MCP server. One GET request returns a PNG, JPEG, WebP, or PDF. Its job is to capture the web page; use Figma or another design editor to interpret that image into editable layers.
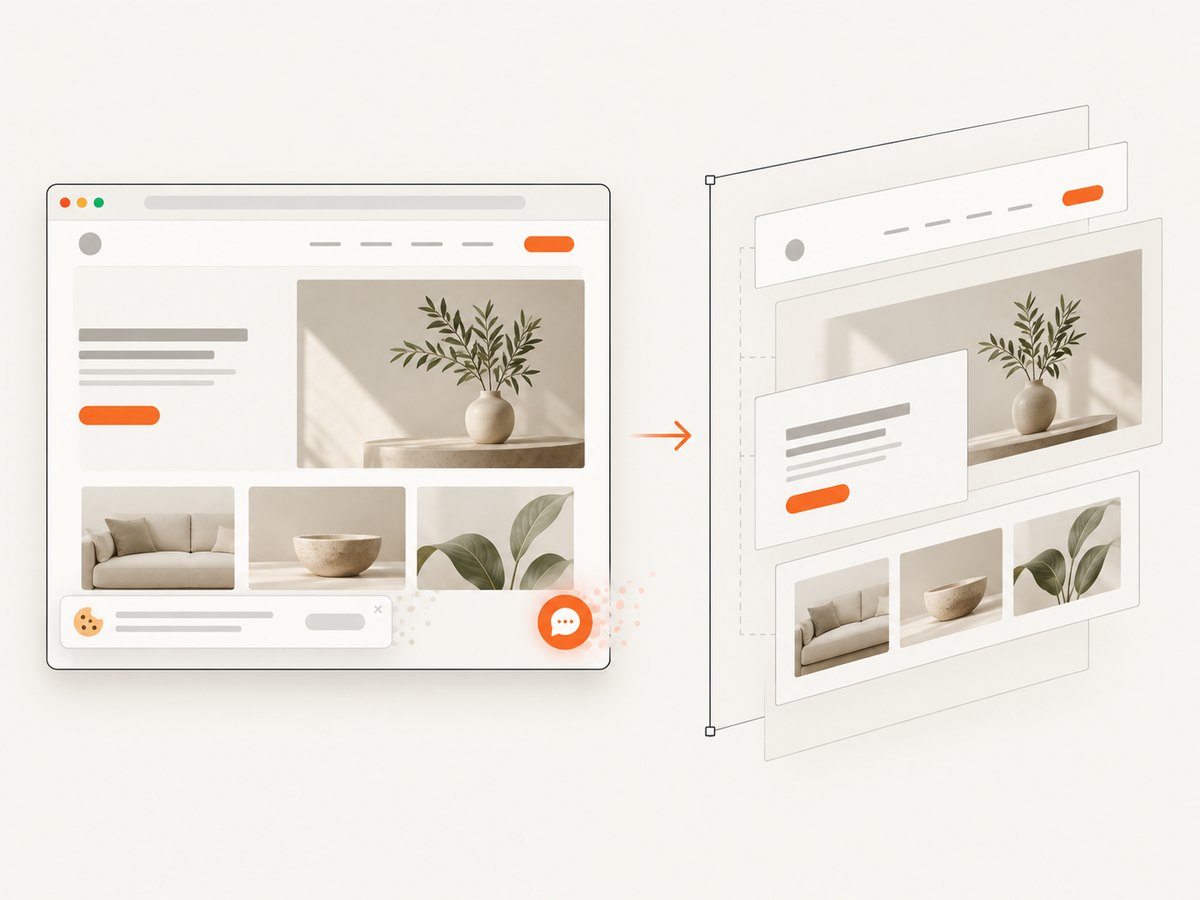
For API details and parameters, see the ScreenshotNeo documentation. The following examples save a screenshot of a website. Replace the target URL and use your own API key.
cURL
curl -G "https://api.screenshotneo.com/v1/shot" \
  -d access_key=YOUR_API_KEY \
  --data-urlencode url=https://stripe.com \
  -o shot.webp
Python
import requests

r = requests.get(
    "https://api.screenshotneo.com/v1/shot",
    params={"access_key": "YOUR_API_KEY", "url": "https://stripe.com"},
    timeout=90,
)
r.raise_for_status()
open("shot.webp", "wb").write(r.content)
Node.js
const q = new URLSearchParams({
  access_key: 'YOUR_API_KEY',
  url: 'https://stripe.com'
});
const res = await fetch(`https://api.screenshotneo.com/v1/shot?${q}`);
if (!res.ok) throw new Error(`Screenshot request failed: ${res.status}`);
const bytes = new Uint8Array(await res.arrayBuffer());
await (await import('node:fs/promises')).writeFile('shot.webp', bytes);
Use the resulting image as the reference on the Figma canvas. For a public page, ScreenshotNeo can accept cookie or consent banners and remove more than 60 known consent platforms, newsletter popups, and chat widgets before capture; each step can be turned off. This can make the reference less obstructed, but inspect the saved image to ensure it contains the content and state you need.
5. Refine the conversion into a useful design
Pixel similarity is only one criterion. A useful design file has a layer structure that makes later changes understandable. Work through these checks after conversion:
- Text: Compare every heading, label, and value with the reference. Fix transcription errors and recreate text as text layers if it was interpreted as a shape or image.
- Hierarchy: Group related controls and content. Separate navigation, cards, and page sections so the next person can edit them independently.
- Geometry: Check alignment, padding, gaps, widths, and line wrapping at the reference viewport. A visually close screenshot can still hide inconsistent spacing.
- Assets: Replace approximated logos, icons, and images with approved source assets when available. A screenshot rarely contains enough information to recreate an original vector asset accurately.
- System: Apply the intended text styles, colors, variables, and components. Do not assume the converter has matched your library automatically.
- Responsive behavior: A single screenshot shows one viewport. Capture or create additional screen sizes to document responsive changes; do not assume the inferred layout rules are correct.
Keep the screenshot on a locked or clearly labeled reference layer if useful. That makes visual comparison easier and reduces the chance of moving the source while adjusting the recreated frame.
6. Access, accuracy, and practical limits
Figma’s access conditions can change during a beta rollout. Its screenshot converter page describes access on paid plans and says the feature does not consume AI credits during the open beta described there. The Help Center’s AI agent access article describes a rollout that began May 20, 2026, with availability and seat conditions that vary. Check your account, plan, seat, file permissions, and current beta terms in Figma’s agent access guidance before planning a workflow around it.
Generated output may be misleading or wrong, so inspect it. Figma’s AI guidance describes the broader AI tools and relevant caveats. In practical terms, check important copy, visual hierarchy, spacing, and interpretation against the source. A converter cannot recover source code, hidden interaction states, original design tokens, or the designer’s intent from pixels alone.
7. Troubleshooting
| Problem | Likely cause | What to try |
|---|---|---|
| The agent is missing or unavailable. | Access may still be rolling out, or your seat, plan, file permissions, or administrator settings may not permit it. | Check the current Figma access article, confirm you can edit the file, and try a file/account eligible for the feature. |
| The result has garbled or missing text. | The screenshot is small, blurry, compressed, or contains dense text. | Use a higher-resolution source, focus on a smaller region, and correct text layers manually. |
| The overall layout is wrong. | The prompt scope was broad or the image contains ambiguous visual groupings. | Request a named region or component and describe relationships such as columns, alignment, and hierarchy. |
| Icons or branding look approximate. | The screenshot shows pixels, not the original vector or asset file. | Replace approximations with authorized source assets or recreate simple shapes by hand. |
| A live capture omits content. | The content may be below the fold, lazy-loaded, virtualized, or dependent on scrolling or interaction. | Capture a specific element, load the needed state first, or take separate captures for sections and states. |
| Design-system styles are not attached. | Capturing layers does not automatically map them to library components and styles. | Apply the relevant components and styles after capture; use compatible library variables where supported. |
| The design looks right but does not behave responsively. | A static image or one viewport cannot establish responsive rules. | Capture more viewport sizes and define constraints or responsive behavior deliberately. |
8. Performance, reliability, and cost
For image conversion, the main practical factors are source clarity, screen complexity, and how much scope you ask the agent to interpret. A focused extraction can be easier to review than asking for a complex whole page at once. For live captures, page loading, dynamic content, viewport choice, and the page’s rendering technique affect whether the frame represents the intended state. Plan time for inspection and correction; no accuracy percentage or guaranteed conversion time is established here.
Figma’s beta terms and access can change, so verify them before basing a team process on the feature. For website reference capture, ScreenshotNeo bills only clean shots: bot checks or CAPTCHAs, blank pages, timeouts, failed loads, and cache hits cost nothing. Responses identify page verdict and billing through headers. The published plans are Free with 1,000 shots monthly and no card; Starter $5 for 3,000; Growth $15 for 15,000; Pro $39 for 60,000; Scale $99 for 250,000; and Business $249 for 1,000,000. Yearly billing gives two months free, and every feature is on every plan. Check the product site for current details.
Or skip the browser setup
Use the ScreenshotNeo call when your immediate need is a website screenshot to place in a design canvas:
curl -G "https://api.screenshotneo.com/v1/shot" -d access_key=YOUR_API_KEY --data-urlencode url=https://stripe.com -o shot.webpCookie banners, newsletter popups, and chat widgets are removed before the shot. Bot checks, blank pages, and failed loads are never billed. An MCP server lets AI agents take screenshots. You get 1,000 screenshots a month free with no card; paid plans start at $5 for 3,000. ScreenshotNeo captures the image; use your design tool to turn it into editable layers. See the API docs, then sign up for 1,000 free screenshots a month, no card required.
FAQ
Can I turn a screenshot into editable HTML or CSS automatically?
The workflows described here create editable design layers. They do not promise production-ready source code. Treat the design as a reference if you are implementing the interface.
Can I extract just one component?
Yes. For an image-based conversion, specify the component or region you want in the prompt. For a coded page, Figma’s code-to-canvas workflow supports capture of a selected element.
Will the result match the original exactly?
Not necessarily. Clarity, complexity, and ambiguous elements affect the interpretation. Compare the result with the source and refine it.
Does a live website capture include every interaction state?
No. It captures the state you present. Open menus, dialogs, and other important states and capture them separately.
Can I use the method with a screenshot from a mobile app?
You can place an app screenshot on the canvas and ask for an editable interpretation. A single image still represents only one screen and state; verify controls and text, and capture other states separately when needed.


