How to Upload Files With Puppeteer in Jest
Select real file inputs or handle chooser dialogs in Puppeteer tests, resolve fixture paths safely, and verify that uploads actually reach your app.
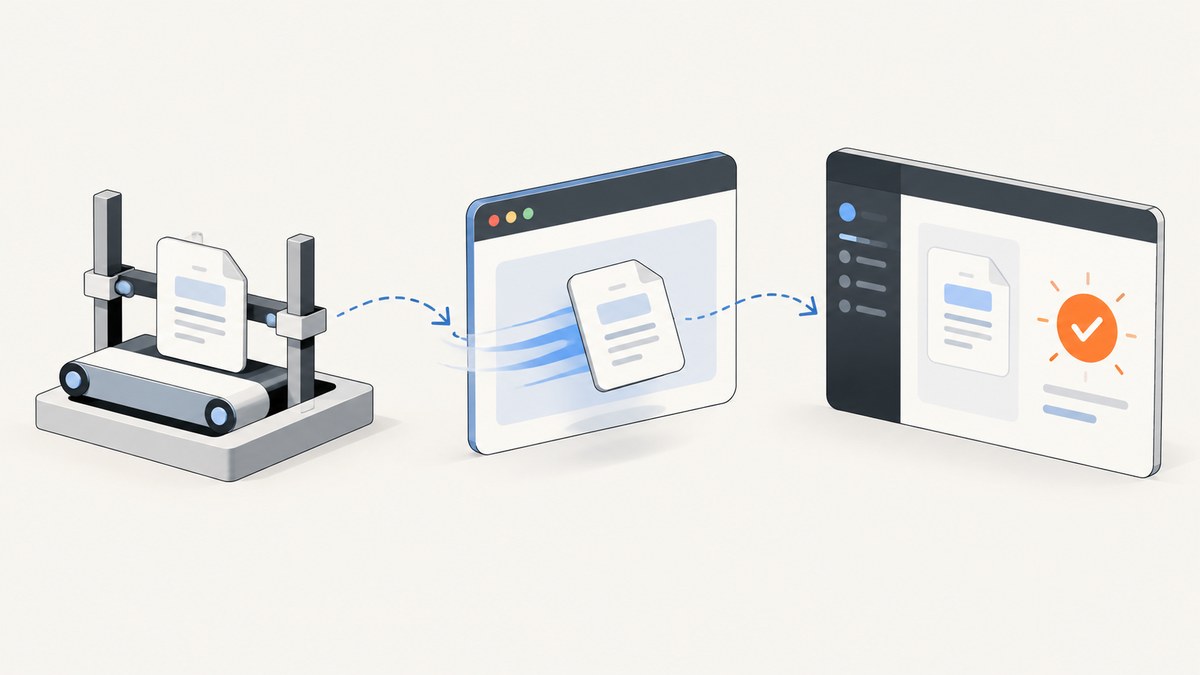
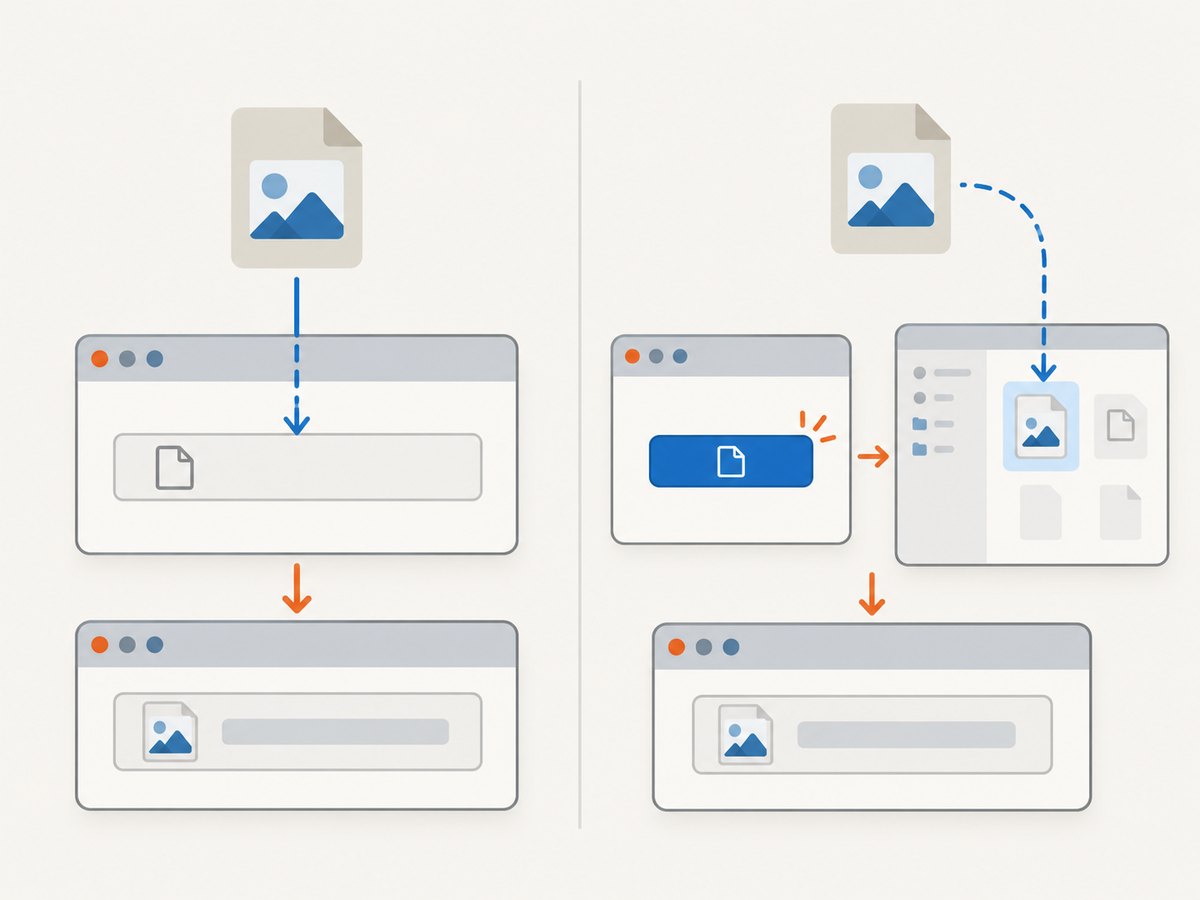
To upload a fixture in a Puppeteer test, find the page’s real input[type="file"] and call uploadFile() with the fixture’s absolute path. Then trigger the application’s submit or upload action and assert its actual success signal. If a button opens a native file chooser and you cannot use the input directly, start waitForFileChooser() before clicking the button, then accept the fixture path.
File selection only populates the browser input. It does not prove that the form was submitted, that the server accepted the file, or that the interface displayed the result. The examples below cover both selection paths, single and multiple files, Jest setup, reliable fixture paths, and upload verification.
1. Choose the right upload method
First inspect the page’s markup and behavior. If there is a usable file input, address it directly. Use chooser handling when the page’s control launches a chooser indirectly and you need to exercise that interaction. The Puppeteer guide describes the direct method as locating a file input and calling ElementHandle.uploadFile (Puppeteer file upload guide).
| Situation | Recommended method | What to confirm |
|---|---|---|
| The page has a real file input | input.uploadFile(path) |
The selector targets the input, not its styled label or wrapper. |
| A button opens a native chooser | waitForFileChooser(), click, then accept() |
Register the wait before the action that opens the chooser. |
| The test selects several files | Pass paths as an array or arguments in the form supported by your installed Puppeteer version | The application input has the multiple attribute. |
| The test passes locally but fails in CI | Resolve an absolute fixture path | The fixture exists on the machine or container running Puppeteer. |
Prefer direct input selection when it is available: it avoids a timing-sensitive dialog and targets the browser control whose value the form submits. Chooser handling is useful when the interaction itself matters or the application exposes only a chooser-opening control.
2. Prepare a fixture and resolve its path
Keep test files in a fixture directory or create them in a temporary test directory during setup. Resolve the path explicitly so the test does not depend on the directory from which Jest was launched:
import path from 'node:path';

const filePath = path.resolve(process.cwd(), 'test/fixtures/avatar.png');
Another common arrangement resolves from the test module’s directory:
const filePath = path.resolve(__dirname, 'fixtures/report.pdf');Use the convention that matches your project layout. In either case, the file must be readable at that path by the process running Puppeteer. If Chrome runs remotely, a path on your laptop may not exist on the remote browser machine; place the fixture where the Puppeteer process can access it and pass that location. The Puppeteer file chooser reference also documents path resolution relative to the current working directory and recommends absolute paths for remote connections.
3. Upload through a real file input
This is the normal path. The selector must identify the actual input, even when CSS hides it and the page presents a custom-looking button or drop area.
import path from 'node:path';

const filePath = path.resolve(process.cwd(), 'test/fixtures/avatar.png');
const fileInput = await page.waitForSelector('input[type="file"]');

if (!fileInput) {
  throw new Error('Could not find input[type="file"]');
}

await fileInput.uploadFile(filePath);

// Selection is complete. Now make the app submit the upload.
await page.click('[data-testid="submit-upload"]');

// Assert an application-level success state.
await page.waitForSelector('[data-testid="upload-success"]');
waitForSelector() can wait for a dynamically rendered input. If your application has several file inputs, narrow the selector using a stable attribute such as a test ID, form scope, or accept value. Avoid relying on a generated class that changes between builds.
After selection, the application may upload immediately, require a separate submit button, or wait for another confirmation. Follow the real user flow. Do not treat the input’s selected filename as proof of a completed upload.
4. Handle a native file chooser
When clicking a control opens a native chooser, create the chooser wait before clicking. Puppeteer explicitly requires the wait to be registered before the chooser is launched (waitForFileChooser reference). Use Promise.all so the wait and launch action are coordinated:
const filePath = path.resolve(process.cwd(), 'test/fixtures/report.pdf');

const [fileChooser] = await Promise.all([
  page.waitForFileChooser(),
  page.click('#upload-file-button'),
]);

await fileChooser.accept([filePath]);

// Continue with the page's real upload or submit flow.
await page.click('[data-testid="submit-upload"]');
await page.waitForSelector('[data-testid="upload-success"]');
Accept the chooser with the file paths or cancel it if the test is checking cancellation. Leaving the chooser unresolved can prevent later browser interactions from proceeding as expected. Do not wait for the chooser after clicking: by then the event may already have happened and the test can time out.
5. Test multiple files
Multiple-file selection requires the application’s input to allow it, typically with multiple in the HTML. Puppeteer’s file input method accepts file paths; use the array form documented by the version you have installed, or the separate-arguments form where supported:
const file1Path = path.resolve(process.cwd(), 'test/fixtures/first.pdf');
const file2Path = path.resolve(process.cwd(), 'test/fixtures/second.pdf');

// Array form
await fileInput.uploadFile([file1Path, file2Path]);

// If your installed Puppeteer version documents separate arguments:
// await fileInput.uploadFile(file1Path, file2Path);
For a native chooser, pass an array to accept():
await fileChooser.accept([file1Path, file2Path]);Do not add multiple to the page from test code simply to make selection succeed. That changes the behavior under test. If the product should accept one file, test that constraint; if it should accept several, make sure the page’s real markup enables multiple selection.
6. Put browser lifecycle and assertions in Jest
Launch the browser and create the page in Jest hooks, then close the browser even when the test suite has finished. This complete example uses a local application at http://localhost:3000/upload; change the URL and selectors to match your app.

import path from 'node:path';
import puppeteer from 'puppeteer';

describe('file upload', () => {
  let browser;
  let page;

  beforeAll(async () => {
    browser = await puppeteer.launch({ headless: true });
    page = await browser.newPage();
  });

  afterAll(async () => {
    await browser?.close();
  });

  test('uploads a report fixture', async () => {
    await page.goto('http://localhost:3000/upload');

    const fixture = path.resolve(__dirname, 'fixtures/report.pdf');
    const input = await page.waitForSelector('input[type="file"]');
    if (!input) throw new Error('File input was not found');

    await input.uploadFile(fixture);
    await page.click('button[type="submit"]');

    await page.waitForSelector('[data-testid="upload-success"]');
  });
});
Use the matcher style provided by your Jest setup. For example, a Puppeteer Jest integration may supply locator-aware assertions, while a plain Jest setup can wait for a DOM element and make an explicit assertion about its presence or text. The key is to assert an application-defined outcome: a success message, uploaded-file row, navigation, or response state that means the server-side operation completed.
7. Verify the upload, not just file selection
A browser can have a file selected while the server has received nothing. The test must perform the app’s submit action or wait for its automatic upload behavior, then check a result that corresponds to completion.
- Wait for readiness. Navigate to the upload page and wait for the real file input or upload control.
- Select the fixture. Call
uploadFile()or accept a chooser. - Trigger the app. Click submit or follow the page’s automatic upload behavior.
- Assert the result. Check a success marker, uploaded item, or other stable state.
- For ambiguous failures, inspect the request. Identify the upload endpoint and verify its status or response in addition to the UI assertion where appropriate.
There is no universal success selector: the application defines what success looks like. A button becoming enabled or a filename appearing in the page usually proves selection only. A server response, success state, or persisted uploaded item provides stronger evidence.
8. Troubleshoot common failures
| Symptom | Likely cause | Fix |
|---|---|---|
| Chooser wait times out | The wait was registered after the click, or the clicked control did not launch a supported chooser. | Start waitForFileChooser() before the click using Promise.all. Confirm the control actually opens a chooser. |
| No file is selected | The selector found a styled wrapper, label, or button instead of the file input. | Target input[type="file"] directly or use chooser handling for the real interaction. |
| File cannot be found in CI | A relative path resolved from a different working directory, or CI did not check out the fixture. | Resolve an absolute path and confirm the fixture is present on the runner where Puppeteer executes. |
| The test passes selection but the server has no upload | The test did not submit the form, the application upload failed, or the assertion checked only the filename. | Trigger the actual upload flow and assert its result or inspect the upload response. |
| Multiple files are rejected | The page input does not support multiple selection, or the call’s argument form does not match the installed Puppeteer API. | Confirm the real input has multiple; use the path array form documented for your version. |
| Chooser appears unsupported | The page uses window.showOpenFilePicker, which is outside the documented waitForFileChooser support described in the available reference. |
Use a real file input path if the application exposes one, or design the test around the application’s supported upload flow. |
| Later interactions hang after chooser handling | The chooser was neither accepted nor canceled. | Complete the chooser action with accept(paths) or cancel(). |
9. Reliability, performance, and cost
For a stable test, keep fixture paths deterministic, use selectors that reflect the application’s upload control, and wait on meaningful UI or response conditions instead of arbitrary delays. A missing fixture is an environment or path problem; a selected file with no server-side result is an application flow or assertion problem. Separating those stages makes CI failures easier to diagnose.
Browser startup and application upload work are separate costs in a test run. Reuse a browser within a suite when that fits your isolation needs, and close it in a Jest teardown hook. Do not add sleeps as a general fix for a slow upload; wait for the specific success state or request outcome the test needs. The research sources provide no general performance benchmark for upload tests, so runtime depends on the app, fixture, browser environment, and network.
This Jest workflow is for exercising your application’s upload behavior. If you also need screenshots of the upload page for visual review or documentation, ScreenshotNeo is a website screenshot API and MCP server. Its capture options include selectors, full-page screenshots, waits, and custom viewport settings; those are for capturing pages, not for replacing the file upload assertions in this test.
Or skip the browser setup
If the task is to capture a webpage rather than test your app’s file upload, ScreenshotNeo can return an image or PDF from one GET request. See the ScreenshotNeo API documentation.
curl -G "https://api.screenshotneo.com/v1/shot" -d access_key=YOUR_API_KEY --data-urlencode url=https://stripe.com -o shot.webpimport requests
r = requests.get(
"https://api.screenshotneo.com/v1/shot",
params={"access_key": "YOUR_API_KEY", "url": "https://stripe.com"},
timeout=90,
)
open("shot.webp", "wb").write(r.content)const q = new URLSearchParams({ access_key: 'YOUR_API_KEY', url: 'https://stripe.com' });
const res = await fetch(`https://api.screenshotneo.com/v1/shot?${q}`);ScreenshotNeo accepts cookie or consent banners and removes more than 60 known consent platforms, newsletter popups, and chat widgets before capture; each step can be turned off. Bot checks, blank pages, failed loads, timeouts, and cache hits are not billed, with the outcome reported in response headers. Its MCP server gives AI agents tools to take screenshots, get page information, and capture PDFs. The free plan includes 1,000 screenshots per month without a card; paid plans start at $5 for 3,000 screenshots.
Sign up free for 1,000 screenshots a month, with no card required.
Frequently asked questions
Can Puppeteer upload a file without opening the operating system dialog?
Yes. For a page file input, use uploadFile() to set the selected file directly. Use chooser handling only when your test needs the control that opens the native dialog.
Does a successful uploadFile() call mean the backend stored the file?
No. It selects the file for the page. The app still needs to submit it or upload automatically, and the test should check the resulting application state.
Can I test a file picker based on showOpenFilePicker the same way?
The documented chooser interception discussed here does not cover window.showOpenFilePicker. Use a file input or another application-supported test path.
Should the fixture be an image?
No. Use a fixture that matches the scenario being tested, such as a PDF or text document, and ensure it satisfies the application’s type and size rules.


