How to Upload an html2canvas Image to the WordPress Media Library
Render a DOM element with html2canvas, export it as a PNG Blob, and upload it as a WordPress Media Library attachment with REST or PHP.

To upload an html2canvas image to the WordPress Media Library, render an element to a canvas, convert the canvas to a Blob, append that Blob to FormData, and send it to WordPress’s wp/v2/media REST endpoint as an authenticated user. The upload is complete only when WordPress returns a successful attachment record. A canvas by itself is not a media attachment.
This guide uses PNG output and a logged-in WordPress page. You can also accept an ordinary file upload in PHP or sideload a temporary file from server code. The right route depends on where the image bytes live and which request context can authenticate the upload.
1. Browser capture and REST upload
Install or enqueue html2canvas on the WordPress page that offers the capture action. The code below assumes the page has already loaded the html2canvas library, and that WordPress supplies a REST root and nonce to the script. Pass the actual element to capture, such as a report card or chart container.

async function captureAndUpload(element, restRoot, nonce) {
  const canvas = await html2canvas(element, {
    backgroundColor: "#ffffff",
    useCORS: true,
  });

  const blob = await new Promise((resolve, reject) => {
    canvas.toBlob((result) => {
      if (result) resolve(result);
      else reject(new Error("Canvas could not be exported as an image."));
    }, "image/png");
  });

  const form = new FormData();
  form.append("file", blob, "capture.png");

  const response = await fetch(`${restRoot}wp/v2/media`, {
    method: "POST",
    headers: { "X-WP-Nonce": nonce },
    body: form,
    credentials: "same-origin",
  });

  let result;
  try {
    result = await response.json();
  } catch {
    throw new Error(`WordPress returned HTTP ${response.status} without JSON.`);
  }

  if (!response.ok) {
    throw new Error(result.message || `WordPress media upload failed: HTTP ${response.status}`);
  }

  return result;
}

const element = document.querySelector("#report-card");
try {
  const attachment = await captureAndUpload(element, window.wpApiSettings.root,
    window.wpApiSettings.nonce);
  console.log("Uploaded attachment", attachment.id, attachment.source_url);
} catch (error) {
  console.error(error);
}
window.wpApiSettings is only an example of values your page might expose. In production, provide the REST root and nonce through WordPress’s supported script enqueue/localization setup, and confirm the variable names used by your integration. The user must be logged in and have permission to upload media. See the official WordPress REST authentication documentation.
Do not set the multipart Content-Type header yourself. The browser must add the boundary that separates the file and other form parts; setting the header manually commonly breaks parsing. The file form field contains the image bytes, and the third argument supplies a filename that WordPress can use when creating the attachment.
What the response means
On success, WordPress returns an attachment object. Store its id if you need to attach it to a post later, and use source_url when you need the file URL. Handle non-2xx status codes as failures even if the response body is valid JSON. Do not tell the user an image was saved until you have received and checked this response.
2. Export a canvas as a Blob
html2canvas(element) resolves asynchronously to a canvas. The canvas is an in-memory drawing surface; it is not yet a PNG file. Use toBlob() to create binary image data suitable for upload. The Promise wrapper above rejects if the browser returns no Blob, making that failure explicit instead of sending an empty file.
Prefer Blob output to a base64 data URL for uploads. A data URL encodes binary bytes as text and can consume more memory as a string. The Blob can be placed directly in FormData, which is the format the browser uses for a multipart file request.
PNG is a lossless choice for interface elements, charts, and screenshots with text. If you choose JPEG, provide a quality value to toBlob (for example, canvas.toBlob(callback, "image/jpeg", 0.85)) and use a matching filename extension. Browser support and the resulting size can vary with the content. Ensure the declared type and filename agree; do not name JPEG bytes .png.
3. Configure the capture
html2canvas reconstructs an image from the DOM and CSS it can interpret. It does not take a native screenshot of the browser’s already-rendered pixels, so some browser effects or unsupported CSS may look different. The official project documentation describes this rendering model.
| Setting or input | Use | Practical consideration |
|---|---|---|
backgroundColor |
Set an explicit background, such as white, for a predictable image. | Use null when a transparent canvas is desired and supported by the target output. |
useCORS |
Ask html2canvas to load eligible cross-origin images with CORS. | The remote host must send suitable CORS headers. This is not a browser security bypass. |
scale |
Change the render scale and resulting pixel density. | Higher scale increases pixel dimensions and memory use; check the output on target devices. |
width, height |
Set the canvas dimensions when a specific capture size is needed. | Incorrect dimensions can crop content or create blank space. |
| Element argument | Capture one component by passing its DOM element. | Wait until it is present, visible, and populated before rendering. |
See the official html2canvas options reference for the full option list and defaults. Avoid turning options on without checking their effect on the actual component. For example, changing width or scale can affect clipping, image size, and browser memory demands.
Cross-origin images and canvas export
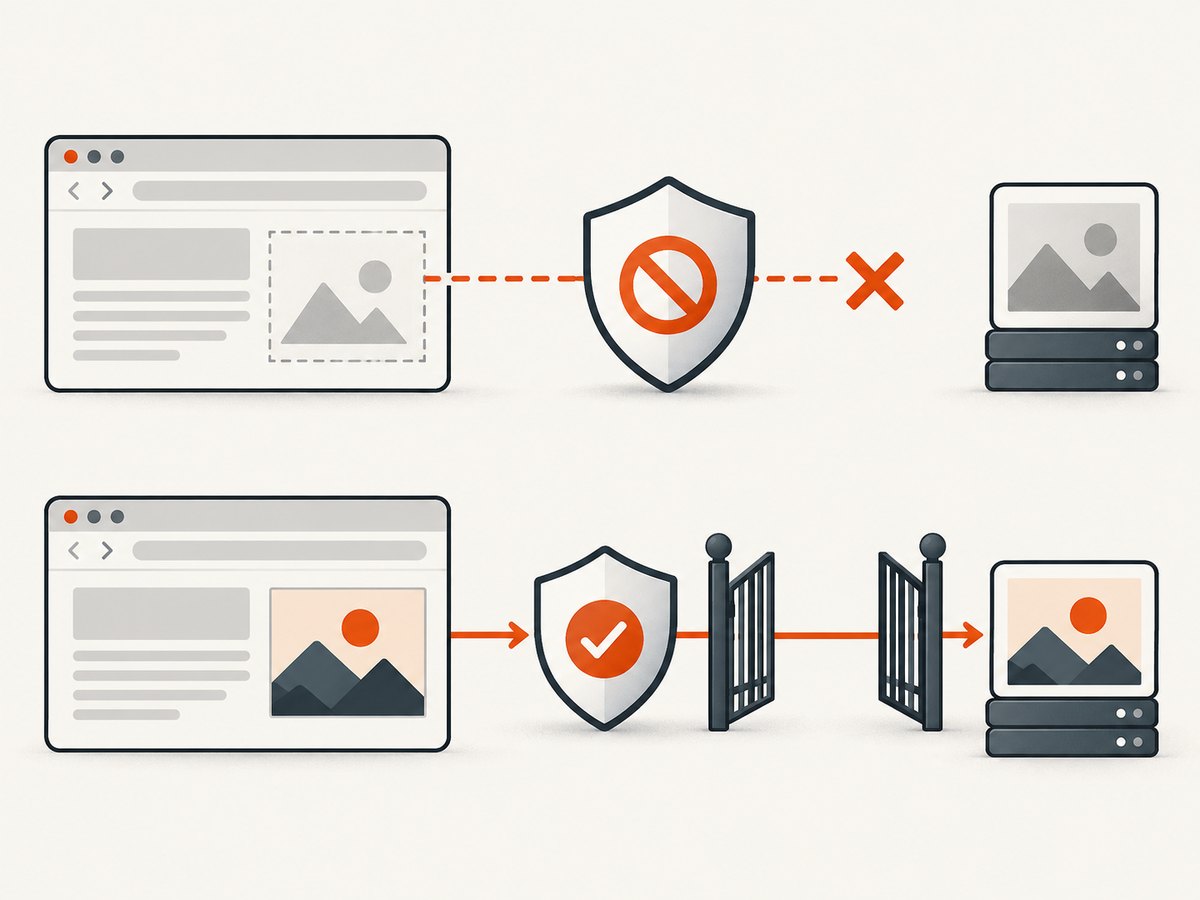
Images from another origin are a frequent cause of export failure. The browser’s canvas security model prevents reading pixels from a canvas tainted by resources that do not allow cross-origin use. Setting useCORS: true only helps when the image server sends the appropriate CORS response headers. html2canvas cannot override that policy. The html2canvas FAQ explains the restriction.
If you control the image host, configure it to permit the needed origin. Otherwise, omit the image from this capture, use a proxy that you control and secure, or capture content whose resources are same-origin. Do not create an unrestricted proxy that fetches arbitrary URLs: that can expose your server to abuse.
4. Authentication and request setup
The browser example is for a same-site, logged-in WordPress user. WordPress uses the REST nonce in X-WP-Nonce to verify the request in this cookie-authenticated context. The nonce does not grant upload capability by itself; the current user still needs the relevant permission. A stale nonce, expired login, wrong REST root, or user without upload permission can produce an authorization error.
For an external server client, WordPress documents Application Passwords over HTTPS. Keep those credentials on the server. Never put an Application Password in public browser JavaScript, a page bundle, or a mobile app distributed to users. Authentication options and their contexts are described in the official authentication guide.
The media REST controller handles the attachment request and response. Check the WordPress attachments controller reference for endpoint behavior. Sites may also have plugins, hosting middleware, or version-specific rules that affect accepted requests, so inspect the actual response body when integration behavior differs.
5. Server-side PHP alternatives
Use PHP when the browser should submit a conventional form file or when plugin code already has a temporary file. These functions run in WordPress’s server context and return an attachment ID or a WP_Error; check which one you received.
Normal form upload: media_handle_upload()
This route expects WordPress to receive an uploaded file in $_FILES. A form must use enctype="multipart/form-data", and the file input name must match the key passed to the function. Add a nonce and capability check in the handler appropriate to your plugin or theme.
// In a WordPress request handler after nonce and capability checks:
if (empty($_FILES["capture"])) {
    wp_die("No capture file was submitted.");
}

require_once ABSPATH . "wp-admin/includes/image.php";
require_once ABSPATH . "wp-admin/includes/file.php";
require_once ABSPATH . "wp-admin/includes/media.php";

$attachment_id = media_handle_upload("capture", 0);
if (is_wp_error($attachment_id)) {
    wp_die(esc_html($attachment_id->get_error_message()));
}

$attachment_url = wp_get_attachment_url($attachment_id);
The post ID 0 creates an unattached Media Library item. Pass a real post ID if the uploaded file belongs to an existing post. Read the official media_handle_upload() reference and use the surrounding WordPress request conventions for your handler.
Temporary server file: media_handle_sideload()
Use sideloading when server-side code already has a local temporary file. The supplied array follows the shape of a $_FILES entry. Ensure the file exists, provide its name and type, and remove the temporary file if the function fails.
$file_array = array(
    "name"     => "capture.png",
    "type"     => "image/png",
    "tmp_name" => $temporary_path,
    "error"    => 0,
    "size"     => filesize($temporary_path),
);

$attachment_id = media_handle_sideload($file_array, 0);
if (is_wp_error($attachment_id)) {
    @unlink($temporary_path);
    wp_die(esc_html($attachment_id->get_error_message()));
}

$attachment_url = wp_get_attachment_url($attachment_id);
Include the relevant WordPress media includes in the code path if they are not already loaded. Follow the media_handle_sideload() reference for the function contract. A sideload is not a substitute for safe file validation or temporary-file cleanup.
6. Choose the upload path
| Path | Best fit | Auth and input | Tradeoff |
|---|---|---|---|
Browser to wp/v2/media |
A logged-in page captures an element and uploads it directly. | REST nonce, logged-in user with upload permission; image Blob in multipart form data. | Little server code, but browser CORS, cookies, nonce, and request format must be correct. |
media_handle_upload() |
A WordPress form handler receives a submitted image file. | File arrives in $_FILES; handler applies WordPress auth and checks. |
Fits regular form workflows; the browser must submit a file rather than only hold a canvas in memory. |
media_handle_sideload() |
Plugin code already has a local temporary file. | Server supplies a file array; use post ID 0 for unattached media. |
Useful for server-held files, with explicit temporary-file cleanup and error handling. |
Choose based on where the bytes are available and which layer can authenticate the request. For an interactive capture button on a logged-in page, browser-to-REST is direct. For a server-generated file or conventional form, the PHP functions fit better.
7. Troubleshooting
| Symptom | Likely cause | Fix |
|---|---|---|
toBlob() callback receives null, or export throws |
A cross-origin image tainted the canvas, the browser cannot export it, or the render failed. | Check image origins and CORS headers; test without remote images; inspect the html2canvas Promise error. |
| REST responds with 401 or 403 | Missing or stale nonce, expired login, incorrect REST root, or insufficient upload capability. | Refresh the page/session, pass the current nonce in X-WP-Nonce, confirm the endpoint, and verify the user’s role/capability. |
| REST returns an error but the request appears to finish | Code treats any resolved fetch() as success. Fetch resolves for HTTP error statuses. |
Check response.ok, parse the response body, and surface WordPress’s message. |
| WordPress says the file is invalid or too large | File type, server upload configuration, plugin validation, or site-specific size constraints. | Inspect the response and hosting/plugin settings. There is no one upload-size limit that applies to every WordPress installation. |
| Image looks different from the page | html2canvas reconstructs the DOM and supports a subset of browser rendering behavior. | Review supported features, simplify the component styles, and set a deliberate background and dimensions. |
| Image is blank or clipped | Wrong element, capture started before content rendered, or canvas dimensions/scale do not fit. | Wait for the content, verify the selected node and its bounds, then tune width, height, and scale. |
| PHP function is undefined | The media include files are not loaded in that request path. | Require the appropriate WordPress admin includes for image, file, and media handling before calling the function. |
PHP returns WP_Error |
Upload validation or filesystem processing failed. | Check the specific error message and clean up a temporary sideload file after failure. |
8. Performance, reliability, and cost
Capture size affects both browser memory and upload time. Increasing scale increases the number of pixels; large or tall elements can require substantial memory before the network request even begins. Capture only the element needed, avoid unnecessarily high scale, and consider whether the destination actually needs a high-resolution image. Convert once and release references to large canvas or Blob objects when the workflow is finished.
Reliability depends on several separate steps: the element must be ready, html2canvas must render it, the browser must export the canvas, the network request must reach WordPress, and WordPress must accept and store the upload. Report failures at the step where they happen. If users can retry, avoid blindly retrying a request after an uncertain network timeout: the server might have created the attachment even if the browser never received the response. A retry can create a duplicate, so provide a way to inspect or reconcile recent attachments where duplicate uploads matter.
Costs are determined by the site’s hosting, storage, and bandwidth arrangements; the cited WordPress and html2canvas documentation does not establish a universal charge or upload limit. Check your host’s file-size limits and storage policy. Smaller images reduce transfer and storage use, while lowering scale or using JPEG can trade detail for size. Choose format and dimensions according to the image’s purpose.
Or skip the browser setup
If your goal is to capture a public webpage rather than a DOM component already open in a logged-in WordPress page, ScreenshotNeo provides a screenshot API and MCP server. One GET request returns an image or PDF. It is a different workflow from exporting a local html2canvas canvas: it captures a URL.
curl -G "https://api.screenshotneo.com/v1/shot" \
  -d access_key=YOUR_API_KEY \
  --data-urlencode url=https://stripe.com \
  -o shot.webp
See the ScreenshotNeo API documentation for request details. Cookie banners, popups, and chat widgets are removed before the shot; bot checks, blank pages, and failed loads are never billed. Its MCP server lets AI agents take screenshots. The free plan includes 1,000 screenshots a month with no card; paid plans start at $5 for 3,000. Sign up for the free plan.
9. FAQ
Does html2canvas upload anything to WordPress by itself?
No. It renders a canvas. Your code must export image bytes and send them to the REST endpoint or pass a file to server-side WordPress media handling.
Can I attach the new image to a post later?
Yes. Keep the returned attachment ID and use it in the WordPress workflow that associates media with a post. An upload with post ID 0 remains unattached in the Media Library.
Can this work for a visitor who is not logged in?
The nonce example is for an authenticated same-site user. A public upload flow needs a carefully designed server-side endpoint with validation, authorization, and abuse controls; do not expose privileged credentials in the browser.
Will the output exactly match a browser screenshot?
Not necessarily. html2canvas recreates the DOM using supported features, so some CSS, external resources, or browser-rendered effects may differ. Check its documentation and test the component styles you depend on.


