How to Upload an Image in HTML
Learn how to let users choose an image in HTML, submit it with multipart/form-data, validate it on the server, and upload asynchronously with JavaScript.
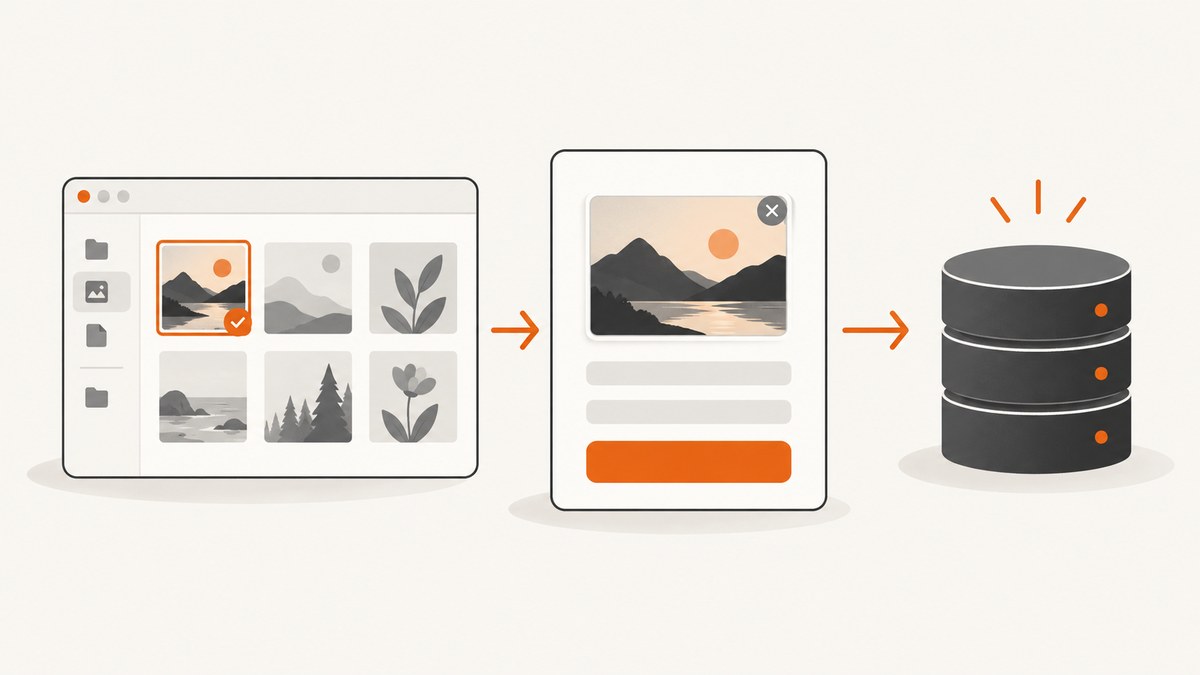
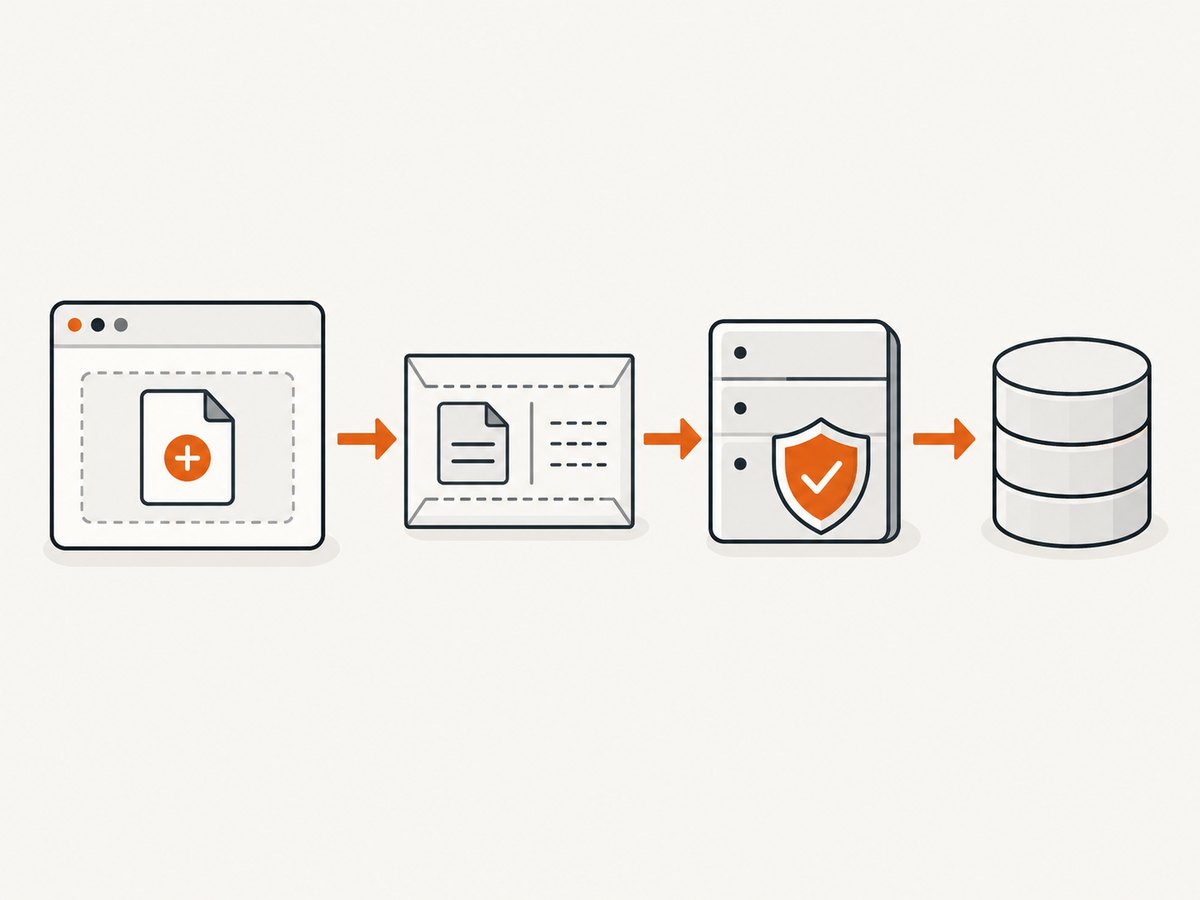
To upload an image in HTML, place a named <input type="file"> inside a form that uses method="post" and enctype="multipart/form-data". The form submits the file to a server endpoint; HTML alone cannot store or process the uploaded image.
1. Create a basic image upload form
This is the smallest complete browser form:
<form action="/upload" method="post" enctype="multipart/form-data">
  <label for="image">Choose an image:</label>
  <input
    id="image"
    name="image"
    type="file"
    accept="image/*"
    required
  >
  <button type="submit">Upload</button>
</form>
Replace /upload with the real upload handler in your application. A placeholder path does not work unless your server defines a route that accepts the request and processes the file.
What each attribute does
| Attribute | Purpose |
|---|---|
type="file" |
Opens the visitor’s file picker and exposes the selected file to the form or browser File API. |
name="image" |
Names the multipart field sent to the server. Your backend must read this exact field name. |
accept="image/*" |
Guides the picker toward image files. It is not a security check or content validator. |
required |
Prevents submission when no file is selected in browsers that enforce HTML constraint validation. |
method="post" |
Sends the upload in the request body rather than appending it to the URL. |
enctype="multipart/form-data" |
Encodes the file and its metadata as multipart sections. This is required for file uploads. |
The accept value can be narrowed when your application supports only specific formats:
<input name="image" type="file" accept="image/png,image/jpeg">Browsers use accept as a hint for the picker. A user can still select a misleading or renamed file, so the server must validate the received content and enforce its own request-size limits. See the MDN accept reference.
2. Add useful form options
Allow several images
<input
  id="images"
  name="images"
  type="file"
  accept="image/*"
  multiple
>
The browser sends one multipart part for each selected file. Confirm how your server framework represents repeated field names before implementing multiple uploads.
Use a capture hint on mobile
<input
  name="image"
  type="file"
  accept="image/*"
  capture="environment"
>
capture is a hint to compatible mobile browsers to use a camera or microphone. It is optional and does not guarantee a particular picker or device behavior.
Show the selected filename and a preview
<label for="image">Choose an image:</label>
<input id="image" name="image" type="file" accept="image/*" required>
<img id="preview" alt="Selected image preview" hidden>

<script>
  const input = document.querySelector('#image');
  const preview = document.querySelector('#preview');

  input.addEventListener('change', () => {
    const file = input.files[0];
    if (!file) {
      preview.hidden = true;
      preview.removeAttribute('src');
      return;
    }

    if (!file.type.startsWith('image/')) {
      input.value = '';
      preview.hidden = true;
      alert('Choose an image file.');
      return;
    }

    preview.src = URL.createObjectURL(file);
    preview.hidden = false;
  });
</script>
Call URL.revokeObjectURL() when replacing previews in a long-lived interface so temporary object URLs do not accumulate.
3. Submit without a page reload using JavaScript
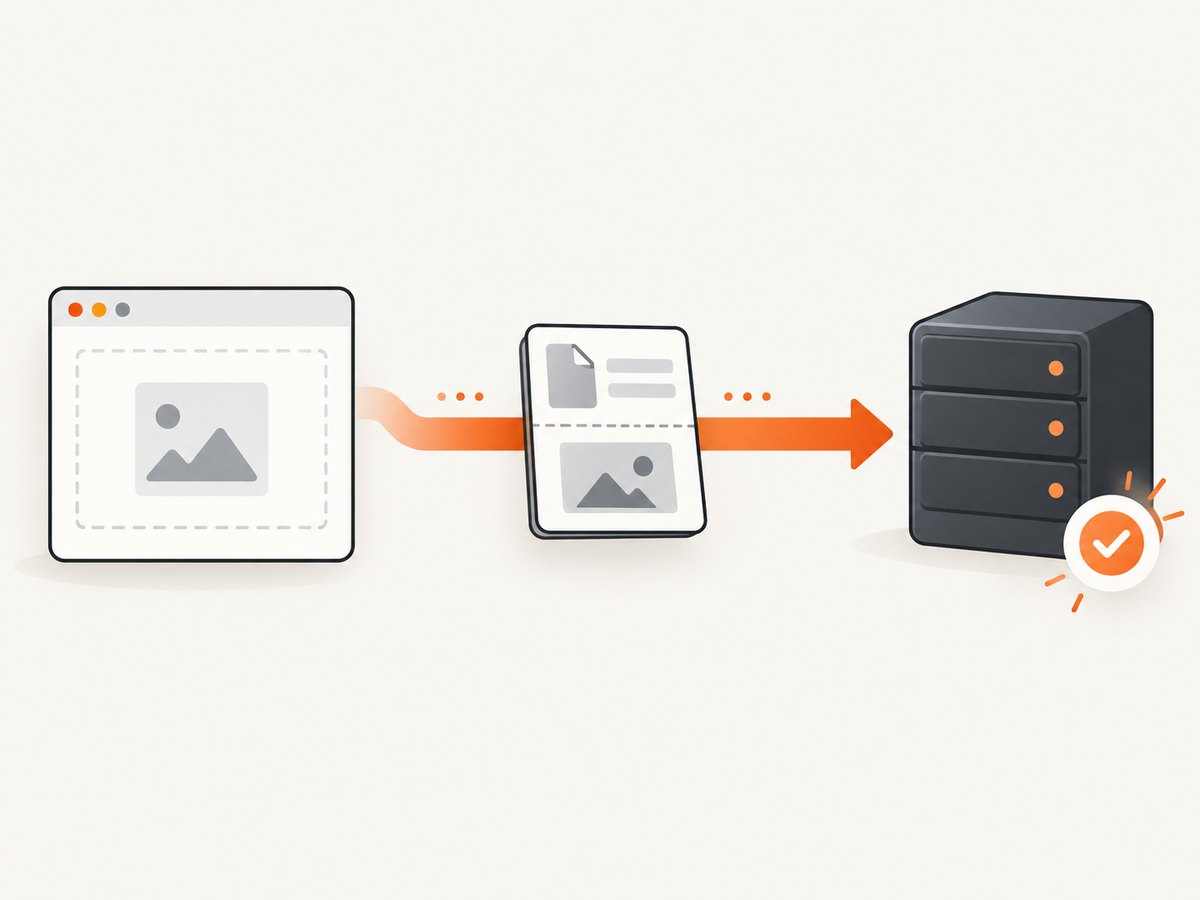
Use the selected File, append it to FormData, and send the form data with fetch:
<form id="upload-form">
  <label for="image">Choose an image:</label>
  <input id="image" name="image" type="file" accept="image/*" required>
  <button type="submit">Upload</button>
  <p id="status" role="status"></p>
</form>

<script>
  const form = document.querySelector('#upload-form');
  const input = document.querySelector('#image');
  const status = document.querySelector('#status');

  form.addEventListener('submit', async (event) => {
    event.preventDefault();
    const file = input.files[0];
    if (!file) return;

    const data = new FormData();
    data.append('image', file, file.name);
    status.textContent = 'Uploading…';

    try {
      const response = await fetch('/upload', {
        method: 'POST',
        body: data
      });

      if (!response.ok) {
        throw new Error(`Upload failed (${response.status})`);
      }

      const result = await response.json();
      status.textContent = `Uploaded: ${result.url}`;
    } catch (error) {
      status.textContent = error.message;
    }
  });
</script>
Do not set Content-Type: multipart/form-data yourself when sending FormData. The browser adds the required boundary parameter. Manually setting the header commonly produces a request the server cannot parse. See MDN’s FormData guide.
When to use a normal form versus JavaScript
| Use a normal form when… | Use JavaScript when… |
|---|---|
| A page navigation after upload is acceptable. | You need progress, inline validation, previews, or dynamic success and error messages. |
| You want the least client-side code. | The interface must continue working without a full reload. |
| Your endpoint already accepts multipart form posts. | Your endpoint accepts the same multipart body and returns a response your UI can handle. |
4. Build a receiving endpoint
The browser only sends the file. A server endpoint must parse the multipart body, validate the content, apply size limits, store or transform the file, and return a result.
Minimal Python example with Flask
from pathlib import Path
from uuid import uuid4

from flask import Flask, jsonify, request
from werkzeug.utils import secure_filename

app = Flask(__name__)
app.config['MAX_CONTENT_LENGTH'] = 10 * 1024 * 1024
UPLOAD_DIR = Path('uploads')
UPLOAD_DIR.mkdir(exist_ok=True)

ALLOWED_TYPES = {'image/png', 'image/jpeg', 'image/webp', 'image/gif'}

@app.post('/upload')
def upload():
    file = request.files.get('image')
    if file is None or file.filename == '':
        return jsonify(error='image is required'), 400
    if file.mimetype not in ALLOWED_TYPES:
        return jsonify(error='unsupported image type'), 415

    safe_name = secure_filename(file.filename) or 'upload'
    destination = UPLOAD_DIR / f'{uuid4().hex}-{safe_name}'
    file.save(destination)
    return jsonify(filename=destination.name), 201

if __name__ == '__main__':
    app.run(debug=True)
Install Flask with pip install flask, run the program, and point the form’s action to http://localhost:5000/upload. In production, inspect file signatures or decode the image rather than trusting only the browser-provided MIME type.
Minimal Node.js example with Express and Multer
import express from 'express';
import multer from 'multer';
import path from 'node:path';
import crypto from 'node:crypto';

const app = express();
const upload = multer({
  dest: 'uploads/',
  limits: { fileSize: 10 * 1024 * 1024 },
  fileFilter: (_req, file, callback) => {
    callback(null, ['image/png', 'image/jpeg', 'image/webp', 'image/gif']
      .includes(file.mimetype));
  }
});

app.post('/upload', upload.single('image'), (req, res) => {
  if (!req.file) return res.status(400).json({ error: 'image is required' });
  res.status(201).json({
    filename: req.file.filename,
    originalName: path.basename(req.file.originalname),
    id: crypto.randomUUID()
  });
});

app.listen(3000, () => console.log('Listening on http://localhost:3000'));
Install dependencies with npm install express multer. The field name must remain image because the route uses upload.single('image').
5. Test the endpoint with cURL
curl -X POST http://localhost:3000/upload \
  -F "image=@./photo.jpg"
For a Python client using the requests library:
import requests

with open('photo.jpg', 'rb') as image:
    response = requests.post(
        'http://localhost:3000/upload',
        files={'image': ('photo.jpg', image, 'image/jpeg')},
        timeout=60,
    )
response.raise_for_status()
print(response.json())
For Node.js, use the built-in FormData and a file stream in a current Node release:
import { createReadStream } from 'node:fs';

const form = new FormData();
form.append('image', createReadStream('photo.jpg'));
const response = await fetch('http://localhost:3000/upload', {
  method: 'POST',
  body: form
});
console.log(await response.text());
6. Validate and store uploads safely
- Validate on the server. Treat
accept, the filename, and the browser MIME type as untrusted hints. - Allow only formats your application can decode and serve. Check the actual file signature or decode and re-encode the image.
- Set a maximum request and file size. Reject oversized requests before expensive processing where your framework allows it.
- Generate storage names instead of trusting user-supplied paths. Strip path components and prevent directory traversal.
- Store uploads outside executable directories and serve them with an appropriate content type.
- Consider malware scanning, image decompression limits, metadata removal, and authorization checks for private files.
- Return a stable identifier or URL rather than exposing internal filesystem paths.
- Use HTTPS so the image and any associated credentials are protected in transit.
7. Troubleshoot common upload failures
| Symptom | Likely cause | Fix |
|---|---|---|
| Server says no file was provided | The input has no name, the name differs from the backend field, or no file was selected. |
Use name="image" and read the same field on the server. |
| Request contains text but no file | The form omitted enctype="multipart/form-data". |
Add the enctype exactly to the form. |
| JavaScript request cannot be parsed | Content-Type was manually set without the multipart boundary. |
Pass FormData as the body and let the browser set headers. |
| Picker shows the wrong files | accept is missing or too broad. |
Use a specific list such as image/png,image/jpeg; still validate on the server. |
| HTTP 413 or connection closes | The server, reverse proxy, or framework rejected the request size. | Increase the relevant limit only as far as required and show a clear client error. |
| HTTP 415 unsupported media type | The server rejected the MIME type or decoded format. | Send a supported image and align the allowlist with server validation. |
| CORS error in JavaScript | The page and upload endpoint have different origins without a permitted CORS policy. | Configure the server’s allowed origin and credentials policy, or serve both from one origin. |
| Upload works locally but not in production | Local disk is ephemeral, permissions differ, or a proxy strips multipart requests. | Check deployment storage, proxy limits, logs, and multipart handling; use durable object storage when needed. |
| Preview works but upload is rejected | The preview only proves the browser can display the selected bytes. | Inspect the server’s validation and size limits; keep server checks authoritative. |
8. Performance and reliability considerations
- For large images, resize or compress in a worker after the request is accepted, while keeping a strict upload limit.
- Show an immediate status and disable duplicate submissions while a request is in progress.
- Use upload progress with
XMLHttpRequestwhen users need byte-level progress; standardfetchdoes not provide a broadly supported upload-progress event. - Use request timeouts and retry only requests that are safe to repeat. A retry can create duplicate files unless the server supports an idempotency key or deduplication.
- For unreliable networks, resumable or direct-to-storage uploads may be more suitable than sending every byte through your application server.
- Log a request ID, file size, detected type, validation result, and storage result without logging sensitive image contents.
Or skip the browser setup
If your goal is to capture an image of an upload page or any other URL, ScreenshotNeo provides a website screenshot API and MCP server. It removes cookie banners, newsletter popups, and chat widgets before capture; bot checks, blank pages, failed loads, timeouts, and cache hits are not billed; and the response identifies the page verdict and billing status.
curl -G "https://api.screenshotneo.com/v1/shot" -d access_key=YOUR_API_KEY --data-urlencode url=https://screenshotneo.com -o shot.webpimport requests
r = requests.get("https://api.screenshotneo.com/v1/shot", params={"access_key": "YOUR_API_KEY", "url": "https://screenshotneo.com"}, timeout=90)
open("shot.webp", "wb").write(r.content)const q = new URLSearchParams({ access_key: 'YOUR_API_KEY', url: 'https://screenshotneo.com' });
const res = await fetch(`https://api.screenshotneo.com/v1/shot?${q}`);See the ScreenshotNeo API documentation for options such as full-page capture, element selectors, custom JavaScript, waiting for a selector, blocking resources, device presets, PDFs, caching, async jobs, and bulk capture. Its MCP server lets Claude, Cursor, and other MCP clients use take_screenshot, get_page_info, and capture_pdf. The free plan includes 1,000 screenshots per month with no card; paid plans start at $5 for 3,000 shots. Create a free ScreenshotNeo account.
FAQ
Can HTML upload an image without a backend?
No. HTML selects and submits the bytes. A server or storage service must receive, validate, and store them.
Does accept="image/*" guarantee an image?
No. It guides the picker. Validate the actual content and size on the server.
Why is multipart encoding required?
It packages the file as a multipart body with boundaries and metadata that the receiving server can parse.
Can I upload from a canvas?
Yes. Convert the canvas to a Blob, append it to FormData, and send the same multipart request.
Should uploaded images be stored under their original names?
Usually no. Generate safe unique names and retain the original name only as metadata.


