How to Upload a Puppeteer Screenshot to Cloudinary with Axios
Capture a page with Puppeteer and upload the in-memory image to Cloudinary through Axios, with signed and unsigned flows, fixes, and production guidance.
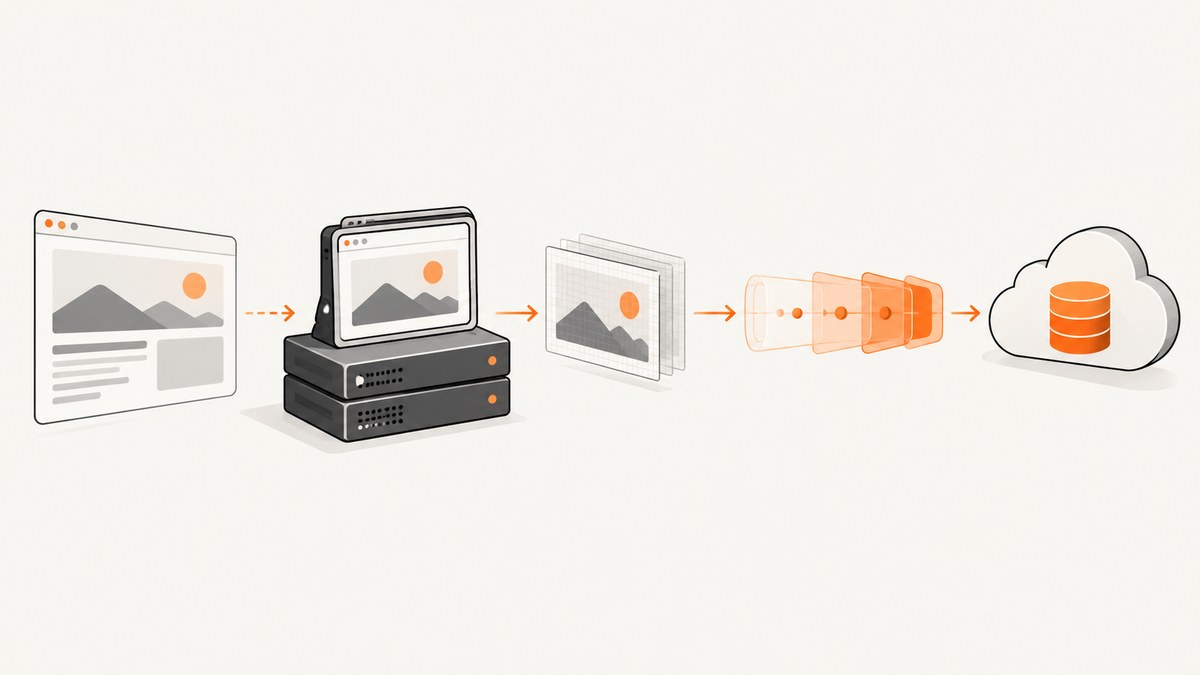
To upload a Puppeteer screenshot to Cloudinary with Axios, capture the page as a Node.js Buffer, append that buffer to a multipart FormData object under Cloudinary’s file field, and POST the form to Cloudinary’s image upload endpoint. The screenshot does not need to be written to disk first.
For a server-side upload, keep Cloudinary credentials in environment variables. For an unsigned upload, use an unsigned upload preset. Cloudinary’s REST upload requires the file and, for unsigned requests, upload_preset. The image endpoint is https://api.cloudinary.com/v1_1/<cloud_name>/image/upload. See Cloudinary’s upload documentation and Axios multipart guidance.
What the request does
The complete flow has four stages:
- Puppeteer navigates to a URL.
page.screenshot()returns image bytes as a buffer.- Node’s multipart implementation adds the buffer as
file. - Axios sends the form to Cloudinary and returns structured asset information, including the delivery URL.
Keeping the image in memory avoids a temporary file and is useful for workers, queues, HTTP handlers, and serverless functions. Memory usage still scales with screenshot dimensions and format, so close pages and release buffers after each upload.
Prerequisites and project setup
Use a trusted Node.js server. Install Puppeteer, Axios, and the Node form-data package:
npm install puppeteer axios form-data
You need a Cloudinary cloud name and either:
- An unsigned upload preset configured in Cloudinary, suitable for controlled direct uploads.
- Server-side authenticated upload parameters generated with your API secret.
Never place the API secret in browser code or ship it to users. Unsigned presets have restrictions; choose the signed flow when your server must control authentication and upload policy.
Complete Node.js example: Puppeteer buffer to Cloudinary
The following script captures https://example.com as PNG and uploads it without creating a local screenshot file. Replace the URL and environment variables with your values.
const puppeteer = require('puppeteer');
const axios = require('axios');
const FormData = require('form-data');

async function captureAndUpload() {
  const browser = await puppeteer.launch({
    headless: true,
  });

  try {
    const page = await browser.newPage();
    await page.setViewport({ width: 1440, height: 900, deviceScaleFactor: 1 });
    await page.goto('https://example.com', {
      waitUntil: 'networkidle2',
      timeout: 60000,
    });

    const screenshot = await page.screenshot({
      type: 'png',
      fullPage: true,
    });

    const form = new FormData();
    form.append('file', screenshot, {
      filename: 'example-page.png',
      contentType: 'image/png',
    });
    form.append('upload_preset', process.env.CLOUDINARY_UNSIGNED_PRESET);

    const endpoint =
      `https://api.cloudinary.com/v1_1/${process.env.CLOUDINARY_CLOUD_NAME}/image/upload`;

    const response = await axios.post(endpoint, form, {
      headers: form.getHeaders(),
      maxBodyLength: Infinity,
      maxContentLength: Infinity,
      timeout: 120000,
    });

    console.log({
      secureUrl: response.data.secure_url,
      publicId: response.data.public_id,
      resourceType: response.data.resource_type,
      format: response.data.format,
    });
  } finally {
    await browser.close();
  }
}

captureAndUpload().catch((error) => {
  if (error.response) {
    console.error('Cloudinary error:', error.response.status, error.response.data);
    console.error('X-Cld-Error:', error.response.headers['x-cld-error']);
  } else {
    console.error(error.message);
  }
  process.exitCode = 1;
});
Run it with:
CLOUDINARY_CLOUD_NAME=your_cloud_name \
CLOUDINARY_UNSIGNED_PRESET=your_unsigned_preset \
node upload-screenshot.js
page.screenshot() returns bytes that can be passed directly to form.append. The filename and content type make the multipart part unambiguous. Axios receives the boundary headers from form.getHeaders(), which is the important Node.js-specific step.
Signed uploads on a trusted server
For a signed upload, do not send an unsigned preset. Generate the authentication signature on your server using Cloudinary’s documented signing procedure and include the required authenticated parameters, such as the timestamp and signature, along with the file. Keep the API secret server-side. The endpoint remains the same image upload URL.
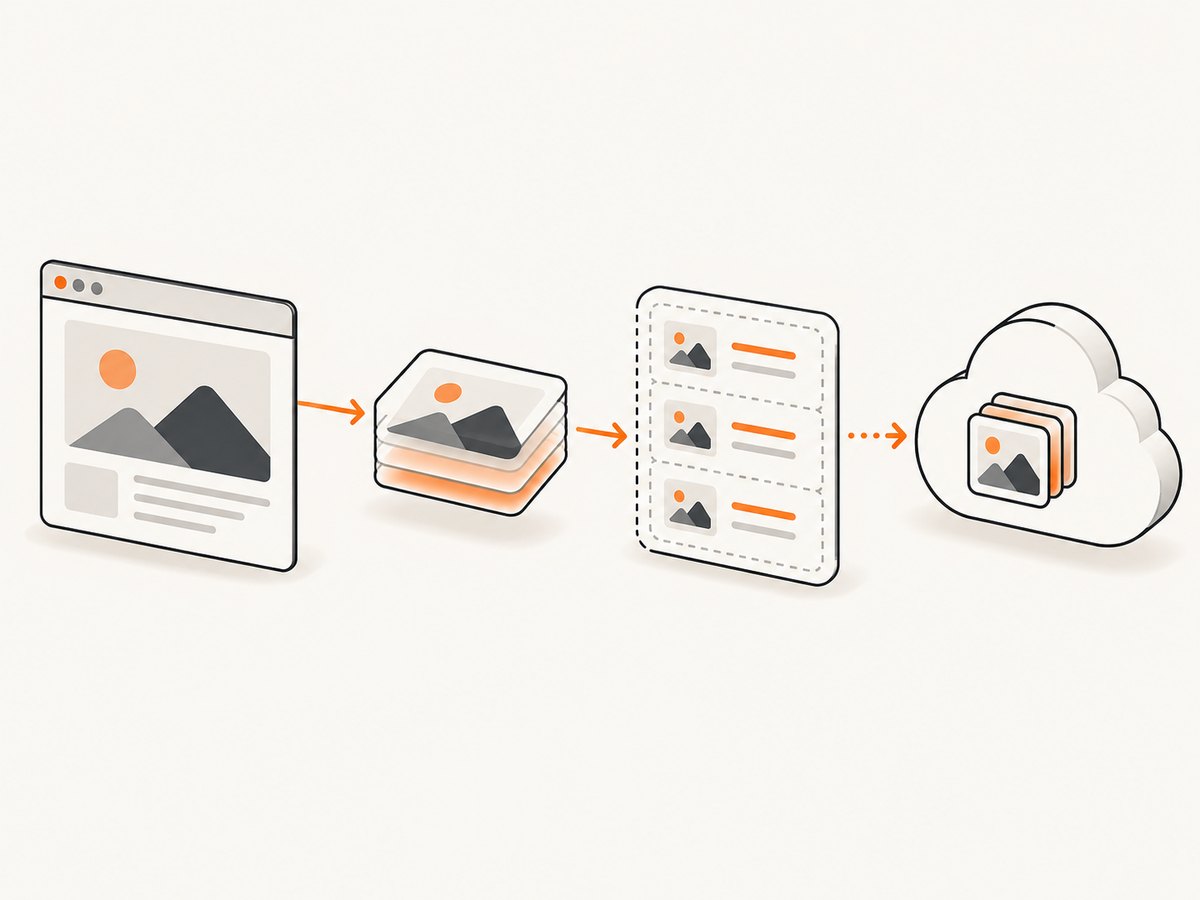
A common design is to put capture and upload behind one private job:
- Validate the requested target URL and any caller authorization.
- Capture the page with Puppeteer.
- Generate the Cloudinary signature immediately before upload.
- Append the signed fields and buffer to multipart form data.
- Store the returned asset URL and identifiers in your database.
Use Cloudinary’s current Upload API reference for the exact signature fields required by your account configuration. Do not copy an API secret into a frontend bundle.
Unsigned uploads and presets
An unsigned REST upload needs both file and upload_preset. The preset determines which unsigned settings Cloudinary permits. If Cloudinary rejects the request, verify that the preset exists, is spelled correctly, and is configured for unsigned uploads.
Unsigned uploads can be useful when a server only needs a narrowly scoped upload policy. They are not a way to hide unrestricted credentials in a browser. If users can submit arbitrary URLs or content, enforce your own authorization, size limits, and abuse controls before starting a browser.
Choosing screenshot and upload options
| Concern | Choice | Effect |
|---|---|---|
| Format | png, jpeg, or webp |
PNG preserves sharp text and transparency; JPEG is smaller for photographic pages; WebP can reduce transfer size when your consumers support it. |
| Page size | fullPage: true or viewport capture |
Full-page captures can be very tall and consume more memory. |
| Timing | waitUntil, selector waits, or a delay |
Wait for the content your screenshot actually needs instead of relying only on network idle. |
| Viewport | Width, height, and device scale factor | Controls responsive layout and output pixel dimensions. |
| Cloudinary type | image/upload |
Makes the screenshot’s image resource type explicit; Cloudinary also documents automatic resource detection. |
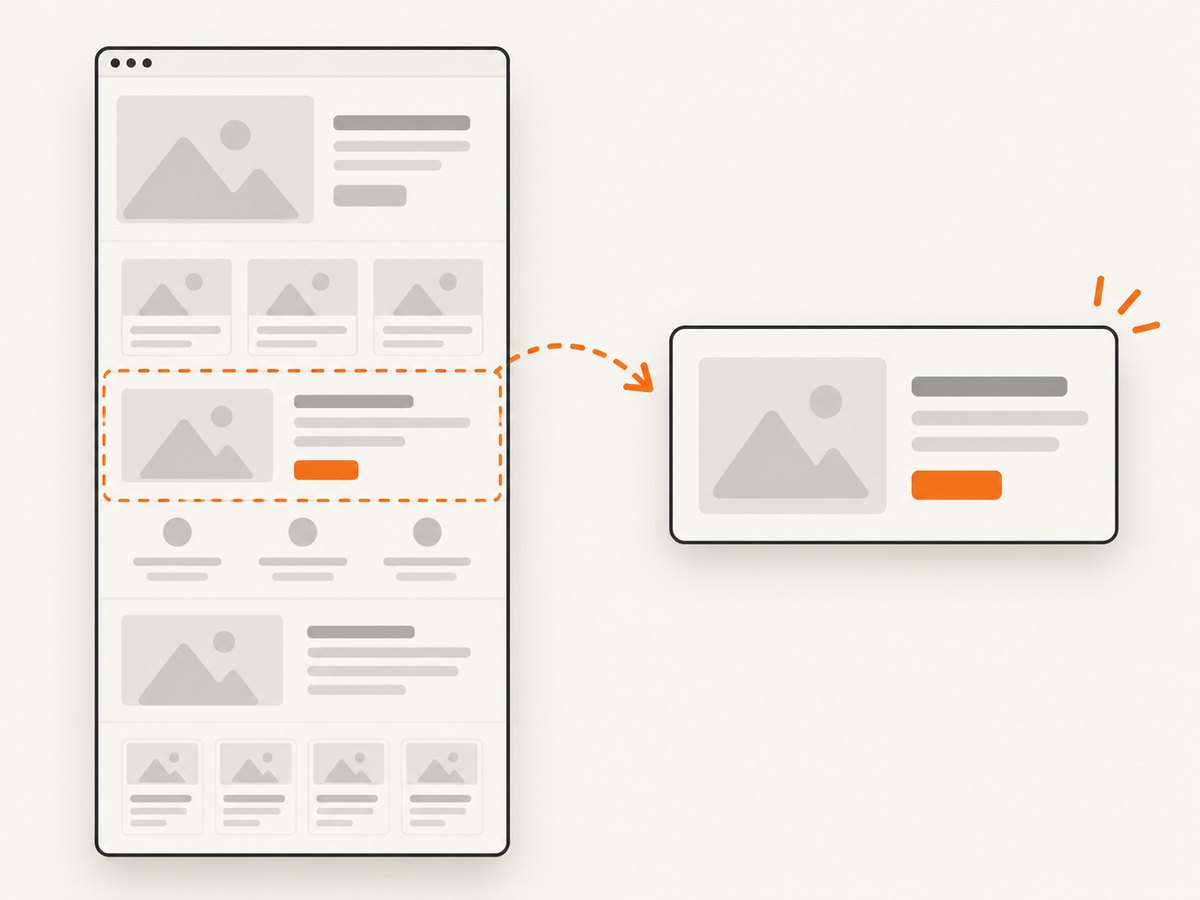
For pages that render after JavaScript, wait for a meaningful selector:
await page.goto(targetUrl, { waitUntil: 'domcontentloaded', timeout: 60000 });
await page.waitForSelector('#report', { timeout: 30000 });
const screenshot = await page.screenshot({ type: 'jpeg', quality: 85 });
Do not assume a fixed delay guarantees that fonts, charts, or images are ready. Prefer a selector or application-specific readiness signal. If the page contains animations, disable them with CSS or wait for the animation to finish before capturing.
Browser, worker, and React Native FormData differences
The form-data package exposes getHeaders(), so Node Axios examples pass those headers explicitly. In a browser, worker, or React Native runtime, use the platform’s native FormData and do not set the Content-Type header manually. The runtime must add the multipart boundary.
const form = new FormData();
form.append('file', fileBlob, 'screenshot.png');
form.append('upload_preset', unsignedPreset);

await axios.post(cloudinaryUrl, form); // let the runtime set Content-Type
The Puppeteer capture itself normally runs on a server because Chromium automation and Cloudinary secrets are server concerns. If a browser uploads directly, use an unsigned preset and accept the security and policy implications.
Handling Cloudinary’s response
Do not invent an asset identifier from the filename. Read the fields in response.data. Commonly useful values include secure_url, public_id, resource_type, format, width, height, and byte size. Persist the identifiers you need for later delivery or deletion.
const asset = response.data;
const record = {
  url: asset.secure_url,
  publicId: asset.public_id,
  format: asset.format,
  width: asset.width,
  height: asset.height,
};
Use the returned URL rather than assuming that Cloudinary accepted your requested filename or generated a particular public ID.
Production reliability and performance
Reuse browser resources carefully
Launching Chromium for every request is expensive. A worker can reuse one browser process and create a fresh page per job, then close the page in a finally block. Reusing pages without clearing state can leak cookies, local storage, or headers between tenants.
Bound every operation
Set navigation, selector, upload, and queue timeouts. Abort or retry only operations that are safe to repeat. A retry after Cloudinary accepted an upload can create duplicates, so use a deterministic public ID or reconcile the response before retrying.
Control memory
Full-page screenshots and high device scale factors increase buffer size. Limit concurrent jobs, use viewport captures when possible, and choose JPEG or WebP when lossless PNG is unnecessary. Axios options such as maxBodyLength: Infinity prevent its default request limit from rejecting large images, but your service should still impose a practical maximum.
Make jobs observable
Log a request ID, target hostname, capture duration, screenshot byte count, Cloudinary status, and upload duration. Never log API secrets, cookies, authorization headers, or private page contents. For failures, retain the HTTP status and Cloudinary error body so operators can distinguish browser failures from upload failures.
Security checklist
- Keep the Cloudinary API secret in server-side configuration.
- Allow only target domains your product is intended to capture; otherwise your browser worker can become a server-side request forgery path.
- Restrict outbound protocols and block internal IP ranges where appropriate.
- Limit screenshot dimensions, navigation time, redirects, and concurrent pages.
- Do not forward arbitrary user cookies or authorization headers without an explicit policy.
- Use an unsigned preset only when its restrictions match your threat model.
- Redact URLs that contain tokens before writing logs.
Troubleshooting common errors
Cloudinary returns a 400 or 401
Check the cloud name in the URL, the image/upload path, and the authentication fields. Inspect the JSON error body and the X-Cld-Error response header; Cloudinary documents both as useful diagnostics.
Unsigned upload is rejected
Confirm that upload_preset is present and that the named preset is configured for unsigned uploads. A signed preset cannot be used as an unsigned request.
Multipart boundary or parsing error
In Node, pass headers: form.getHeaders() when using the form-data package. In a browser, remove any manually assigned Content-Type header so the runtime supplies the boundary.
The uploaded asset is empty or not an image
Verify that page.screenshot() completed and that the buffer is passed as the file field. Log the buffer length and content type during debugging, without logging the image itself.
Puppeteer times out
The target may keep connections open, require interaction, or block headless browsers. Increase the navigation timeout only when appropriate, wait for a specific selector, and capture a diagnostic page screenshot or HTML snapshot for investigation.
Upload times out after capture
Check outbound connectivity, image size, Axios timeout, and Cloudinary response status. Reduce dimensions or use a more compact format, then retry according to an idempotency strategy that prevents duplicate assets.
Or skip the browser setup
If your goal is a clean website image rather than maintaining Chromium, ScreenshotNeo provides a single GET request that returns PNG, JPEG, WebP, or PDF. Its capture options include full-page lazy-image loading, CSS selector element capture, device presets, custom viewports, retina scale, custom CSS and JavaScript, click actions, waits, request blocking, headers, cookies, user agents, timezone, geolocation, transparent backgrounds, resizing, caching, signed links, asynchronous jobs, bulk capture, and a usage API. See the ScreenshotNeo API documentation.
ScreenshotNeo accepts cookie and consent banners before capture and removes more than 60 known consent platforms, newsletter popups, and chat widgets; each step can be turned off. Bot checks, blank pages, timeouts, failed loads, and cache hits are not billed, and the response reports the page verdict and billing status in X-Page-Verdict and X-Billed headers. An MCP server exposes take_screenshot, get_page_info, and capture_pdf to Claude, Cursor, and other MCP clients.
curl -G "https://api.screenshotneo.com/v1/shot" -d access_key=YOUR_API_KEY --data-urlencode url=https://stripe.com -o shot.webp
import requests
r = requests.get("https://api.screenshotneo.com/v1/shot", params={"access_key": "YOUR_API_KEY", "url": "https://stripe.com"}, timeout=90)
open("shot.webp", "wb").write(r.content)
const q = new URLSearchParams({ access_key: 'YOUR_API_KEY', url: 'https://stripe.com' });
const res = await fetch(`https://api.screenshotneo.com/v1/shot?${q}`);
The free plan includes 1,000 screenshots each month with no card. Paid plans start at $5 for 3,000 shots, and every feature is available on every plan. Create a free ScreenshotNeo account.
FAQ
Can I upload JPEG or WebP instead of PNG?
Yes. Set Puppeteer’s screenshot type and use a matching filename and content type in the multipart part.
Do I have to save the screenshot to disk?
No. Puppeteer returns image data that Axios and Node FormData can upload directly as a buffer.
Should I use auto/upload?
Cloudinary documents automatic resource type detection, but image/upload clearly expresses that this request contains a screenshot image.
Why does a browser request fail when Node works?
The multipart boundary is often missing because application code manually set Content-Type. Let the browser’s FormData implementation set that header.
How do I prevent duplicate uploads?
Use a deterministic public ID or store and reconcile the Cloudinary response before retrying. Treat retries as potentially non-idempotent unless your upload design makes them safe.


