How to Use AI to Alter Screenshots
Learn how to remove, replace, redact, or extend screenshot content with Photoshop Generative Fill and Microsoft Designer.
Direct answer: To alter a screenshot with AI, open it in an editor that supports generative image editing, describe the change in a precise prompt, review several variations, and keep the original untouched. In Adobe Photoshop, use Prompt to Edit for a whole-image change and Generative Fill after selecting a specific area. On Windows, Microsoft Photos can open the image in Designer for quick erase, blur, background, and object edits.
AI is useful for removing a banner, changing a background, or extending a canvas. It can also change small text, icons, spacing, and brand marks accidentally, so inspect every result at 100% zoom and preserve the original file.
What AI screenshot editing can and cannot do
| Task | Recommended method | What to check |
|---|---|---|
| Remove a notification or popup | Select it and use Generative Fill with a blank prompt | Edges, shadows, nearby text, and browser chrome |
| Replace a label or button | Use a selection, then Generative Fill or conventional text tools | Font, weight, baseline, padding, and alignment |
| Blur personal information | Use a precise selection and blur or redact it | Hidden layers, metadata, and accidental reconstruction |
| Change a theme | Prompt to Edit, followed by manual adjustments | Icon shapes, contrast, and text positions |
| Extend a screenshot | Expand the canvas and use Generative Fill | Invented controls, repeated patterns, and seams |
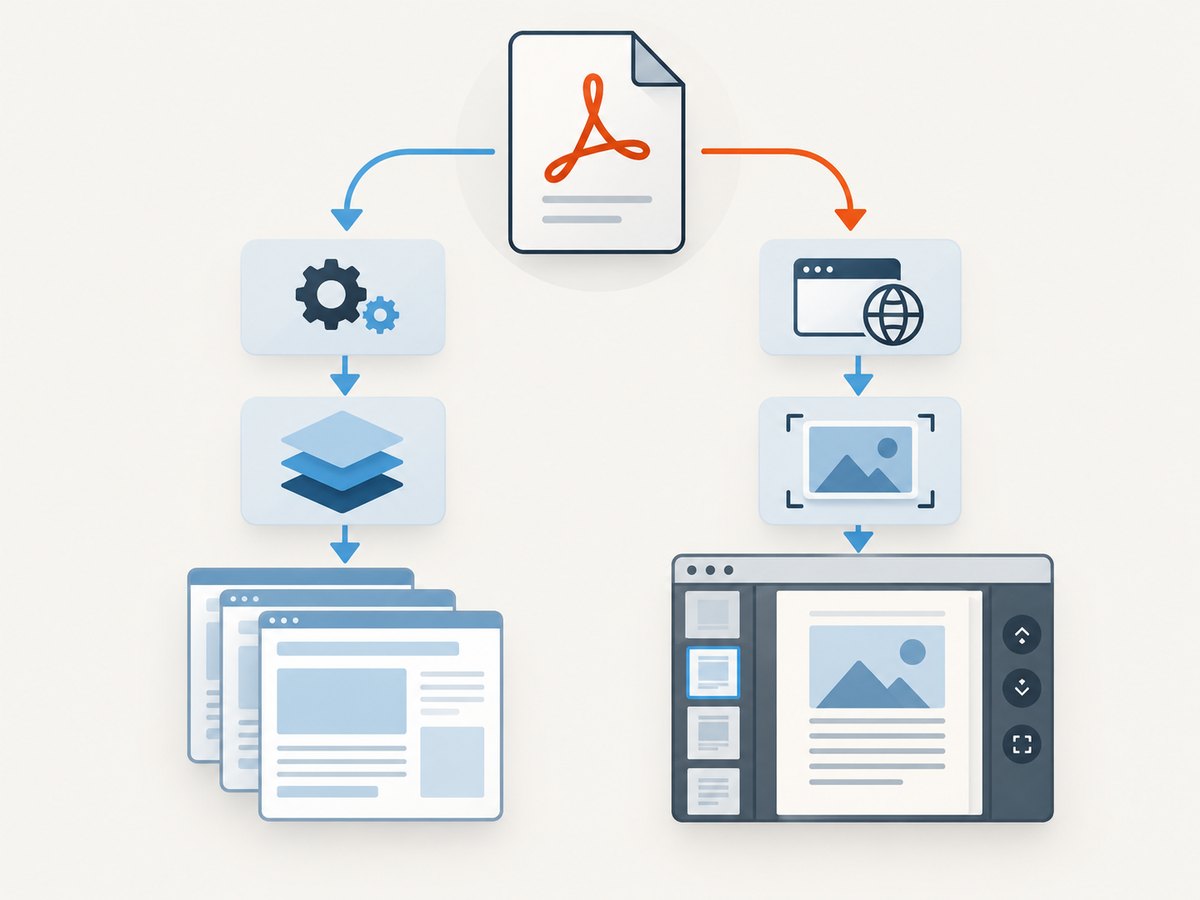
Adobe Photoshop: the most controlled workflow
1. Open the screenshot and preserve the source
- Make a copy of the source image before editing.
- Open Photoshop and choose File > Open.
- Save the working file as a Photoshop document so generated content and layers remain editable.
2. Use Prompt to Edit for a whole-image change
For a change that affects the complete image, choose Prompt to Edit from the Contextual Task Bar or the Edit menu. Describe the desired result in plain language, generate variations, and compare the thumbnails. Keep the request narrow: identify what changes, what must remain unchanged, and where the change belongs.
Remove the notification banner at the top; reconstruct the browser chrome and preserve the page title.Other useful prompts include:
Change the app theme from light to dark while keeping the layout, icons, and text positions unchanged.Extend the canvas to the right and continue the same dashboard background without inventing new controls.
3. Use Generative Fill for a selected area
- Choose a selection tool such as the Lasso, Rectangular Marquee, or Object Selection tool.
- Select the object or region to change, including a small amount of surrounding context.
- Choose Generative Fill.
- Enter a prompt, or leave the prompt blank to fill from the surrounding content.
- Generate variations and select the cleanest result.
Adobe describes Generative Fill as a Firefly-powered tool that adds or removes content nondestructively with text prompts. The generated result stays on a Generative Layer, so the untouched screenshot remains available for revision.
Replace the highlighted button label with “Export”; keep the same font, weight, alignment, and surrounding spacing.Blur the email address and account number; preserve all other pixels and the original crop.4. Refine the result manually
Generate several variations before choosing one. If edges, text, or logos are wrong, make a smaller selection and use a more specific prompt. Photoshop’s normal selections, masks, type tools, clone tools, and adjustments are often better for the final one-pixel cleanup than another generative pass.
Microsoft Photos and Designer on Windows
For a fast Windows workflow, open a single image in Photos, select the Designer icon, and use the integrated editing experience. Designer includes crop, rotate, adjustments, filters, text, background removal or blur, and object actions such as Erase, Color pop, Focus, Cutout, and Copy. It also supports generative erase.
- Open the screenshot in Microsoft Photos.
- Select the Designer icon.
- Choose the action that matches the edit, such as Erase, background blur, or object removal.
- Review the result at full size and export a new copy.
AI functions require an internet connection and Microsoft account sign-in. Microsoft lists English, Spanish, French, Brazilian Portuguese, German, and Italian as supported languages. Because Designer is aimed at quick actions, use Photoshop when exact UI geometry, brand marks, or multi-step refinement matter.
Prompt patterns for common screenshot edits
| Goal | Prompt | Review points |
|---|---|---|
| Remove a banner | Remove the notification banner at the top; reconstruct the browser chrome and preserve the page title. | Top edge, title text, and shadows |
| Replace UI text | Replace the highlighted button label with “Export”; keep the same font, weight, alignment, and surrounding spacing. | Letter shapes and baseline |
| Protect privacy | Blur the email address and account number; preserve all other pixels and the original crop. | Every identifier, including faint text |
| Restyle a page | Change the app theme from light to dark while keeping the layout, icons, and text positions unchanged. | Contrast and icon geometry |
| Extend a canvas | Extend the canvas to the right and continue the same dashboard background without inventing new controls. | Repeated patterns and invented UI |
State the location, preserve list, and desired geometry in each prompt. Avoid asking for several unrelated edits at once; separate them into layers or selections so each result is reversible.
Quality and safety checklist
- Keep the untouched screenshot in a separate file.
- Inspect small text, icons, alignment, and brand marks at 100% zoom.
- Compare the edited image against the original before publishing.
- For personal data, blur or redact identifiers and check that no copy, hidden layer, or generated area reveals them.
- Label materially changed images when the edit could mislead viewers.
- Export a copy rather than overwriting the source.
Generative edits can alter details that were not selected. A plausible-looking result is not proof that the underlying text or geometry is correct.
Or skip the browser setup
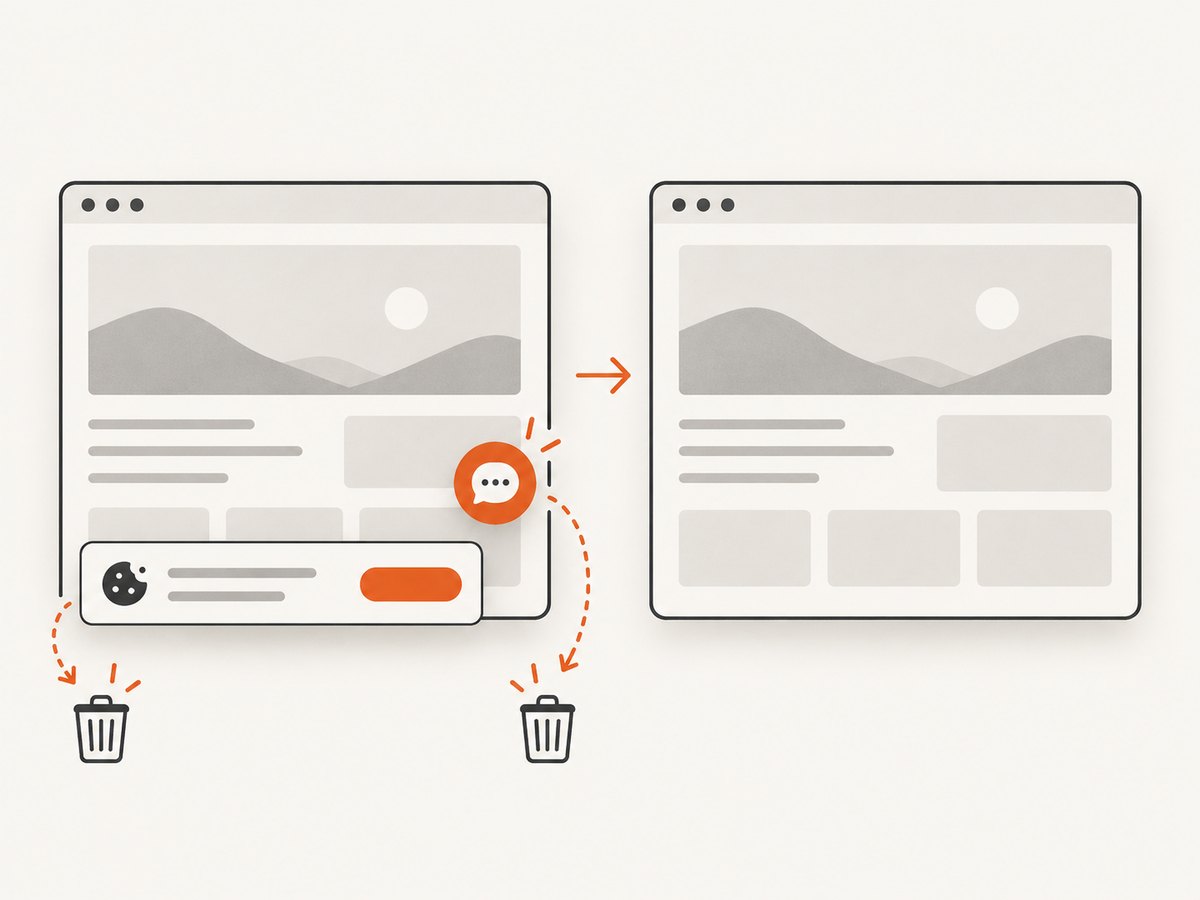
If you need a fresh screenshot rather than an edited existing file, ScreenshotNeo captures a URL through one API request. Its consent step accepts cookie banners like a visitor and removes more than 60 known consent platforms, newsletter popups, and chat widgets before capture. Bot checks, blank pages, timeouts, failed loads, and cache hits are not billed, and the response reports the page verdict and billing status in X-Page-Verdict and X-Billed headers.
See the ScreenshotNeo API documentation for all options, including full-page and element capture, device presets, dark mode, custom CSS and JavaScript, waits, request blocking, authentication, caching, PDFs, async jobs, bulk capture, and signed links.
curl -G "https://api.screenshotneo.com/v1/shot" -d access_key=YOUR_API_KEY --data-urlencode url=https://stripe.com -o shot.webpimport requests
r = requests.get("https://api.screenshotneo.com/v1/shot", params={"access_key": "YOUR_API_KEY", "url": "https://stripe.com"}, timeout=90)
open("shot.webp", "wb").write(r.content)const q = new URLSearchParams({ access_key: 'YOUR_API_KEY', url: 'https://stripe.com' });
const res = await fetch(`https://api.screenshotneo.com/v1/shot?${q}`);An MCP server also lets Claude, Cursor, and other MCP clients call take_screenshot, get_page_info, and capture_pdf. The Free plan includes 1,000 screenshots each month with no card; paid plans start at $5 for 3,000 shots. Create a free ScreenshotNeo account.
Troubleshooting
| Problem | Likely cause | Fix |
|---|---|---|
| Text becomes misspelled or distorted | Generative models redraw small glyphs | Use a smaller selection, generate again, then replace the text with a conventional type layer. |
| Edges look smeared | The selection did not include enough surrounding context | Undo, expand the selection slightly, and regenerate. |
| A logo changes shape | The model reconstructed brand artwork | Keep the original logo on a protected layer and restore it manually. |
| The edit changes unrelated pixels | The prompt covers too much of the image | Use a localized selection and one requested change per generation. |
| Designer tools are unavailable | No internet connection or Microsoft account sign-in | Connect to the internet and sign in, then reopen the image. |
| The screenshot still contains private data | Identifiers outside the first selection were missed | Search the entire image at 100% zoom and apply explicit blur or redaction. |
Performance, reliability, and cost considerations
- Performance: Smaller selections and fewer simultaneous changes usually make review faster. Work from a lossless source when possible.
- Reliability: Keep generative results on separate layers, save versions, and retain the original so a bad variation is reversible.
- Cost: Photoshop’s generative tools require a membership or free trial, and Adobe documents Generative Fill for version 25.0. Designer’s AI features require a Microsoft account and internet access.
- Privacy: Microsoft says Designer prompts and supplied images undergo abuse monitoring and are handled under its privacy statement. Review current terms before processing sensitive material.
FAQ
Can AI remove something from a screenshot?
Yes. Select the object and use Generative Fill with a blank prompt, or use Designer’s Erase or generative erase action. Check the surrounding pixels for seams and invented details.
Which tool is best for changing a UI label?
Photoshop gives the most control because you can combine a generated layer with a conventional text layer. Always verify the exact spelling and alignment.
Can I edit a screenshot without changing the original?
Yes. Photoshop’s Generative Fill creates a generative layer. With either tool, save a copy first and export the final result separately.
How do I make a screenshot look trustworthy after editing?
Preserve UI geometry, inspect text and logos at 100% zoom, compare against the source, and label material changes when the context could mislead viewers.


