How to Add Version History to Design Templates
Build a dependable version history for reusable design templates with named milestones, recovery points, branches, review rules, and practical automation.
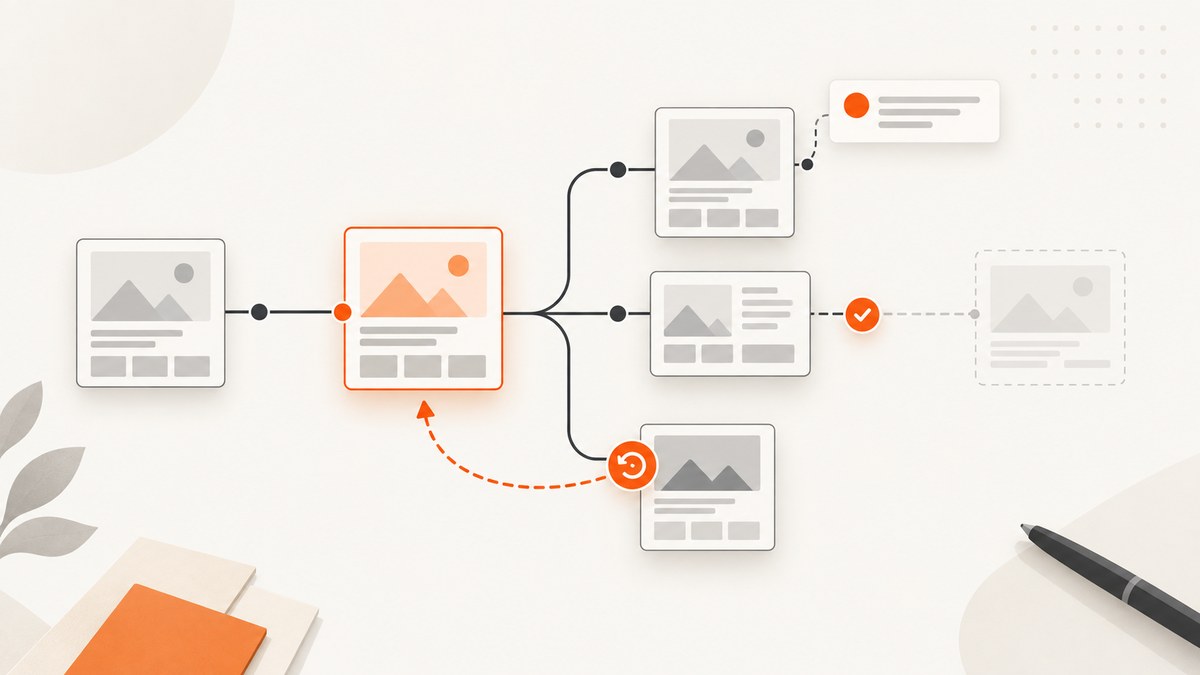
A reusable design template needs more than an undo button. A dependable version history lets your team identify an approved state, understand what changed, recover an earlier design, and develop larger changes without disrupting people who still use the current template.
The practical pattern is simple: keep one clearly identified source template, save named versions for meaningful milestones, describe each release, use automatic checkpoints for recovery, and isolate substantial work in a branch or copy until it is reviewed. The steps below use Figma terminology, followed by an equivalent workflow for Adobe Express and a lightweight file-based model you can adapt to other tools.
1. Define what “version” means for your team
Before opening a history panel, agree on the events that deserve a named version. A version should represent a decision that another person can understand later, not every small adjustment.
| Event | Save a named version? | Example label |
|---|---|---|
| Approved template release | Yes | 2026-09 — Marketing card approved |
| Change to spacing, typography, or components used by many files | Yes | v2.3 — 8 px spacing scale |
| Exploration on one component | Usually no; use a branch or draft | Branch: pricing-table exploration |
| Small correction during a focused session | Use an automatic checkpoint | Automatic checkpoint |
| Emergency fix | Yes, after the fix is accepted | Hotfix — mobile header contrast |
Use a consistent label with three parts: a date or sequence, a short change name, and an optional status. Put the reason and related task in the description. For example: v2.4 — Checkout banner approved with “Updated component variants, corrected mobile padding, approved by design systems review, task DS-184.”
2. Establish a single source template
- Create one source file for the reusable template or design system.
- Give it a name that makes its authority obvious, such as
Brand Templates — Source. - Document where published or copied templates come from.
- Limit edit access to people who maintain the source. Give other contributors view access or a controlled contribution path.
- Record the current approved version in the file description, team documentation, or release log.
This prevents a common failure mode: several files appear to be “the latest” and a contributor updates the wrong one. Figma’s organization guidance also connects a clear main file with folder organization and branching; treat that as vendor guidance for keeping contributors on the correct source.
3. Add named history in Figma
Save an intentional milestone
- Open the Figma file.
- Open the menu by the file name and choose Show Version History.
- Choose Save to Version History.
- Enter a short title and a description of what changed and why.
- Add a task, milestone, or approval reference when one exists, then save.
Figma says people with Can view access can browse history, while only people with Can edit access can create, name, remove, or restore version information. Keep that permission distinction in your operating procedure.
Use automatic checkpoints correctly
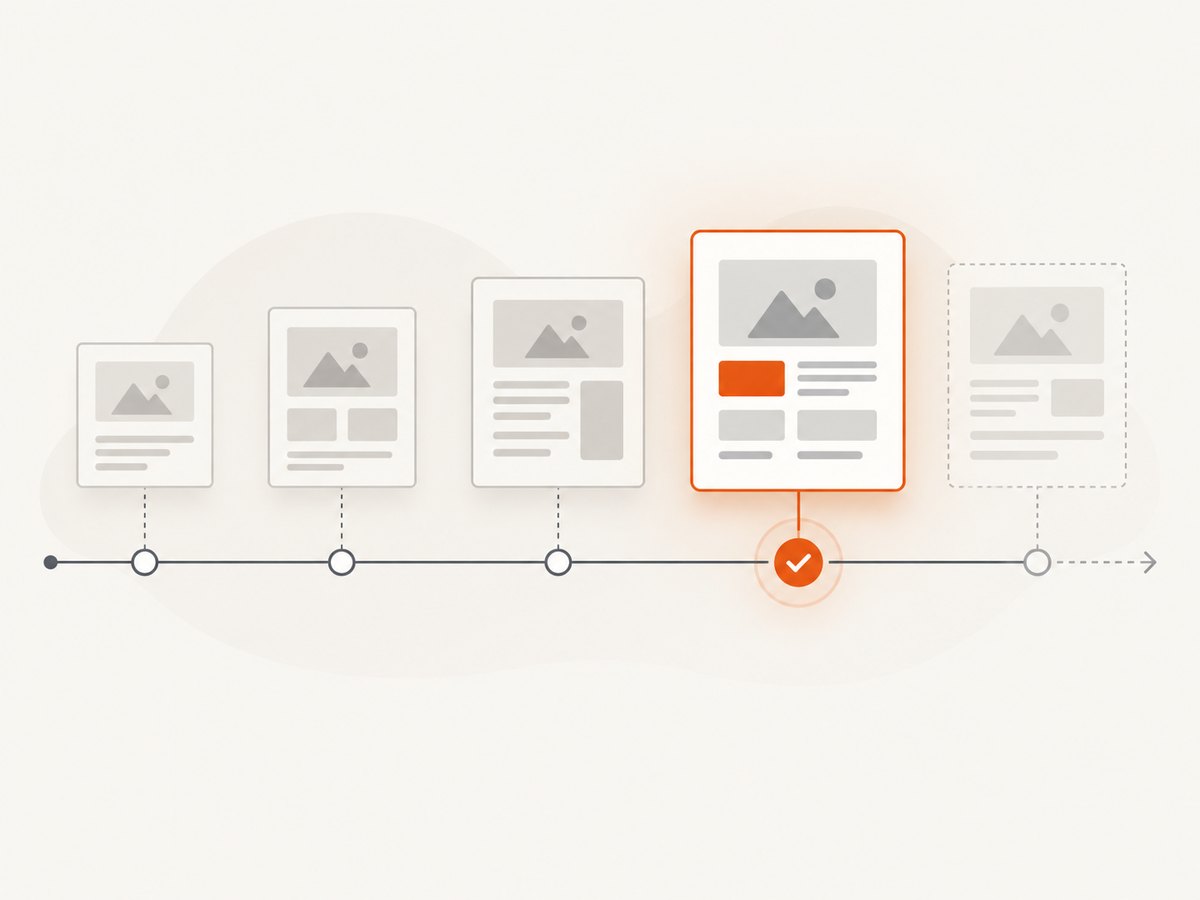
Figma records automatic checkpoints every 30 minutes. They are useful recovery points, but they do not explain the intent of a release. Save a named version when a template is approved, published, handed off, or changed in a way that downstream files must understand.
History access depends on the team plan. Figma documents a 30-day history window for Starter-team members and full history access for Professional and Education teams or organizations. Confirm the current plan documentation and account settings before treating history as a long-term archive.
Restore without losing the trail
- Open Show Version History.
- Select the version you want to inspect.
- Review the canvas and metadata before taking action.
- Choose Restore This Version when you are certain.
- Immediately save a named version describing the restoration and its reason.
Figma says restoration creates checkpoints for both the current state and the restored state. The operation therefore preserves a record of what was current before the restore. Comments have separate behavior: comments from later versions remain, while comments that were deleted are not recovered.
4. Use branches for larger template changes
A named version protects a point in time. A branch protects the current source while a substantial proposal is being developed.
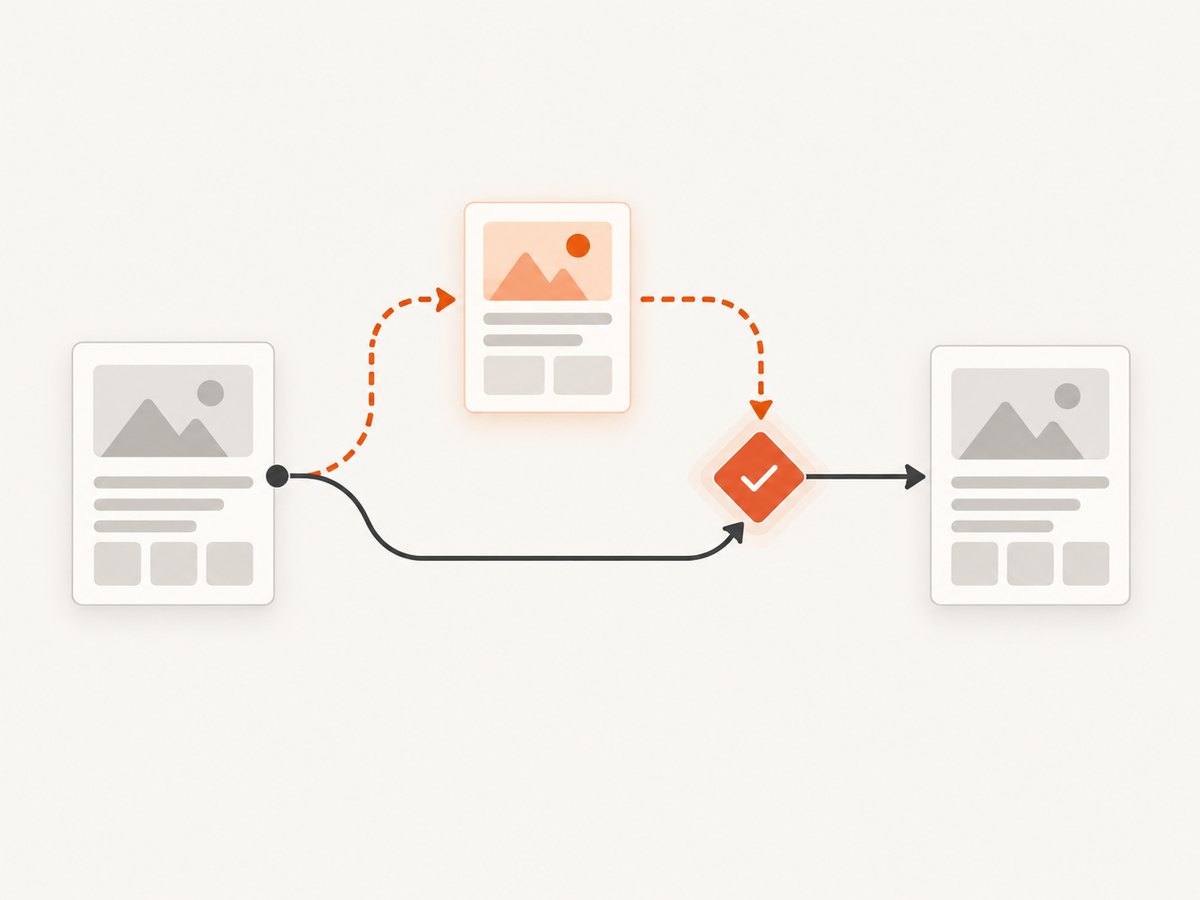
- Start a branch from the current main file.
- Name it after the change, such as
Branch — new responsive card system. - Write the intended outcome, affected components, owner, and review criteria in the branch description.
- Make and test changes in the branch while the main template remains available.
- Ask a reviewer to compare the branch with the main file.
- Merge only after the reviewer confirms the result and the release owner accepts it.
- Save a named version in the main file after the merge.
Figma describes a branch as an exact replica of the main file at its creation point. Edits do not affect the main file until they are merged. The main-file history records branch and merge activity, with an additional checkpoint before a merge. Figma documents branching and merging for Organization and Enterprise plans in its design-system lesson.
Branching adds coordination. Assign one person to review or merge, check component references after merging, and verify the published library state. Figma cautions that incomplete merges or updates can occur. Branch changes are not published to a library until they are merged into the main file.
5. Create a release record outside the design file
History inside a design tool is useful for inspection, but a small release log makes handoffs searchable. Keep one row per intentional release:
| Field | What to record |
|---|---|
| Version | Human-readable label |
| Date and owner | When it became approved and who owns the decision |
| Summary | One sentence describing the change |
| Impact | Templates, components, tokens, or teams affected |
| Reference | Task, milestone, or review link |
| Rollback | Exact version to restore if the release is rejected |
A plain JSON file is enough for a small team. This runnable Python example appends a release record without requiring a vendor API:
from datetime import datetime, timezone
import json
from pathlib import Path

log_path = Path("template-releases.json")
version = {
    "version": "v2.4",
    "title": "Checkout banner approved",
    "owner": "design-systems",
    "created_at": datetime.now(timezone.utc).isoformat(),
    "summary": "Updated variants and corrected mobile padding.",
    "reference": "DS-184",
    "rollback_to": "v2.3"
}

releases = json.loads(log_path.read_text()) if log_path.exists() else []
releases.append(version)
log_path.write_text(json.dumps(releases, indent=2) + "\n")
print(f"Recorded {version['version']}")
Keep the external record synchronized with the design file: the label in the log should match the named version exactly. Do not store secrets or private customer content in a shared release log.
6. Adobe Express equivalent
In Adobe Express, open File → Show version history. The history panel lets you create a copy from a version, bookmark it, or restore the file to that version. Bookmark releases that must remain available: Adobe documents that unbookmarked versions expire after 10 days on Free plans, 30 days on Individual Premium plans, and 180 days on Teams and Enterprise plans. The cited Adobe help page was last updated August 7, 2026; verify current retention behavior before relying on it as an archive.
Use the same workflow: bookmark the approved release, record its purpose in your release log, and create a copy before experimenting with a risky change.
7. Or skip the browser setup
If your workflow also needs screenshots of approved template previews, ScreenshotNeo can capture the rendered page through one request. It removes cookie banners, newsletter popups, and chat widgets before the shot. Bot checks, blank pages, timeouts, failed loads, and cache hits are not billed, and response headers identify the page verdict and billing result. Its MCP server provides take_screenshot, get_page_info, and capture_pdf tools for Claude, Cursor, and other MCP clients.
See the ScreenshotNeo documentation for the full parameter reference. The same request can be used from cURL, Python, or Node.js:
cURL
curl -G "https://api.screenshotneo.com/v1/shot" \
  -d access_key=YOUR_API_KEY \
  --data-urlencode url=https://stripe.com \
  -o shot.webp
Python
import requests

r = requests.get(
    "https://api.screenshotneo.com/v1/shot",
    params={"access_key": "YOUR_API_KEY", "url": "https://stripe.com"},
    timeout=90,
)
r.raise_for_status()
open("shot.webp", "wb").write(r.content)
Node.js
const q = new URLSearchParams({
  access_key: 'YOUR_API_KEY',
  url: 'https://stripe.com'
});
const res = await fetch(`https://api.screenshotneo.com/v1/shot?${q}`);
if (!res.ok) throw new Error(`HTTP ${res.status}`);
const body = Buffer.from(await res.arrayBuffer());
require('fs').writeFileSync('shot.webp', body);
ScreenshotNeo supports full-page capture with lazy images loaded, element capture by CSS selector, dark mode, device presets or custom viewports, retina scale, PDF output, custom CSS and JavaScript, clicks, selector or network-idle waits, request blocking, headers, cookies, user agents, authorization, timezone, geolocation, transparent backgrounds, resizing, TTL caching, signed links, asynchronous jobs with signed webhooks, bulk capture of up to 100 URLs per call, a usage API, and an OpenAPI specification. Every feature is on every plan. The Free plan includes 1,000 shots per month with no card; paid plans start at $5 for 3,000 shots. Create a free ScreenshotNeo account.
8. Troubleshooting version history
I cannot see version history
Check that you opened the correct source file and that your account has access. In Figma, viewers can browse history but cannot create or restore versions. On Starter teams, older history may be outside the documented 30-day window.
The wrong file was restored
Stop editing, inspect the file name and version description, then restore the intended version. Save a new named version describing the correction. Do not delete the mistaken restore; it is useful evidence of what happened.
A branch changed the main template unexpectedly
Review whether the work was actually made in a branch and whether a merge already occurred. Freeze publishing, compare the main file with the pre-merge checkpoint, and restore only after the release owner approves the rollback.
People keep overwriting the approved source
Reduce edit access, publish the current approved label in the file name or documentation, and require branches for changes that affect shared components. A process rule is more reliable than asking contributors to remember which page is canonical.
The history does not explain a change
Automatic checkpoints have no useful intent by themselves. Add a named version with a short description, affected components, and a task or milestone reference immediately after approval.
9. Performance, reliability, and cost considerations
- Keep labels short. Short names remain scannable in a busy history panel; put detail in the description and release log.
- Use branches selectively. Branches reduce risk for large changes but add review and merge work.
- Protect the source. Restrict edit access and assign a release owner.
- Plan for retention. Vendor history windows and plan permissions can change. Bookmark or export critical release information where policy permits.
- Separate recovery from publishing. A restored design should pass review before it becomes the new approved source.
- For screenshots, avoid unnecessary recaptures. Use a chosen cache TTL for stable previews and async or bulk capture for large release sets. ScreenshotNeo bills only clean shots and exposes verdict and billing headers, which helps reconcile usage.
10. A release checklist
- Is this the canonical source template?
- Does the change represent an approved milestone?
- Was a named version saved with a clear description?
- Does the description identify affected components and a task or milestone?
- Should the work have been developed in a branch?
- Has another person reviewed the result?
- Is the rollback version recorded?
- Are library or published assets updated only after merge?
- Will history retention cover the period you need?
- Are preview screenshots captured consistently?
FAQ
Should every edit receive a version number?
No. Use automatic checkpoints for routine recovery and named versions for decisions, approvals, releases, and significant changes.
Is a branch a replacement for version history?
No. A branch isolates work before merge; history records milestones and recovery points in the source file.
What should a version description contain?
State what changed, why it changed, which components or templates are affected, and the related task or approval.
Can comments be recovered with a restored Figma version?
Not all comments. Figma says later comments remain, while deleted comments are not recovered by restoring a design version.
Where should the approved version be recorded?
Record it in the design file’s named history and in a searchable release log. Keeping both makes the decision visible inside the tool and during handoffs.


