How to Take Website Screenshots with Power Automate
Capture an entire webpage or a specific element with Power Automate for desktop, save it as PNG or JPG, and fix common unattended-run failures.
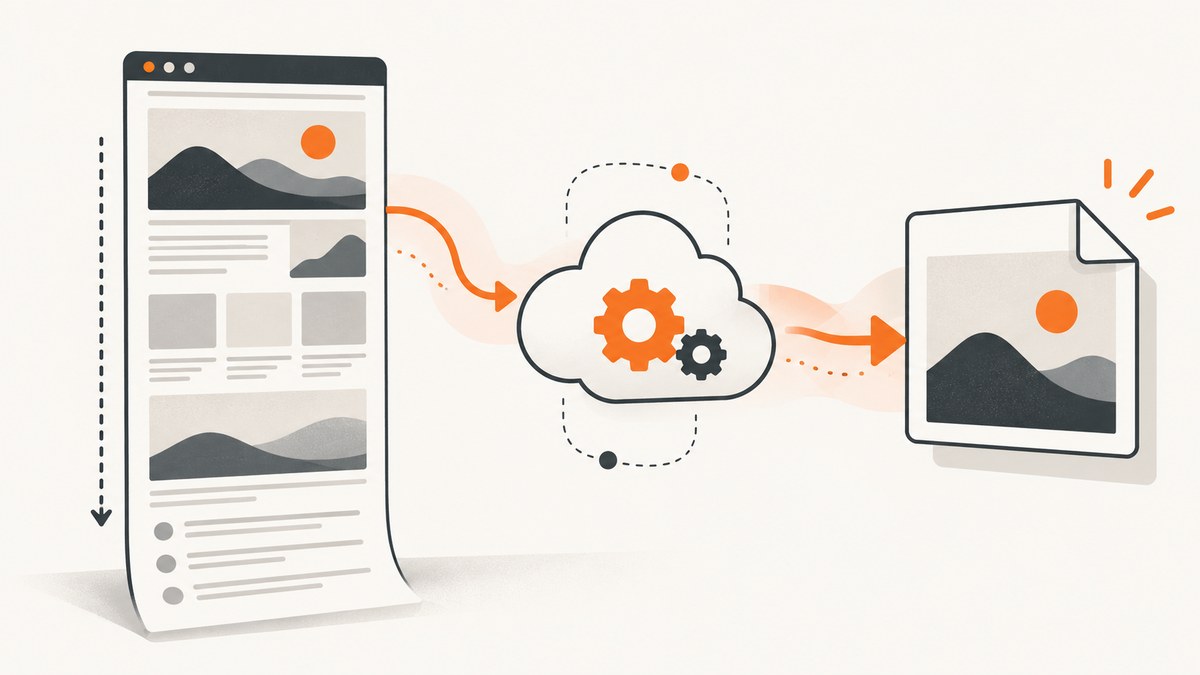
Direct answer: In Power Automate for desktop, launch or attach to a supported browser, open the target URL, then add Browser automation > Take screenshot of web page. Choose Entire web page or Specific element, set Save mode to File, select an image format such as PNG or JPG, and provide a writable path. The action can also put the image on the clipboard.
This guide covers the complete desktop-flow setup, full-page and element screenshots, browser extensions and WebDriver, attended and unattended runs, file naming, formats, troubleshooting, and alternatives when a browser session is inconvenient.
What Power Automate can capture
Power Automate for desktop has three screenshot actions with different scopes:
| Action | Captures | Best use |
|---|---|---|
| Browser automation > Take screenshot of web page | The entire rendered webpage or one webpage element in a controlled browser | Website evidence, reports, QA checks, and page archives |
| Workstation > Take screenshot | All screens, one screen, or the foreground window | Desktop state and monitor-level diagnostics |
| UI automation > Take screenshot of UI element | A desktop UI element | Native applications and controls outside the browser |
For website content, use the browser automation action. Web UI elements captured from a webpage are different from desktop UI elements; a selector or element captured in one automation group cannot be substituted for the other.
Step-by-step: capture a website as a file
1. Create a desktop flow
- Open Power Automate for desktop and create a new desktop flow.
- Decide whether the flow will launch a new browser or attach to an existing supported instance.
2. Launch or attach to a browser
Add one of the supported launch actions: Launch new Microsoft Edge, Launch new Chrome, or Launch new Firefox. Internet Explorer is also listed among the supported launch actions. Enter the target URL in the launch action, or leave it blank and navigate later with Go to web page.
Keep the browser instance variable produced by the launch action. The screenshot action needs that variable to know which browser window and page to capture.
3. Wait for the page you actually need
A page can be technically open before its content is ready. Add a wait for a distinctive web UI element, or use a short delay when the page has predictable loading behavior. For pages that load data after navigation, waiting for a visible heading, table, chart, or other stable element is usually more reliable than guessing a fixed number of seconds.
4. Add the screenshot action
Choose Browser automation > Take screenshot of web page. Select the browser instance variable from the launch step.
- Entire web page: captures the complete rendered page, including content below the viewport.
- Specific element: captures one webpage element. Use the web UI element picker to capture the element while configuring the action.
5. Select the output
Set Save mode to File when the image must persist after the flow. Enter a complete path such as C:\Screenshots\orders-home.png. The destination folder must already exist and the account running the flow must be able to write to it.
Choose the format that fits the next step:
| Format | Typical choice |
|---|---|
| PNG | Text, diagrams, sharp UI edges, and lossless evidence |
| JPG | Smaller photographic screenshots where small compression artifacts are acceptable |
| BMP, EMF, EXIF, GIF, TIFF, WMF | Compatibility with a downstream application that specifically requires that format |
Set Save mode to Clipboard when the next action consumes the image immediately. Clipboard output is not a durable archive, and another process can replace it, so use a file for audit trails.
6. Run and verify
The action does not return an image output variable. Its result is the file on disk or the clipboard contents. Add a later file action, email action, or upload action that points to the same path, and verify that the path resolves to the machine running the flow.
Capturing a full page versus one element
Full-page capture
Choose Entire web page when you need a complete article, invoice, dashboard, or long report. Full-page output includes the page rendered by the browser, rather than only the visible viewport. Lazy-loaded content can still be a problem if it is only requested after scrolling; if sections are missing, scroll through the page first or wait for the relevant elements before taking the screenshot.

Element capture
Choose Specific element for a chart, table, card, banner, or other bounded region. During setup, capture the web UI element with the browser automation picker. Power Automate stores a selector for that element. Dynamic sites can change classes or structure between runs, causing the exception “Element with specified CSS selector not found.” Recapture the element and choose a more stable target when possible.
Element capture is useful when a full-page image contains navigation, cookie notices, or unrelated panels that should not be included. It also produces a predictable image size for downstream reports.
Browser connection methods
Browser extension
The browser extension is the default connection method in the reference workflow. Install the required Power Automate browser extension for the browser you automate, then restart the browser if prompted. The extension lets browser automation actions inspect webpages and their web UI elements.
WebDriver
WebDriver is an alternative connection method. The WebDriver executable must match the installed browser version and be placed in:
%LocalAppData%\Microsoft\Power Automate Desktop\WebDriversWebDriver can attach only to browser instances launched by the flow. It cannot attach to a browser window that a person opened manually. This distinction matters in unattended jobs: launch the browser inside the flow instead of relying on a pre-existing desktop session.
Attended and unattended runs
An attended flow runs in a user session where you can see the browser. An unattended flow runs without someone watching the desktop, so window handles, locked sessions, permissions, and browser startup become part of the reliability problem.
For unattended diagnostics, add one screenshot action immediately before the suspected failing action and another immediately after it. Save them with clear names such as before-navigation.png and after-navigation.png, preferably with a run identifier in the filename. Comparing the pair shows whether the page loaded, a dialog appeared, or the browser lost its valid window.
An unattended run can fail with Failed to take screenshot and an invalid window handle. Check that the desktop session is available to the run, the browser was launched by the flow, and no policy or lock screen has hidden the target window.
Reusable flow pattern
A maintainable flow separates navigation, readiness, capture, and storage:
- Launch the browser with the target URL and store the browser variable.
- Go to the page if the URL is supplied as a variable.
- Wait for a stable web UI element.
- Optionally scroll to trigger lazy loading.
- Take screenshot of web page.
- Build a filename from the page name and run timestamp.
- Save the file or upload it to the next system.
- Close the browser in a cleanup path.
For multiple URLs, put the navigation and capture steps inside a loop. Use a separate output filename for each URL so that retries do not overwrite a successful earlier capture unless that is intentional.
Troubleshooting checklist
| Symptom | Likely cause | Fix |
|---|---|---|
| Browser cannot be automated | Missing extension, disabled extension, or incompatible connection method | Install or enable the browser extension. If using WebDriver, match the executable to the browser and place it in the documented folder. |
| “Element with specified CSS selector not found” | The page changed, the element has not loaded, or the selector is unstable | Wait for the element, recapture it with the picker, and target a stable ancestor or attribute. |
| File save failure | Folder does not exist, path is invalid, or the run account lacks write permission | Create the directory, use an absolute path, and grant the run account access. |
| Clipboard save failure | Clipboard is unavailable or another process replaced its contents | Prefer file output for unattended flows; keep clipboard use inside a short, controlled sequence. |
| Screenshot contains only the viewport | The wrong capture scope was selected | Set Capture to Entire web page instead of a screen or foreground-window action. |
| Long page is missing sections | Lazy content loads only after scrolling or a later network request | Scroll through the page, wait for key elements, then capture. |
| Unattended invalid window handle | Browser was closed, launched outside the flow, locked behind a session problem, or lost its desktop context | Launch the browser in the flow, verify session state, and add before/after diagnostic screenshots. |

Performance, reliability, and cost notes
Power Automate screenshot work is dominated by browser startup, page loading, JavaScript execution, and lazy content. Reusing one launched browser for a batch can avoid repeated startup, but close it at the end of the flow so stale windows do not affect later runs. Waiting for a meaningful element improves correctness; an unnecessarily long fixed delay reduces throughput.
Keep output paths local to the machine during capture, then upload or copy the file as a separate step. Network shares add another failure point and can make a successful screenshot look like a save failure. Use deterministic names that include the URL key, capture scope, and run timestamp.
Power Automate licensing and machine capacity determine the cost of this workflow. The screenshot action itself does not provide a separate image API billing model. If you need server-side capture, predictable HTTP responses, or screenshots without managing a browser session, an API can be simpler.
Or skip the browser setup
ScreenshotNeo provides a website screenshot API and MCP server. One GET request returns a PNG, JPEG, WebP, or PDF. Cookie and consent banners are accepted and 60-plus known consent platforms, newsletter popups, and chat widgets are removed before the shot; each cleanup step can be turned off. Bot checks, blank pages, timeouts, failed loads, and cache hits are not billed, and the response identifies the result with X-Page-Verdict and X-Billed headers.
See the ScreenshotNeo API documentation for the complete parameter list. A minimal request is:
curl -G "https://api.screenshotneo.com/v1/shot" -d access_key=YOUR_API_KEY --data-urlencode url=https://stripe.com -o shot.webpPython:
import requests

r = requests.get(
    "https://api.screenshotneo.com/v1/shot",
    params={"access_key": "YOUR_API_KEY", "url": "https://stripe.com"},
    timeout=90,
)
r.raise_for_status()
open("shot.webp", "wb").write(r.content)
Node.js:
const q = new URLSearchParams({ access_key: 'YOUR_API_KEY', url: 'https://stripe.com' });
const res = await fetch(`https://api.screenshotneo.com/v1/shot?${q}`);
if (!res.ok) throw new Error(`Screenshot failed: ${res.status}`);
const fs = await import('node:fs/promises');
await fs.writeFile('shot.webp', Buffer.from(await res.arrayBuffer()));
Options include full-page capture with lazy images loaded, CSS-selector element capture, dark mode, device presets or custom viewports, retina scale, PDF paper sizes and page ranges, custom CSS and JavaScript, clicks, waits, blocked resources, headers, cookies, user agents, authorization, timezone, geolocation, transparent backgrounds, resizing, caching with a chosen TTL, signed image links, asynchronous jobs with signed webhooks, bulk capture for up to 100 URLs per call, and a usage API. An MCP server exposes take_screenshot, get_page_info, and capture_pdf to Claude, Cursor, and other MCP clients.
There are 1,000 free screenshots per month with no card. Paid plans start at $5 for 3,000 shots; every feature is available on every plan. Create a free ScreenshotNeo account.
FAQ
Does the screenshot action return an output variable?
No. The result is the file saved to the path you specify or the image placed on the clipboard.
Can I capture a webpage element instead of the entire page?
Yes. Select Specific element and provide a web UI element captured with the browser automation picker.
Can Power Automate save PNG and JPG?
Yes. PNG and JPG are supported, along with BMP, EMF, EXIF, GIF, TIFF, and WMF.
Why does WebDriver refuse to attach to my browser?
WebDriver attaches only to browser instances launched by the flow. It also requires a driver that matches the browser version and is stored in the documented WebDrivers directory.
Which action captures my whole monitor?
Use Workstation > Take screenshot. Browser automation is intended for webpage content, while Workstation captures screens or the foreground window.


