How to Take Website Screenshots Programmatically
Capture website screenshots with Playwright or Puppeteer. Learn viewport, full-page and element capture, dynamic-page waits, visual tests and troubleshooting.
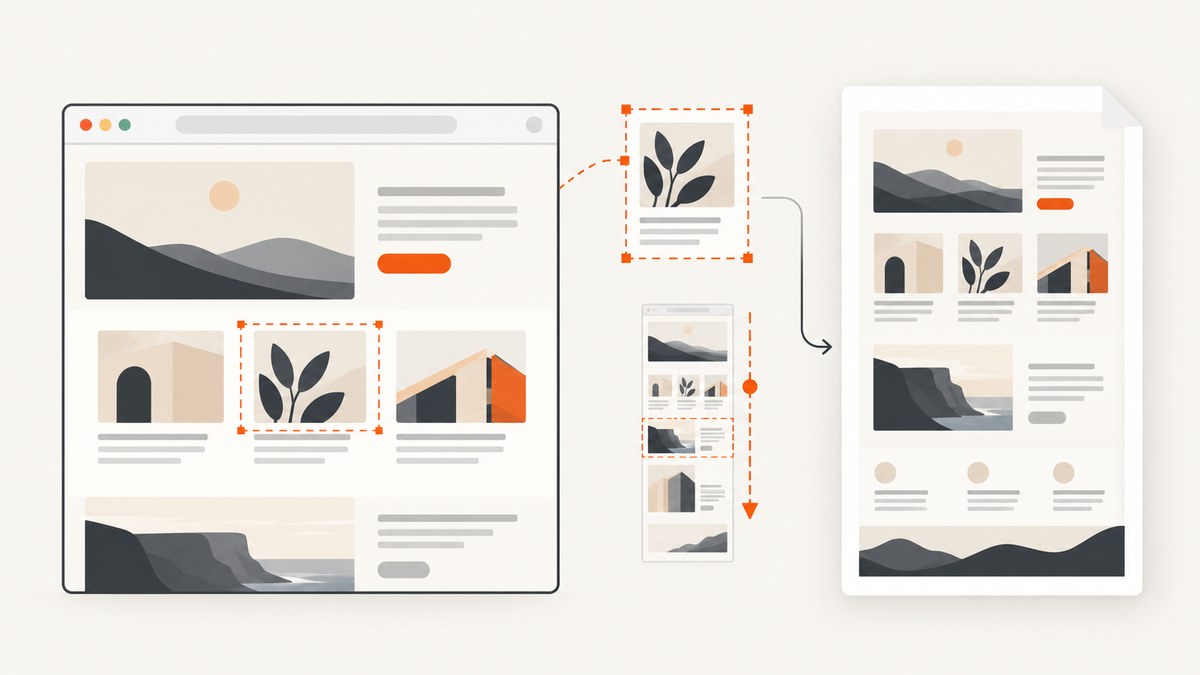
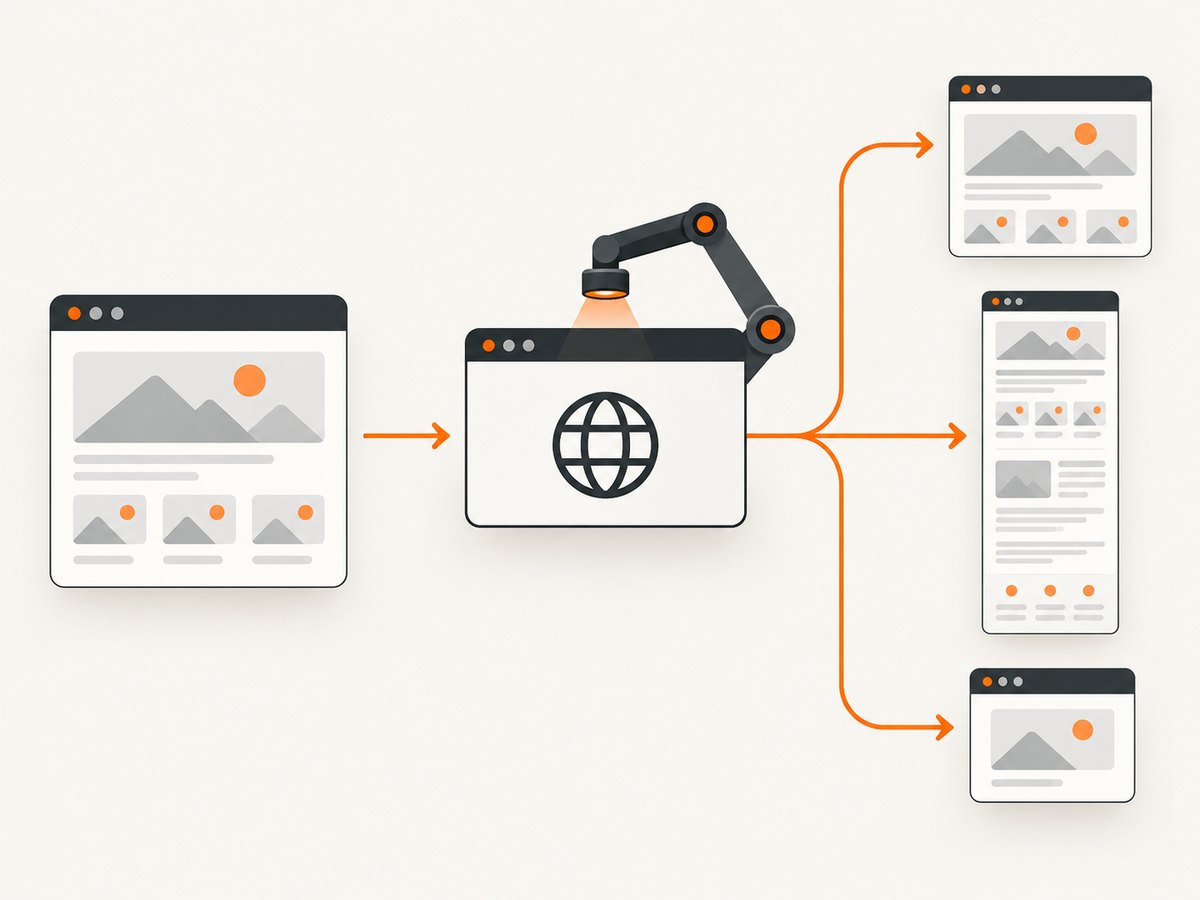
To take a website screenshot programmatically, use a browser automation library: open a browser, navigate to the page, wait for the UI you need, then save a screenshot. Use a viewport capture for the visible area, a full-page capture for the scrollable document, or an element capture for one component. Playwright and Puppeteer both support these workflows.
This guide covers runnable JavaScript examples, image options, dynamic content, visual regression, operational concerns, and common errors. If you need screenshots without managing a browser runtime, ScreenshotNeo offers a one-request API; the self-hosted browser workflow comes first.
1. Install a browser automation library
Choose the library that fits your runtime and test stack. Playwright is a good fit when you want its test runner and documented screenshot assertions. Puppeteer is a good fit for Chrome-focused browser automation. Both can navigate pages and capture page or element screenshots. [C2] [C4] [C6]
Playwright setup
npm install playwright
npx playwright install chromium
Save the following as screenshot.js, then run node screenshot.js. It captures the full document as PNG.
const { chromium } = require('playwright');

(async () => {
  const browser = await chromium.launch();
  try {
    const page = await browser.newPage({
      viewport: { width: 1440, height: 900 }
    });
    await page.goto('https://example.com', { waitUntil: 'networkidle' });
    await page.screenshot({ path: 'example.png', fullPage: true });
  } finally {
    await browser.close();
  }
})();
The browser is closed in a finally block, so it is also closed if navigation or capture throws an error. The fullPage option captures beyond the current viewport. [C1]
Puppeteer setup
npm install puppeteerSave as screenshot-puppeteer.js, then run node screenshot-puppeteer.js. Puppeteer’s official guide demonstrates the same navigation-then-capture sequence. [C4]
const puppeteer = require('puppeteer');

(async () => {
  const browser = await puppeteer.launch();
  try {
    const page = await browser.newPage();
    await page.setViewport({ width: 1440, height: 900 });
    await page.goto('https://news.ycombinator.com', {
      waitUntil: 'networkidle2'
    });
    await page.screenshot({ path: 'hn.png' });
  } finally {
    await browser.close();
  }
})();
Run browser automation in an environment where the browser executable and its system dependencies are installed. In containers or CI, install the browser version expected by the library and use the project’s supported container setup when available.
2. Choose viewport, full-page, or element capture
Decide what the resulting image must show before changing screenshot options. The capture scope affects dimensions, output size, and how users interpret the image.
| Scope | Use it for | Playwright | Puppeteer |
|---|---|---|---|
| Viewport | The visible browser area at a chosen width and height | page.screenshot() |
page.screenshot() |
| Full page | The complete scrollable document | page.screenshot({ fullPage: true }) |
page.screenshot({ fullPage: true }) |
| Element | A card, chart, dialog, or other component | Locator screenshot | ElementHandle.screenshot() |
Capture one element with Playwright
const { chromium } = require('playwright');

(async () => {
  const browser = await chromium.launch();
  try {
    const page = await browser.newPage({ viewport: { width: 1280, height: 800 } });
    await page.goto('https://example.com', { waitUntil: 'domcontentloaded' });
    const card = page.locator('.product-card').first();
    await card.waitFor({ state: 'visible' });
    await card.screenshot({ path: 'product-card.png' });
  } finally {
    await browser.close();
  }
})();
Replace .product-card with a selector present on the target page. Waiting for the locator to become visible avoids trying to capture an element before it exists or is displayed. Playwright supports screenshots of a locator or selector. [C1] [C3]
Capture one element with Puppeteer
const puppeteer = require('puppeteer');

(async () => {
  const browser = await puppeteer.launch();
  try {
    const page = await browser.newPage();
    await page.goto('https://example.com', { waitUntil: 'domcontentloaded' });
    const element = await page.waitForSelector('.product-card', { visible: true });
    await element.screenshot({ path: 'product-card.png' });
  } finally {
    await browser.close();
  }
})();
Puppeteer’s ElementHandle.screenshot() captures a specific element. [C4] Check that the selector is unique enough for the component you intend to save.
3. Wait for the page state you need
Navigation completing does not always mean the final UI is ready. A single-page app may fetch data, hydrate components, load images lazily, or render after an animation. Pick a readiness condition that matches the page.
domcontentloaded: useful when the DOM is ready and the next step can wait for a specific component.load: waits for the page load event and its dependent resources.networkidlein Playwright ornetworkidle2in Puppeteer: useful when network activity settles. Puppeteer’s official example usesnetworkidle2. [C4]- A selector or application state: often more robust for pages that keep polling or render after network traffic ends.
- A fixed delay: simple but fragile; the right duration depends on the page and environment.
For an app that renders a dashboard after loading its data, wait for a meaningful heading or chart:
await page.goto('https://example.com/dashboard', { waitUntil: 'domcontentloaded' });
await page.locator('[data-testid="dashboard-ready"]').waitFor({ state: 'visible' });
await page.screenshot({ path: 'dashboard.png' });
The selector-based approach is an engineering practice, not a timing guarantee from the navigation API. Choose a state that represents the finished UI, and add a timeout or failure path so a missing state does not leave a job hanging.
Lazy-loaded and very long pages
A full-page capture does not guarantee every page’s lazy-loaded content has been fetched. Some sites load sections only as they enter the viewport. For those pages, scroll through the document before capture, wait for new content, then take the full-page screenshot. A page may also change its height while loading; wait for the final content or use a page-specific ready signal before capture.
4. Set output format and image options
Playwright supports PNG, JPEG, and WebP screenshots, custom paths, and CSS-pixel or device-pixel scaling. [C1] Puppeteer provides controls including type, quality, clip, omitBackground, captureBeyondViewport, and fullPage. [C5]
| Need | Choice | Tradeoff |
|---|---|---|
| Exact UI pixels or text-heavy screens | PNG | Often larger than lossy formats |
| Smaller image files | JPEG or WebP | Encoding can alter fine edges or colors |
| High-density display output | Device-pixel scaling / higher device scale factor | More pixels mean more memory and a larger file |
| Transparent background | Puppeteer omitBackground: true |
Only applies where transparent output is supported by the chosen format |
| Specific crop | Viewport or clip rectangle | Coordinates and dimensions must match the intended page state |
PNG is a sensible default for visual comparisons because it avoids lossy compression. Use JPEG or WebP when file size matters and the workflow accepts their encoding characteristics. When you change viewport, device scale, browser version, or format, expect image dimensions or pixels to change.
5. Compare screenshots in automated tests
Playwright Test includes toHaveScreenshot() for generating and comparing screenshot baselines. [C7] A visual test should establish a stable page state, use a consistent viewport, and capture only the intended region.
import { test, expect } from '@playwright/test';

test('product page visual baseline', async ({ page }) => {
  await page.setViewportSize({ width: 1440, height: 900 });
  await page.goto('https://example.com/products/widget', {
    waitUntil: 'networkidle'
  });
  await page.getByRole('heading', { name: 'Widget' }).waitFor();
  await expect(page).toHaveScreenshot('widget-page.png', {
    fullPage: true
  });
});
Run baseline creation and comparison in the same environment. Rendering can vary with operating system, browser version, hardware, power source, and headless mode, so a changed environment can create pixel differences even when the page itself did not change. [C7] Review baseline updates instead of blindly accepting them.
6. Or skip the browser setup
If you need a screenshot without installing and maintaining a browser runtime, ScreenshotNeo provides a website screenshot API. One GET request returns an image or PDF; see the API documentation for the available parameters and response details. The API also accepts the parameter names used by other screenshot APIs, which can make switching easier.
curl -G "https://api.screenshotneo.com/v1/shot" \
  -d access_key=YOUR_API_KEY \
  --data-urlencode url=https://stripe.com \
  -o shot.webp
import requests
r = requests.get(
"https://api.screenshotneo.com/v1/shot",
params={"access_key": "YOUR_API_KEY", "url": "https://stripe.com"},
timeout=90,
)
r.raise_for_status()
with open("shot.webp", "wb") as f:
f.write(r.content)const q = new URLSearchParams({
access_key: 'YOUR_API_KEY',
url: 'https://stripe.com'
});
const res = await fetch(`https://api.screenshotneo.com/v1/shot?${q}`);
if (!res.ok) throw new Error(`Screenshot request failed: ${res.status}`);
const image = Buffer.from(await res.arrayBuffer());
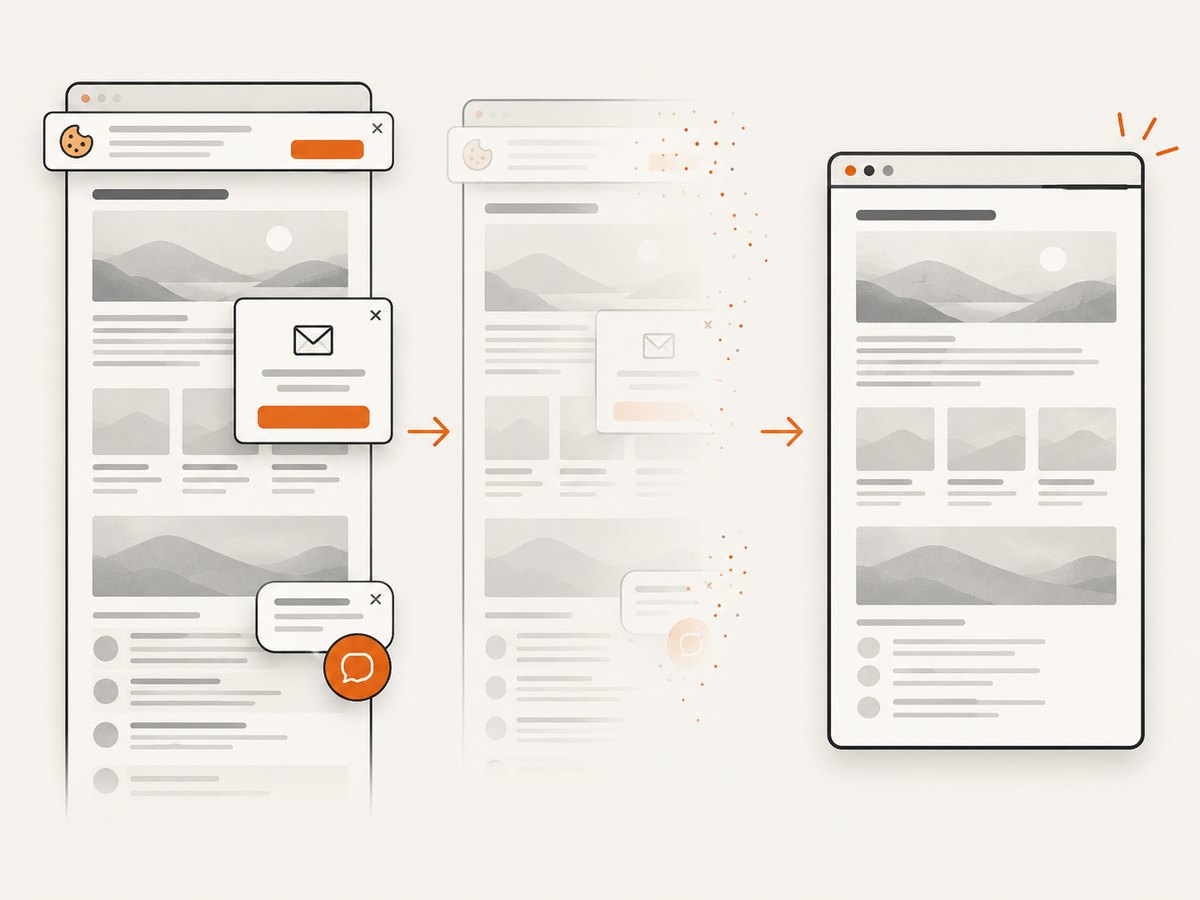
require('node:fs').writeFileSync('shot.webp', image);Replace YOUR_API_KEY with your key and change the target URL. ScreenshotNeo can capture full pages, a CSS-selected element, PDF output, HTML or CSS content, custom headers and cookies, and other options described in its docs. Cookie and consent banners are accepted as a visitor and 60+ known consent platforms, newsletter popups, and chat widgets are removed before capture; each cleanup step can be turned off. Bot checks or CAPTCHAs, blank pages, timeouts, failed loads, and cache hits are not billed, and response headers report the page verdict and billing status. Its MCP server offers take_screenshot, get_page_info, and capture_pdf tools for Claude, Cursor, and other MCP clients.
There are 1,000 screenshots a month free with no card; paid plans start at $5 for 3,000. Learn about ScreenshotNeo, then sign up free to capture 1,000 screenshots a month without a card.
7. Performance, reliability, and cost
With Playwright or Puppeteer, the main operational work is running the browser: install compatible browser binaries, allocate memory for the page and image, and close browser and page resources when jobs finish. Reusing a browser process for multiple captures can avoid repeated startup, but isolate each job’s page context when cookies or session state must not leak between tasks.
Very large full-page images, high device scale factors, and many concurrent browser instances increase memory pressure and output size. Start with the smallest viewport and scale that meets the use case, and cap concurrency based on the capacity of the host. If capture is part of a queue, record the target URL, elapsed time, final dimensions, and error so failed jobs can be diagnosed and retried selectively.
For reliability, distinguish navigation timeout from a page that loaded but never reached the expected UI state. Give navigation and readiness waits bounded timeouts. When a retry is appropriate, use a small retry limit and avoid retrying permanent failures such as an invalid selector or unauthorized page. Store screenshots with the browser version, viewport, and relevant test context when they serve as regression evidence.
Local capture has no per-request screenshot API charge, but it consumes compute and maintenance time: browser installation, upgrades, execution capacity, and debugging are part of the cost. A hosted API trades that setup for a service plan and request limits. ScreenshotNeo’s stated tiers are Free: 1,000 shots/month; Starter: $5 for 3,000; Growth: $15 for 15,000; Pro: $39 for 60,000; Scale: $99 for 250,000; Business: $249 for 1,000,000. Yearly billing gives two months free, and every feature is on every plan.
8. Troubleshooting
| Symptom | Likely cause | Fix |
|---|---|---|
| Browser executable missing | The automation package is installed but its browser binary is not | Install the browser for the library and verify the runtime’s supported setup. |
| Navigation timeout | The site is slow, unreachable, or never reaches the selected wait condition | Check the URL and network access; select a wait condition that fits the page and keep a bounded timeout. |
| Screenshot shows a spinner or skeleton | Capture ran before the final UI rendered | Wait for a meaningful visible selector or application-ready state. |
| Element not found | Selector is wrong, the element is in a frame, or it has not rendered | Inspect the DOM, wait for the element, and target the correct frame when needed. |
| Full-page image is missing sections | Content is lazy-loaded or appears after scrolling | Scroll through the page to trigger loading, wait for content, then recapture. |
| Visual test differs on CI | OS, browser, hardware, or headless rendering differs from the baseline | Pin and align the browser and execution environment before treating the difference as a product regression. |
| Image is unexpectedly large | Full-page dimensions, high scale factor, or lossless format produced many pixels | Capture only the needed region, reduce scale where acceptable, or choose JPEG/WebP if fidelity requirements permit. |
9. Practical checklist
- Choose viewport, full-page, or element capture to match the artifact.
- Set viewport dimensions before navigation or capture so layout is predictable.
- Wait for the page state you need rather than relying on an arbitrary delay.
- Use a selector that identifies the intended element and wait for visibility.
- Select PNG, JPEG, or WebP based on fidelity and file size needs.
- For visual tests, keep OS, browser version, viewport, and rendering mode consistent.
- Close browser resources and bound timeouts, retries, and concurrency.
10. FAQ
Can I take a screenshot without opening a visible browser window?
Yes. Browser automation libraries can run a browser in headless mode, so the page is rendered without a visible desktop window. Rendering can still differ between headless and headed environments, which matters for pixel comparisons.
Can I capture a page that requires authentication?
Yes, if the automation session can access it. Set up the required login or session state before navigating to the page, and avoid sharing that state across unrelated jobs.
Which library should I pick?
Use the runtime and test ecosystem your project already has. If you need the documented visual assertion workflow in Playwright Test, that is a useful reason to choose Playwright; if your automation is built around Chrome, Puppeteer is also suitable.
Does a full-page screenshot include content below the fold?
It captures beyond the viewport, but pages that load sections only after scrolling may need scrolling and waits first so that content exists before capture.


