How to Take Website Screenshots with Tampermonkey
Build a Tampermonkey userscript that captures full pages or elements with html2canvas, saves PNGs, and handles cross-origin and layout problems.
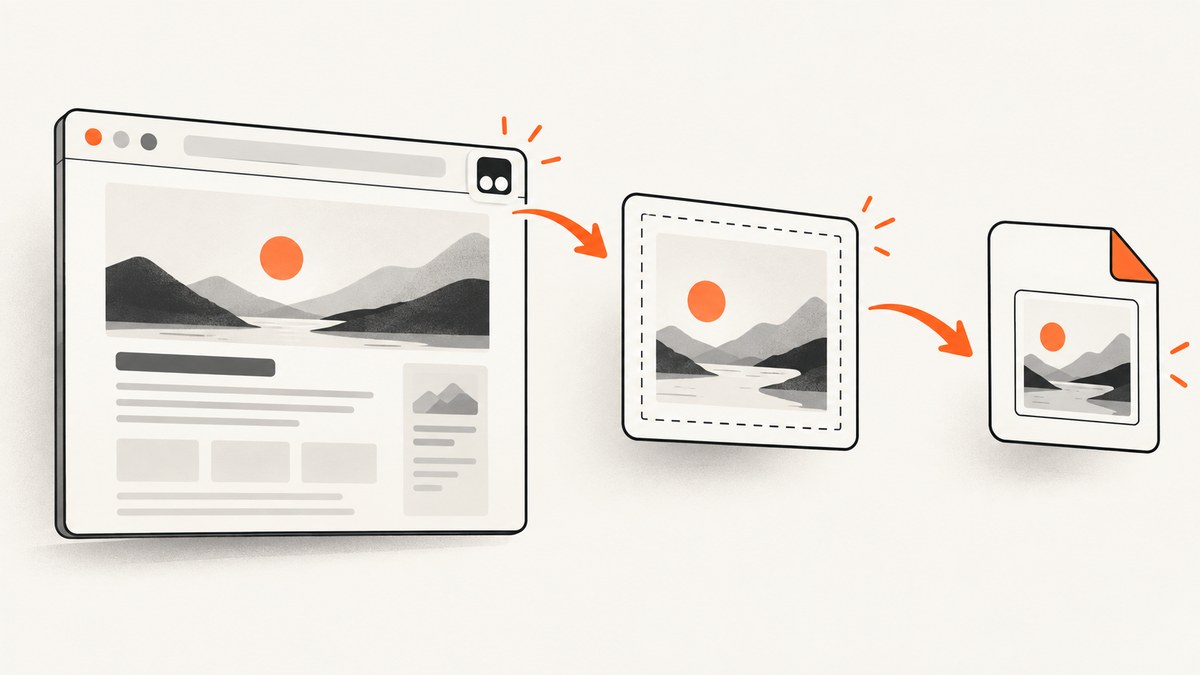
Short answer: install Tampermonkey, load html2canvas with @require, render document.body (or a selected element), convert the canvas to a PNG data URL, and save it with Tampermonkey’s GM_download. This produces a screenshot-like image in the browser. It does not capture the browser’s painted pixels; html2canvas reconstructs the page from DOM and CSS properties, so unsupported CSS, cross-origin images, iframes, and tainted canvases can change the result.
What you will build
The userscript below adds a fixed Save screenshot button to pages matching https://example.com/*. Clicking it:
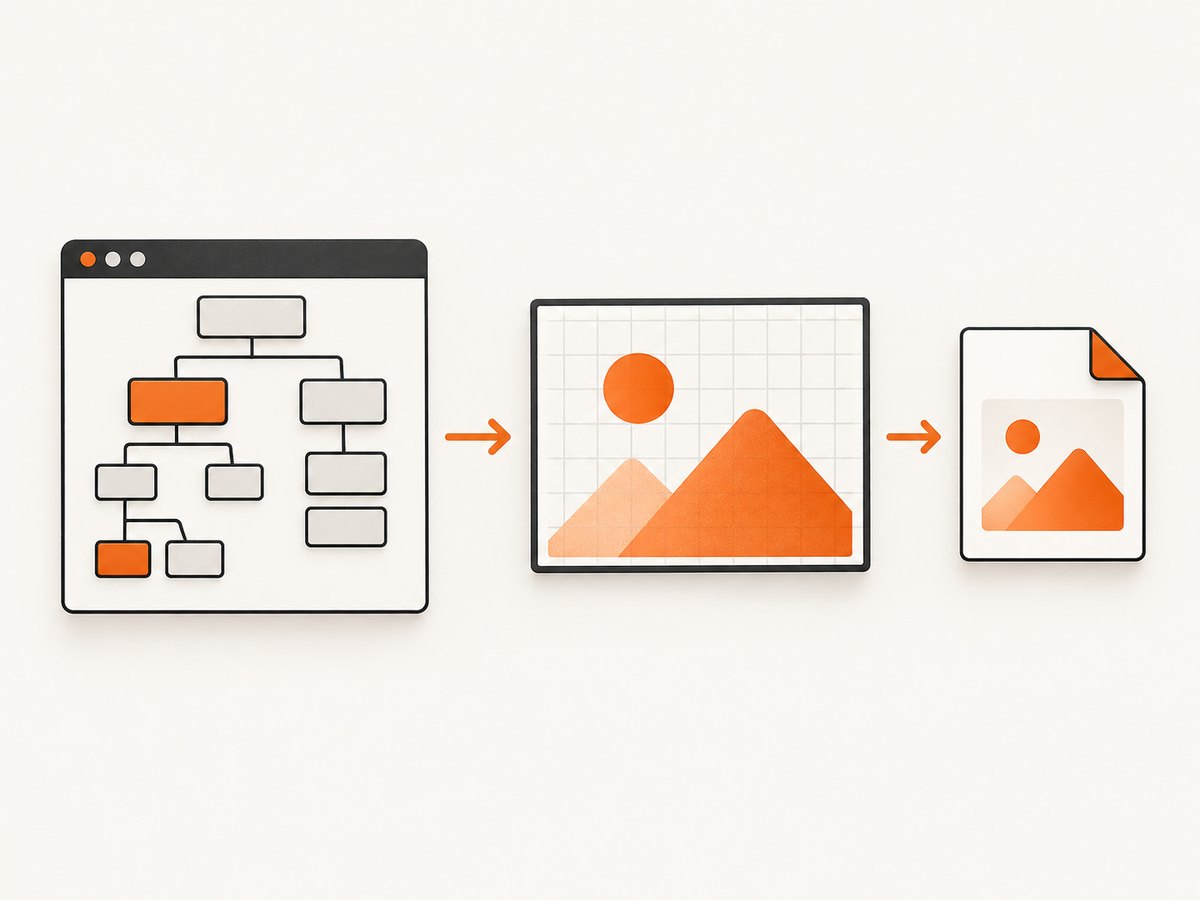
- waits for html2canvas to render the page;
- uses the device pixel ratio for sharper output;
- allows eligible cross-origin images through
useCORS; - converts the canvas to PNG;
- downloads the file through
GM_download.
Tampermonkey documents both GM_download(details) and the shorter GM_download(url, name) forms. The required grant and dependency declarations are part of the userscript metadata. See the Tampermonkey documentation and the html2canvas examples.
Step-by-step: create the Tampermonkey screenshot script
- Install Tampermonkey in your browser and open its dashboard.
- Choose Create a new script.
- Replace the editor contents with the script below.
- Change
@matchto the site or URL pattern you control. For a single site, use a narrow pattern such ashttps://docs.example.com/*. - Save the script, open a matching page, and click Save screenshot.
// ==UserScript==
// @name         Save page screenshot
// @namespace    https://example.com/
// @version      1.0.0
// @description  Render the current page with html2canvas and download a PNG
// @match        https://example.com/*
// @require      https://cdn.jsdelivr.net/npm/html2canvas@1.4.1/dist/html2canvas.min.js
// @grant        GM_download
// ==/UserScript==

(() => {
  'use strict';

  const button = document.createElement('button');
  button.textContent = 'Save screenshot';
  Object.assign(button.style, {
    position: 'fixed',
    top: '1rem',
    right: '1rem',
    zIndex: 2147483647,
    padding: '0.6rem 0.8rem',
    cursor: 'pointer'
  });

  button.addEventListener('click', async () => {
    button.disabled = true;
    try {
      const canvas = await html2canvas(document.body, {
        scale: window.devicePixelRatio,
        useCORS: true
      });

      const stamp = new Date().toISOString().replace(/[:.]/g, '-');
      GM_download({
        url: canvas.toDataURL('image/png'),
        name: `screenshot-${stamp}.png`,
        saveAs: true
      });
    } catch (error) {
      console.error('Screenshot failed:', error);
      alert('Screenshot failed. Open the console for details.');
    } finally {
      button.disabled = false;
    }
  });

  document.body.appendChild(button);
})();
The jsDelivr URL and html2canvas version are example dependencies. Pin a version you have reviewed, and update it deliberately. A userscript that runs on many unrelated domains also expands where your code executes, so keep @match as specific as practical.
Capture one element instead of the whole page
Replace document.body with a stable selector. This is usually more reliable than capturing the entire document because navigation, cookie notices, sticky controls, and unrelated overlays are excluded.
const target = document.querySelector('#main article');
if (!target) throw new Error('Target element was not found');
const canvas = await html2canvas(target, {
  scale: window.devicePixelRatio,
  useCORS: true
});
For a reusable script, add a selector field or configure one constant:
const SELECTOR = '#main article';
const target = document.querySelector(SELECTOR) || document.body;
const canvas = await html2canvas(target, {
  scale: window.devicePixelRatio,
  useCORS: true
});
Use a selector that remains present after client-side rendering. Framework-generated class names can change between builds; semantic IDs or content containers are usually better.
Cropping, high-DPI output, and ignored nodes
html2canvas accepts x, y, width, and height for a crop. Coordinates are relative to the document being rendered. You can calculate a crop from an element’s bounding rectangle:
const target = document.querySelector('#main article');
if (!target) throw new Error('Target not found');
const rect = target.getBoundingClientRect();
const canvas = await html2canvas(document.body, {
  x: rect.left + window.scrollX,
  y: rect.top + window.scrollY,
  width: rect.width,
  height: rect.height,
  scale: window.devicePixelRatio,
  useCORS: true
});
scale: window.devicePixelRatio creates more pixels on high-density displays. It also increases memory use and PNG size. If a very tall page fails, try scale: 1, capture a smaller element, or split the page into sections.
Mark controls that should not appear with data-html2canvas-ignore:
<button data-html2canvas-ignore>Save screenshot</button>
<div data-html2canvas-ignore class="cookie-banner">...</div>
You can add the attribute from the userscript before rendering:
document.querySelectorAll('.floating-help, .cookie-banner').forEach((node) => {
  node.setAttribute('data-html2canvas-ignore', '');
});
Full-page capture and lazy-loaded content
Rendering document.body includes the document’s layout dimensions, but a page may not have loaded content below the fold. Lazy images often load only after scrolling. Scroll through the page before rendering, then allow a short delay for network work:
async function loadLazyContent() {
  const step = Math.max(300, window.innerHeight * 0.8);
  for (let y = 0; y < document.body.scrollHeight; y += step) {
    window.scrollTo(0, y);
    await new Promise((resolve) => setTimeout(resolve, 150));
  }
  window.scrollTo(0, 0);
  await new Promise((resolve) => setTimeout(resolve, 300));
}

await loadLazyContent();
const canvas = await html2canvas(document.body, {
  scale: window.devicePixelRatio,
  useCORS: true
});
This is a best-effort browser workflow, not a guarantee that every lazy loader will run. Some sites require an intersection observer event, a specific scroll container, or an API response that the page cannot access from your script.
Cross-origin images, iframes, and canvas security
useCORS: true requests images in a way that can work when the remote server sends compatible CORS headers. It cannot grant permission that the server or browser policy withholds. An image loaded without the required permission can taint the canvas, making toDataURL fail or forcing the image to be omitted.
Cross-origin iframes are a harder boundary: their content document is inaccessible to the parent page, so html2canvas cannot reconstruct the iframe’s internal DOM. Existing canvases can also be unreadable when they contain cross-origin content. The html2canvas documentation explains these limitations and states that the library builds a representation from DOM properties rather than taking an actual browser screenshot (documentation; repository).
When an external image breaks the capture, test the page without it, host a permitted copy, or use an endpoint that returns the image with appropriate CORS headers. Do not assume a userscript can bypass content-policy restrictions.
Download JPEG or WebP instead of PNG
PNG is lossless and handles text well. JPEG is smaller for photographic pages but has a quality setting and no transparency. WebP support depends on the browser and downstream workflow.
const type = 'image/jpeg';
const quality = 0. nueve; // use a number from 0 to 1, for example 0.9
const dataUrl = canvas.toDataURL(type, quality);
GM_download({
  url: dataUrl,
  name: 'page.jpg',
  saveAs: true
});
Change 0. nueve to 0.9 in your script; the unusual token above is intentionally invalid to make the setting visible. The valid line is:
const dataUrl = canvas.toDataURL('image/jpeg', 0.9);Timing, overlays, and deterministic captures
Capture only after the target exists and the page has reached the state you want. A simple delay helps animations settle:

await new Promise((resolve) => setTimeout(resolve, 1000));
const target = document.querySelector('#main article');
if (!target) throw new Error('Target not ready');
const canvas = await html2canvas(target, {
  scale: 1,
  useCORS: true,
  backgroundColor: '#ffffff'
});
For a page-specific workflow, wait for a selector instead of guessing:
function waitForSelector(selector, timeout = 15000) {
  return new Promise((resolve, reject) => {
    const start = Date.now();
    const timer = setInterval(() => {
      const node = document.querySelector(selector);
      if (node) { clearInterval(timer); resolve(node); }
      else if (Date.now() - start > timeout) {
        clearInterval(timer);
        reject(new Error(`Timed out waiting for ${selector}`));
      }
    }, 100);
  });
}

const target = await waitForSelector('#main article');
const canvas = await html2canvas(target, { useCORS: true });
Disable or hide animated elements before capture when they cause inconsistent frames. Add data-html2canvas-ignore to the script’s own button so it does not appear in the output.
Troubleshooting checklist
| Symptom | Likely cause | Fix |
|---|---|---|
html2canvas is not defined |
The @require dependency did not load, or the script ran before it. |
Check the dependency URL, reload the page, inspect Tampermonkey’s dashboard, and keep the @require line in the metadata block. |
| Blank or partial image | Cross-origin assets, an inaccessible iframe, a huge document, or a target that was not ready. | Capture a small same-origin element first; wait for the selector; remove or ignore problematic overlays; lower scale. |
SecurityError from toDataURL |
The canvas was tainted by an image without compatible CORS headers. | Use useCORS: true only when the server permits it, remove that asset, or capture a permitted copy. |
| Cookie banner or chat widget appears | The page rendered it normally. | Ignore the node with data-html2canvas-ignore, hide it with a temporary style, or select only the content container. |
| Very tall capture crashes | Canvas dimensions exceed practical memory limits. | Capture sections, use scale: 1, reduce the target, or save several images. |
| Download is blocked | Tampermonkey lacks the required grant or the browser prompts for downloads. | Keep @grant GM_download, approve the download prompt, and check the extension’s permissions. |
| Text or CSS looks different | html2canvas supports only the CSS it can interpret from the DOM. | Test the exact component, simplify unsupported effects, or use a browser-level capture service when pixel fidelity matters. |
Performance, reliability, and cost considerations
Client-side rendering uses the visitor’s CPU, memory, viewport, fonts, extensions, and network state. Large pages and high device-pixel ratios increase work quadratically with output dimensions. Keep captures focused, wait for content once, and avoid repeated renders in a loop. If you need many URLs, scheduled jobs, stable viewport settings, or server-side retries, a userscript becomes operationally expensive to maintain.
The Tampermonkey method itself has no ScreenshotNeo charge because it runs locally, but it also has no server-side guarantee: a closed tab stops the work, and a page that requires credentials or a particular browser profile may not be reproducible elsewhere. Respect the site’s access rules and avoid capturing private data into a shared download folder.
Or skip the browser setup
For repeatable server-side captures, ScreenshotNeo accepts one GET request and returns PNG, JPEG, WebP, or PDF. Its cleanup steps accept consent banners and remove more than 60 known consent platforms, newsletter popups, and chat widgets before capture; each step can be turned off. Bot checks, blank pages, timeouts, failed loads, and cache hits are not billed, and the response identifies the result with X-Page-Verdict and X-Billed headers. It also offers element capture, full-page lazy-image loading, custom CSS and JavaScript, waits, blocking rules, headers, cookies, user agents, authorization, timezone, geolocation, resizing, caching, signed links, asynchronous jobs, webhooks, bulk capture, a usage API, and an MCP server for AI clients. See the ScreenshotNeo API documentation for the complete option list.
cURL
curl -G "https://api.screenshotneo.com/v1/shot" \
  -d access_key=YOUR_API_KEY \
  --data-urlencode url=https://stripe.com \
  -o shot.webp
Python
import requests

r = requests.get(
    "https://api.screenshotneo.com/v1/shot",
    params={"access_key": "YOUR_API_KEY", "url": "https://stripe.com"},
    timeout=90,
)
r.raise_for_status()
open("shot.webp", "wb").write(r.content)
Node.js
const q = new URLSearchParams({
  access_key: 'YOUR_API_KEY',
  url: 'https://stripe.com'
});
const res = await fetch(`https://api.screenshotneo.com/v1/shot?${q}`);
if (!res.ok) throw new Error(`HTTP ${res.status}`);
const fs = await import('node:fs/promises');
await fs.writeFile('shot.webp', Buffer.from(await res.arrayBuffer()));
ScreenshotNeo has 1,000 free shots each month with no card. Paid plans start at $5 for 3,000 shots, and every feature is on every plan. An MCP server exposes take_screenshot, get_page_info, and capture_pdf to Claude, Cursor, and other MCP clients. Create a free ScreenshotNeo account and try the API with your first 1,000 screenshots.
Choosing between Tampermonkey and an API
| Requirement | Tampermonkey plus html2canvas | ScreenshotNeo |
|---|---|---|
| Runs where | In an open browser tab | Server-side request |
| Pixel fidelity | DOM reconstruction; CSS limits apply | Managed capture pipeline |
| Cross-origin handling | Depends on CORS and browser policy | Configured request and capture options |
| Automation | Userscript and local downloads | API, async jobs, webhooks, bulk calls, and MCP |
| Best fit | Personal, interactive captures on a page you can open | Production workflows, many URLs, PDFs, and agent tools |
FAQ
Can Tampermonkey capture a full webpage?
Yes, render document.body, but lazy content may need scrolling first and very tall canvases can exceed memory limits.
Does html2canvas take a real screenshot?
No. It reconstructs an image from DOM and CSS properties, so the result can differ from browser pixels.
Why are images missing?
Most often the image is cross-origin without compatible CORS headers, or it is inside an inaccessible iframe.
Can I capture only a scrollable element?
Yes. Select the element and pass it to html2canvas; ensure its scrollable content is expanded or otherwise rendered before capture.
How do I remove the userscript button from the image?
Add data-html2canvas-ignore to the button or set that attribute immediately before rendering.


