How to Create Demo Videos of Websites and Web Apps
Plan, record, edit, caption, and share a clear website or web-app demo, with practical browser and desktop workflows and troubleshooting.
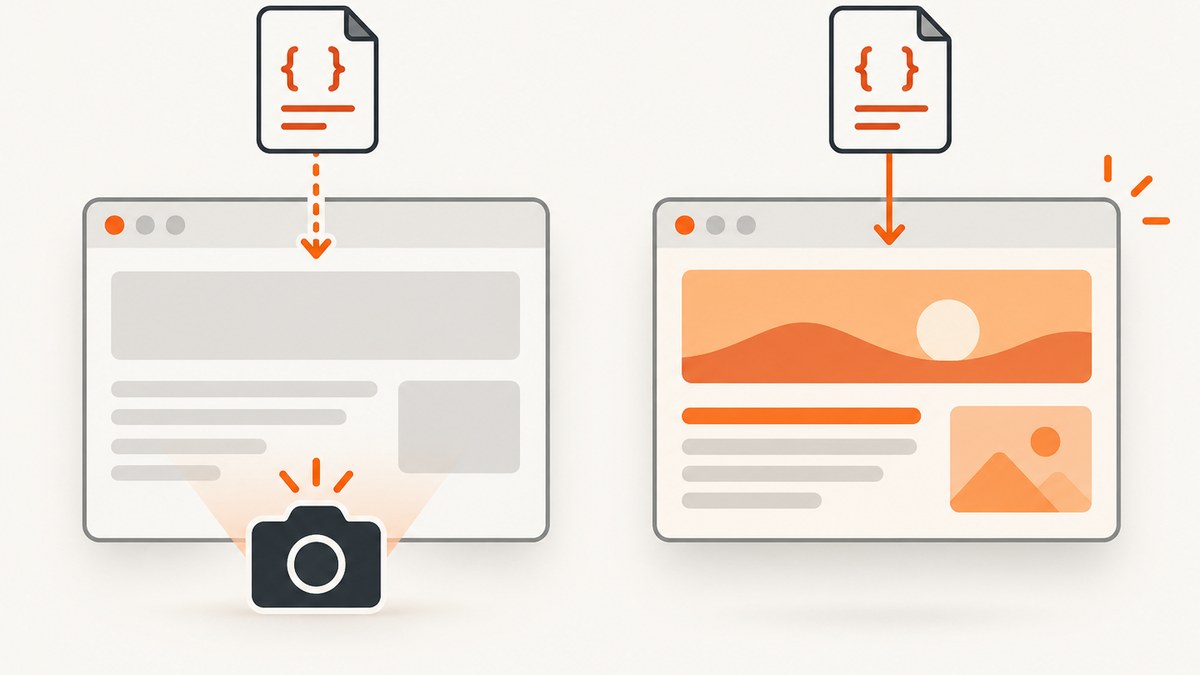
A useful website or web-app demo shows one audience how to complete one meaningful task, then tells them what to do next. Decide on that outcome before you record, prepare a clean browser state, rehearse the click path, capture the screen and narration, trim pauses, add captions, and share the video near the relevant feature or call to action.
For a single feature or workflow, keep the demo short; Loom describes short-form product demos as typically under three minutes. A longer walkthrough makes sense for onboarding or a deeper explanation, as long as every section supports the viewer’s goal. If you need a visual asset rather than a narrated walkthrough, a screenshot can complement the video; ScreenshotNeo captures website screenshots and PDFs through an API and MCP server.
1. Decide what the viewer should learn
Start with the viewer’s next step, not a tour of every menu. Loom’s product-demo guidance recommends asking what you want the viewer to do after watching. That answer can be “understand how to invite a teammate,” “try this report,” or “start a trial.” Choose one learning outcome and one call to action. The demo will be easier to script and easier to evaluate when the intended outcome is specific.
Write a one-sentence brief
- Audience: Who is watching, and what do they already know?
- Problem: What task or obstacle brought them here?
- Outcome: What should they understand or be able to do?
- Next step: What single action should follow the video?
For example: “A new team admin will learn how to invite a colleague and will then add their first teammate.” This keeps the recording focused on a real problem. Features matter when they help solve it; a feature list without a task gives viewers little reason to remember what they saw.
2. Choose the length and recording style
Match the scope to the viewing situation. A product update, one feature, or one use case usually suits a short demo. Use a longer walkthrough when the viewer needs a sequence of onboarding steps or a deeper explanation. Remove steps that do not advance the stated outcome, even if they are part of the product.
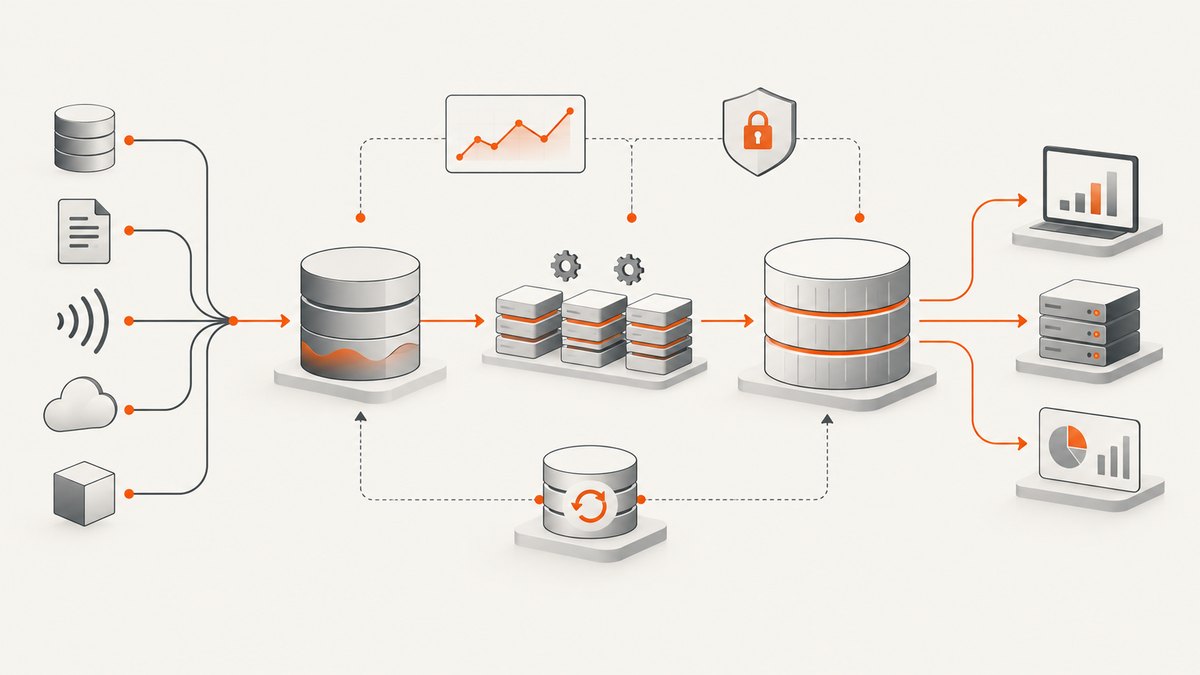
| Situation | Useful format | What to include |
|---|---|---|
| Feature announcement | Short screen recording | Problem, feature in action, result, next step |
| Prospect evaluating a workflow | Focused narrated walkthrough | Realistic task path and the outcome it produces |
| Customer onboarding | Chaptered or multi-video walkthrough | One task per section or video, with clear transitions |
| Release note or quick tip | Short screen-only clip | What changed and where to find it |
Choose screen-only when the interface should hold attention. Screen plus camera can add a personal presence, especially when introducing a product or speaking to a customer. A camera view is optional: it should help the explanation, not compete with the interface. A browser recorder is convenient for quick, browser-based sharing; a desktop recorder can be a better fit when you need more control over capture size, high-definition recording, or multiple recording modes.
3. Prepare a clean, repeatable browser state
Recording quality depends as much on preparation as on the recorder. Set up the exact account, data, viewport, and page state the viewer will see. A test account with realistic sample data avoids exposing live customer details and makes it easier to repeat a take.
- Use a suitable account. Confirm permissions and seed the account with sample data that makes the workflow understandable.
- Set the viewport. Pick the browser size that matches where the video will be watched. Keep important controls visible and text legible.
- Clean the desktop and browser. Close unrelated tabs, hide notifications, and remove bookmarks or personal details that will distract or disclose information.
- Stabilize the page. Wait for loading and animations to finish. Confirm menus, dialogs, and banners will appear as intended.
- Rehearse the path. Click through the task once or twice. Note the exact starting screen, required inputs, and final result.
- Check audio. Test microphone input and reduce background noise. Speak at a steady pace and explain what an action accomplishes.
Protect sensitive information before recording. Check the browser profile, account name, visible email addresses, notifications, and any customer or billing data in the capture area. If the workflow requires authentication, use a recording account with only the access needed for the demo.
4. Record the demo
Use a browser-first recorder when speed and a shareable video link are the priority. Loom documents browser capture with screen and audio, optional camera, and screen-only recording. Its desktop workflow describes high-definition and custom-size capture, with screen-only, screen-and-camera, and camera-only modes. Camtasia is another desktop recorder and editor described by TechSmith for screen recordings, presentations, and demos. Check each vendor’s current plan limits, export options, caption availability, and privacy controls before choosing a tool.
A repeatable recording sequence
- Open the prepared page and start screen capture. Select screen-only or screen plus camera.
- Pause briefly before speaking so the opening does not feel rushed.
- Introduce the task and its value in one sentence.
- Follow the rehearsed path. Narrate the user’s goal and the result of each important action.
- Pause on the finished state so viewers can see the outcome.
- State one next step, then stop the recording.
Do not narrate every click. Explain why a step matters and what changes on screen. If you mistype, miss a click, or lose your place, stop and record another take when the error is difficult to trim without disrupting the explanation. A second clean take is often simpler to edit than a long recording with several restarts.
5. Edit for clarity and accessibility
Editing should make the task easier to follow. Trim the setup, mistakes, long pauses, and navigation dead time. Keep transitions only when they help the viewer understand where they are. Add captions or a transcript so people who cannot or prefer not to hear the audio can still follow the explanation. Loom documents editing, trimming, captions, annotations, and sharing; confirm the current availability of the features you plan to use.
- Trim precisely: Remove silence at the beginning and end, plus pauses that do not help comprehension.
- Keep cursor movement purposeful: Move the pointer to the control you are discussing. Avoid circling or sweeping around the page without a reason.
- Use emphasis sparingly: An annotation or zoom can draw attention to a small control, but repeated effects compete with the product itself.
- Review captions: Correct product names, technical terms, and punctuation. Captions that misidentify a key control can confuse viewers.
- Watch the final cut once: Check that the opening establishes the task, the result is visible, and the final call to action is clear.
Keep the exported video and any transcript in a place your team can maintain. If the interface changes, note which demos depend on the old flow so you can update them rather than letting instructions drift.
6. Share the video where it helps
A shareable link is convenient when the audience needs immediate access; an embed works when the video belongs next to a feature, help article, or landing-page call to action. Loom documents instant links and website embeds. Put the demo close to the task it explains, give it a descriptive title, and state the next action alongside it. Avoid making viewers search for the feature discussed in the recording.
Choose access settings deliberately. A public or link-accessible recording can be forwarded beyond its intended audience. Review the recording for secrets and personal data, and use the sharing controls appropriate to the content. If you want to understand whether viewers reach the next step, connect the video placement to that action in your normal analytics rather than treating views alone as success.
7. Capture a consistent screenshot for a demo page
A video explains motion and sequence; a screenshot can show the finished state in a feature page, help article, or release note. For a simple static image, capture the prepared browser screen with your operating system’s screenshot utility. For repeatable website captures, automate a browser or use a screenshot API. Keep the capture viewport consistent with the demo, and verify the image has no test credentials, personal data, or overlays that obscure the result.
Do-it-yourself browser capture with Playwright
This Node.js example opens a page, waits for it to settle, and saves a full-page screenshot. It is a separate image-capture workflow, not a video recorder. Install Playwright and its browser once, then run the script:
npm init -y
npm install playwright
npx playwright install chromium
// screenshot.mjs
import { chromium } from 'playwright';
const browser = await chromium.launch({ headless: true });
const page = await browser.newPage({ viewport: { width: 1440, height: 900 } });
try {
await page.goto('https://example.com', { waitUntil: 'networkidle', timeout: 60000 });
await page.screenshot({ path: 'demo-page.png', fullPage: true });
} finally {
await browser.close();
}Save the file as screenshot.mjs and run node screenshot.mjs. Replace the example URL with a page you are allowed to capture. For a page that keeps network connections open, such as one using analytics or live updates, networkidle may never occur; use domcontentloaded and wait for a specific selector instead. If the page requires sign-in, use an authorized test account and handle its session data securely.
Equivalent API calls
For a one-off capture, cURL can save the response body to a file. Python can make the same request with Requests. Node.js can use the built-in Fetch API. These examples save a page image; they do not record narration or a video.
curl -G "https://api.screenshotneo.com/v1/shot" \
  -d access_key=YOUR_API_KEY \
  --data-urlencode url=https://example.com \
  -o shot.webp
import requests
r = requests.get(
"https://api.screenshotneo.com/v1/shot",
params={"access_key": "YOUR_API_KEY", "url": "https://example.com"},
timeout=90,
)
r.raise_for_status()
open("shot.webp", "wb").write(r.content)const q = new URLSearchParams({
access_key: 'YOUR_API_KEY',
url: 'https://example.com'
});
const res = await fetch(`https://api.screenshotneo.com/v1/shot?${q}`);
if (!res.ok) throw new Error(`Screenshot request failed: ${res.status}`);
await Bun.write('shot.webp', res);For Node.js without Bun, replace the final line with code that writes the response bytes using Node’s node:fs/promises module. Read the ScreenshotNeo API documentation for the supported response formats and request options.
8. Or skip the browser setup
ScreenshotNeo provides a website screenshot API: one GET request takes a URL and returns an image or PDF. For a page image, the call can be as small as this:
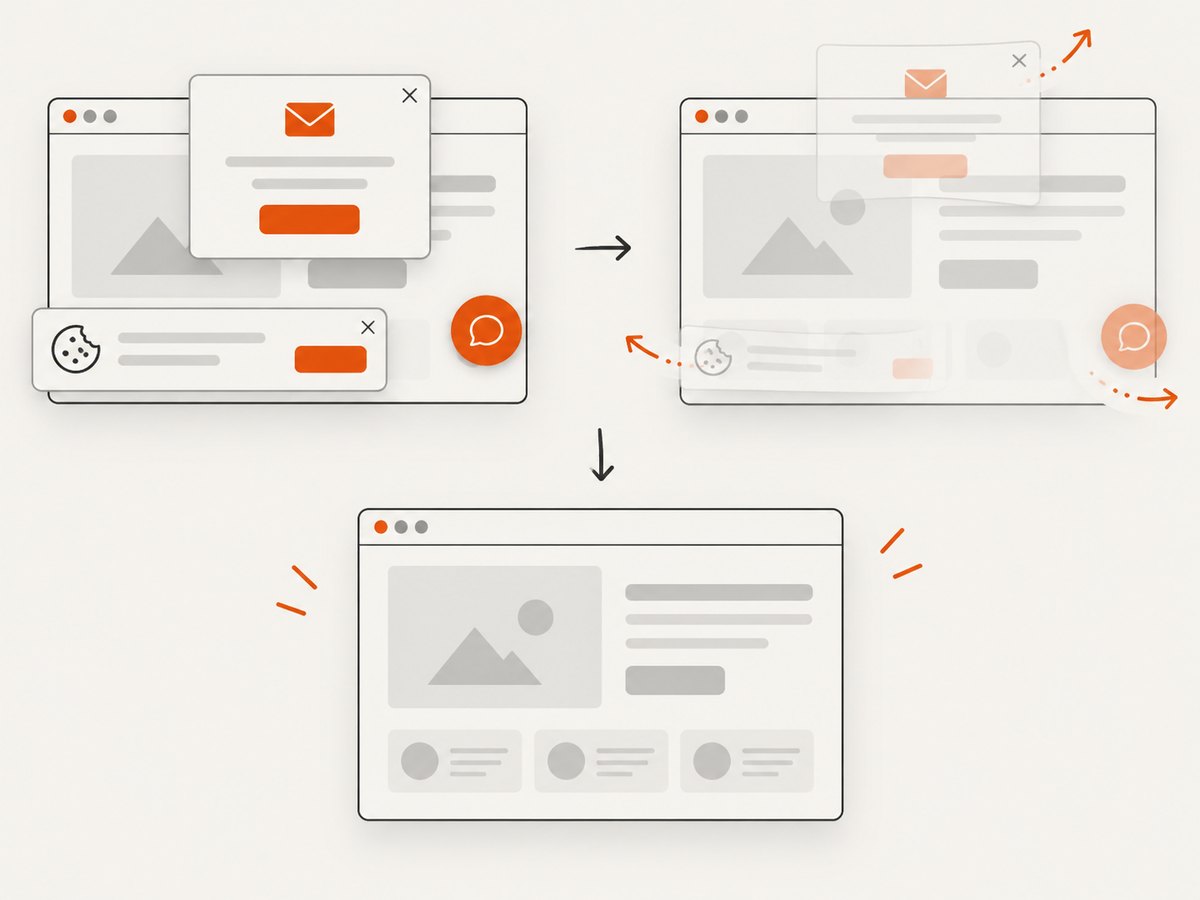
curl -G "https://api.screenshotneo.com/v1/shot" -d access_key=YOUR_API_KEY --data-urlencode url=https://stripe.com -o shot.webpScreenshotNeo accepts cookie or consent banners like a visitor and removes more than 60 known consent platforms, newsletter popups, and chat widgets before the shot; each step can be turned off. Bot checks, blank pages, timeouts, failed loads, and cache hits cost nothing, and response headers report the page verdict and billing status. Its MCP server offers take_screenshot, get_page_info, and capture_pdf for Claude, Cursor, and other MCP clients. The free plan includes 1,000 screenshots a month with no card; paid plans start at $5 for 3,000. It captures screenshots and PDFs, so use a video recorder for motion, audio, and narration.
Sign up for 1,000 free screenshots a month, with no card.
9. Troubleshooting
| Problem | Likely cause | Fix |
|---|---|---|
| Video begins with a delay or a blank page | The app had not loaded or settled before recording. | Prepare the page first, wait for the important content, and capture a fresh take. |
| Audio is missing or hard to hear | The recorder used the wrong input, or the microphone level/background noise was poor. | Check input selection and record a short sound check before the full demo. |
| Clicks are difficult to follow | The path was unrehearsed, cursor movement was fast, or the viewport hid controls. | Rehearse the flow, slow down, keep the target visible, and explain the result of each key action. |
| Captions contain product terms incorrectly | Automatic transcription misheard a name or acronym. | Review and correct the caption track or transcript before sharing. |
| Screen capture exposes private data | The recording account or notifications contained real information. | Use a clean test account, close notifications, inspect the exported video, and rerecord if sensitive data appears. |
| Playwright screenshot times out waiting for network idle | The application keeps network traffic active. | Wait for domcontentloaded or a task-specific selector, then capture after that condition. |
| Screenshot output is an error response | The request failed or returned an error instead of image bytes. | Check the HTTP status before saving, confirm credentials and URL encoding, and consult the API response details. |
| Automated capture differs from the demo | Viewport, account state, page data, or timing differs. | Match the viewport and test data, wait for the same page state, and use a stable capture condition. |
10. Performance, reliability, and cost
For video, the largest practical time savings usually come from a prepared test account and a rehearsed path: they reduce retakes and editing. Keep the scope tight, and choose a recording mode and output quality that suits where the audience will watch. Confirm current export resolution, storage, caption, and plan limits directly with the recorder vendor because those details can change.
For scripted screenshots, reuse a browser process for batches rather than launching one for every URL, and set explicit timeouts. Wait for the state that matters rather than a global quiet period when a site has persistent network activity. A full-page capture can be slower or larger than a viewport capture. For API usage, check response status and billing headers, and use caching where a page does not need to be recaptured on every request. ScreenshotNeo offers selectable output formats, caching with a chosen TTL, bulk capture up to 100 URLs per call, and async jobs with signed webhooks. Its stated plans are Free: 1,000 monthly shots; Starter: $5 for 3,000; Growth: $15 for 15,000; Pro: $39 for 60,000; Scale: $99 for 250,000; Business: $249 for 1,000,000. Yearly billing gives two months free, and every feature is on every plan. Treat these as product-provided prices and verify the current plan details before purchase.
FAQ
Should I show my face in a product demo?
Only when it helps the audience connect with the explanation. Screen-only recording keeps attention on the interface; screen plus camera adds personal presence. Both are documented modes in Loom’s capture workflows.
How long should a web-app demo be?
Use the shortest length that completes the viewer’s task. Loom describes short-form demos as typically under three minutes; onboarding or deep dives may need more time and can be divided into focused sections.
Can I use a screenshot instead of a video?
Use a screenshot when the viewer needs a static reference or a preview of a finished state. Use video when motion, a sequence of actions, audio, or narration is needed to explain the workflow.
What should I measure after publishing?
Choose a measure tied to the intended next step, such as reaching the linked feature or starting the requested workflow. Views alone do not show whether the demo helped the viewer act.
Sources
- Loom/Atlassian product demo guidance (c001).
- Loom product and capture information (c002, c004, c005).
- TechSmith Camtasia product information (c003).


