What Is Headless Chrome Used For?
Headless Chrome runs without a visible window for screenshots, PDFs, DOM inspection, browser tests, and CI automation.
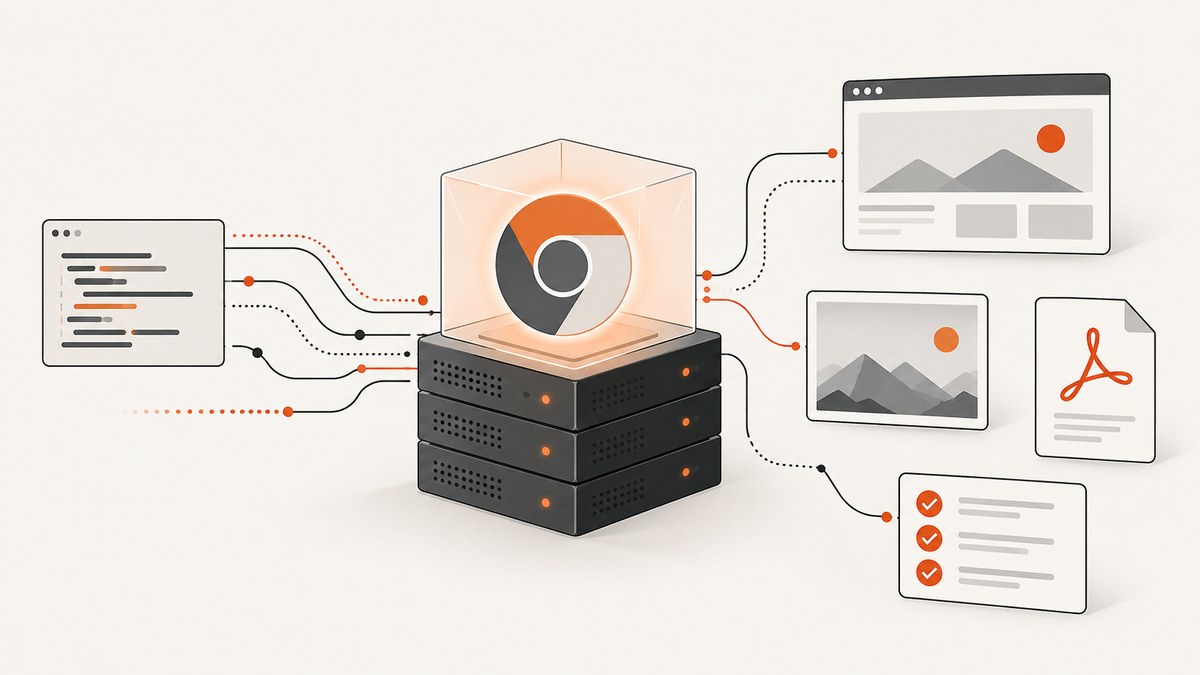
Headless Chrome runs Chrome without displaying a browser window. Developers use it for unattended browser automation: end-to-end tests, screenshots, PDF generation, rendered DOM inspection, responsive checks, and performance workflows in servers, containers, and CI pipelines. Modern Headless uses the same browser implementation as regular Chrome, so it is the usual starting point when browser fidelity matters. Chrome Headless documentation
What is Headless Chrome used for?
Headless Chrome is useful whenever code must operate a real browser without a person watching a window.
- Automated browser testing: drive navigation, clicks, form submissions, and assertions in CI or on a server with Puppeteer, ChromeDriver, Selenium-WebDriver, or another WebDriver client.
- Screenshots and visual checks: capture a viewport, a full page, or a particular element at a repeatable size.
- PDF generation: render a page with Chrome’s print engine and save the result as a PDF.
- Rendered DOM inspection: use
--dump-domto serialize the DOM after Chrome has parsed the document and run scripts. This is different from downloading the original HTML source. - Responsive and display testing: vary viewport size, scale factor, orientation, fullscreen behavior, popups, and multiple virtual screens.
- Performance and network automation: inspect page behavior and intercept or modify requests and responses through an automation library such as Puppeteer.
How Headless Chrome works
A normal Chrome process opens a visible user interface. Headless mode starts the browser engine without showing that interface. The page still loads, executes JavaScript, applies CSS, fetches resources, and paints content before your command or automation script collects an output.
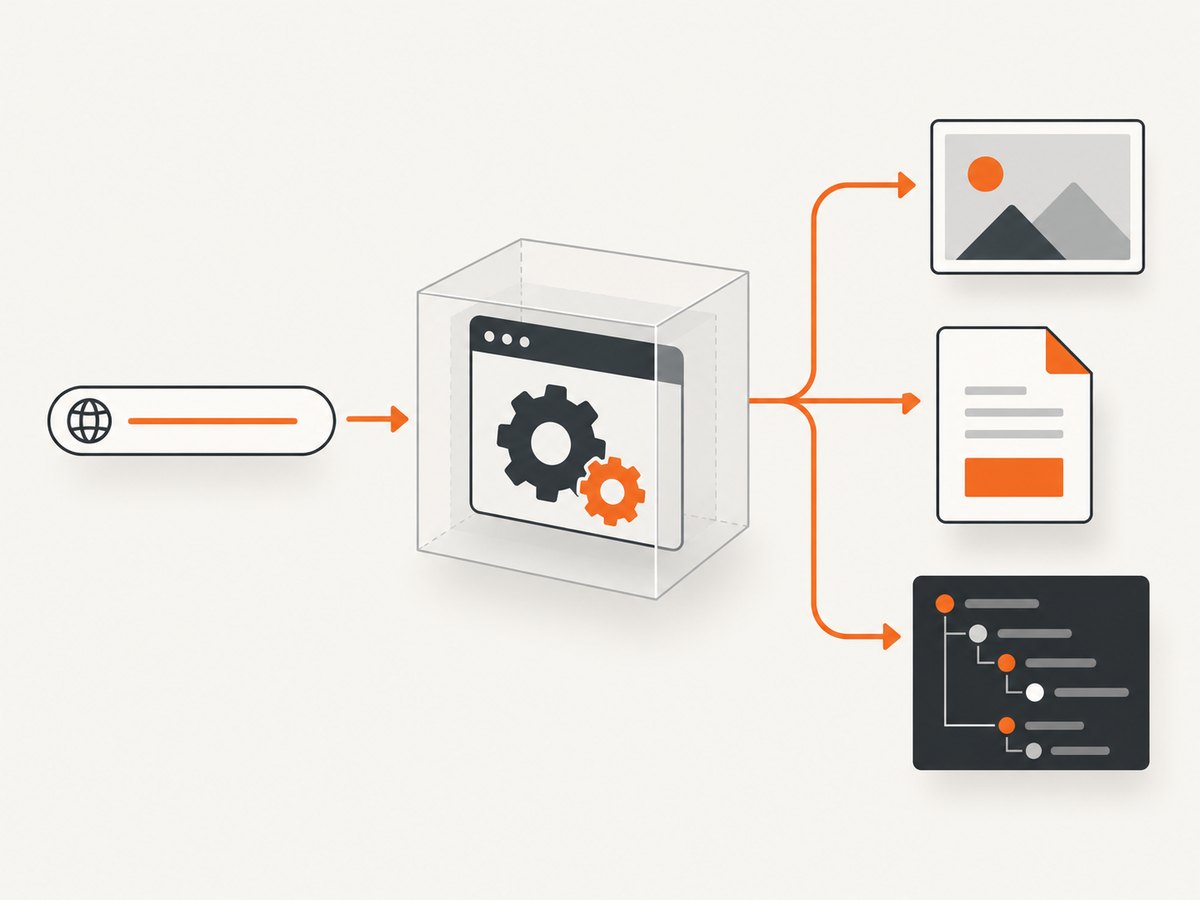
Current Headless mode is unified with Chrome. The older implementation is distributed separately as chrome-headless-shell. Unified Headless is the better default for workflows that need the full browser implementation; the shell is a lighter option when resource and dependency constraints matter. Chrome documents the change beginning with Chrome 112 and the separation of the old implementation after Chrome 132.0.6793.0. See the implementation details.
Quick command-line examples
After installing a Chrome binary that supports Headless mode, these commands cover the basic outputs. The exact executable name can be chrome or google-chrome depending on your operating system.
# Serialize the rendered DOM after scripts run
chrome --headless --dump-dom https://example.com/

# Save a screenshot at a 412 x 892 viewport
chrome --headless --screenshot --window-size=412,892 https://example.com/

# Print a page to PDF
chrome --headless --print-to-pdf https://example.com/
For pages that continue loading or schedule timers, Chrome’s command-line reference also documents --timeout and --virtual-time-budget. Use a timeout to bound the wait and a virtual-time budget when timer-driven code must advance before capture. Read the command-line reference.
Automate Headless Chrome with Puppeteer
Puppeteer provides a high-level JavaScript API for launching Chrome, navigating, interacting with elements, and collecting screenshots or PDFs. Its official guide shows headless: true for current Headless, headless: 'shell' for Headless Shell, and headless: false for a visible browser. Puppeteer documentation
Install and run a basic capture
mkdir headless-demo
cd headless-demo
npm init -y
npm install puppeteer
import puppeteer from 'puppeteer';

const browser = await puppeteer.launch({
  headless: true,
});

const page = await browser.newPage();
await page.setViewport({ width: 1440, height: 900, deviceScaleFactor: 1 });
await page.goto('https://developer.chrome.com/', { waitUntil: 'networkidle2' });
await page.screenshot({ path: 'page.png', fullPage: true });
await browser.close();
Save this as capture.mjs and run node capture.mjs. For a PDF, replace the screenshot call with:
await page.pdf({ path: 'page.pdf', format: 'A4', printBackground: true });
Capture one element
const card = await page.locator('.pricing-card').first();
await card.screenshot({ path: 'pricing-card.png' });
Wait for the element before capturing dynamic pages:
await page.waitForSelector('.pricing-card', { visible: true, timeout: 30000 });
Run a simple browser test
await page.goto('https://example.com/login', { waitUntil: 'domcontentloaded' });
await page.fill('#email', 'user@example.com');
await page.fill('#password', process.env.TEST_PASSWORD);
await page.click('button[type="submit"]');
await page.waitForSelector('[data-test="dashboard"]');
Keep credentials in your CI secret store. Use stable selectors such as data attributes and explicit waits for application state instead of arbitrary sleeps.
Viewport, device, and virtual-screen testing
Headless Chrome can emulate the dimensions your application must support. In Puppeteer, set the viewport directly:
await page.setViewport({
  width: 390,
  height: 844,
  deviceScaleFactor: 3,
  isMobile: true,
  hasTouch: true,
});
Chrome also documents virtual screens for resolution, scale, orientation, fullscreen, kiosk-style behavior, popups, and multi-display scenarios. Use these configurations when a responsive test needs more than one ordinary viewport. Virtual screen configuration
Make runs reproducible in CI
- Pin a Chrome for Testing version rather than relying on an auto-updating desktop installation.
- Use a matching automation client such as Puppeteer or ChromeDriver.
- Set explicit viewport, timezone, locale, and test data values.
- Wait for a meaningful page condition: a selector, navigation state, or application-ready marker.
- Set bounded navigation and test timeouts so a stalled resource cannot consume the whole job.
- Store screenshots, PDFs, console logs, and failure traces as CI artifacts.
Chrome’s automation overview describes Chrome for Testing as a versioned browser option and notes that Puppeteer downloads a compatible Chrome for Testing binary by default. Pinning versions reduces changes caused by browser auto-updates. Chrome automation and testing
Headless Chrome versus Headless Shell
| Choice | Use it when | Trade-off |
|---|---|---|
Unified Headless (--headless) |
You need behavior close to regular Chrome, broad browser features, or extension and end-to-end fidelity. | Uses the full Chrome implementation and may require more dependencies. |
chrome-headless-shell |
You need a lighter standalone binary and your workflow does not require the full Chrome feature set. | It is a separate, lighter implementation, so verify compatibility with your page and tests. |
Useful configuration choices
| Concern | Practical setting |
|---|---|
| When to capture | Use domcontentloaded for fast navigation, networkidle2 for mostly settled pages, or wait for a specific selector for application readiness. |
| Long-running pages | Set navigation and assertion timeouts; avoid waiting forever for analytics, ads, or websockets. |
| Dynamic timers | Use the CLI’s --virtual-time-budget when deterministic timer advancement is required. |
| Output size | Choose viewport dimensions and device scale deliberately; full-page images can be much larger than viewport captures. |
| Network behavior | Puppeteer can intercept requests and responses when a test must block, inspect, or modify traffic. |
| Browser selection | Pin the Chrome for Testing version used by CI and record it with test artifacts. |
Troubleshooting Headless Chrome
Chrome executable not found
Cause: Chrome is not installed, or the automation library cannot locate it. Fix: install Chrome or Chrome for Testing and configure the executable path, or let Puppeteer manage its compatible browser download.
The process exits immediately in a container
Cause: the container lacks required libraries, shared memory, fonts, or a permitted sandbox configuration. Fix: use a container image documented for Chrome, install the required runtime dependencies and fonts, and follow your environment’s sandbox guidance. Avoid disabling security controls unless your deployment model requires it and you understand the consequence.
The screenshot is blank or incomplete
Cause: capture happened before the application rendered, a lazy-loaded section was never triggered, or a required resource failed. Fix: wait for a meaningful selector or readiness signal, scroll when the page lazy-loads content, inspect console and network errors, and increase the bounded timeout only when the page genuinely needs more time.
Tests are flaky
Cause: selectors depend on changing classes, timing relies on arbitrary sleeps, or external services vary. Fix: add stable test identifiers, wait on observable state, isolate test data, and pin browser versions.
PDF layout differs from the screen
Cause: print CSS, page size, margins, or background-print settings differ from screen rendering. Fix: specify paper format and margins, enable background printing when needed, and maintain print-specific CSS.
Navigation times out
Cause: a page keeps connections open or a third-party resource never responds. Fix: use a bounded timeout, wait for the selector that represents readiness, and inspect failed requests rather than waiting for every connection to become idle.
Performance, reliability, and cost considerations
- Startup: launching a browser for every URL adds process startup time. Reuse one browser process and create separate pages when isolation permits.
- Concurrency: limit parallel pages to the CPU and memory available in the worker. Excessive concurrency causes contention and makes timeouts more likely.
- Repeatability: pin the browser, viewport, locale, timezone, and test data. Record versions with artifacts.
- Reliability: use explicit readiness conditions, bounded retries for transient navigation failures, and capture logs when a run fails.
- Cost: self-hosted Headless Chrome costs the compute, storage, browser maintenance, and engineering time required to operate it. A managed screenshot API can move that browser setup out of your application.
Or skip the browser setup
ScreenshotNeo is a website screenshot API and MCP server. Instead of packaging Chrome and maintaining capture workers, make one request for a PNG, JPEG, WebP, or PDF. The API accepts the URL and capture options described in the ScreenshotNeo documentation.
curl -G "https://api.screenshotneo.com/v1/shot" -d access_key=YOUR_API_KEY --data-urlencode url=https://stripe.com -o shot.webp
import requests
r = requests.get("https://api.screenshotneo.com/v1/shot", params={"access_key": "YOUR_API_KEY", "url": "https://stripe.com"}, timeout=90)
open("shot.webp", "wb").write(r.content)
const q = new URLSearchParams({ access_key: 'YOUR_API_KEY', url: 'https://stripe.com' });
const res = await fetch(`https://api.screenshotneo.com/v1/shot?${q}`);
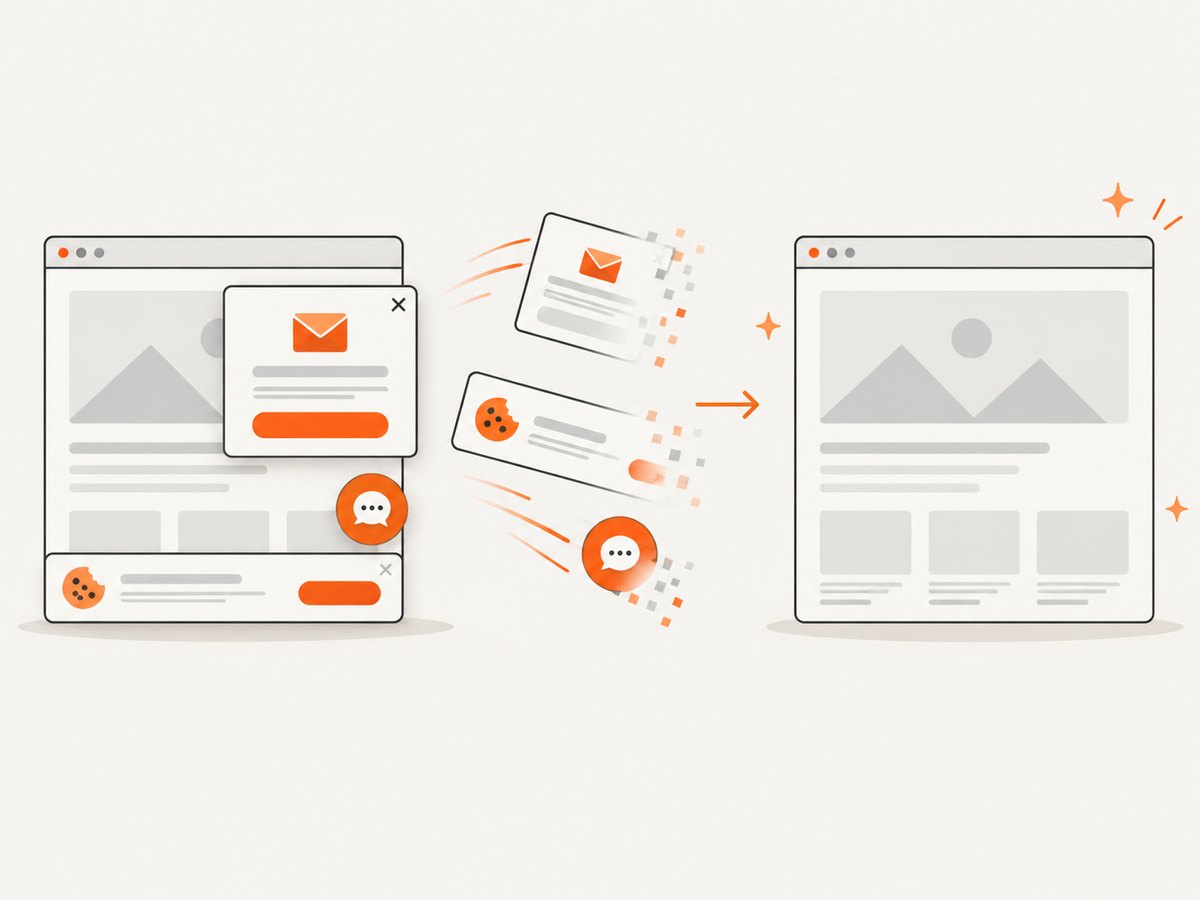
- Cookie and consent banners are accepted and removed before the shot, along with more than 60 known consent platforms, newsletter popups, and chat widgets. Each cleanup step can be turned off.
- Bot checks, CAPTCHAs, blank pages, timeouts, failed loads, and cache hits are not billed. Response headers identify the page verdict and whether the request was billed.
- An MCP server exposes
take_screenshot,get_page_info, andcapture_pdffor Claude, Cursor, and other MCP clients. - The Free plan includes 1,000 screenshots per month without a card. Paid plans start at $5 for 3,000 screenshots, and every feature is available on every plan.
Create a free ScreenshotNeo account and start with 1,000 screenshots a month at no charge.
FAQ
Does Headless Chrome download the page’s original HTML?
No. --dump-dom outputs a serialized DOM after Chrome parses the page and runs scripts, so it can differ substantially from the original response body.
Can Headless Chrome run without a display server?
Yes. Its purpose is to run Chrome without displaying a browser window, which suits servers, containers, and CI jobs.
Which automation library should I start with?
Puppeteer is a direct JavaScript interface for Chrome. Chrome’s automation documentation also covers ChromeDriver and Selenium-WebDriver. Choose the interface that matches your language and existing test suite.
When should I use Headless Shell?
Use chrome-headless-shell when its lighter implementation fits your dependency and resource constraints. Use unified Headless when you need the behavior and features of regular Chrome.
Can Headless Chrome test multiple monitors?
Chrome documents virtual-screen configuration for multi-display and related display behaviors. Configure those screens explicitly when your application depends on them.


