How to Add Visual Regression Testing to WordPress Sites
Build reliable WordPress screenshot tests with Playwright, plugins, CI, and ScreenshotNeo. Covers baselines, dynamic content, diffs, failures, and cost.

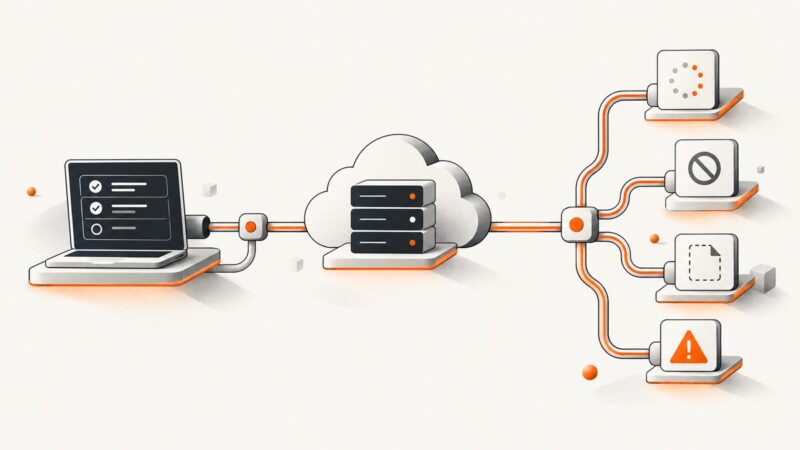
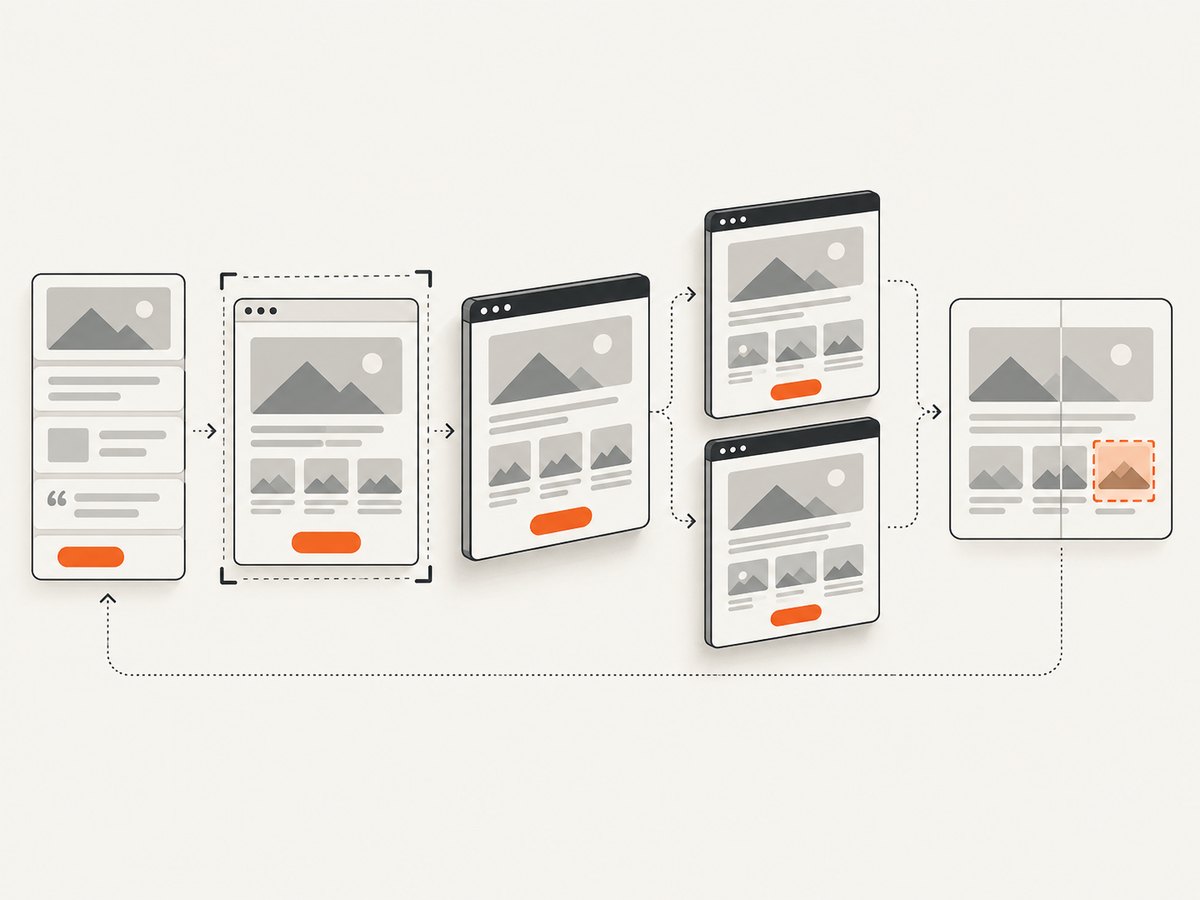
Visual regression testing captures a known-good rendering of a WordPress page or component, then compares a later rendering against it. A difference becomes a reviewable signal: it may reveal a broken layout, or it may be an intentional design change. The most dependable workflow controls the browser, viewport, content, and page state; stores an approved baseline; runs comparisons in CI; and requires a human to review unexpected diffs before updating the baseline.
For a developer-owned WordPress project, Playwright is the most flexible starting point. You can test public pages, block patterns, editor states, responsive layouts, and critical flows. For a site owner who needs scheduled checks after updates, a WordPress monitoring plugin or hosted review service may be easier to operate. This guide shows each route, with runnable code and the decisions that prevent noisy or misleading failures.
What visual regression testing catches
A visual test answers a narrow question: “Does this page still render like the approved version in this controlled state?” It can catch:
- A theme update changing spacing, typography, colors, or breakpoints.
- A plugin adding markup that shifts a checkout, navigation, or form.
- A block or pattern losing styles on the front end.
- A template change hiding content or moving a call to action below the fold.
- A responsive layout breaking at a representative mobile or tablet width.
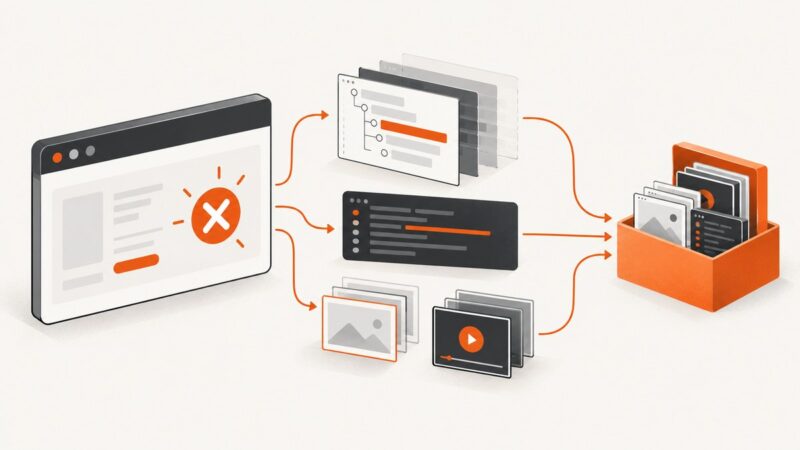
It does not replace unit tests, accessibility checks, functional assertions, or content review. A screenshot difference can be caused by an intended copy edit, a rotating image, a timestamp, a third-party widget, or a browser/environment change.
Choose the right testing route
| Route | Best for | Trade-off |
|---|---|---|
| Playwright in your project | Theme/plugin teams, agencies, and developers with source-code access | Highest control, but requires a reproducible environment and test maintenance |
| WordPress monitoring plugin | Site owners who want scheduled or update-triggered page checks | Convenient, but verify coverage, privacy, dynamic-page handling, cron, and alerts |
| Hosted review service | Teams that want browser-test results reviewed in a hosted interface | Requires vendor configuration, tokens, and an external service |
WordPress documentation uses Playwright for browser-based end-to-end work and treats saved snapshots as state that must be compared with later output. Its guidance also recommends covering critical flows instead of every possible scenario because end-to-end tests are broader, slower, and more fragile than unit tests. WordPress Developer Blog guidance demonstrates testing blocks, patterns, and front-end output. WordPress core has also documented its use of Playwright for browser tests, including visual regression work.
Build a reproducible WordPress test environment
Keep the browser and WordPress state consistent between baseline creation and comparison. The official WordPress tutorial uses Git, Node.js, Docker, wp-env, Playwright Test, and WordPress’s Playwright utilities. Its example pins @playwright/test@^1.58.2 and @wordpress/e2e-test-utils-playwright@^1.41.0; check current releases before copying those ranges because packages change.
- Install Node.js, npm, Git, and Docker.
- Start a local WordPress instance with
wp-env, or use WordPress Playground when that better matches your workflow. The Playground E2E handbook covers creating instances, running tests, CI jobs, and debugging. - Install Playwright and the WordPress test utilities in the project that owns your theme, plugin, or block.
- Install the required browser binaries with Playwright’s install command.
- Seed deterministic content: fixed posts, media, menus, users, and options. Avoid pulling live production data into a baseline job unless you can freeze every value that affects rendering.
npm install --save-dev @playwright/test @wordpress/e2e-test-utils-playwright
npx playwright install
Use the WordPress script runner when your project already follows the WordPress tooling convention. Otherwise, a plain Playwright configuration is sufficient for public-page screenshots.
Pick meaningful pages and states
Start with a small, high-value set rather than every URL. A practical first set is:
- Homepage and one representative landing page.
- A product, service, or article template.
- A navigation state, search result, or checkout step that matters to users.
- One block pattern or reusable component.
- Desktop and one mobile viewport for each critical target.
For editor work, test the block or pattern in the editor and its published front-end rendering. For a plugin, include the markup and styles your plugin owns plus one integration page where it interacts with the active theme.
Create and compare Playwright screenshots
The following test visits a stable page, waits for a known state, and compares a full-page image. The first run creates a baseline in the project’s snapshot directory. Later runs fail when the rendered image exceeds the configured difference threshold.
import { test, expect } from '@playwright/test';

test('homepage keeps its approved layout', async ({ page }) => {
  await page.setViewportSize({ width: 1440, height: 900 });
  await page.goto('http://localhost:8889/', { waitUntil: 'networkidle' });
  await page.locator('main').waitFor();
  await expect(page).toHaveScreenshot('homepage-desktop.png', {
    fullPage: true,
    animations: 'disabled',
    caret: 'hide',
    maxDiffPixels: 80,
    timeout: 30_000
  });
});
Run the test with your project’s configured command, or directly with Playwright:
npx playwright test tests/visual/homepage.spec.tsReview the generated image before accepting it. When a change is intentional, regenerate the baseline explicitly:
npx playwright test tests/visual/homepage.spec.ts --update-snapshotsOnly use the update flag after inspecting the diff. Committing a new snapshot without review turns a real regression into an approved image.
Control the variables that create false positives
Dynamic content is the most common reason a visual test becomes noisy. Stabilize or remove:
- Rotating hero banners, carousels, videos, and animated transitions.
- Dates, times, stock counts, personalized greetings, and random IDs.
- Ads, analytics widgets, chat bubbles, newsletter popups, and recommendation feeds.
- Remote fonts, images, or APIs whose response can change during a run.
- Cookie and consent dialogs that appear only on a fresh browser context.
Prefer test fixtures or seeded API responses. Disable animation in test CSS, freeze time where your application allows it, and use a dedicated test account. Wait for a semantic condition such as a heading or product card rather than an arbitrary sleep. If a third-party widget is outside the feature under test, hide it with a test-only style or block its request.
await page.addStyleTag({ content: `
  *, *::before, *::after {
    animation: none !important;
    transition: none !important;
    caret-color: transparent !important;
  }
  .chat-widget, .cookie-banner, .ad-slot { visibility: hidden !important; }
` });
Use screenshot options deliberately. fullPage captures the complete document; omit it when the viewport alone is the contract. mask can cover known dynamic locators. maxDiffPixels and threshold should absorb tiny rendering noise, not hide a layout shift. Keep browser version, operating system, fonts, device scale factor, and color scheme consistent between baseline and comparison.
Test responsive and dark-mode states
A single desktop image cannot prove that a WordPress site works on mobile. Add a small matrix of representative widths instead of every possible width.
const cases = [
  { name: 'desktop', width: 1440, height: 900, dark: false },
  { name: 'mobile', width: 390, height: 844, dark: false },
  { name: 'dark', width: 1440, height: 900, dark: true }
];

for (const item of cases) {
  test(`homepage ${item.name}`, async ({ page }) => {
    await page.setViewportSize({ width: item.width, height: item.height });
    await page.emulateMedia({ colorScheme: item.dark ? 'dark' : 'light' });
    await page.goto('http://localhost:8889/', { waitUntil: 'networkidle' });
    await expect(page).toHaveScreenshot(`homepage-${item.name}.png`, {
      fullPage: true,
      animations: 'disabled'
    });
  });
}
Run visual tests in CI
Run screenshots after the site is built and the test WordPress instance is ready. A pull request job should publish the failing image, expected image, and diff as artifacts. Keep baselines in version control so a code change and its approved visual change are reviewed together.
Split long suites by page group or viewport when CI time grows. Cache browser downloads where your CI provider supports it, but invalidate the cache when the Playwright version changes. A failed visual assertion should block merging until someone identifies the cause. A planned redesign should update snapshots in a separate, reviewable commit.
Hosted tools use a different review model. BrowserStack’s Percy documentation explains that local toHaveScreenshot() assertions fail immediately on differences, while Percy presents differences for review and can be configured to fail a pipeline when changes remain unapproved. Choose one model and document who approves changes.
Plugin-based monitoring for WordPress sites
If you need checks after core, plugin, or theme updates rather than tests in a source repository, investigate a monitoring plugin. The WordPress.org listing for VRTs – Visual Regression Tests describes periodic screenshot comparisons, split-screen review, a default homepage monitor, and tests activated from pages or posts. Its listing also warns that dynamically changing pages can create false positives and describes external screenshot processing and WP-Cron behavior for status and email handling.
The WebChange Detector listing describes desktop and mobile before/after screenshots, checks after WordPress updates or deployments, and scheduled monitoring. These are vendor-authored descriptions, not independent accuracy tests. Before relying on either plugin, verify current documentation for URL coverage, login and cookie support, screenshot storage, processing location, alert delivery, access-controlled sites, and paid limits.
Review a diff systematically
- Confirm the page loaded the intended content and did not show a maintenance, login, bot-check, or error page.
- Check whether the changed pixels correspond to an intentional code, content, or design change.
- Look for environmental causes: browser version, missing font, viewport mismatch, animation, consent state, or third-party response.
- Fix the test or application when the difference is accidental.
- Update the baseline only after the new rendering is expected and reviewed.

Common errors and fixes
| Error | Likely cause | Fix |
|---|---|---|
| Timeout waiting for page | Server is not running, DNS is unavailable, or a request never settles | Check the test URL, start WordPress, wait for a specific selector, and block or mock unneeded remote requests |
| Large diff after every run | Dynamic content, animation, fonts, or random data | Seed data, disable animation, wait for web fonts, freeze time, and mask or hide external widgets |
| Only CI fails | Different browser, OS, font set, timezone, or device scale | Pin the Playwright version and browser image; use the same viewport and locale; install required fonts |
| Blank or login screenshot | Protected page, expired session, redirect, or failed WordPress bootstrap | Authenticate in setup, assert the final URL and a page heading, and capture only after the expected state appears |
| Baseline update hides a bug | Snapshots were regenerated without reviewing the diff | Revert the snapshot, fix the cause, and require separate approval for intentional visual changes |
| Plugin reports false changes | Rotating content, cron timing, consent prompts, or third-party widgets | Stabilize the page, configure exclusions, or move the check into a controlled Playwright environment |
Performance, reliability, and cost
Full-page screenshots are slower and larger than viewport captures. Reduce suite time by testing representative templates, reusing authenticated setup, running independent pages in parallel, and avoiding unnecessary waits. A screenshot comparison is only reliable when its inputs are reliable; a fast test that captures an incomplete page is worse than a slower test that waits for the actual ready state.
Local Playwright tests mainly cost CI minutes and maintenance. Plugin and hosted services may add subscription, storage, or external-processing costs; verify current plans and retention directly. Treat screenshot artifacts as potentially sensitive because they can contain customer data, unpublished content, or personal information. Use test data and review where images are stored.
Or skip the browser setup
ScreenshotNeo provides a website screenshot API and MCP server. One GET request returns PNG, JPEG, WebP, or PDF. It accepts the URL, captures a controlled page, and supports full-page shots, CSS-element capture, device presets or custom viewports, retina scale, dark mode, custom CSS and JavaScript, clicks, selector or network-idle waits, request blocking, headers, cookies, user agents, authorization, timezone, geolocation, transparent backgrounds, resizing, caching with a chosen TTL, signed links, async jobs, webhooks, bulk capture, usage reporting, and PDF options.
Before capture, ScreenshotNeo accepts cookie and consent banners like a visitor and removes more than 60 known consent platforms, newsletter popups, and chat widgets; each step can be turned off. Bot checks, CAPTCHAs, blank pages, timeouts, failed loads, and cache hits cost nothing. The response identifies the result with X-Page-Verdict and X-Billed headers. An MCP server exposes take_screenshot, get_page_info, and capture_pdf to Claude, Cursor, and other MCP clients.
See the ScreenshotNeo API documentation for the current parameter list. The parameter names used by other screenshot APIs also work, which can simplify migration.
curl -G "https://api.screenshotneo.com/v1/shot" -d access_key=YOUR_API_KEY --data-urlencode url=https://example.com -o shot.webpimport requests
r = requests.get("https://api.screenshotneo.com/v1/shot", params={"access_key": "YOUR_API_KEY", "url": "https://example.com"}, timeout=90)
r.raise_for_status()
open("shot.webp", "wb").write(r.content)const q = new URLSearchParams({ access_key: 'YOUR_API_KEY', url: 'https://example.com' });
const res = await fetch(`https://api.screenshotneo.com/v1/shot?${q}`);
if (!res.ok) throw new Error(`HTTP ${res.status}`);
const bytes = Buffer.from(await res.arrayBuffer());
await import('node:fs/promises').then(fs => fs.writeFile('shot.webp', bytes));The Free plan includes 1,000 shots each month with no card. Paid plans start at $5 for 3,000 shots; yearly billing gives two months free, and every feature is available on every plan. Create a free ScreenshotNeo account and start with your first baseline capture.
FAQ
Should I compare pixels or accessibility snapshots?
Use pixel screenshots for layout and visual styling. Accessibility-tree snapshots test structure and accessible names; they are complementary, not a substitute for image comparison.
How many pages should the first suite contain?
Start with the homepage, one important template, one critical flow, and one responsive width. Expand when a regression would justify the maintenance cost.
Should production pages be the baseline?
Prefer a controlled staging or test environment. Production data, ads, personalization, and third-party scripts make baselines unstable and can expose sensitive information.
When should a changed screenshot be approved?
Approve it only after confirming the page state is correct and the visual change is intentional. Keep the code and baseline change in the same reviewable change set.