How to Write a Playwright Script
Write a runnable JavaScript Playwright script from installation through browser cleanup, with reliable locators, assertions, debugging tips, and a screenshot API option.

This guide uses JavaScript with Node.js and Playwright. A basic script installs Playwright and its browser binaries, launches a browser, opens a page, interacts through an accessible locator, checks the result with a retrying assertion, and closes the browser. You can also use Playwright Test when you need a test runner to manage isolation and reporting, or Python when that is your team’s preferred language.
1. Install Playwright and choose a script type
There are two common ways to write Playwright code:
- A standalone library script is a Node.js program that imports Playwright directly. You control browser startup and cleanup. Use it for a one-off workflow, data collection, or a small automation task.
- A Playwright Test test runs under Playwright’s test runner. The runner provides test lifecycle management, fixtures, assertions, and reports. Use it when you are building an end-to-end test suite.
For a standalone JavaScript script, create a project and install the library and Chromium:
mkdir playwright-script
cd playwright-script
npm init -y
npm install playwright
npx playwright install chromium
Save the script below as script.js and run node script.js. The browser installation is a separate step from installing the npm package. Install Firefox or WebKit instead, or in addition, if you need to automate those browser engines.
2. Write a small runnable script
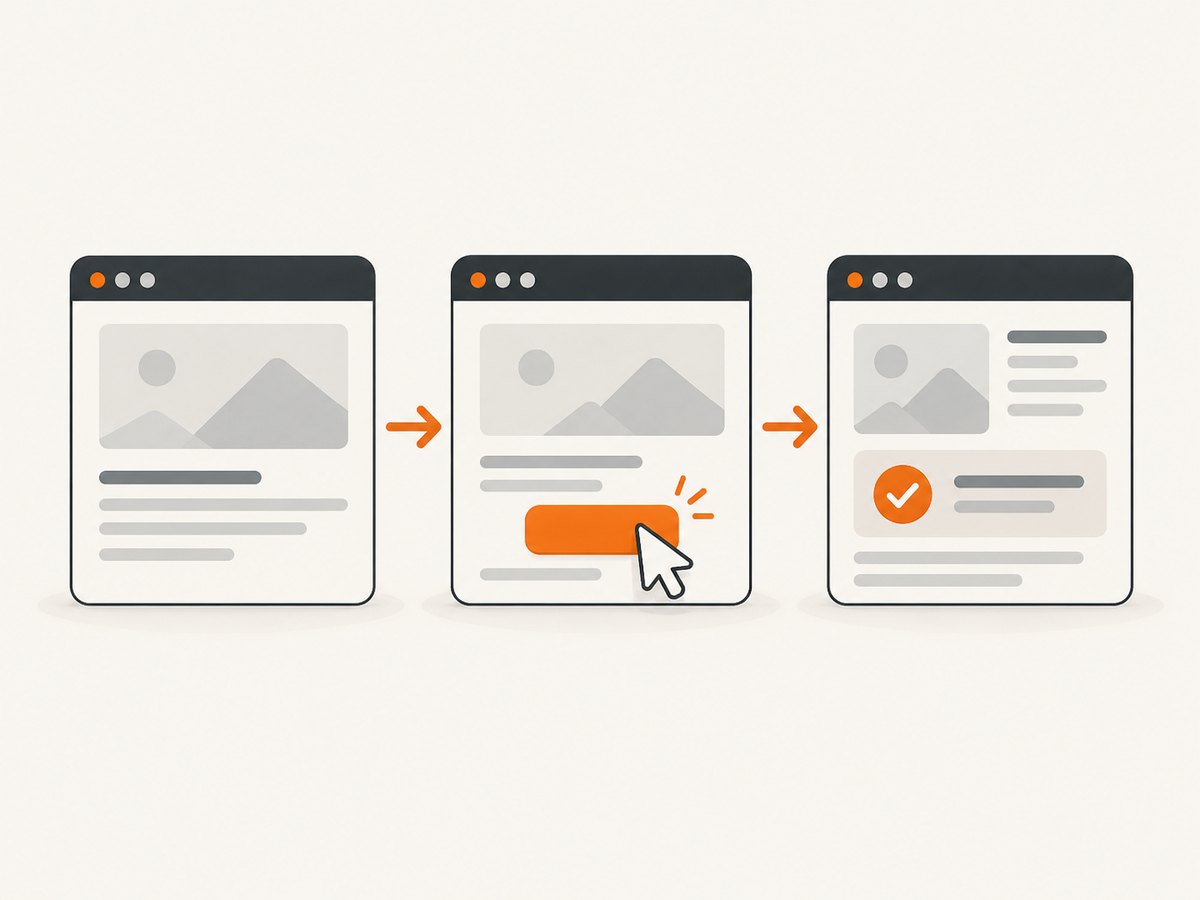
This example opens a page, clicks a link by its accessible role and name, checks that the destination heading appears, and always closes the browser. The example link and heading are illustrative: adapt them to the page you automate. For a real application, assert the user-visible outcome that matters, such as a confirmation message after submitting a form.
const { chromium, expect } = require('playwright');

(async () => {
  const browser = await chromium.launch({ headless: true });

  try {
    const context = await browser.newContext();
    const page = await context.newPage();

    await page.goto('https://example.com');
    await page.getByRole('link', { name: 'More information' }).click();
    await expect(page.getByRole('heading', { name: /more information/i }))
      .toBeVisible();
  } finally {
    await browser.close();
  }
})().catch(error => {
  console.error(error);
  process.exitCode = 1;
});
The try/finally makes browser cleanup happen even if navigation, interaction, or the assertion fails. Setting a nonzero process exit code lets a shell or CI job detect a failure. If the page does not have the example link or heading, the script should fail; replace those locators with controls and outcomes that exist in your target app.
3. Navigate, interact, and assert deliberately
Navigation
page.goto() opens the URL. For a public page, the default navigation behavior is often sufficient. For an application that continues loading background requests, avoid assuming that every network connection must become idle: analytics, live updates, and long polling can keep a page busy. Prefer waiting for the specific UI condition your next step needs, such as a heading or form control becoming visible.
If you need to set a navigation timeout or choose a load condition, make that choice explicitly:
await page.goto('https://example.com', {
  waitUntil: 'domcontentloaded',
  timeout: 30_000
});
The timeout is in milliseconds. A shorter load condition can let your script proceed before images or other resources finish loading, so use it only when the next step is ready. A timeout should reflect the environment and expected page behavior; increasing it can help slow environments but may also make failures take longer to report.
Locators
Playwright recommends locating elements in ways that correspond to how users perceive and operate the page. Start with getByRole() for buttons, links, headings, and other semantic controls; use getByLabel() for labeled form fields, getByText() for visible text, or a deliberate test ID when it is a stable application contract.
// Semantic role and accessible name
const saveButton = page.getByRole('button', { name: 'Save changes' });

// Form label
await page.getByLabel('Email address').fill('dev@example.com');

// Explicit test ID, when the app provides one
await page.getByTestId('profile-save').click();
Locators are evaluated against the current page and auto-wait for actionability when you act on them. That means Playwright waits for conditions such as an element being ready to receive a click instead of requiring a fixed sleep after every page change. If a page has repeated text or several buttons with the same name, narrow the locator to the relevant component, use a filter, or add a stable test ID. Avoid generated CSS class names and long chains of DOM structure: they tend to change when the UI is refactored.
Actions and assertions
Use actions that describe the user’s operation: click(), fill(), and similar locator methods. Then check what changed with a web-first assertion:
const status = page.getByRole('status');
await page.getByRole('button', { name: 'Submit' }).click();
await expect(status).toHaveText('Your request was received');
A web-first assertion waits and retries until the expected state appears or the assertion times out. By contrast, expect(await locator.isVisible()).toBe(true) takes one immediate reading; if the UI is still updating, that can create a race. Assert a meaningful result, not merely that the click method returned.
4. Run it as a test with Playwright Test
For a repeatable end-to-end test, use the Playwright Test runner rather than building test lifecycle behavior into a standalone script. Create a project with the official initializer, which sets up a test project and can install browsers:
npm init playwright@latestFollow its prompts, then put a test in the generated test directory, for example tests/home.spec.js:
const { test, expect } = require('@playwright/test');

test('visitor can open the information page', async ({ page }) => {
  await page.goto('https://example.com');
  await page.getByRole('link', { name: 'More information' }).click();
  await expect(page.getByRole('heading', { name: /more information/i }))
    .toBeVisible();
});
Run the test with:
npx playwright testThe runner supplies a page for the test and manages its lifecycle. Tests should be independently runnable: give each test its own browser context, cookies, storage, and session state through the runner’s fixtures. Keep authentication and test data setup explicit, and avoid relying on a prior test to leave shared state behind. This isolation makes it easier to rerun a failing test and understand whether the failure belongs to that test.
5. Use Codegen as a locator starting point
Playwright Codegen can record interactions and suggest locators based on the rendered page. Start it with:
npx playwright codegen playwright.devA browser and inspector open. Perform the interaction you want to automate, then review the suggested code. Codegen prioritizes role, text, and test ID locators and can improve a locator when multiple elements match. Its output is a draft, not a finished test. Remove accidental clicks, replace selectors that depend on unstable markup, and add an assertion for the actual business outcome. Recording a sequence of actions alone does not prove the application did the right thing.
6. Choose JavaScript or Python
JavaScript fits naturally when the automation lives in a Node.js project. Python is also a supported route and offers synchronous and asynchronous APIs. Install the Python package and browser binaries like this:
python -m pip install playwright
python -m playwright install chromium
A standalone synchronous Python script can follow the same launch, navigation, interaction, and cleanup flow:
from playwright.sync_api import sync_playwright, expect

with sync_playwright() as p:
    browser = p.chromium.launch(headless=True)
    try:
        page = browser.new_page()
        page.goto("https://example.com")
        page.get_by_role("link", name="More information").click()
        expect(page.get_by_role("heading", name="More information")).to_be_visible()
    finally:
        browser.close()
For Python end-to-end tests, the official Python documentation recommends its pytest plugin. Install the plugin and browsers, then run tests with pytest. The runner approach is useful when you need a suite, independent test fixtures, and test reports. For a one-off script, the synchronous API keeps the example compact; choose the async API when the surrounding Python program already uses asynchronous code.
7. Debug failures and improve reliability
Start by deciding whether the failure is in setup, navigation, locating the element, performing the action, or verifying the result. Make the assertion specific enough to show what the user should have seen. Keep test data and login state deliberate so that reruns do not depend on hidden state from another test.
| Symptom | Likely cause | Fix |
|---|---|---|
| Browser executable is missing | The Playwright package is installed, but its browser binaries are not. | Run npx playwright install chromium for Node.js or python -m playwright install chromium for Python. |
| Navigation times out | The page is slow, the URL is unreachable, or the selected load condition waits on ongoing activity. | Check the URL and environment. Wait for the specific UI condition needed next, or choose a suitable navigation condition and timeout. |
| Locator matches multiple elements | The accessible name or text is repeated. | Scope the locator to its containing component, filter the relevant item, or provide a stable test ID. |
| Click times out or is intercepted | The element is hidden, disabled, covered, or not yet ready. | Check the rendered state and locator target. Wait for the intended element to become actionable; do not hide the problem with a blind fixed delay. |
| Assertion fails immediately or intermittently | The code reads state once or checks the wrong outcome. | Use a web-first assertion such as toBeVisible() or toHaveText(), and assert the visible result that should follow the action. |
| Test passes alone but fails in a suite | Tests may share cookies, storage, accounts, or mutable test data. | Use isolated contexts and independent setup; avoid order-dependent shared state. |
For a failure that is hard to reproduce, use the inspector, HTML report, or trace viewer to examine the run. Playwright’s best-practices guidance also recommends reviewing whether the test verifies what end users can actually see or do. When debugging locally, headed execution can make the browser interaction visible; once the flow is stable, headless execution is convenient for automated runs. Keep the same meaningful assertions in either mode.
8. Performance, reliability, and cost considerations
There is no single launch or page-load timing that applies to every site and machine, so avoid treating a local run time as a general benchmark. Keep scripts efficient by launching the browser once for a related workflow and reusing a context where sharing session state is intentional. For independent tests, keep contexts isolated even if that means more setup. Choose the browser engine that matches the question being tested; running Chromium, Firefox, and WebKit can broaden coverage but requires installing and running each one.
Reliability comes mainly from stable locators, meaningful retrying assertions, explicit data setup, and controlled isolation. Avoid fixed sleeps as a general synchronization strategy: they waste time when the page is fast and can still be too short when it is slow. Wait for the page state that matters. A timeout is a limit on waiting, not a guarantee that the page is healthy.
Local browser automation has no per-screenshot API fee, but it uses your machine or CI resources and requires browser installation and maintenance. If the goal is simply to obtain a clean screenshot rather than interact with the page as a test, a screenshot API can avoid running browser setup yourself.
9. Or skip the browser setup
ScreenshotNeo is a website screenshot API and MCP server. A GET request takes a URL and returns an image or PDF. Its capture flow accepts cookie and consent banners like a visitor, then removes more than 60 known consent platforms, newsletter popups, and chat widgets; each of those cleanup steps can be turned off. Bot checks and CAPTCHAs, blank pages, timeouts, failed loads, and cache hits cost nothing, and response headers indicate the page verdict and billing status. Its MCP server provides take_screenshot, get_page_info, and capture_pdf tools for Claude, Cursor, and other MCP clients. One thousand screenshots a month are free with no card; paid plans start at $5 for 3,000.

For details on parameters and response behavior, see the ScreenshotNeo API documentation. This cURL example saves a WebP screenshot:
curl -G "https://api.screenshotneo.com/v1/shot" \
  -d access_key=YOUR_API_KEY \
  --data-urlencode url=https://stripe.com \
  -o shot.webp
Python:
import requests

r = requests.get(
    "https://api.screenshotneo.com/v1/shot",
    params={"access_key": "YOUR_API_KEY", "url": "https://stripe.com"},
    timeout=90,
)
open("shot.webp", "wb").write(r.content)
Node.js:
const q = new URLSearchParams({
  access_key: 'YOUR_API_KEY',
  url: 'https://stripe.com'
});
const res = await fetch(`https://api.screenshotneo.com/v1/shot?${q}`);
if (!res.ok) throw new Error(`Screenshot request failed: ${res.status}`);
await require('node:fs/promises').writeFile('shot.webp', Buffer.from(await res.arrayBuffer()));
The API also supports full-page and element captures, device and viewport settings, dark mode, custom CSS and JavaScript, wait conditions, request blocking, headers and cookies, geolocation, image resizing, caching, signed public image links, async jobs with signed webhooks, bulk capture, and a usage API. Plans list 1,000 free shots per month, Starter at $5 for 3,000, Growth at $15 for 15,000, Pro at $39 for 60,000, Scale at $99 for 250,000, and Business at $249 for 1,000,000; yearly billing gives two months free, and every feature is on every plan. Create a free account for 1,000 screenshots a month with no card.
10. Checklist before you rely on the script
- Install the package and the browser binary for the engine you use.
- Use a locator based on role, label, visible text, or a deliberate test ID.
- Assert a user-visible result with a web-first assertion.
- Close the browser in a standalone script, including on failure.
- Keep test data, authentication, and browser context isolation explicit.
- Use Codegen to accelerate locator discovery, then review and strengthen its output.
- Use reports, the inspector, or trace viewer to diagnose failures rather than adding arbitrary delays.
FAQ
Can Playwright generate a test for me?
Codegen records interactions and suggests locators. It can provide a useful draft, but you should remove accidental steps and add assertions for the intended outcome.
Do I need to close the browser after every test?
Close it explicitly in a standalone library script. In a Playwright Test test, use the runner’s provided fixtures and lifecycle management.
Should I use a fixed sleep after clicking?
Usually no. Wait for the specific result with a locator or web-first assertion so the script proceeds when the UI is ready.
Can I use Python instead of JavaScript?
Yes. Playwright supports Python with synchronous and asynchronous APIs, and the official pytest plugin is the recommended route for Python end-to-end tests.


