Zapier vs Make vs n8n for Screenshot Automation
Compare documented screenshot workflows in Zapier and n8n, what Make’s reviewed docs establish, and how to send captures to the next step.
For a screenshot workflow with a documented, dedicated capture action, start with Zapier’s GetScreenshot integration. For a workflow built around API calls, n8n documents an HTTP Request route to GetScreenshot and also lists an AllScreenshots integration with synchronous, asynchronous, and bulk capture options. Make’s reviewed official help page documents scenario flow-control tools, but does not establish a screenshot-specific module. That gap in the reviewed evidence is not proof that Make cannot call a screenshot API.
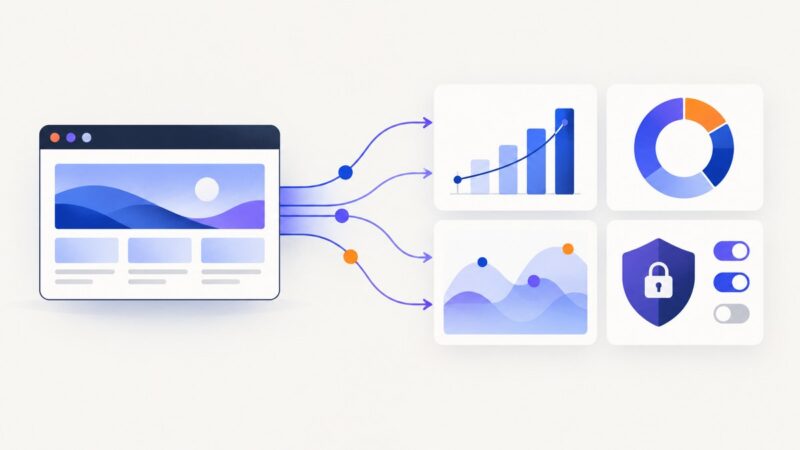
The basic workflow is the same on any platform: a trigger supplies a URL, a screenshot service captures it, and a later action stores or sends the resulting image or PDF. Choose based on how much setup and control you need, then verify the current connector, account requirements, output mapping, and plan terms before relying on it.
What the reviewed documentation establishes
| Platform | Documented screenshot route | What to verify |
|---|---|---|
| Zapier | GetScreenshot’s Zapier integration documents a Take Website Screenshot action and website-element capture. Its documented controls include full-page capture, width, optional PDF, added wait time, custom CSS, and an asynchronous callback option. | Current fields and plan requirements; whether the action’s returned file or URL maps correctly to the destination app. Zapier’s listing says Zaps with three or more steps require a Starter plan; check current terms. |
| Make | The reviewed Make Tools help page documents scenario utilities such as repeaters, iterators, and array aggregators. It does not document screenshot capture. | Check whether your screenshot provider has a current Make module or can be called through a suitable HTTP/API route. Confirm authentication and binary/file handling for the response. |
| n8n | n8n documents using the HTTP Request node with GetScreenshot; its AllScreenshots integration page describes synchronous and asynchronous capture, bulk jobs, and webhooks. | Check current integration verification, credentials, service limits, response format, and whether n8n Cloud or self-hosting fits your workflow. |
These are documented paths, not a head-to-head product test. The pages do not establish comparative latency, failure rates, or current comparable prices, so there is no evidence-based universal winner. A ready-made action may reduce connector setup; an API route can expose provider parameters directly. Treat those as practical trade-offs to validate in your own workflow.
Build the workflow: trigger, capture, deliver
- Choose a trigger. Use a schedule for recurring monitoring, or an app event when a record, deployment, or request supplies the page URL. Keep a stable test URL available while building.
- Add capture. Map the trigger’s URL into the screenshot action or API request. Set capture controls intentionally: viewport width, full-page behavior, image versus PDF, and any extra wait.
- Deliver the result. Map the resulting file or URL into a storage, notification, or record-keeping action. Confirm the destination accepts the returned type; an image URL and binary image are not interchangeable in every app.
- Test edge cases. Try a long-loading page, a page with lazy-loaded content, a URL with a redirect, and the actual destination action. Decide how the workflow should handle a failed capture or unavailable destination.
- Turn on the schedule or event trigger. Check run history after the first live executions and verify that the destination contains a usable image.
Zapier: use the dedicated GetScreenshot action
Zapier is the most direct documented route when its action’s fields match the job. The integration lists both website and website-element capture. For an element screenshot, provide the CSS selector for the element you want; a selector that does not match the rendered page can produce an unusable result.
- Create a Zap with a schedule or an event trigger that provides a page URL.
- Add GetScreenshot and select Take Website Screenshot.
- Map the URL. Choose full-page capture and width, and choose PDF output only if the following step expects a PDF.
- Set extra wait for pages that need more time to render. Use custom CSS when the documented action’s control meets your need. Enable the asynchronous callback option when a capture could exceed Zapier’s action timeout.
- Add the destination action and map the returned screenshot field. Run a test and inspect the actual destination item, not just the action’s success indicator.
The app listing also shows highlight-word, experimental login-bypass, strategy, AI-prompt, and other API-parameter fields. Their availability or plan conditions may differ; use only fields shown in your connected action and check their current documentation. Do not assume the experimental login-bypass field will work for every protected page.
Zapier’s integration listing states that a Starter plan is required for Zaps with three or more steps. A trigger, capture, and destination commonly make three steps, so check the current plan rule before building around it.
Make: validate the screenshot request route
The reviewed official Make page supports repeaters, iterators, and array aggregators for processing scenario data. It does not verify a screenshot-specific connector or document a screenshot API setup. If you want to use Make, first check its current module catalog and provider documentation for an HTTP/API route.
- Create a scenario trigger that yields the target URL.
- Look for a current module from your chosen screenshot provider. If there is none, check whether Make’s available HTTP functionality can send the provider’s documented request and authentication format.
- Confirm that the response can be passed to your destination as the correct file or URL. Test the exact mapping in a scenario run.
- For multiple URLs, use an iterator to process URL items and an aggregator only if the destination needs a combined bundle. Check provider and platform limits before scaling.
- Handle non-success responses and retries explicitly, using the controls available in your current scenario and provider.
This is a validation path, not a verified Make screenshot recipe: the reviewed help page describes flow-control tools, not the request module’s screenshot-specific configuration. Do not assume the response will arrive as a file in the shape your destination expects.
n8n: choose an HTTP request or integration route
HTTP Request node
n8n’s GetScreenshot integration page describes configuring an HTTP Request node and generic authentication to call the API. The provider’s own API documentation must supply the actual endpoint, authentication scheme, parameter names, and expected response type; those details cannot be inferred from the node’s generic setup guide.
- Add a trigger node and make the page URL available in its output.
- Add an HTTP Request node. Set its method, provider endpoint, authentication, query or body parameters, and response handling from the screenshot provider’s current API documentation.
- Map the trigger URL and required capture options into the request. Keep credentials in n8n’s credential facility rather than hard-coding secrets in workflow expressions.
- Connect the response to a storage or delivery node. Verify whether the provider returns binary data, a link, or a job identifier, and configure the next node accordingly.
- Test a normal capture and failure response. If the provider returns a job identifier, add the provider’s documented status or callback flow before delivering the final result.
There is no universal copy-paste HTTP Request configuration here because providers use different endpoints and authentication. Use the provider’s documentation as the source of truth.
AllScreenshots integration
The n8n AllScreenshots integration page describes synchronous and asynchronous capture, bulk jobs of up to 100 URLs, screenshot composition, usage tracking, and webhooks for completion or failure. It identifies the integration as partner-built and verified by n8n; check the page for current status.
For a synchronous capture, connect the capture result to the destination node. For an asynchronous capture, route the job through the documented status/result or webhook completion path before trying to deliver the image. For bulk jobs, keep the provider’s stated limit in mind and ensure the downstream destination can accept each resulting file or item.
Capture settings that affect the result
| Need | Setting or decision | Things to check |
|---|---|---|
| Whole document | Enable full-page capture where the action supports it. | Long pages take more time and produce larger files. Check lazy-loaded sections near the bottom. |
| Specific component | Use element capture and a CSS selector where available. | Selectors can change with the site; confirm the element exists after the page renders. |
| Slow rendering | Use extra wait or an asynchronous callback when available. | Fixed waiting increases run time. Async workflows need a completion path before delivery. |
| Document output | Select PDF where the action supports it and the recipient expects it. | Make sure the next step accepts PDF rather than an image file. |
| Page layout | Set the screenshot width; apply custom CSS only when the connector exposes it and you can maintain it. | Responsive breakpoints can change the layout significantly at different widths. |
| Many URLs | Use iteration or a documented bulk operation. | Check per-run limits, rate limits, total file volume, and how partial failures are reported. |
Or skip the browser setup
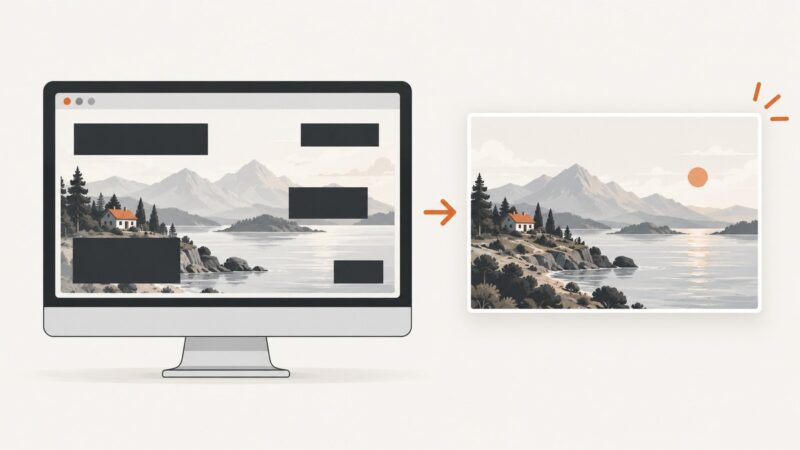
If you want the capture step handled by a screenshot API, ScreenshotNeo takes a URL in one GET request and returns an image or PDF. Cookie and consent banners, newsletter popups, and chat widgets are removed before the shot; each cleanup step can be turned off. Bot checks, blank pages, timeouts, failed loads, and cache hits cost nothing, and response headers report the page verdict and billing status. Its MCP server gives AI agents tools to take screenshots, get page information, and capture PDFs.
Generate an API key, then pass the request from a workflow HTTP/API step. See the ScreenshotNeo API documentation for parameters and response handling.
curl -G "https://api.screenshotneo.com/v1/shot" -d access_key=YOUR_API_KEY --data-urlencode url=https://stripe.com -o shot.webpimport requests
r = requests.get(
"https://api.screenshotneo.com/v1/shot",
params={"access_key": "YOUR_API_KEY", "url": "https://stripe.com"},
timeout=90,
)
r.raise_for_status()
open("shot.webp", "wb").write(r.content)const q = new URLSearchParams({ access_key: 'YOUR_API_KEY', url: 'https://stripe.com' });
const res = await fetch(`https://api.screenshotneo.com/v1/shot?${q}`);
if (!res.ok) throw new Error(`Screenshot request failed: ${res.status}`);
const bytes = new Uint8Array(await res.arrayBuffer());
// Save bytes using your runtime's file API, or pass them to the next workflow step.ScreenshotNeo includes full-page capture with lazy images loaded, CSS-selector element capture, device presets and custom viewports, PDF controls, custom CSS and JavaScript, wait controls, request blocking, custom headers and cookies, caching, signed links, async jobs with signed webhooks, bulk capture up to 100 URLs per call, and a usage API. Its parameter names also work with those used by other screenshot APIs to ease switching. Plans include 1,000 free screenshots a month without a card; paid plans start at $5 for 3,000, and every feature is available on every plan.
Sign up for ScreenshotNeo and get 1,000 screenshots a month free, with no card required.
Performance, reliability, and cost
- Capture time: Full-page images and extra render waits can extend each run. Async capture can avoid a workflow step timing out, but requires a callback or later result/status step.
- Reliability: A successful workflow run does not by itself prove the screenshot is visually correct. Validate the image, expected page state, and destination mapping. Use a failure branch or notification if a capture or delivery step fails.
- Retries: Retrying may repeat a charge or create duplicate destination items depending on the provider and workflow. Check billing semantics and make delivery idempotent where possible, for example by attaching a stable URL and capture timestamp.
- Batching: Iterate when the provider only accepts one URL per request. A documented bulk endpoint can reduce orchestration steps; AllScreenshots’ n8n page states a limit of up to 100 URLs per bulk job. Do not extrapolate that limit to another provider.
- Cost: Compare the workflow platform’s plan/task or execution requirements with the screenshot provider’s billing model and expected capture volume. This dossier does not establish comparable current prices for Zapier, Make, n8n, GetScreenshot, or AllScreenshots. Zapier’s listing currently states a Starter requirement for three-or-more-step Zaps; recheck before publishing or committing.
- Security: Treat URLs, authentication headers, cookies, and screenshots as potentially sensitive. Keep credentials in platform credential storage, restrict access to workflow outputs, and avoid capturing private pages unless the provider and workflow are configured for that use.
Troubleshooting
| Symptom | Likely cause | Fix |
|---|---|---|
| The destination receives a URL instead of an image, or vice versa. | The capture action returns a file/link shape the destination field does not accept. | Inspect the capture step’s output and map the correct binary or URL field. Use a storage/upload step if the destination requires a file. |
| The screenshot shows a loading state or missing content. | The page rendered after capture, or content loads only after scrolling. | Increase the available wait, use a supported wait condition, or choose an async capture path. Check the provider’s lazy-content behavior. |
| Only the visible viewport appears. | Full-page capture is disabled or the action does not support the selected capture mode. | Enable full-page capture and confirm the action output. If the connector lacks the option, check the provider’s API route. |
| An element capture is blank or wrong. | The selector is invalid, unstable, or the element is not present at capture time. | Inspect the live page, use a selector tied to a stable attribute, and wait for the element if the provider supports it. |
| The workflow times out. | Capture takes longer than the workflow action allows. | Use an asynchronous callback/job flow if supported, then deliver the result after completion. Avoid arbitrary retries that create duplicate work. |
| The API returns an authorization or request error. | Credential type, endpoint, parameter, or URL encoding is incorrect. | Compare the request with the provider’s current API documentation; store credentials in the platform credential manager and encode the URL as a parameter. |
| Make setup instructions do not match the account. | The reviewed Make help did not verify a screenshot module, and available modules may change. | Check the current module catalog and HTTP/API capabilities, then verify response and credential handling with a test run. |
| Async runs never deliver an image. | The workflow starts a job but has no completion callback, status poll, or result retrieval path. | Follow the provider’s documented async lifecycle and connect its completion event to the destination step. |
| Scheduled runs create repeated files or notifications. | Each run is treated as a new capture and delivery. | Use a stable key such as URL plus scheduled date in the destination, and configure duplicate handling if available. |
Which one should you choose?
- Choose Zapier when the dedicated GetScreenshot action exposes the capture options you need and its output maps cleanly to the next app.
- Choose n8n when you want to configure a documented generic HTTP request or use the listed AllScreenshots integration for sync, async, or bulk jobs. Validate current node and credential behavior.
- Choose Make only after you confirm a current provider module or API route supports your capture and file-delivery needs. The reviewed official page establishes useful scenario tools, not screenshot-specific setup.
- Try ScreenshotNeo first if the screenshot API itself is the part you want to simplify: clean captures remove common banners and widgets, only clean shots are billed, and the lowest paid plan is $5 for 3,000 captures.
These recommendations follow the documented paths and stated product facts, not measured performance. No platform was execution-tested for this comparison.
FAQ
Can Make take screenshots on a schedule?
A scheduled scenario can be part of a screenshot workflow, but the reviewed Make page does not document a screenshot connector. Verify a current module or API request route and test the output.
Can Zapier capture only one element on a page?
Zapier’s GetScreenshot listing documents website-element capture. It requires the selector for the desired element.
Can n8n process a list of pages at once?
The AllScreenshots integration page describes bulk jobs of up to 100 URLs. For a different provider or route, check its own current limits.
Do I need a camera or capture card?
No. These workflows capture rendered webpages through software actions or screenshot APIs; the reviewed documentation does not call for physical capture hardware.
Does this comparison identify the cheapest workflow platform?
No. The research does not establish comparable current prices or workflow usage costs across these platforms and providers.