Zapier Templates for Website Screenshot Automation
Build recurring website screenshot Zaps with schedules, capture actions, storage, troubleshooting, and a browser-free ScreenshotNeo option.

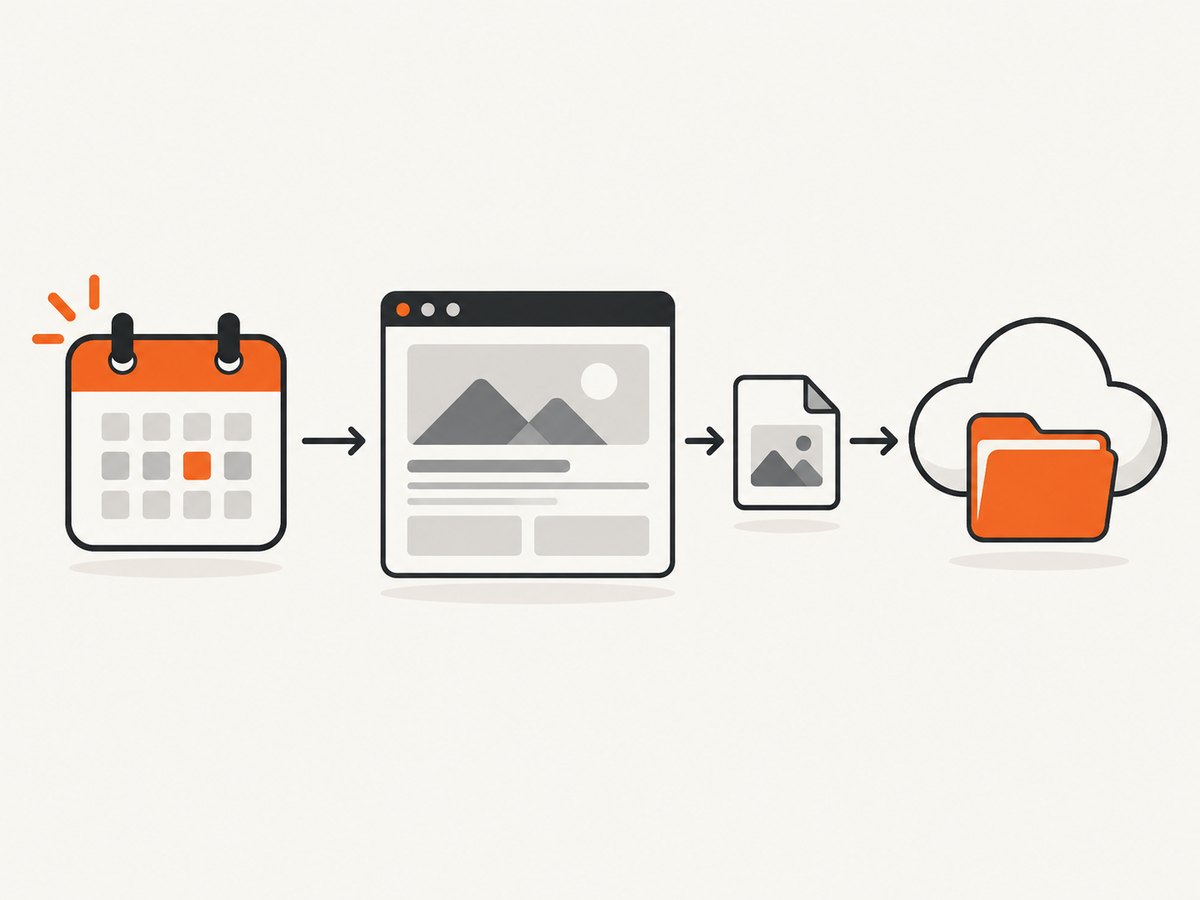
Short answer: A Zapier screenshot workflow has three parts: a trigger such as a schedule, a screenshot action that receives a URL, and a destination action that stores or sends the returned image. Zapier’s published daily screenshot template follows this pattern with Schedule, GetScreenshot, and Dropbox. You can adapt the same structure for email, Slack, Google Drive, or another connected app.
This guide explains how to build that workflow, choose among the screenshot actions listed by Zapier, capture full pages or individual elements, handle dynamic sites, and diagnose failures. It also shows a browser-free option with ScreenshotNeo when you want the capture service to handle consent banners, popups, failed loads, and API delivery.
1. The Zapier screenshot automation pattern
A reliable Zap separates the work into explicit steps:
- Trigger: Schedule by Zapier starts the Zap hourly, daily, weekly, or on another interval.
- Capture: GetScreenshot, HTML to Image, or Screenshot API receives the target URL and capture settings.
- Destination: Dropbox, Google Drive, email, Slack, a database, or another action receives the image or file output.
The daily website screenshot to Dropbox template documented by Zapier uses this exact sequence. During setup, map the screenshot action’s returned file or image field into the destination step. Run a test from the live Zap editor and inspect the resulting file before turning the Zap on.
2. Build a daily website screenshot Zap
Step 1: Create the schedule trigger
- Create a new Zap and choose Schedule by Zapier as the trigger.
- Select the interval: every day for a daily visual record, every week for a lighter archive, or a custom frequency supported by your account.
- Choose the time and timezone. Use the site’s quietest period if you want fewer content changes during capture.
- Test the trigger so the next step receives a real scheduled timestamp.
A scheduled trigger is useful for visual regression checks, publishing archives, campaign monitoring, and keeping a dated record of a public page. It does not itself guarantee that the page is ready when the screenshot runs; loading controls belong in the screenshot action.
Step 2: Add a screenshot action
Zapier lists several screenshot actions. Choose based on the controls you need:
| Action | Useful controls listed by Zapier | Best fit |
|---|---|---|
| GetScreenshot | Website capture, advanced element capture, full page, width, highlighted text, PDF output, additional wait time, custom CSS and other parameters | General page shots or a known CSS element |
| HTML to Image | URL to image, full-page capture, wait seconds, image quality | Simple URL-to-image workflows |
| Screenshot API | Format/type, freshness, delay, load event, dimensions, text or HTML extraction, lazy loading, retina, dark mode | Workflows that need detailed rendering and output controls |
For GetScreenshot, select the custom website screenshot action for a page-level capture. Enter the complete URL, including https://. If you need one component instead of the whole page, use the advanced element action and provide a selector such as .pricing-table or #main-chart. The selector must exist in the rendered DOM when the action runs.
Step 3: Configure capture settings
Start with the smallest configuration that produces the required image, then add options for known page behavior:
- Full page: Captures the page beyond the initial viewport when the selected action supports it.
- Width and dimensions: Set a consistent viewport when comparing images over time.
- Wait time: Add delay for client-rendered content, charts, or animations. Use the shortest delay that consistently produces complete output.
- Load event: If available, choose the event that matches the site: document load for static pages or a later readiness signal for application shells.
- Lazy loading: Enable the listed lazy-load option when images appear only after scrolling.
- Retina: Use a higher pixel density when the destination is a high-resolution report or presentation.
- Dark mode: Enable it when you need a dark-theme record rather than the default light rendering.
- Quality and format: Select the output type and quality exposed by the chosen action. Keep a consistent setting for comparisons.
- Custom CSS: Hide a timestamp, cookie notice, or other element only when the action supports injected CSS and you understand the page’s layout.
Step 4: Save the image
- Add Dropbox (or another file destination) as the next action.
- Choose the folder where captures should be stored.
- Map the screenshot file output into the file field. Map the scheduled date into the filename if the destination supports dynamic names.
- Use a deterministic filename such as
homepage-{{zap_meta_timestamp}}.pngor the equivalent date token shown in your editor. - Test the action and open the resulting file. Confirm that it is an image rather than a URL, JSON response, or expired temporary link.
If you want notifications instead, map the returned image or file into an email or Slack action. For a multi-destination workflow, add storage first, then notifications, so a transient notification failure does not prevent the archive from being written.
3. Templates for common screenshot jobs
Daily page archive
Schedule → GetScreenshot → Dropbox is the documented pattern. Use full-page capture, a stable viewport, and a date-based filename. Keep the URL fixed in the capture step and periodically verify that redirects have not changed the final page.
Weekly element monitoring
Schedule → GetScreenshot advanced element → Google Drive works for a pricing card, announcement banner, dashboard panel, or chart. Identify the selector in browser developer tools, test it against the live page, and add wait time if the component is rendered after the initial HTML.
Screenshot and email
GetScreenshot lists a screenshot-and-email action. Use it when a human needs to review a visual snapshot immediately. Include the URL, capture date, and reason for the alert in the message so the recipient can interpret the image without opening the Zap.
Rendered page with extraction
Screenshot API lists text or HTML extraction alongside visual controls. This can support a Zap that captures a page and passes extracted content to a later action. Treat extraction and the image as separate outputs and test both mappings.
4. Can Zapier capture a full webpage?
Yes, when the selected screenshot action exposes full-page capture. Enable that option and allow enough wait time for lazy-loaded content. A full-page image can be tall, so check the destination application’s file-size and preview limits. If the page is an infinite scroll feed, a full-page option may stop at the service’s render boundary; use a fixed element or a defined viewport when you need predictable dimensions.
5. Or skip the browser setup
For an API-first workflow, ScreenshotNeo’s API documentation provides a single request that returns PNG, JPEG, WebP, or PDF. The same endpoint can be called from a Zapier Webhooks step, a scheduled job, or your own server.
curl -G "https://api.screenshotneo.com/v1/shot" -d access_key=YOUR_API_KEY --data-urlencode url=https://stripe.com -o shot.webpimport requests
r = requests.get("https://api.screenshotneo.com/v1/shot", params={"access_key": "YOUR_API_KEY", "url": "https://stripe.com"}, timeout=90)
open("shot.webp", "wb").write(r.content)const q = new URLSearchParams({ access_key: 'YOUR_API_KEY', url: 'https://stripe.com' });
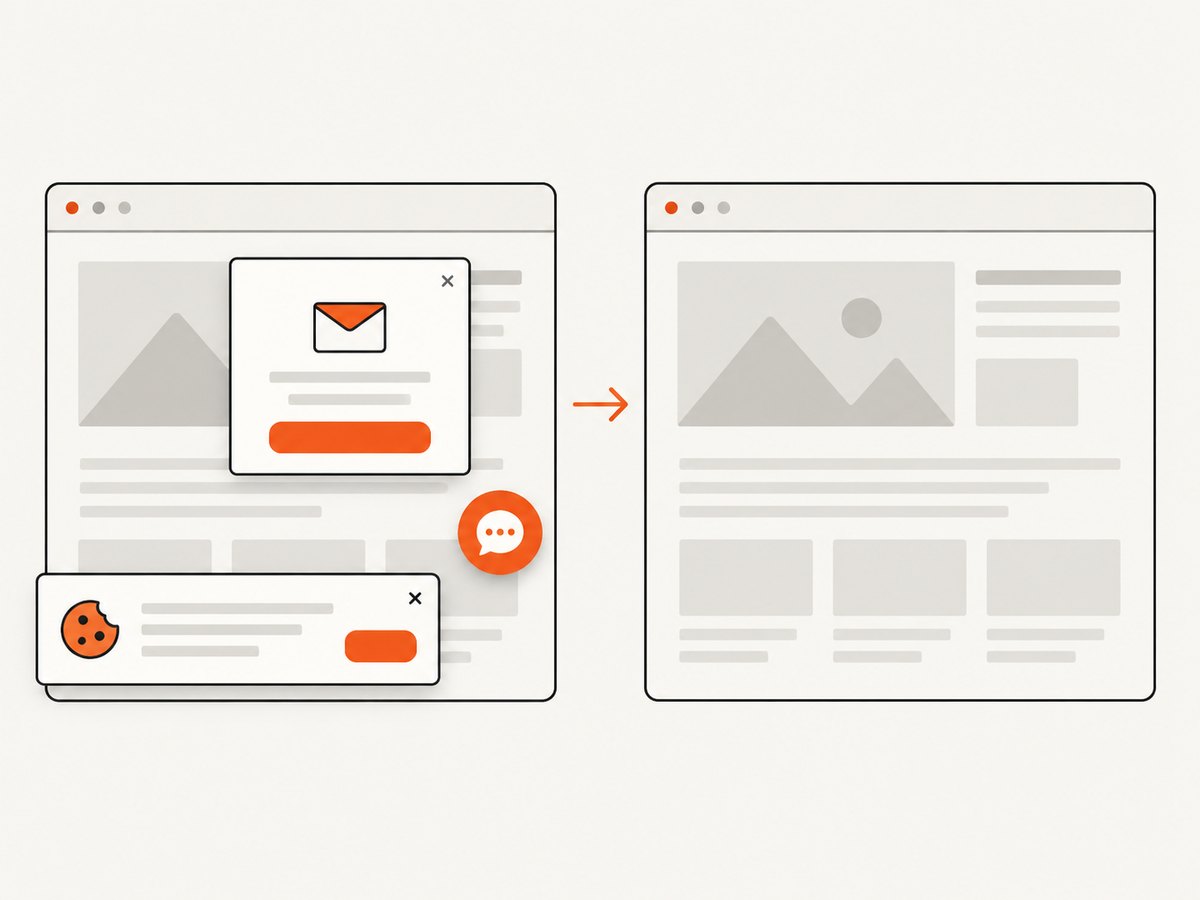
const res = await fetch(`https://api.screenshotneo.com/v1/shot?${q}`);ScreenshotNeo removes cookie and consent banners, newsletter popups, and chat widgets before the shot. Bot checks, blank pages, timeouts, failed loads, and cache hits are not billed, and the response identifies the result with X-Page-Verdict and X-Billed headers. Its MCP server lets Claude, Cursor, and other MCP clients call take_screenshot, get_page_info, and capture_pdf. One thousand screenshots per month are free with no card; paid plans start at $5 for 3,000 shots. Create a free ScreenshotNeo account.
6. Advanced capture choices
Element versus full-page capture
Use element capture when the useful artifact is a bounded component and page chrome would add noise. Use full-page capture for documentation, archives, and visual review of the entire route. Element capture depends on a selector; full-page capture depends more on page height, lazy loading, and the rendering service’s limits.
Waiting for dynamic content
Increase wait seconds or delay when a chart, font, image, or client-side component is missing. Prefer a load event or selector-based readiness condition when the action offers one, because a fixed delay can be either too short during a slow run or unnecessarily long during a fast run.
Dimensions, retina, and dark mode
Keep dimensions constant across runs if you compare images with a diff tool. Retina output increases pixel count and file size, so use it when visual detail matters. Dark mode is a separate rendering state; do not mix light and dark captures in the same comparison set.
7. Troubleshooting
| Symptom | Likely cause | Fix |
|---|---|---|
| Blank or partially rendered image | The page was captured before client-side content finished | Add wait time, select a later load event, or wait for a readiness selector. |
| Element action cannot find the selector | The selector is wrong, changes between runs, or appears only after interaction | Inspect the live DOM, use a stable class or ID, and add the required wait or click step. |
| Images are missing | Lazy loading has not been triggered | Enable lazy loading where listed, use full-page capture, or add a delay after the page becomes visible. |
| Cookie banner covers content | The capture service leaves consent UI in place | Use a service with consent handling, or apply supported custom CSS only when removal is appropriate. |
| Dropbox receives a link instead of a file | The mapped field is a URL or metadata value | Remap the binary/file output exposed by the screenshot action and retest the destination step. |
| Zap works in a test but fails on schedule | The page changes, rate limits occur, or credentials expired | Review the task history, reauthenticate the app, and make waits and selectors less fragile. |
| Three-step Zap is unavailable | The GetScreenshot listing says Zaps with three or more steps require a Starter plan | Check the current Zapier account plan before publishing a multi-step workflow. |
8. Reliability, performance, and cost
Reliability checklist
- Use stable URLs and selectors.
- Record the capture timestamp and final destination path.
- Keep a test image from a known-good run.
- Review Zap history after changing a page, selector, or screenshot provider.
- Separate archival storage from alerting when possible.
Longer waits improve completeness but reduce throughput. Full-page and retina captures can create larger files and slower uploads. Element captures are usually easier to compare because their dimensions are bounded, while full-page captures preserve more context but are more sensitive to page-length changes.
Zapier plan requirements depend on the account and action combination. The GetScreenshot listing specifically says that three or more steps require a Starter plan, so confirm the current plan details in your account. Screenshot action providers may also have their own quotas or billing; check each provider’s current listing and account terms before scheduling high-frequency runs.
9. FAQ
How do I take daily website screenshots with Zapier?
Create a Schedule trigger, add GetScreenshot or another listed screenshot action, enter the URL, then send the returned file to Dropbox or another destination.
Can I screenshot only a component?
Yes. GetScreenshot’s advanced element action accepts a selector. The selector must match an element in the rendered page.
Which action supports dark mode?
Zapier’s Screenshot API listing includes dark mode, along with retina, lazy loading, dimensions, delay, and load-event controls.
Can I produce a PDF?
GetScreenshot lists PDF output among its options. Select that output only when the destination and downstream steps accept a PDF file.
What should I do when a page uses heavy JavaScript?
Use a wait or load-event control, enable lazy loading when available, and test the exact URL and selector from a scheduled run.
10. Final implementation checklist
- Choose the trigger interval and timezone.
- Confirm the screenshot URL, output type, viewport, and full-page or element scope.
- Add wait, load-event, lazy-loading, retina, or dark-mode settings only as needed.
- Map the actual file output into the destination action.
- Run a test and open the stored artifact.
- Verify your Zapier plan supports the number of steps.
- Monitor the first scheduled runs and adjust waits or selectors when the site changes.
For a fully managed capture endpoint, use ScreenshotNeo with the request above, then route the returned file wherever your automation needs it.


