How to Use an AI Agent to Capture Web Page Screenshots in a Notion Database
Capture web pages with Playwright, upload screenshots to Notion, and save each image with searchable database metadata.
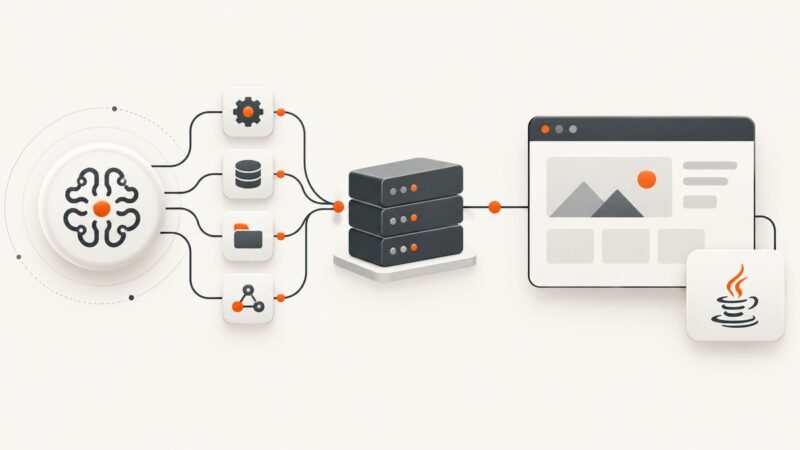
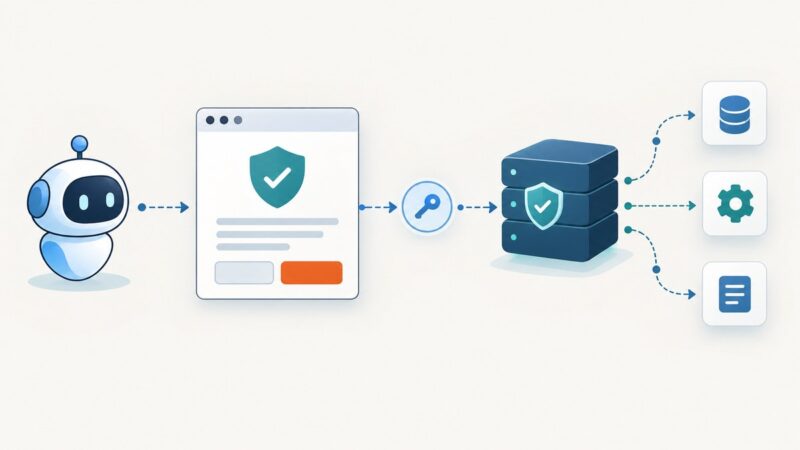
Short answer: use an agent to coordinate three steps: capture the target page with a browser tool such as Playwright, upload the resulting image through Notion’s file upload API, then create a database page that stores the URL, capture time, and uploaded file. A Notion database item is a page, so it can hold both structured properties and image content. Notion AI itself cannot create database pages; use an integration or another supported automation for that step. Notion’s database guide explains database pages and properties.
1. Prepare the Notion database and integration
- Create a database for captures. Add properties such as
Name(title),URL(URL),Captured(date), andScreenshot(Files & media). A gallery view can make the images easier to browse. - Create or select a Notion integration, copy its secret, and share the database with that integration. The integration needs access to the target database and permission to insert content.
- Record the database ID, integration secret, and the current Notion API version shown in the file upload API documentation. Keep the secret server-side; never place it in a browser page or agent prompt.
- Install Python dependencies:
python -m pip install playwright requests, then install Chromium withpython -m playwright install chromium.
Notion supports images in a Files & media property or as an image block in the page body. This example attaches the upload to the database row’s Files & media property. You can instead add an image block to the page body if the image belongs with a longer note. See Notion’s media guide.
2. Run the capture, upload, and database workflow
The script below runs as an ordinary Python program, so an AI agent can invoke it with an allowed URL and capture instructions. It saves a screenshot locally, creates a single-part Notion file upload, sends the image bytes, completes the upload, then creates a database page containing the source URL, timestamp, and screenshot. The code follows Notion’s documented Playwright screenshot, file upload, send upload, and complete upload flows.
import os
from datetime import datetime, timezone
from pathlib import Path
from urllib.parse import urlparse

import requests
from playwright.sync_api import sync_playwright

NOTION_TOKEN = os.environ["NOTION_TOKEN"]
DATABASE_ID = os.environ["NOTION_DATABASE_ID"]
NOTION_VERSION = os.environ["NOTION_VERSION"]  # Use the version in Notion's current docs.
TARGET_URL = os.environ.get("TARGET_URL", "https://example.com")
OUTPUT = Path("capture.png")

if urlparse(TARGET_URL).scheme not in {"http", "https"}:
    raise ValueError("TARGET_URL must be an http or https URL")

headers = {
    "Authorization": f"Bearer {NOTION_TOKEN}",
    "Notion-Version": NOTION_VERSION,
}

# Capture a full-page PNG after navigation. Adjust the wait strategy for the site.
with sync_playwright() as p:
    browser = p.chromium.launch(headless=True)
    page = browser.new_page(viewport={"width": 1440, "height": 900}, device_scale_factor=1)
    response = page.goto(TARGET_URL, wait_until="domcontentloaded", timeout=60000)
    page.screenshot(path=str(OUTPUT), full_page=True)
    title = page.title() or TARGET_URL
    browser.close()

if not OUTPUT.exists() or OUTPUT.stat().st_size == 0:
    raise RuntimeError("Screenshot file is missing or empty")

# Initialize a Notion single-part upload.
create = requests.post(
    "https://api.notion.com/v1/file_uploads",
    headers={**headers, "Content-Type": "application/json"},
    json={
        "mode": "single_part",
        "filename": OUTPUT.name,
        "content_type": "image/png",
    },
    timeout=60,
)
create.raise_for_status()
upload = create.json()

# Send the raw file as multipart form data. Let requests set the multipart boundary.
with OUTPUT.open("rb") as image_file:
    sent = requests.post(
        f"https://api.notion.com/v1/file_uploads/{upload['id']}/send",
        headers=headers,
        files={"file": (OUTPUT.name, image_file, "image/png")},
        timeout=120,
    )
sent.raise_for_status()

completed = requests.post(
    f"https://api.notion.com/v1/file_uploads/{upload['id']}/complete",
    headers={**headers, "Content-Type": "application/json"},
    json={},
    timeout=60,
)
completed.raise_for_status()

captured_at = datetime.now(timezone.utc).isoformat()
page_properties = {
    "Name": {"title": [{"text": {"content": title[:2000]}}]},
    "URL": {"url": TARGET_URL},
    "Captured": {"date": {"start": captured_at}},
    "Screenshot": {
        "files": [{
            "type": "file_upload",
            "name": OUTPUT.name,
            "file_upload": {"id": upload["id"]},
        }]
    },
}
created = requests.post(
    "https://api.notion.com/v1/pages",
    headers={**headers, "Content-Type": "application/json"},
    json={
        "parent": {"database_id": DATABASE_ID},
        "properties": page_properties,
    },
    timeout=60,
)
created.raise_for_status()
print({"page_id": created.json()["id"], "source_url": TARGET_URL,
       "http_status": response.status if response else None})
Set the environment variables before running. For example, in a POSIX shell: export NOTION_TOKEN='secret_…', export NOTION_DATABASE_ID='…', export NOTION_VERSION='…', and export TARGET_URL='https://example.com', then run python capture_to_notion.py. Adapt the property names in page_properties to match your database exactly; Notion property names are case-sensitive. If your integration or API version expects a data source parent, follow the current Create a page reference for the workspace’s database model.
Agent instructions and guardrails
Keep capture policy separate from the code. Give the agent a list of allowed domains, the desired viewport and wait condition, and the destination database. Validate every URL before navigation and before storing it; do not let untrusted page content change the destination database, Notion token, or permitted domains. Use a bounded timeout, maximum screenshot dimensions or file size appropriate to your workflow, and a clear rule for whether redirects are allowed. Avoid capturing pages that contain information the database audience should not see.
3. Choose capture and storage settings
| Choice | Use it when | Trade-off |
|---|---|---|
| Full-page screenshot | You need a visual record of the whole document. | Long pages produce large and sometimes difficult-to-read images. |
| Viewport screenshot | You want a consistent preview or above-the-fold view. | Content below the viewport is omitted. |
| Files & media property | Images should be attached to rows and easy to browse in a gallery. | Use a matching property name and ensure the integration can update the page. |
| Image block in page body | The screenshot belongs within a longer record or audit note. | It is page content rather than a dedicated structured property. |
Playwright can wait for navigation states such as domcontentloaded or load; networkidle can be unsuitable for sites with persistent network activity. A fixed delay can help with a known client-side render, but adds latency and does not prove the page is ready. For a page-specific target, wait for a meaningful selector before taking the screenshot. Playwright documents browser overlays such as sign-up dialogs as a possible obstacle to automation; handle those intentionally rather than assuming every page is unobstructed.
To capture a single element, replace the screenshot call with page.locator("main").screenshot(path="capture.png"). To capture only the visible viewport, use page.screenshot(path="capture.png") without full_page=True. Keep a stable viewport and device scale factor if you want captures to be comparable across runs. The Playwright Page reference documents the screenshot options.
4. cURL and Node.js building blocks
For a local browser capture, use Playwright’s official Python example above or port the same sequence to the Playwright library for your runtime. The Notion upload and page creation calls are separate HTTP requests. These examples show the Notion stages; pass a screenshot created by your browser step.
Upload a local screenshot with cURL
# Initialize a single-part file upload; save the returned JSON to inspect its id.
curl -X POST https://api.notion.com/v1/file_uploads \\
  -H "Authorization: Bearer $NOTION_TOKEN" \\
  -H "Notion-Version: $NOTION_VERSION" \\
  -H "Content-Type: application/json" \\
  -d '{"mode":"single_part","filename":"capture.png","content_type":"image/png"}'

# Replace UPLOAD_ID with the id from the response. The file field is binary multipart data.
curl -X POST "https://api.notion.com/v1/file_uploads/UPLOAD_ID/send" \\
  -H "Authorization: Bearer $NOTION_TOKEN" \\
  -H "Notion-Version: $NOTION_VERSION" \\
  -F "file=@capture.png;type=image/png"

curl -X POST "https://api.notion.com/v1/file_uploads/UPLOAD_ID/complete" \\
  -H "Authorization: Bearer $NOTION_TOKEN" \\
  -H "Notion-Version: $NOTION_VERSION" \\
  -H "Content-Type: application/json" \\
  -d '{}'
Node.js upload and attach
import fs from "node:fs/promises";

const token = process.env.NOTION_TOKEN;
const version = process.env.NOTION_VERSION;
const databaseId = process.env.NOTION_DATABASE_ID;
const targetUrl = process.env.TARGET_URL;
const headers = { Authorization: `Bearer ${token}`, "Notion-Version": version };

async function notion(path, options = {}) {
  const response = await fetch(`https://api.notion.com/v1${path}`, {
    ...options,
    headers: { ...headers, ...options.headers },
  });
  if (!response.ok) throw new Error(`${response.status}: ${await response.text()}`);
  return response.json();
}

const file = await fs.readFile("capture.png");
const upload = await notion("/file_uploads", {
  method: "POST",
  headers: { "Content-Type": "application/json" },
  body: JSON.stringify({ mode: "single_part", filename: "capture.png", content_type: "image/png" }),
});

const form = new FormData();
form.append("file", new Blob([file], { type: "image/png" }), "capture.png");
await notion(`/file_uploads/${upload.id}/send`, { method: "POST", body: form });
await notion(`/file_uploads/${upload.id}/complete`, {
  method: "POST", headers: { "Content-Type": "application/json" }, body: "{}",
});

const title = new URL(targetUrl).hostname;
const record = await notion("/pages", {
  method: "POST",
  headers: { "Content-Type": "application/json" },
  body: JSON.stringify({
    parent: { database_id: databaseId },
    properties: {
      Name: { title: [{ text: { content: title } }] },
      URL: { url: targetUrl },
      Captured: { date: { start: new Date().toISOString() } },
      Screenshot: { files: [{ type: "file_upload", name: "capture.png", file_upload: { id: upload.id } }] },
    },
  }),
});
console.log(record.id);
Node’s FormData creates the multipart boundary. Do not manually set Content-Type: multipart/form-data on the send request; doing so without the generated boundary can make the request invalid. Property names and parent format must match the actual database and current API model.
Direct Notion API versus an agent’s Notion connector
An agent can use a Notion MCP server or another integration to create and edit records if it exposes the required operations. Confirm that its tools support the file upload and attachment steps; a page-creation tool alone may only create text and properties. When the connector cannot upload bytes, keep the capture step in the agent workflow and call Notion’s documented upload endpoints from a trusted script. Notion AI’s own help page says it cannot create database pages, so do not assume a natural-language request inside Notion will create each capture record.
Or skip the browser setup
ScreenshotNeo is a website screenshot API and MCP server. Its one-call API returns an image or PDF; you can download that response and pass the resulting image through the Notion file upload and page creation steps above. See the ScreenshotNeo API documentation for parameters and response headers.
curl -G "https://api.screenshotneo.com/v1/shot" -d access_key=YOUR_API_KEY --data-urlencode url=https://example.com -o shot.webpCookie banners are accepted and more than 60 known consent platforms, newsletter popups, and chat widgets are removed before capture; each step can be turned off. Bot checks, blank pages, timeouts, failed loads, and cache hits cost nothing, and response headers report the page verdict and billing status. An MCP server provides take_screenshot, get_page_info, and capture_pdf for AI agents and MCP clients. The free plan includes 1,000 screenshots a month with no card; paid plans start at $5 for 3,000 screenshots. Sign up free and connect ScreenshotNeo to your capture workflow.
5. Reliability, privacy, and cost
- Make retries safe. A timeout after Notion creates a page can leave the agent unsure whether the operation succeeded. Persist the upload ID and created page ID, inspect the response before retrying, and use the source URL plus capture time or a separate run identifier to detect duplicates.
- Handle partial failure. Capture, upload initialization, byte transfer, upload completion, and page creation can fail independently. Log the stage and response code. If page creation fails after upload, retain the upload ID and retry page creation instead of recapturing unnecessarily.
- Control file size and latency. Full-page captures of very long documents can take longer and produce larger files. Use a viewport capture or a target element when that satisfies the use case. Use single-part uploads for files up to 20 MiB; Notion documents multipart mode for larger files and external URL import for temporary public HTTPS URLs in its upload reference.
- Respect API limits. Handle rate-limit responses with bounded backoff, and avoid launching unbounded parallel captures or page writes. See Notion’s API request limits.
- Protect credentials and captured data. Store tokens in a secret manager or environment configuration, restrict the integration’s database access, and decide how long local screenshots and Notion records should be retained. Screenshots may contain personal or confidential content.
- Budget for the workflow. Browser execution, network transfer, Notion API calls, and stored image volume are the practical cost factors. This workflow has no defensible universal runtime benchmark: target pages, image dimensions, and network conditions vary. ScreenshotNeo offers 1,000 free shots monthly, then plans from $5 for 3,000, with every feature available on every plan.
6. Troubleshooting
| Symptom | Likely cause | Fix |
|---|---|---|
| Playwright times out at navigation | The page is slow, never settles, or keeps network connections open. | Use a suitable navigation event such as domcontentloaded, set a bounded timeout, then wait for the content selector the capture needs. |
| Screenshot is blank or incomplete | Client rendering, lazy images, consent overlays, or content below the fold. | Wait for a visible target, scroll the page when needed to trigger lazy loading, and inspect whether an overlay must be handled. Choose full-page capture only when the page is ready. |
| Notion returns 401 | Missing, invalid, or revoked integration secret. | Check the bearer token and keep it out of logs and source control. |
| Notion returns 403 or 404 | The integration lacks access, or the database ID is wrong. | Share the database with the integration and verify the ID and required capabilities. |
| Notion rejects the upload request | Wrong API version, invalid file type, mismatched MIME type, or an incorrect upload mode. | Use the current documented Notion-Version, match image/png to the PNG bytes, and follow the create/send/complete sequence. |
| Multipart send returns a malformed request error | The request has no valid boundary or the file field is not raw file content. | Use an HTTP library’s multipart support; do not manually override the multipart Content-Type boundary. |
| Page creation fails on properties | Property names or types differ from the database schema. | Inspect the database schema and change the JSON keys and property value shapes to match it exactly. |
| Image upload succeeds but no database row appears | The final page-create request failed or the workflow stopped between completion and page creation. | Log and retry the page-create stage with the existing uploaded file ID; check the API response before repeating the whole job. |
| Repeated runs create duplicate rows | A timed-out request was retried without checking whether the first page was created. | Keep a run ledger, query for a matching source URL and capture identifier, and reconcile uncertain outcomes before retrying. |
7. FAQ
Does Notion AI create these database rows?
Notion’s help documentation says Notion AI cannot create pages in a database. Use an integration, API client, MCP tool, or other supported automation to create records.
Can I save the image inside the page instead of a property?
Yes. Notion supports an image in the page body as well as a Files & media database property. Choose based on how people browse and annotate the records.
Can I capture a PDF instead of an image?
Yes. The capture stage can produce a PDF, but the Notion upload content type, filename, and database property must reflect that format. ScreenshotNeo also supports PDF capture.
Does the agent need to be autonomous?
No. The agent can select or summarize the requested URL while a deterministic script enforces allowed domains, captures the page, and writes the record. This division keeps credentials and database mutations in controlled code.