BlogScreenshots on your device
Apple Screen Capture API: A Complete ScreenCaptureKit Guide for macOS
Build a macOS screen recorder with Apple’s ScreenCaptureKit: permissions, displays, windows, audio, buffering, troubleshooting, and code.
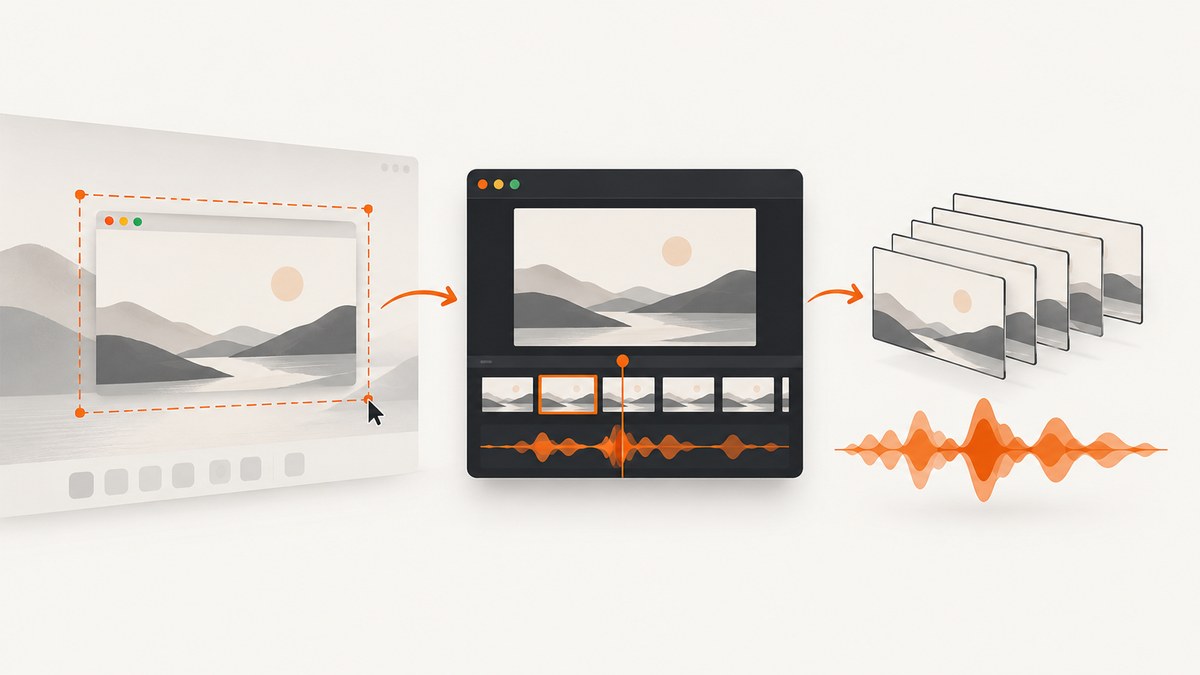
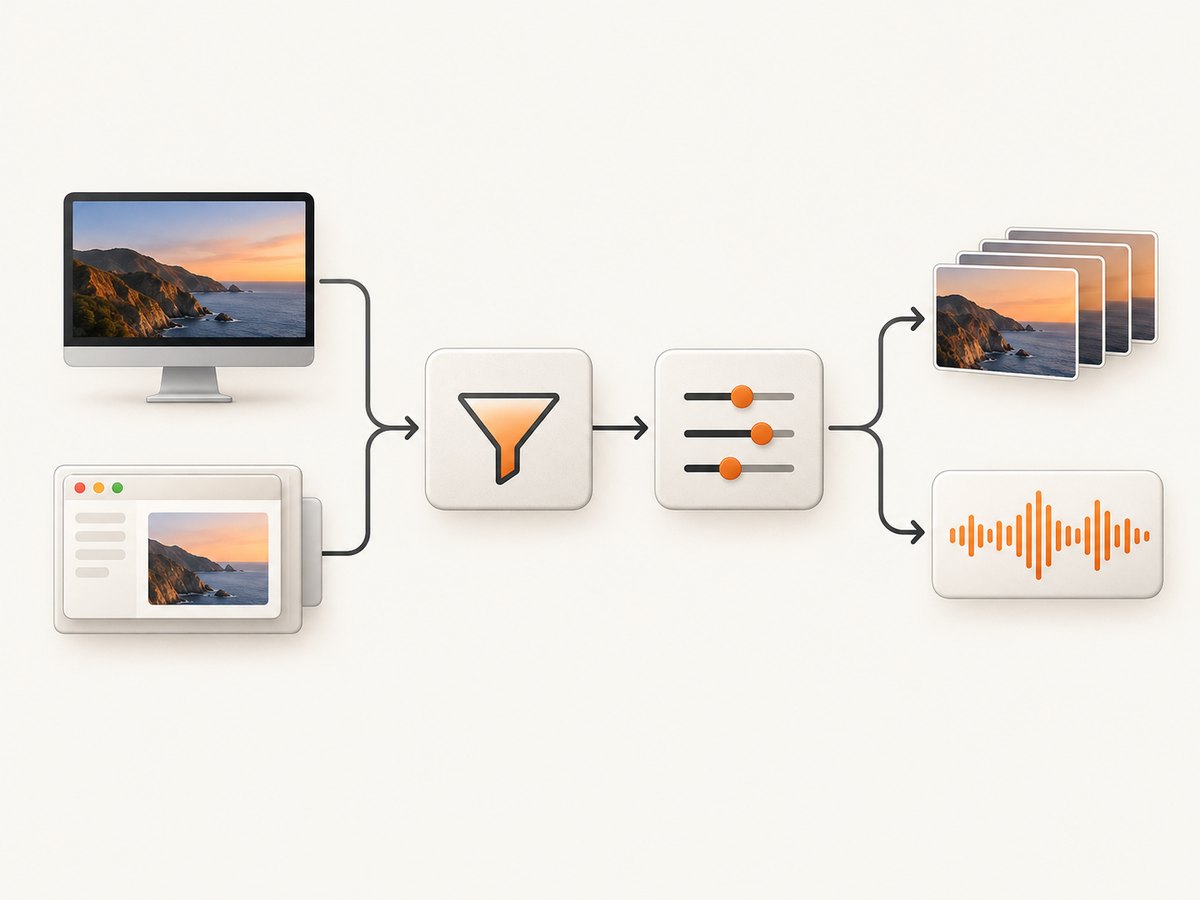
ScreenCaptureKit is Apple’s current framework for capturing selected displays, windows, applications, and audio on Apple platforms. On macOS, the usual flow is: request Screen Recording permission, discover shareable content with SCShareableContent, create an SCContentFilter, configure an SCStreamConfiguration, start an SCStream, and process CMSampleBuffer objects.
Apple describes ScreenCaptureKit as the replacement for ReplayKit for screen streaming and mirroring. The framework is available across iOS, iPadOS, macOS, tvOS, and visionOS, but the setup and sample code below target macOS.
What ScreenCaptureKit captures
ScreenCaptureKit separates what you capture from how you receive it:
| Concern | API | Examples |
|---|---|---|
| Source discovery | SCShareableContent |
Displays, running applications, windows |
| Capture scope | SCContentFilter |
One display, one window, an application, optional exclusions |
| Output behavior | SCStreamConfiguration |
Width, height, frame interval, pixel format, queue depth, audio |
| Delivery | SCStream |
Screen, system-audio, and microphone sample buffers |
Screen output is delivered as video sample buffers. Audio output is disabled unless you enable it in the configuration. You can update a running stream’s filter or configuration when the selected content changes.
Requirements and permissions
- Add
NSScreenCaptureUsageDescriptionto the target’sInfo.plist(or set it in Xcode’s target settings). Explain why your app needs screen access. - Request Screen Recording permission before starting capture. macOS prompts the user on first use.
- After permission is granted, Apple’s macOS sample requires restarting the app before capture succeeds.
- The Apple sample used for this guide lists macOS 15 or later and Xcode 16 or later. These are sample prerequisites, not a universal minimum for every ScreenCaptureKit deployment.
<key>NSScreenCaptureUsageDescription</key>
<string>This app captures a selected screen or window for recording and sharing.</string>
Users can review access in System Settings → Privacy & Security → Screen & System Audio Recording. If permission is denied, your app must explain how to enable it; do not assume a stream can start without consent.
Minimal macOS capture implementation in Swift
The following example discovers the first display, captures it at 60 fps, enables system audio, and receives video and audio sample buffers. Create a macOS app target, import ScreenCaptureKit and AVFoundation, add the usage description above, and connect the controller to your app lifecycle.
import Cocoa
import ScreenCaptureKit
import AVFoundation

final class CaptureController: NSObject, SCStreamOutput, SCStreamDelegate {
    private var stream: SCStream?
    private let videoQueue = DispatchQueue(label: "capture.video")
    private let audioQueue = DispatchQueue(label: "capture.audio")

    func start() async throws {
        // Ask macOS to return displays, apps, and windows that can be captured.
        let shareable = try await SCShareableContent.excludingDesktopWindows(
            false,
            onScreenWindowsOnly: true
        )

        guard let display = shareable.displays.first else {
            throw CaptureError.noDisplay
        }

        // Capture this display. You can exclude selected windows when needed.
        let filter = SCContentFilter(display: display, excludingWindows: [])

        let configuration = SCStreamConfiguration()
        configuration.width = display.width
        configuration.height = display.height
        configuration.minimumFrameInterval = CMTime(value: 1, timescale: 60)
        configuration.pixelFormat = kCVPixelFormatType_32BGRA
        configuration.queueDepth = 5

        // Audio is off by default. Enable system audio explicitly.
        configuration.capturesAudio = true
        configuration.excludesCurrentProcessAudio = true
        configuration.sampleRate = 48_000
        configuration.channelCount = 2

        let stream = SCStream(filter: filter, configuration: configuration, delegate: self)
        try stream.addStreamOutput(self, type: .screen, sampleHandlerQueue: videoQueue)
        try stream.addStreamOutput(self, type: .audio, sampleHandlerQueue: audioQueue)

        self.stream = stream
        try await stream.startCapture()
    }

    func stop() async throws {
        guard let stream else { return }
        try await stream.stopCapture()
        self.stream = nil
    }

    func stream(_ stream: SCStream,
                didOutputSampleBuffer sampleBuffer: CMSampleBuffer,
                of type: SCStreamOutputType) {
        guard sampleBuffer.isValid else { return }

        switch type {
        case .screen:
            guard let imageBuffer = CMSampleBufferGetImageBuffer(sampleBuffer) else { return }
            // Convert imageBuffer to a CIImage, CVPixelBuffer, or video encoder input.
            let presentationTime = CMSampleBufferGetPresentationTimeStamp(sampleBuffer)
            print("video frame at \(presentationTime), size: \(CVPixelBufferGetWidth(imageBuffer))x\(CVPixelBufferGetHeight(imageBuffer))")

        case .audio:
            // Send the audio sample buffer to AVAudioEngine, an AAC encoder, or a file writer.
            print("audio sample received")

        case .microphone:
            print("microphone sample received")

        @unknown default:
            break
        }
    }

    func stream(_ stream: SCStream, didStopWithError error: Error) {
        print("Capture stopped: \(error.localizedDescription)")
    }

    enum CaptureError: Error {
        case noDisplay
    }
}
Start it from an async context, such as a task in your view controller:
let controller = CaptureController()

Task {
    do {
        try await controller.start()
    } catch {
        print("Unable to start capture: \(error.localizedDescription)")
    }
}
For production recording, pass the received buffers to an AVAssetWriter or another encoder. The sample above intentionally leaves encoding policy to your app because codec, container, and synchronization requirements differ between recording, streaming, and analysis.
Capturing one window or application
Use SCShareableContent to find a matching application or window, then build a filter for that item. The exact object available depends on what the user has open and whether the window is on screen.
let content = try await SCShareableContent.excludingDesktopWindows(
    false,
    onScreenWindowsOnly: true
)

if let window = content.windows.first(where: { $0.title == "My Document" }) {
    let filter = SCContentFilter(desktopIndependentWindow: window)
    // Create SCStream with this filter and your configuration.
}

if let app = content.applications.first(where: { $0.applicationName == "Safari" }) {
    let appWindows = content.windows.filter { $0.owningApplication?.bundleIdentifier == app.bundleIdentifier }
    // Build an application-oriented selection from the available windows.
    print("Found \(appWindows.count) Safari windows")
}
Window titles and application lists can change while your app runs. Refresh shareable content before presenting a new selection, and handle the case where a window closes between discovery and stream creation.
Let the user choose with Apple’s sharing picker
Apple recommends SCContentSharingPicker for source selection and stream management instead of creating a custom source-selection UI. This keeps the permission and sharing flow consistent with macOS.
import ScreenCaptureKit

let picker = SCContentSharingPicker.shared
picker.isActive = true
// Configure the picker for the kinds of content your app supports,
// then respond to its selection callbacks in your picker observer.
Use the picker when users should choose a display, window, or application interactively. Use a directly created SCContentFilter for fixed sources, automated workflows, or a previously saved selection.
System audio and microphone capture
System audio and microphone audio are separate outputs. Enable system audio with capturesAudio. The sample configuration also demonstrates excluding your app’s own audio and setting sample rate and channel count. Microphone capture is registered as a separate .microphone output and requires the appropriate microphone permission.
configuration.capturesAudio = true
configuration.excludesCurrentProcessAudio = true
configuration.sampleRate = 48_000
configuration.channelCount = 2

try stream.addStreamOutput(self, type: .microphone, sampleHandlerQueue: audioQueue)
Do not assume audio is present in every callback. Check the sample buffer’s validity and format, and keep screen and audio processing on separate queues when encoding work could block.
Resolution, frame timing, pixel format, and buffering
| Setting | What it controls | Tradeoff |
|---|---|---|
width, height |
Output dimensions | Larger frames consume more bandwidth, memory, and encoder time. |
minimumFrameInterval |
Requested frame timing | Higher frame rates increase processing and storage requirements. |
pixelFormat |
Video buffer layout | Choose a format your renderer or encoder accepts without unnecessary conversion. |
queueDepth |
Frames buffered while your handler works | A larger queue uses more memory but can prevent stalls. Apple’s sample uses five; the default is three and Apple says not to exceed eight. |
capturesAudio |
System-audio delivery | Audio adds processing and synchronization work. |
Apple’s sample uses a 60 fps interval and queue depth of five as an example. Treat those values as starting points, then tune for your encoder and target device. A queue that is too shallow can stall when processing falls behind; a queue that is too deep increases memory use and latency.
Updating a running capture
You can apply a new filter or configuration without rebuilding the entire stream. This is useful when a user switches windows, changes resolution, or enables audio after capture has started.
let newFilter = SCContentFilter(display: anotherDisplay, excludingWindows: [])
try await stream.updateContentFilter(newFilter)

var newConfiguration = SCStreamConfiguration()
newConfiguration.width = 1920
newConfiguration.height = 1080
newConfiguration.minimumFrameInterval = CMTime(value: 1, timescale: 30)
try await stream.updateConfiguration(newConfiguration)
Serialize updates with your start and stop operations. If the source disappears, rediscover shareable content and present a new selection instead of repeatedly retrying a stale window object.
Privacy and reliability checklist
- Explain capture purpose with
NSScreenCaptureUsageDescription. - Request permission before creating the stream.
- Tell users to restart after the first permission grant when following Apple’s macOS sample flow.
- Prefer
SCContentSharingPickerfor user-controlled selection. - Keep screen, system audio, and microphone handlers separate.
- Check every buffer for validity and handle stream stop errors.
- Bound encoding work so output queues do not grow without limit.
- Requery
SCShareableContentwhen windows or displays change. - Persist user preferences only as identifiers you can safely revalidate; windows can close and displays can be unplugged.
Troubleshooting ScreenCaptureKit
| Symptom | Likely cause | Fix |
|---|---|---|
| Stream fails immediately | Screen Recording permission is missing. | Add NSScreenCaptureUsageDescription, enable access in System Settings, then restart the app. |
| No displays or windows are returned | There is no eligible on-screen content, or the query excludes it. | Retry SCShareableContent with the intended desktop-window and on-screen options. |
| Video arrives but audio does not | Audio capture is disabled or no audio output was registered. | Set capturesAudio = true and add a .audio output. |
| Microphone callbacks are empty | Microphone output was not registered or microphone permission is missing. | Add the microphone usage description, request permission, and register .microphone. |
| Frames are dropped or latency grows | Processing is slower than the requested frame rate. | Reduce dimensions or frame rate, move encoding off the delivery queue, and tune queue depth. Do not exceed eight frames. |
| Captured window disappears | The user closed it, moved it off screen, or changed spaces. | Refresh shareable content and let the user select a new source. |
| Colors or performance are wrong | The consumer expects a different pixel format or dimensions. | Set a pixel format supported by your renderer or encoder and avoid repeated conversions. |
| Capture stops unexpectedly | System permission changed, the source ended, or the stream reported an error. | Implement didStopWithError, surface a recoverable message, and restart only after revalidating permission and source. |
Performance, buffering, and cost considerations
ScreenCaptureKit’s workload depends on output dimensions, frame rate, pixel format, audio, and what your app does with each buffer. Apple’s WWDC22 session describes delivery of audio up to 48 kHz stereo and video up to a display’s native resolution and frame rate, and says the framework is designed for lower CPU overhead by using Mac GPUs. That is an Apple capability statement from 2022, not a benchmark or guarantee for every Mac and configuration.
For predictable resource use:
- Capture only the display or window you need.
- Choose the smallest resolution that meets the product requirement.
- Use 30 fps when 60 fps is unnecessary.
- Process buffers quickly and hand encoding to a dedicated queue.
- Measure memory when changing queue depth; larger queues trade memory for processing headroom.
- Keep audio and video timestamps so your writer or streaming protocol can synchronize them.
Or skip the browser setup
If your goal is a static image or PDF of a web page rather than a live macOS display stream, ScreenshotNeo provides a single HTTP request. Its API handles browser setup and can capture PNG, JPEG, WebP, or PDF output.
See the ScreenshotNeo API documentation for all options.
cURL
curl -G "https://api.screenshotneo.com/v1/shot" -d access_key=YOUR_API_KEY --data-urlencode url=https://stripe.com -o shot.webpPython
import requests

r = requests.get(
    "https://api.screenshotneo.com/v1/shot",
    params={"access_key": "YOUR_API_KEY", "url": "https://stripe.com"},
    timeout=90,
)
r.raise_for_status()
open("shot.webp", "wb").write(r.content)
Node.js
const q = new URLSearchParams({ access_key: 'YOUR_API_KEY', url: 'https://stripe.com' });
const res = await fetch(`https://api.screenshotneo.com/v1/shot?${q}`);
if (!res.ok) throw new Error(`HTTP ${res.status}`);
const bytes = Buffer.from(await res.arrayBuffer());
require('fs').writeFileSync('shot.webp', bytes);
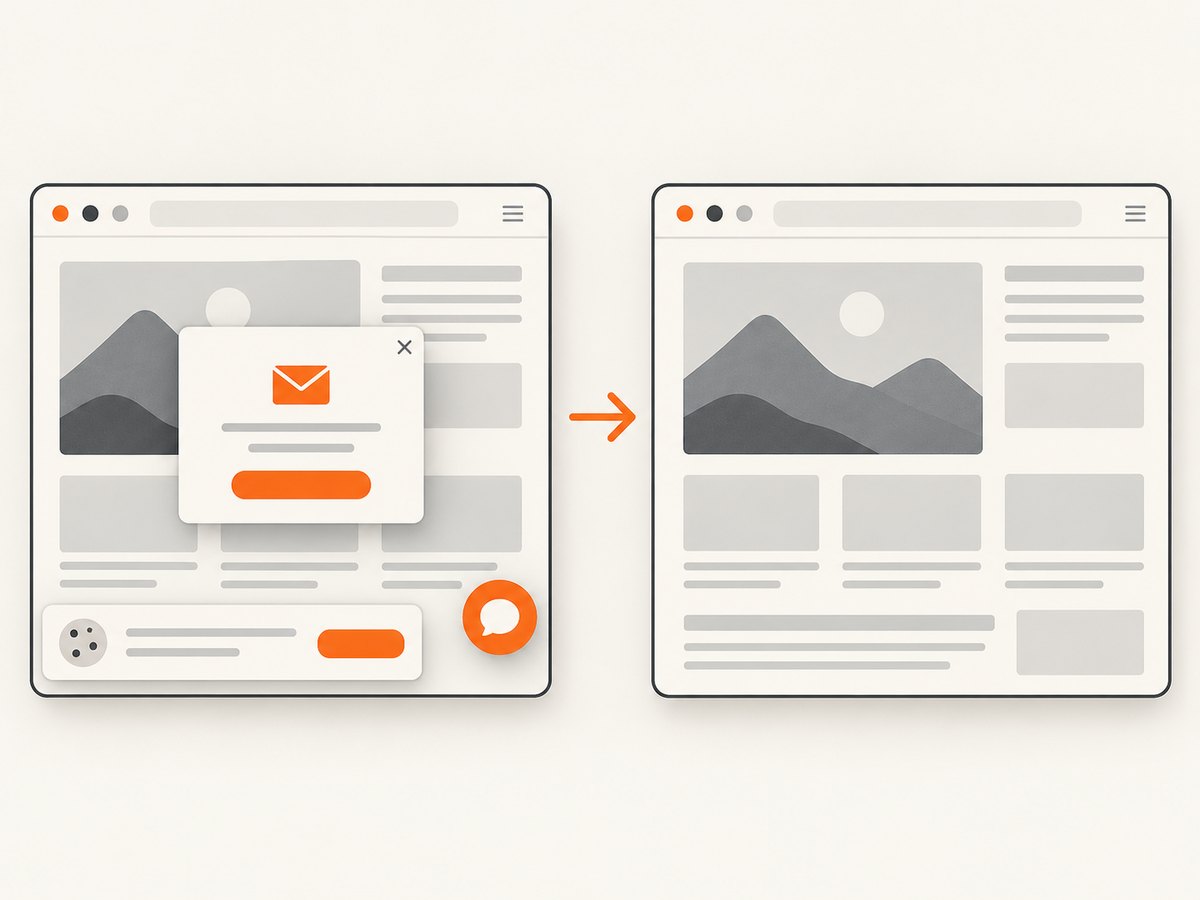
ScreenshotNeo removes cookie and consent banners, newsletter popups, and chat widgets before capture. Bot checks, blank pages, timeouts, failed loads, and cache hits are not billed, and the response identifies the result with X-Page-Verdict and X-Billed headers. It also offers an MCP server with take_screenshot, get_page_info, and capture_pdf tools for Claude, Cursor, and other MCP clients. The Free plan includes 1,000 screenshots per month with no card; paid plans start at $5 for 3,000 shots.
Create a free ScreenshotNeo account and start with 1,000 screenshots a month at no charge.
Frequently asked questions
Is ScreenCaptureKit the same as ReplayKit?
No. Apple describes ScreenCaptureKit as the framework that replaces ReplayKit for screen streaming and mirroring in the use cases covered by its documentation.
Can I capture only one application?
Yes. Discover applications and windows through SCShareableContent, then create a filter for the selected content or windows and revalidate the selection when content changes.
Why must the user grant permission?
Screen recording can expose private content, so macOS requires explicit Screen Recording access and an explanation in NSScreenCaptureUsageDescription.
Does ScreenCaptureKit save an MP4 file automatically?
No. It delivers sample buffers. Your app chooses the encoder and container, such as an AVAssetWriter pipeline.
Can I use this code unchanged on iOS or visionOS?
No. ScreenCaptureKit spans several Apple platforms, but permission flows, available sources, and lifecycle details vary. Verify the API reference for your deployment target.
Which queue depth should I use?
Start with the default or Apple’s sample value of five, then measure. Apple says the default is three and the queue should not exceed eight frames.


