How to Capture Blender Screenshots with MCP
Capture the full Blender window, just the 3D Viewport, or a viewport render with MCP. Set up the right tool, save to a known path, and troubleshoot common issues.
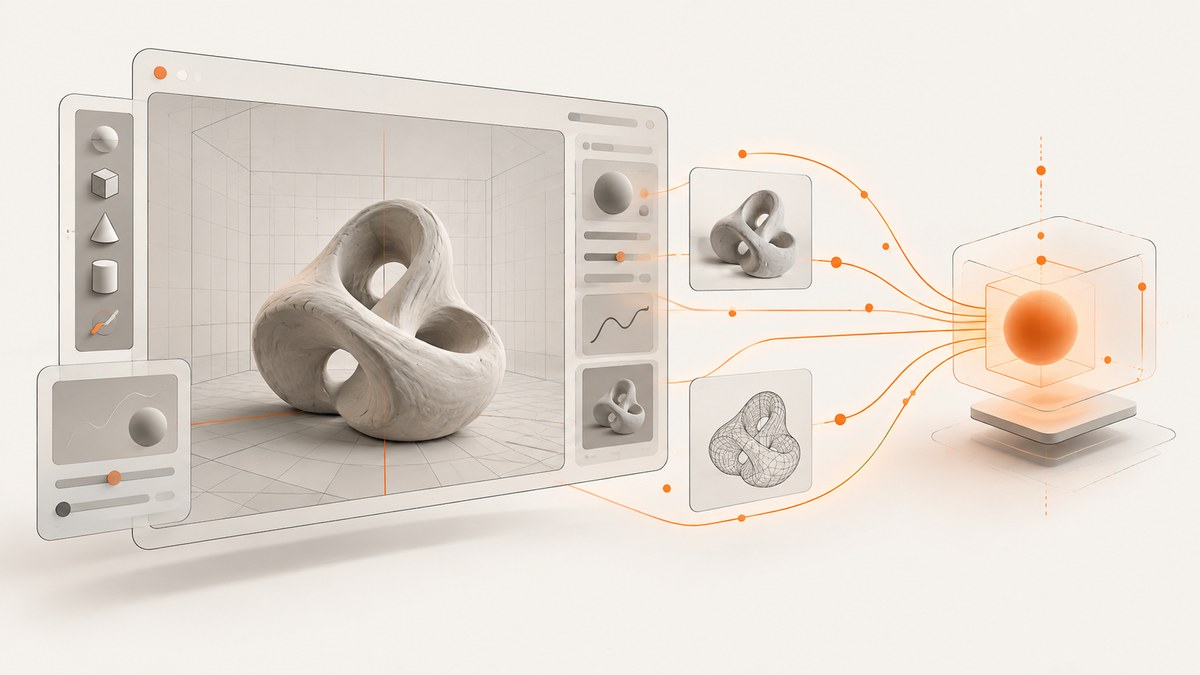
To capture a Blender screenshot with MCP, connect an MCP client to Blender’s MCP server, then call the tool that matches the image you need: get_screenshot_of_window_as_image for the complete Blender window, get_screenshot_of_area_as_image for one editor such as the 3D Viewport, or a viewport screenshot/render tool for scene pixels. Keep Blender open with the target scene and viewport arranged, request an explicit output path when supported, then open the returned image to verify it.
Blender’s official MCP setup describes a server that gives a natural-language interface to Blender’s Python API. Its documented setup requires Blender 5.1 or newer, a Blender-side add-on, an LLM client, and the MCP server. Blender MCP documentation warns that generated code runs in Blender without guards, so only use trusted scenes or an isolated machine.
1. Choose the right kind of Blender capture
“Screenshot” can mean the whole application, one editor, or just the scene view. Pick based on whether you need Blender’s interface in the image and how reproducible the output must be.
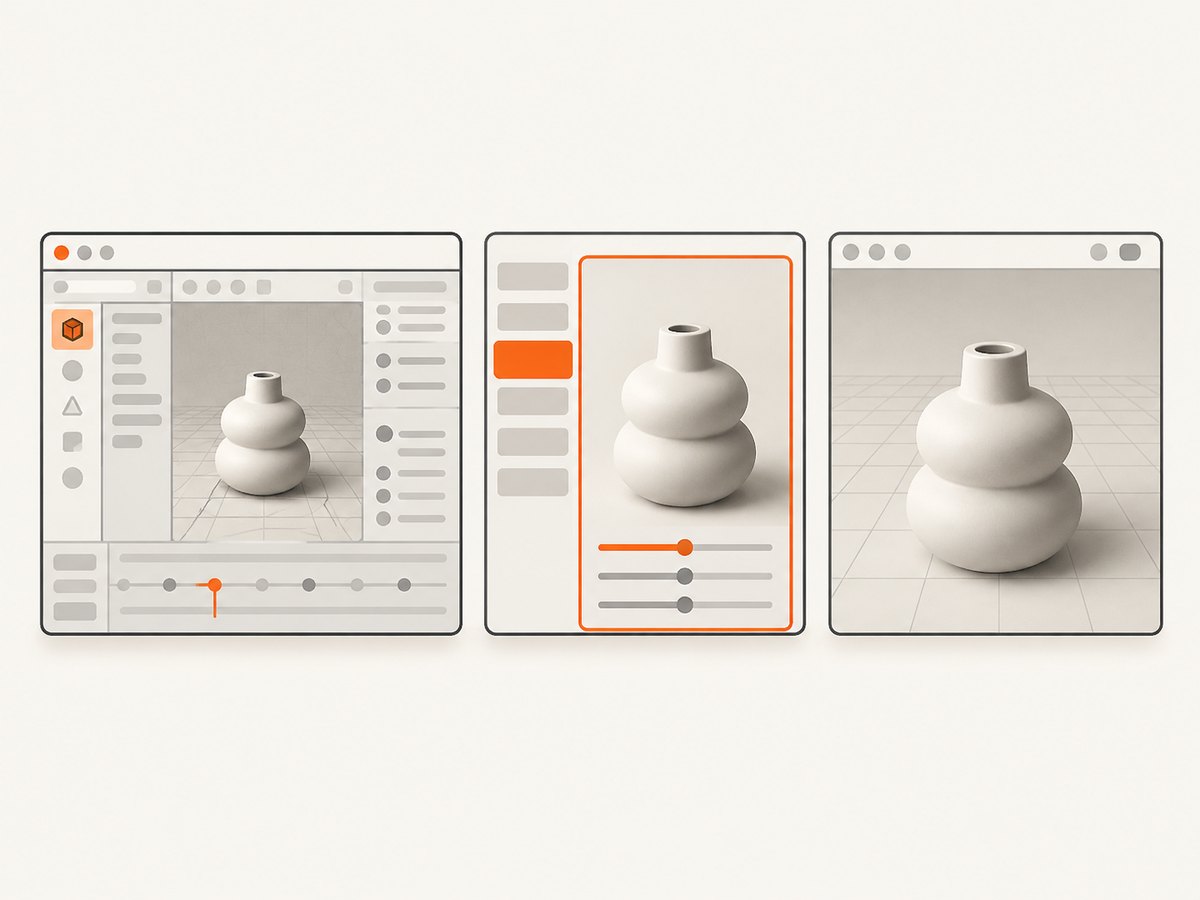
| Method | What appears | Best for | Path behavior |
|---|---|---|---|
| Whole-window screenshot | Blender window, menus, panels, editor areas, overlays | Documentation, debugging, showing tool settings | MCP tool returns an image; check its result for a saved path or image payload |
| Single-area screenshot | One Blender editor area, such as the 3D Viewport | Showing a viewport with its overlays and editor context | Area screenshot API supports a filepath; MCP tool behavior depends on its implementation |
| Viewport pixels or render | Scene as seen in a selected viewport, without the complete Blender window | Presenting the model or scene without surrounding application UI | Viewport render supports writing a still; provide an output path where the tool allows it |
The Blender MCP tool catalog names get_screenshot_of_window_as_image, get_screenshot_of_area_as_image, render_viewport_to_path, and a viewport screenshot tool. The first two have different scopes; the latter options are for the viewport or scene image. See the blender-mcp tool catalog for tool names and parameters. Blender’s underlying APIs include bpy.ops.screen.screenshot_area, Window.screenshot, and bpy.ops.render.opengl.
2. Set up Blender MCP
- Check the Blender version. The official setup lists Blender 5.1 or newer. Confirm the version on the machine that will perform the capture.
- Install and enable the Blender-side add-on. Follow the official Blender MCP setup instructions. The add-on connects the MCP server to Blender’s Python API.
- Configure the MCP server in your client. Use the server’s documented installation and client configuration. The exact steps differ among MCP clients; use the setup for your client rather than copying an unverified command.
- Connect and verify tools. In the MCP client, confirm that the Blender server is connected and that its screenshot or viewport tools are listed.
- Open the intended .blend file and arrange the target view. Set the active workspace, editor layout, viewport orientation, shading, overlays, and panels before asking for a capture.
Do not treat an MCP connection as a sandbox. The official warning says generated code executes in Blender without safeguards against deleting data or sending it elsewhere. Use a trusted scene and client, save a backup, and consider a separate machine or isolated environment for automation.
3. Capture the entire Blender window
Use the whole-window tool when the image needs the Blender interface: menus, toolbars, properties, timeline, and the 3D Viewport together. The MCP tool catalog calls this get_screenshot_of_window_as_image.
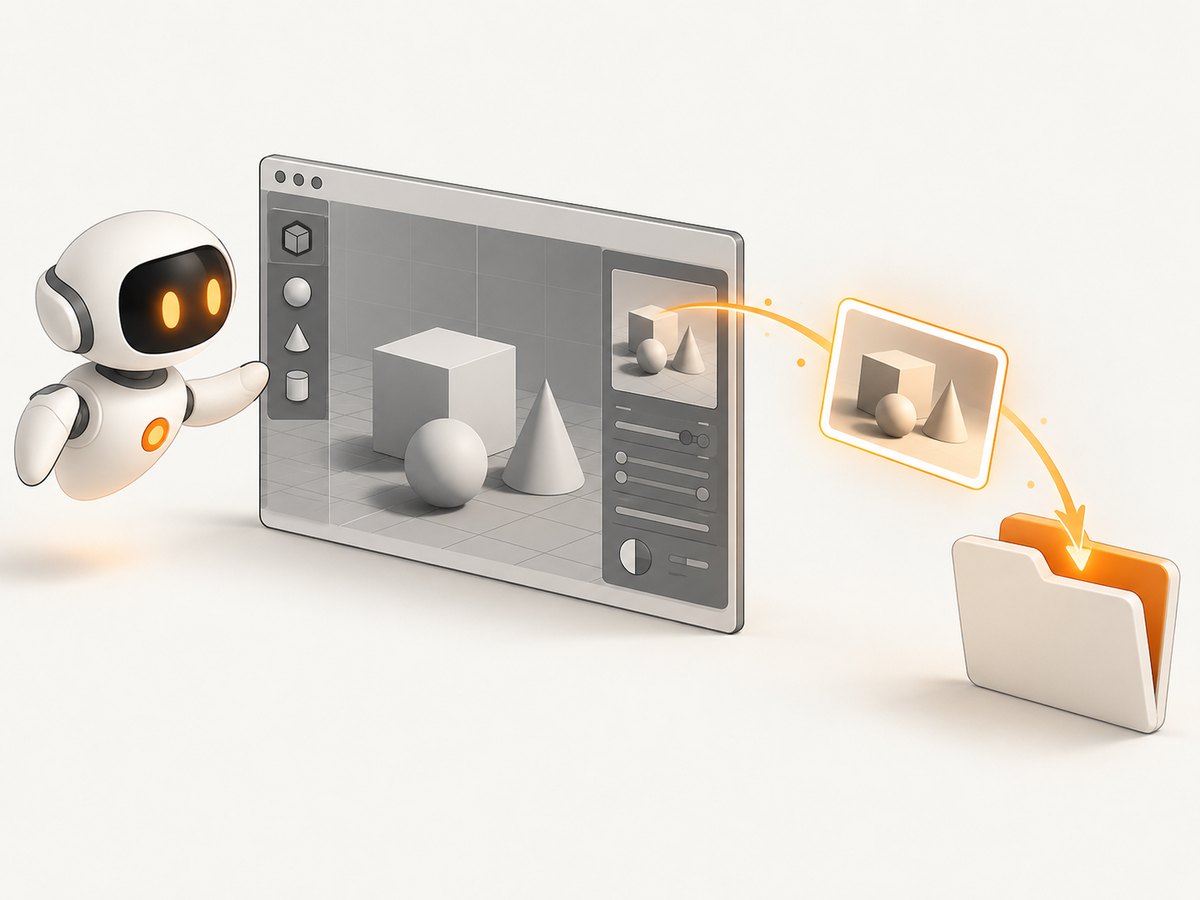
In your MCP client, ask it to call that tool and return the image. A specific instruction helps the agent choose the right scope:
Capture the entire Blender window as an image. Return the image and report any output filepath.This is a request to the MCP client, not a universal command-line invocation. MCP clients present tool calls differently, and the tool’s returned content or path depends on its implementation. If the image is returned inline or as an image payload, save it from the client using that client’s image export feature. If a file path is reported, confirm that the file exists and can be opened.
Before capture, close menus or popovers you do not want in the result. Move the cursor away from an important part of the viewport if hover highlighting would obscure it. A window screenshot reflects the visible Blender window, so display size and window arrangement affect the result.
4. Capture only the 3D Viewport
For one editor area, use get_screenshot_of_area_as_image and specify the 3D Viewport. This preserves the viewport’s visible Blender context, including its editor header and any enabled overlays, without including every other Blender panel.
Capture only the 3D Viewport area as an image. Save it to /path/to/output/viewport.png and return the resulting path.Replace the example path with a writable absolute path on the machine where Blender is running. If the tool does not accept a path parameter, ask it to return the image and save the result through the MCP client. Check the catalog’s tool schema for the exact parameter names: MCP server tools are not guaranteed to accept the same arguments as Blender’s Python operators.
Blender’s bpy.ops.screen.screenshot_area is the underlying API concept for taking a screenshot of an area, and it accepts a filepath. A direct Python example is:
import bpy

output_path = "/path/to/output/viewport.png"
bpy.ops.screen.screenshot_area(filepath=output_path)
This uses the currently active screen and area context. It is not a context-free renderer: if Blender has the wrong area active, the result may not be the 3D Viewport you intended. For MCP-driven work, requesting the specific area by name is usually clearer; for direct scripting, verify that the operator is running with the right screen and area context.
5. Capture viewport pixels or render a still
If you want scene pixels rather than a screenshot of Blender’s entire UI, use the MCP viewport screenshot or render_viewport_to_path tool. A viewport capture reflects the currently selected region and its current view state. An OpenGL viewport render is documented as a snapshot of the active viewport and can write a still image.
For a path-oriented request, be explicit:
Capture the active 3D Viewport as a PNG scene image, without the surrounding Blender window, and save it to /path/to/output/scene.png. Report the final path.The underlying Blender operator is bpy.ops.render.opengl. For example:
import bpy

output_path = "/path/to/output/scene.png"
bpy.context.scene.render.image_settings.file_format = "PNG"
bpy.context.scene.render.filepath = output_path
bpy.ops.render.opengl(write_still=True)
This renders a snapshot of the active viewport, so set the view and relevant scene settings first. It is not interchangeable with a camera render: the view is tied to the active viewport state. Blender also provides a Window.screenshot API that captures a selected viewport region as RGBA pixels; its official example writes the pixels to a PNG using imbuf. Use that route when an application script needs pixel-level control and you can manage the viewport region and image writing yourself.
6. Make captures repeatable
Automated screenshots are only consistent when the state being captured is consistent. Before each run:
- Open the same saved scene and workspace.
- Use a fixed viewport orientation, zoom, and visible region.
- Choose the same shading mode, overlays, and gizmos.
- Keep the relevant Blender window and editor layout stable.
- Set an explicit output path and file format when the selected tool supports them.
- After capture, check image dimensions, framing, and whether UI elements or overlays appeared as intended.
A viewport screenshot is a record of interactive state; a viewport render is still based on the active viewport. Fixing scene and view settings is therefore central to repeatability. If you need a reproducible final scene image, save the .blend file with the prepared view and use the same capture method each time.
7. Troubleshooting Blender MCP screenshots
| Symptom | Likely cause | What to do |
|---|---|---|
| The screenshot tool is missing | The add-on or MCP server is not enabled, the client is disconnected, or the server exposes different tools | Reconnect the client, verify the Blender-side add-on, and inspect the connected server’s tool list and schema. |
| The tool runs but captures the wrong area | The active editor, window, or viewport differs from the requested one | Bring the intended Blender window forward, select the correct workspace, and ask for the named 3D Viewport area. For Python operators, ensure the required context is active. |
| The saved file is missing | The path is not writable, is relative to a different process directory, or the tool returned an image without saving it | Use an absolute path on the Blender machine, verify directory permissions, and inspect the tool response. Save a returned image payload with the MCP client if needed. |
| The screenshot is blank or incomplete | The target view is obscured, still loading, or not the intended editor | Wait for the scene to finish updating, make the target view visible, and capture again. Confirm the image before using it downstream. |
| The result includes panels or overlays unexpectedly | You used a window or area screenshot, or overlays are enabled | Choose viewport pixels/render for a scene-only result, or hide unwanted overlays and panels before capturing. |
| The result differs between runs | Viewport orientation, zoom, shading, overlays, workspace, or window geometry changed | Restore a known saved scene and view, fix the capture method, and use a stable output path. |
| Blender behaves unexpectedly after an MCP request | Generated code has broad access to Blender’s Python API | Stop the run, inspect the request and scene state, restore from backup if needed, and only continue with trusted code in a trusted or isolated environment. |
8. Performance, reliability, and cost
The research for this workflow does not establish a benchmark or typical capture time for Blender MCP screenshots. Practical capture time depends on Blender, scene complexity, machine load, and whether you are capturing a window, an area, or a viewport render. For repeated captures, avoid unnecessary scene changes and keep the viewport ready before calling the tool.
For reliability, treat the MCP tool response as evidence to verify, not proof that the image is usable. Check the returned image or path, confirm that it opens, and confirm the desired scope and framing. Use a stable output directory and avoid overwriting an important image unless that is intended.
Blender MCP capture uses software; no camera or capture card is needed. Blender itself and the MCP components have their own installation and operating costs, which depend on the chosen environment. The cited material does not publish a Blender MCP screenshot price or service-level guarantee.
9. Or skip the browser setup
For a website screenshot, ScreenshotNeo takes a URL and returns PNG, JPEG, WebP, or PDF from one GET request. It is a website screenshot API and MCP server by Yorker Media. It does not capture a local Blender window or viewport; use the Blender workflow above for those. If the thing you need to capture is a web page, the API call is:
curl -G "https://api.screenshotneo.com/v1/shot" -d access_key=YOUR_API_KEY --data-urlencode url=https://stripe.com -o shot.webpSee the ScreenshotNeo API docs for request options. Cookie and consent banners, newsletter popups, and chat widgets are removed before the shot; each removal step can be turned off. Bot checks, blank pages, timeouts, failed loads, and cache hits cost nothing, and the response identifies the page verdict and billing status in X-Page-Verdict and X-Billed headers. An MCP server provides take_screenshot, get_page_info, and capture_pdf for AI agents. The free plan includes 1,000 screenshots a month with no card; paid plans start at $5 for 3,000 shots.
Create a free ScreenshotNeo account for 1,000 screenshots a month with no card.
10. Frequently asked questions
Can MCP capture only the Blender 3D Viewport?
Yes. Use get_screenshot_of_area_as_image and target the 3D Viewport, or use a viewport screenshot/render tool if you need scene pixels rather than the editor area.
Does this require a camera or capture card?
No. Blender MCP screenshot capture is software-driven.
Can I save the capture to a PNG path?
Yes, when the selected tool supports an output path. The area screenshot API accepts a filepath, and the viewport OpenGL render supports writing a still. Use an absolute writable path and verify the returned file.
Will the viewport render match a camera render?
It captures the active viewport state, so it depends on the viewport view and settings. It is a snapshot of that view, not necessarily the scene’s camera composition.
Is generated MCP code safe for an important project?
Blender’s documentation warns that generated code executes without guards. Use trusted scenes and code, save backups, and isolate the environment when appropriate.