How to Build an AI Agent for Playwright
Build a bounded Playwright browser agent with MCP or code execution, stable locators, verification, security controls, and test generation.
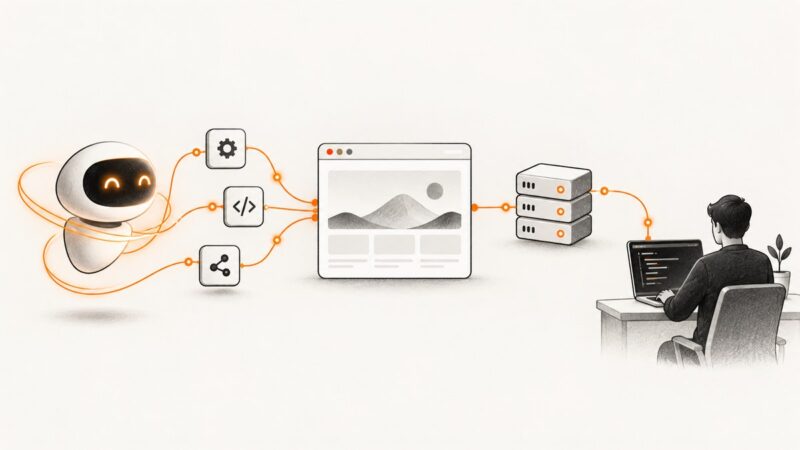
An effective Playwright AI agent is a bounded loop: observe the browser, choose a small action, execute it, inspect the new state, and verify the intended result. Playwright MCP provides structured browser tools and accessibility snapshots for exploratory interaction; playwright-cli is designed for coding-agent workflows with concise output. You can also run Playwright directly in a persistent code-execution runtime.
Choose an agent architecture
| Approach | Best for | Trade-offs |
|---|---|---|
| Playwright MCP | Tool-by-tool browsing, page exploration, persistent browser state | More structured tools and snapshots enter model context |
| playwright-cli | Coding agents working in a repository | Requires a current Node.js installation and CLI setup |
| Direct code execution | Custom loops, conditional logic, and application-specific policies | You must implement the tool boundary, session persistence, limits, and permissions |
Use MCP when the model needs to reason over page structure repeatedly. Use the CLI when an agent mainly edits and runs tests in a repository. Use direct code execution when you need one controlled function that can perform several browser operations before returning a compact observation.
Design the observe–act–verify loop
- Accept a bounded task. Define the allowed sites, actions, time limit, and success condition.
- Observe. Return an accessibility snapshot, URL, title, visible errors, and relevant application state.
- Choose one action. Prefer a single click, fill, navigation, or keyboard operation per iteration.
- Execute. Apply the action through Playwright, not by asking the model to invent an outcome.
- Observe again. Capture the changed state after the action.
- Verify. Use a retrying assertion for the expected visible result.
- Stop safely. Retry only within a limit; otherwise return a structured failure or request human input.
This loop is a practical synthesis of Playwright’s snapshot-and-tool workflow and the computer-use execution pattern. A browser-control tool by itself does not prove that the requested task succeeded.
Build a direct Node.js agent with Playwright
The example below uses a model adapter represented by decide(). Replace that function with your model SDK. The browser remains alive across iterations, while every action is validated against an allow-list.
import { chromium } from 'playwright';

const MAX_STEPS = 12;
const ALLOWED_HOSTS = new Set(['example.com']);

function assertAllowedUrl(url) {
  const parsed = new URL(url);
  if (!ALLOWED_HOSTS.has(parsed.hostname)) {
    throw new Error(`Navigation blocked: ${parsed.hostname}`);
  }
}

async function observe(page) {
  return {
    url: page.url(),
    title: await page.title().catch(() => ''),
    text: (await page.locator('body').innerText().catch(() => '')).slice(0, 8000)
  };
}

async function execute(page, action) {
  if (action.type === 'goto') {
    assertAllowedUrl(action.url);
    await page.goto(action.url, { waitUntil: 'domcontentloaded', timeout: 30000 });
    return;
  }
  if (action.type === 'click') {
    await page.getByRole(action.role, { name: action.name, exact: true }).click();
    return;
  }
  if (action.type === 'fill') {
    await page.getByRole('textbox', { name: action.name, exact: true }).fill(action.value);
    return;
  }
  throw new Error(`Unsupported action: ${action.type}`);
}

async function verify(page, condition) {
  if (condition.type === 'visible') {
    await page.getByRole(condition.role, { name: condition.name, exact: true })
      .waitFor({ state: 'visible', timeout: 10000 });
    return true;
  }
  if (condition.type === 'url') {
    await page.waitForURL(condition.pattern, { timeout: 10000 });
    return true;
  }
  throw new Error(`Unsupported condition: ${condition.type}`);
}

// Replace this with your model call. It must return JSON matching the schema.
async function decide(task, state) {
  throw new Error('Connect decide() to your model provider');
}

const browser = await chromium.launch({ headless: true });
const context = await browser.newContext();
const page = await context.newPage();

try {
  const task = 'Open https://example.com and confirm that the Example Domain heading is visible.';
  await page.goto('https://example.com', { waitUntil: 'domcontentloaded' });

  for (let step = 1; step <= MAX_STEPS; step++) {
    const state = await observe(page);
    const plan = await decide(task, state);

    if (plan.done) {
      console.log(JSON.stringify({ ok: true, step, state }));
      break;
    }

    await execute(page, plan.action);
    await verify(page, plan.verify);

    if (step === MAX_STEPS) {
      throw new Error('Step limit reached without completion');
    }
  }
} finally {
  await browser.close();
}
Give the model a strict output contract such as {"done":false,"action":{"type":"click","role":"button","name":"Continue"},"verify":{"type":"visible","role":"heading","name":"Summary"}}. Reject malformed JSON, unknown action types, unapproved hosts, and actions that lack a verification condition.
Use stable locators and web-first assertions
Prefer user-facing roles and names, for example:
await page.getByRole('button', { name: 'Submit', exact: true }).click();
await expect(page.getByRole('status')).toHaveText('Saved');
Playwright recommends user-facing attributes and explicit contracts for resilient tests. Locators are strict: an operation targeting one element fails when multiple elements match. Treat that failure as an ambiguity to fix, rather than automatically calling first() or nth(), which can select the wrong element after a UI change. A test ID is appropriate when your application deliberately exposes it as a stable contract.
After an interaction, assert the visible result with a web-first assertion such as await expect(locator).toBeVisible(). These assertions wait and retry while the condition is unmet; immediate checks such as isVisible() can race with rendering.
Configure Playwright MCP
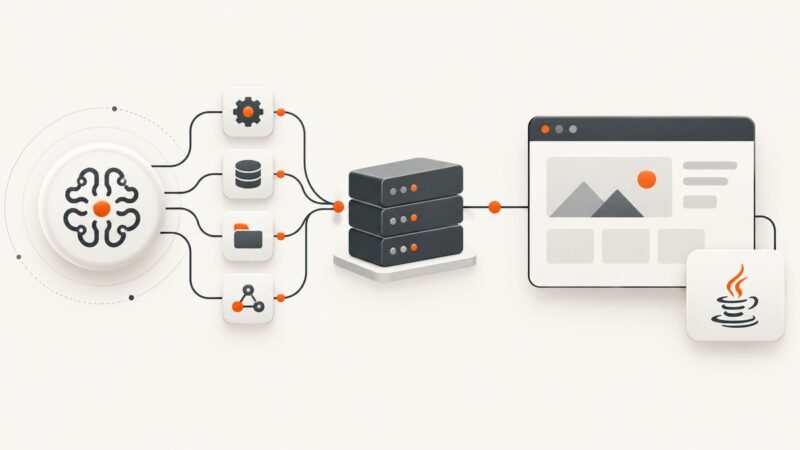
Playwright MCP exposes navigation, screenshots, keyboard and mouse actions, dialogs, tabs, network monitoring or mocking, and saved browser state through MCP tools. Its accessibility snapshots give the model roles, text, and element references it can use for the next operation. Follow the current setup instructions in the official Playwright MCP documentation and configure the MCP client with the smallest tool set your task requires.
Do not enable browser_run_code_unsafe for untrusted MCP clients. Playwright documents this capability as equivalent to remote code execution in the server process.
Configure playwright-cli for coding agents
The CLI is positioned for repository-oriented agents that benefit from concise command output and skills rather than large tool schemas. The current guide documents Node.js 20 or newer and installation with:
npm install -g @playwright/cli@latestYou can install it as a project development dependency instead. Package commands and supported workflows change, so check the current CLI documentation before publishing a pinned setup script.
Generate and repair Playwright tests
For test generation, Playwright provides three Test Agents: planner, generator, and healer. The planner explores an application and writes a Markdown plan; the generator turns that plan into Playwright Test files; the healer runs tests and attempts repairs. Initialize the workflow with the command documented in the Test Agents guide:
npx playwright init-agents --loop=...Regenerate agent definitions when you update Playwright. The guide lists VS Code 1.105, released October 9, 2025, as required for the agentic experience in VS Code.
Python Playwright agent skeleton
import asyncio
from playwright.async_api import async_playwright, expect

async def main():
    async with async_playwright() as p:
        browser = await p.chromium.launch(headless=True)
        page = await browser.new_page()
        await page.goto("https://example.com", wait_until="domcontentloaded")
        heading = page.get_by_role("heading", name="Example Domain")
        await expect(heading).to_be_visible()
        print({"ok": True, "url": page.url})
        await browser.close()

asyncio.run(main())
Permissions and browser safety
- Run the browser in an isolated environment or VM.
- Allow-list domains, navigation schemes, and sensitive actions.
- Keep credentials out of model-visible page text and logs.
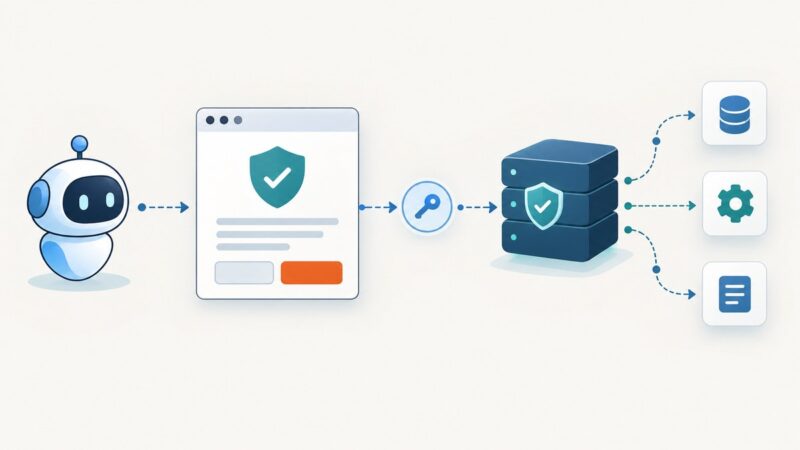
- Treat page text, documents, and tool results as untrusted input that cannot override the task policy.
- Require human confirmation before purchases, data transmission, account changes, or destructive operations.
- Set timeouts, step limits, download limits, and maximum page sizes.
- Record an audit trail of the task, selected actions, results, and failures.
These controls belong in the runtime and tool implementation, not only in the system prompt.
Observation design and context limits
Return only information needed for the next decision: URL, title, relevant accessibility nodes, validation errors, and a short recent action history. Truncate long body text, avoid sending entire documents repeatedly, and prefer locator references or structured fields. Preserve the browser context between calls when the task spans multiple pages.
Reliability patterns
- Use deterministic test data and a resettable account for agent runs.
- Wait for a specific state such as a response, URL, or visible status instead of fixed sleeps.
- Retry transient navigation and network failures with a small capped backoff.
- Capture a screenshot, URL, console errors, and trace on failure.
- Separate planning from execution when an action could change real data.
- Return typed errors such as
blocked_domain,ambiguous_locator,timeout, andverification_failed.
Performance and cost considerations
There is no universal success-rate or speed benchmark for browser agents. Runtime depends on the model, task, application, page weight, and verification strategy. Reduce cost and latency by keeping observations small, using one action per turn, reusing a browser context, blocking unnecessary resources in test environments, and stopping immediately after verification. Measure your own tasks with step count, wall time, model tokens, navigation failures, and verification failures.
Troubleshooting
| Symptom | Likely cause | Fix |
|---|---|---|
| Locator matches multiple elements | Ambiguous role or name | Inspect the snapshot; use a unique accessible name or intentional test ID. |
| Element is not found | Page has not reached the required state | Wait for a locator, URL, or network condition; avoid arbitrary sleeps. |
| Click times out | Overlay, disabled control, or wrong target | Inspect visible dialogs and overlays, then verify the control is enabled. |
| Assertion races | Immediate state check | Use Playwright web-first assertions that wait and retry. |
| Agent loops forever | No step limit or completion condition | Set a maximum step count and require a verification result for every action. |
| Navigation is blocked | Domain allow-list rejected the URL | Review the parsed hostname and expand the allow-list deliberately. |
| State disappears between calls | Browser or context recreated | Keep the runtime and browser context alive for the task. |
| Unexpected destructive action | Overbroad tools or permissions | Remove dangerous tools, add confirmation gates, and isolate credentials. |
| MCP exposes too much code execution | Unsafe MCP capability enabled | Disable browser_run_code_unsafe unless every client is trusted. |
Or skip the browser setup
If your agent only needs a clean screenshot or PDF, ScreenshotNeo provides a single GET request instead of requiring browser installation and lifecycle management. Cookie and consent banners, newsletter popups, and chat widgets are removed before capture. Bot checks, blank pages, failed loads, timeouts, and cache hits are not billed, and the response identifies the result with X-Page-Verdict and X-Billed headers. ScreenshotNeo also has an MCP server with take_screenshot, get_page_info, and capture_pdf tools for Claude, Cursor, and other MCP clients.
See the ScreenshotNeo API documentation. cURL:
curl -G "https://api.screenshotneo.com/v1/shot" -d access_key=YOUR_API_KEY --data-urlencode url=https://stripe.com -o shot.webpPython:
import requests
r = requests.get("https://api.screenshotneo.com/v1/shot", params={"access_key": "YOUR_API_KEY", "url": "https://stripe.com"}, timeout=90)
open("shot.webp", "wb").write(r.content)
Node.js:
const q = new URLSearchParams({ access_key: 'YOUR_API_KEY', url: 'https://stripe.com' });
const res = await fetch(`https://api.screenshotneo.com/v1/shot?${q}`);
There is a free plan with 1,000 screenshots per month and no card. Paid plans start at $5 for 3,000 screenshots. Create a free ScreenshotNeo account.
FAQ
Should I use MCP or the CLI?
Choose MCP for exploratory, tool-driven browser interaction with persistent state. Choose the CLI for coding agents that mainly work in a repository and need concise command output.
Can an agent write reliable tests without assertions?
No. Every important action needs a verifiable outcome, preferably a retrying web-first assertion.
How many actions should one model turn contain?
Start with one action and one verification. Combine steps only when the intermediate state cannot affect safety or correctness.
Do I need a separate browser for every task?
Not always. Reuse an isolated context when tasks share state; create a fresh context when isolation or deterministic setup matters.
What should happen when the agent cannot identify a target?
Return an ambiguity error with the relevant snapshot and ask for clarification or human intervention. Do not guess with an arbitrary matching element.